To optimize camera settings for storm cloud photography, we need a precise understanding of exposure, ISO, aperture, shutter speed, and white balance adjustments. We'll use bracketing and metering modes for dynamic range, start with a low ISO to minimize noise, and adjust aperture for depth of field. Fast shutter speeds or a tripod are essential for capturing movement or lightning. Setting white balance to 'Cloudy' enhances stormy skies' warmth, but manual tweaks may offer better control. Filters like ND and polarizers further refine exposure and contrast. Let's explore the nuances to craft dramatic, sharp storm cloud images.
Key Points
- Use manual focus for precise control over sharpness and focus points.
- Adjust ISO to maintain image quality while minimizing noise.
- Employ a smaller aperture (higher f-stop) for increased depth of field.
- Utilize ND and graduated ND filters to manage light exposure and balance.
Understanding Exposure
To master storm cloud photography, we must first gain a precise understanding of exposure settings. Storm clouds present unique lighting conditions that challenge our ability to capture their dynamic range. We'll need to leverage metering modes effectively to guarantee our camera reads the scene correctly.
Evaluative metering can provide a balanced exposure by considering the entire frame, while spot metering allows us to focus on a particular area of interest, such as the darker, more dramatic clouds.
Given the unpredictable lighting of storm clouds, bracketing techniques become invaluable. By taking multiple shots at different exposure levels, we can merge these images in post-processing to achieve a high dynamic range (HDR) photograph. This method guarantees that details are preserved in both the highlights and shadows, capturing the full spectrum of the storm's intensity.
Let's not forget the importance of understanding how changing lighting conditions affect our settings. As the storm evolves, so should our approach to metering and bracketing. By mastering these techniques, we'll have the freedom to create compelling images that showcase the raw power and beauty of storm clouds, unhindered by the limitations of conventional photography.
Choosing the Right ISO
Selecting the appropriate ISO setting is vital for minimizing noise while maintaining sufficient sensitivity to capture the intricate details of storm clouds.
When photographing in low light conditions, we need to find a balance between ISO, shutter speed, and noise. A higher ISO setting increases the camera's sensitivity to light, but it also introduces more noise into the image. For storm cloud photography, where we aim to capture the full texture and drama of the clouds, noise reduction is crucial.
We should start with the lowest ISO setting that our camera allows, typically ISO 100 or 200. This minimizes noise and preserves image quality. However, storm clouds often bring dim, unpredictable lighting, making low light performance a challenge. If we find that our initial settings result in underexposed images, we can gradually increase the ISO.
A practical approach involves testing a range of ISO values, like 400 or 800, and reviewing the images for noise levels. Modern cameras handle higher ISO settings better, but each step up should be carefully evaluated.
Aperture Settings Guide
Mastering aperture settings allows us to control the depth of field and the amount of light entering the camera, which are vital for capturing the dramatic essence of storm clouds. By adjusting the aperture, we can create different creative effects that emphasize the storm's intensity while maintaining a balanced exposure.
When photographing storm clouds, we usually aim for a larger depth of field to keep both the foreground and the turbulent skies in sharp focus. Selecting an aperture between f/8 and f/11 helps achieve this, ensuring that the intricate details of the clouds are crisply rendered.
However, there are times when we might want to isolate specific elements, such as a lone tree against a backdrop of swirling clouds. In these cases, a wider aperture (around f/2.8 to f/5.6) can create a pleasing bokeh effect, adding a sense of depth and focus to our composition.
It's essential to remember that a wider aperture allows more light to enter, potentially overexposing our shots. Conversely, a narrower aperture reduces light intake, which may necessitate adjustments in other settings. Balancing these elements requires a keen eye, but mastering them allows unparalleled creative freedom in storm cloud photography.
Shutter Speed Tips
When we discuss shutter speed for storm cloud photography, we must consider capturing lightning strikes and freezing motion effects.
Using a slower shutter speed can help us capture the brilliance of a lightning strike.
Meanwhile, faster speeds allow us to freeze turbulent cloud motion, providing sharp, dramatic images.
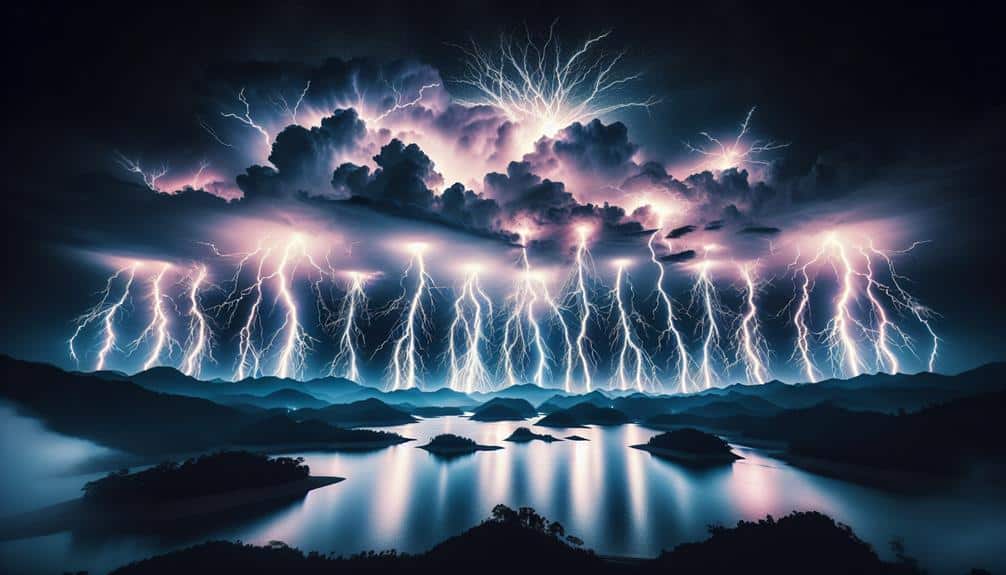
Capturing Lightning Strikes
Capturing lightning strikes requires precise control over shutter speed to balance exposure and freeze the dramatic moment effectively. When we set up our cameras, we must consider the lightning composition within the stormy atmosphere. The key is to manage our shutter speed to capture the brilliance of lightning while maintaining the integrity of the overall scene.
To start, we need to understand thunderstorm timing. Lightning is unpredictable, so a longer exposure increases our chances of capturing a strike. Typically, we set our shutter speed to around 10-30 seconds. This duration allows us to gather enough light while ensuring that the lightning's dramatic contrast against the darkened sky is preserved.
Using a tripod is essential to avoid camera shake during these long exposures. We might also employ a remote shutter release to further reduce any vibrations.
For those of us aiming for multiple strikes in one frame, the intervalometer can automate the process, letting us capture a series of shots without manually pressing the shutter each time.
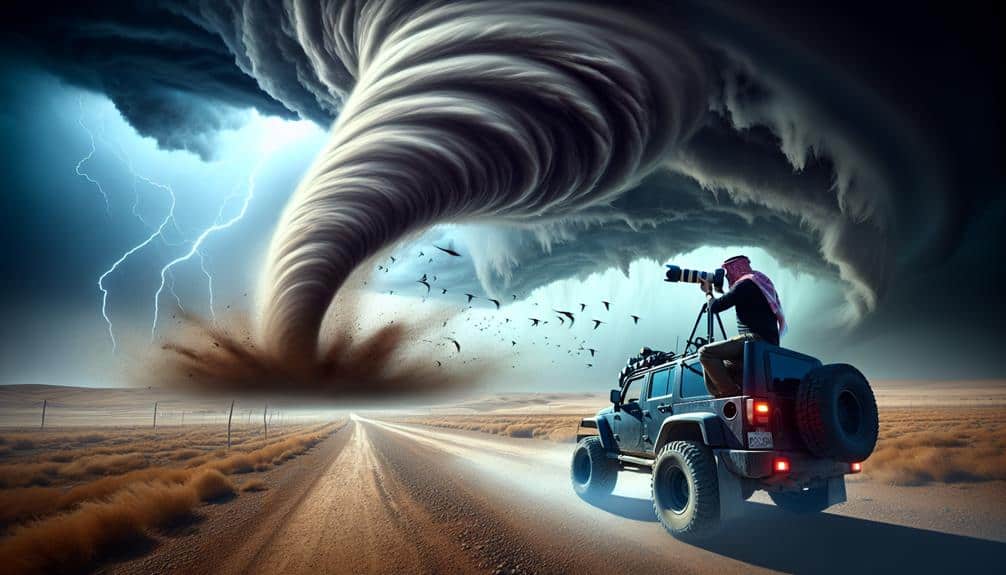
Freezing Motion Effects
To freeze the motion of storm clouds effectively, we set our cameras to a faster shutter speed, typically around 1/250th of a second or higher. This speed guarantees that the dynamic, fast-moving elements of the storm are crisply captured, providing us with stunning, dramatic imagery. By slowing down the scene just enough, we maintain the integrity of the cloud structures without introducing unwanted blur.
When we set our cameras to these high shutter speeds, we must also consider our ISO settings and aperture to balance exposure. A higher ISO can help compensate for the reduced light caused by the faster shutter, but we need to be cautious of noise. Pairing this with thoughtful composition techniques, such as leading lines or the rule of thirds, enhances the visual impact of our storm cloud photos.
In post-processing, editing software becomes our ally. We can fine-tune our images to highlight the texture and contrast of the clouds, making sure they stand out against the sky. By freezing the motion and leveraging both in-camera settings and editing software, we achieve the freedom to capture the raw power and beauty of storm clouds in their most compelling form.
White Balance Adjustments

Adjusting the white balance is essential for accurately capturing the dramatic hues and contrasts of storm clouds. When photographing these powerful cloud formations, we need to take into account the color temperature to guarantee our images reflect the true essence of the scene.
Storm clouds often present a dynamic range of colors, from cool blues and grays to the warm tones of a sunset piercing through the turbulence.
To achieve this, we can start by setting our camera's white balance to the 'Cloudy' preset. This setting generally adds warmth, balancing out the cool tones often dominant in stormy skies. However, each storm is unique, and we may need to fine-tune the white balance manually.
By adjusting the Kelvin scale, we can control the color temperature precisely. For instance, increasing the Kelvin value will warm the image, enhancing reds and oranges, while decreasing it will emphasize the cooler blues and purples.
Let's not overlook the power of post-processing. Shooting in RAW format allows us to adjust the white balance with greater flexibility later on, guaranteeing we capture the storm's full spectrum of colors.
Focusing Techniques
Now that we've mastered white balance adjustments, let's focus on the techniques required to achieve sharp, detailed images of storm clouds.
First, we should understand when to use manual focus versus auto focus. While auto focus can be convenient, it often struggles with the low contrast and dynamic range of storm clouds. By switching to manual focus, we gain full control over the sharpness and can precisely adjust the focus point on the clouds' intricate textures.
Depth of field is another important aspect. To capture an expansive sky with layers of clouds, we need a smaller aperture (higher f-stop). This increases the depth of field, ensuring both the foreground and background remain sharp. However, balancing this with the right ISO settings is vital to avoid noise.
Composition techniques also play a significant role. Place focus points along the rule of thirds to create a balanced and engaging image. Leading lines, such as a horizon or a lightning bolt, can guide the viewer's eye through the photograph.
Utilizing Filters
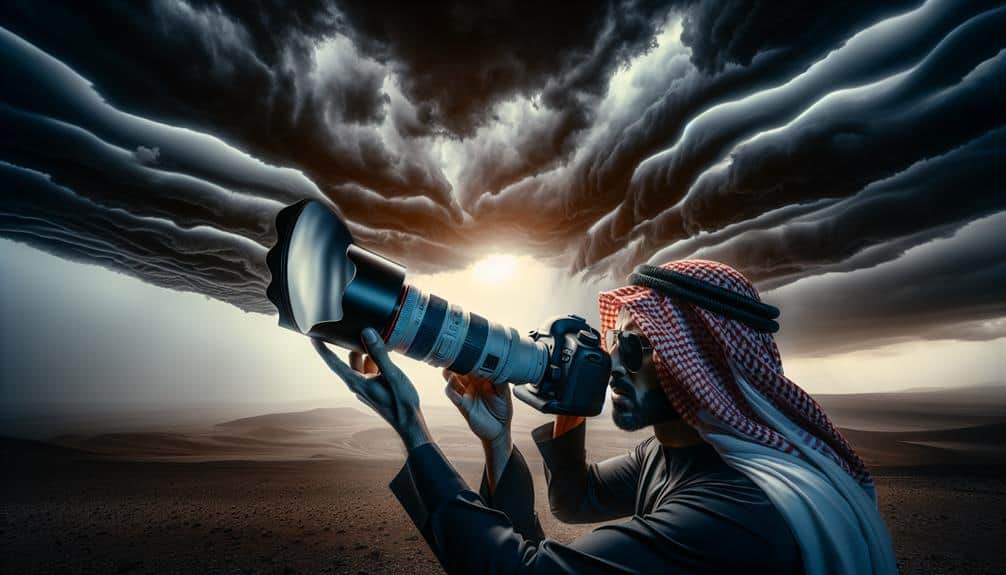
When capturing the dramatic essence of storm clouds, employing filters can greatly enhance the depth and contrast of your images. We should consider various filter types and their applications to achieve ideal results.
Neutral Density (ND) filters are essential for controlling light exposure, allowing us to use slower shutter speeds even in bright conditions, thereby emphasizing the movement of clouds.
Graduated ND filters, on the other hand, balance the exposure between the bright sky and the darker ground, ensuring a well-exposed image.
Polarizing filters are invaluable for reducing reflections and enhancing the overall contrast and saturation of storm clouds. By selectively filtering out polarized light, these filters deepen the blues and emphasize the intricate details within the cloud formations.
To clearly understand the filter effects, let's compare: using an ND filter creates a smooth, dynamic flow in cloud movement, while a polarizing filter enriches color and contrast, making the storm clouds appear more dramatic and vivid.
Graduated ND filters prevent overexposed skies and underexposed landscapes, ensuring a balanced composition.
Frequently Asked Questions
What Type of Camera Is Best for Storm Cloud Photography?
Did you know 60% of photographers prefer DSLRs for their superior camera features? We recommend weather-resistant DSLRs for storm cloud photography due to their robust build and advanced settings, ensuring we capture every dramatic detail safely.
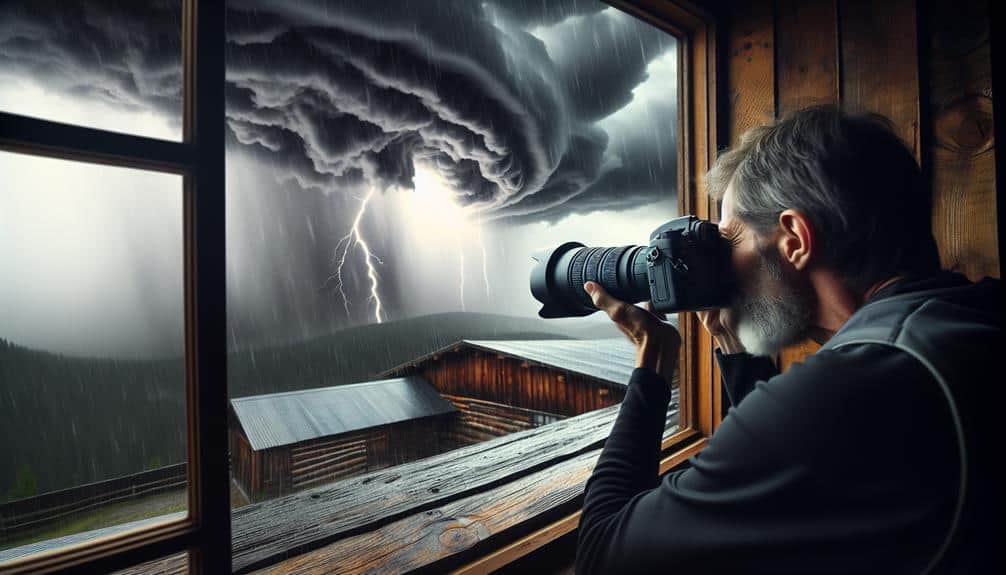
How Can I Ensure My Camera Is Protected During a Storm?
To guarantee camera protection during a storm, we should use weatherproof gear, such as rain covers and lens hoods. Additionally, always carry a microfiber cloth to wipe off any moisture and avoid lens fogging.
What Are the Best Locations for Capturing Storm Clouds?
We've found that capturing storm clouds is best along coastal edges. For instance, photographing from cliff tops offers ideal angles and perfect timing. Understanding weather patterns guarantees we get spectacular views, maximizing our freedom to explore breathtaking landscapes.
How Do I Predict the Best Times for Storm Cloud Photography?
We predict the best times for storm cloud photography by analyzing weather patterns and creating time lapse sequences. This helps us capture the ideal lighting and composition. Monitoring weather apps and radar guarantees we're ready for the perfect shot.
What Post-Processing Techniques Enhance Storm Cloud Images?
We can enhance storm cloud images through precise color correction and sharpening. Applying noise reduction and contrast adjustment refines details and depth, making the clouds more dramatic and vivid. This approach gives us creative freedom and professional results.