To effectively document storm damage, we'll need to follow seven expert tips. First, capture high-resolution photos from multiple angles and record videos, ensuring they're timestamped. Second, use time and date stamps to correlate the damage with weather events. Third, document all damaged areas with detailed descriptions. Fourth, include GPS coordinates for precise location tracking. Fifth, maintain organized records both digitally and on paper. Sixth, back up data using multiple cloud storage providers. Ultimately, safeguard all data with encryption and regular backup tests. By adhering to these steps, we can bolster our insurance claims and prepare for successful repairs.
Key Points
- Capture high-resolution photos and videos from multiple angles, including timestamps for credibility.
- Record detailed descriptions and notes to complement visual evidence and provide a cohesive narrative.
- Utilize GPS coordinates to ensure accurate location tracking and enhance documentation credibility.
- Maintain organized records in both digital and paper formats, ensuring data is backed up in multiple cloud storage providers.
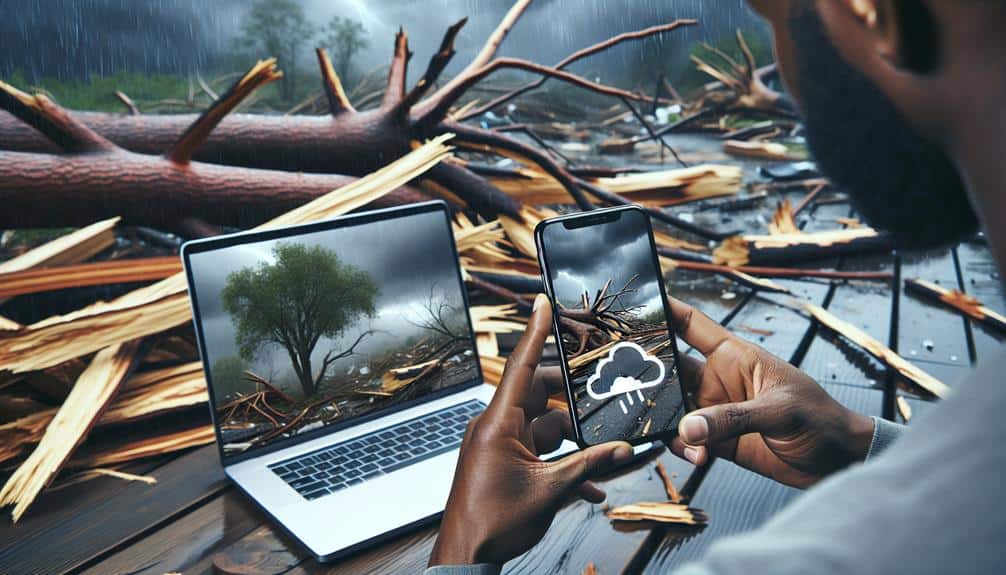
Capture High-Resolution Photos
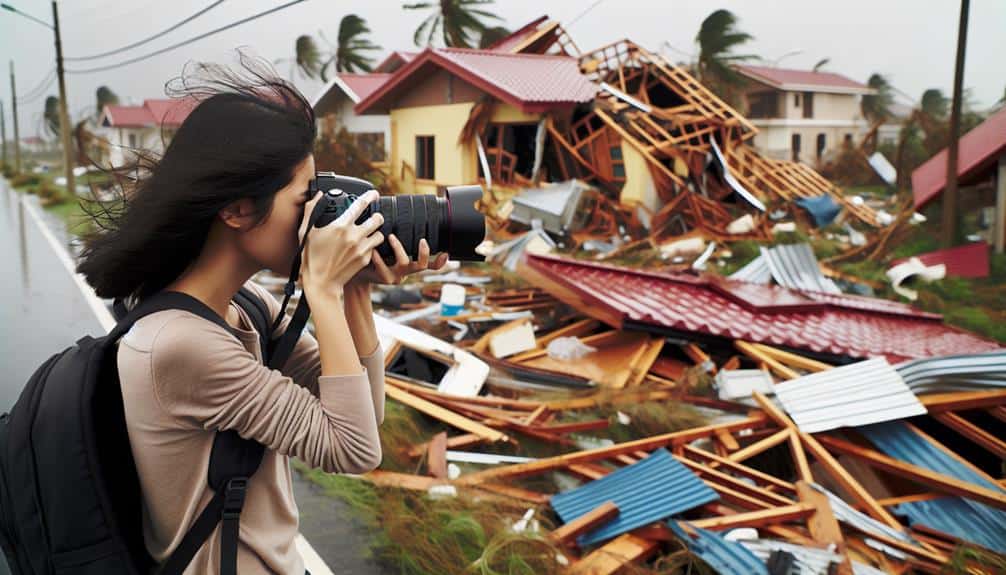
To effectively document storm damage, we should begin by capturing high-resolution photos that clearly show the extent and specifics of the damage. High-quality images ensure that every detail is visible, which is essential for accurate assessment and insurance claims. We must focus on image quality, making sure our camera settings are optimized for clarity and detail. This means using a good camera or smartphone with a high megapixel count and guaranteeing proper lighting conditions.
Guaranteeing timestamp accuracy is another vital aspect. We need to verify that our camera or device is set to the correct date and time before taking photos. This provides a reliable record of when the damage occurred. Location accuracy is equally important. Using a device with GPS capabilities allows us to tag photos with precise geographic coordinates, adding another layer of credibility to our documentation.
After capturing the images, data backup is essential. We should immediately transfer photos to a secure cloud storage or external hard drive to prevent loss. This dual approach not only protects our data but also makes it accessible from anywhere, giving us the freedom to manage our documentation efficiently and effectively.
Use Time and Date Stamps
When documenting storm damage, we should always use time and date stamps to capture precise moments. This guarantees we verify the accuracy of the date and can provide reliable evidence.
To maintain consistency, we must make sure our devices are properly synchronized.
Capture Precise Time
Accurate time and date stamps are necessary in storm damage documentation to establish a clear timeline of events. By capturing precise times, we can correlate the damage with specific weather patterns and enhance data accuracy. This practice is important for storm tracking and event documentation, allowing us to create a detailed and verifiable record of the incident.
When we document storm damage, we need to be meticulous about recording the exact time and date each photograph or note is taken. This ensures that our records reflect the sequence of events accurately, which is essential for insurance claims, legal matters, and historical data analysis. Using devices that automatically embed time and date stamps can streamline this process, reducing the risk of human error.
We should also consider using multiple methods to capture time-related data. For instance, synchronized clocks on cameras and mobile devices, along with manual logs, can provide cross-verification. This redundancy minimizes discrepancies and strengthens our documentation's reliability.
Verify Date Accuracy
Verifying that the time and date stamps on all our documentation are accurate is crucial for maintaining the integrity of our storm damage records. We need to confirm that every photograph, video, and note taken during our assessment accurately reflects the time it was captured. This step helps us ensure consistency across our documentation and provides a reliable timeline of events.
By using devices with automatic time and date stamping features, we can avoid manipulation and present an unaltered account of the storm's impact. It's pivotal to cross-reference these timestamps with our field notes and other data to confirm their accuracy. Any discrepancies should be addressed immediately to maintain the credibility of our records.
We must also be diligent about the device settings, making sure they're configured correctly before heading out into the field. This attention to detail prevents future disputes and questions regarding the validity of our documentation.
Accurate time and date stamps bolster our claims and reports, making them more compelling and trustworthy. By taking these steps, we uphold the highest standards of documentation, providing clear and precise evidence of storm damage that stands up to scrutiny.
Ensure Device Sync
To maintain the integrity of our storm damage documentation, we must synchronize all devices to guarantee consistent and accurate time and date stamps. By ensuring that our cameras, smartphones, and tablets are all aligned, we create a unified timeline of events, which is essential for accurate reporting and assessment.
First, we should configure all our devices to automatically update their time settings through internet synchronization. This step eliminates discrepancies that could arise from manual adjustments.
Additionally, leveraging cloud storage solutions will enable us to back up our data securely and access it from any location. These platforms often have built-in features that tag files with accurate time and date stamps, enhancing our data security.
Moreover, using synchronized devices allows us to streamline our workflow. When all our photographs, videos, and notes have consistent timestamps, we can quickly cross-reference them, ensuring no detail is overlooked. This method not only saves time but also reduces the risk of errors in our documentation process.
Document All Damaged Areas
We should meticulously document all damaged areas to guarantee a thorough record for insurance claims and repairs. This step is essential for accurate tracking and providing detailed descriptions of the damage incurred. It safeguards that we don't miss any vital information that might impact the assessment and subsequent claims process.
To achieve this, let's follow these fundamental practices:
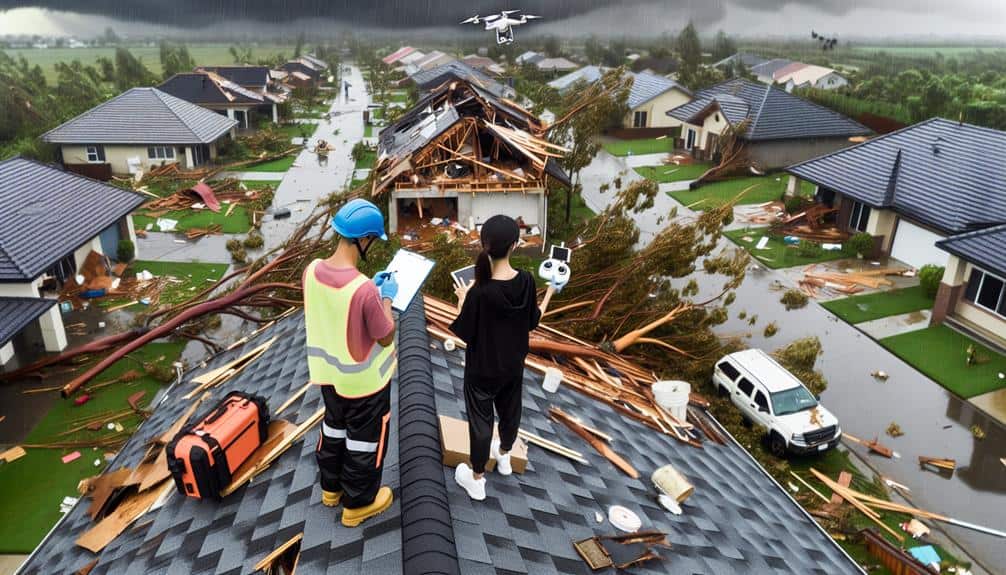
- Photograph Damage: Capture clear, high-resolution images of all affected areas from multiple angles. This visual evidence is indispensable.
- Video Recording: Record videos to provide a dynamic view of the damage. Pan slowly across the damaged areas to capture a detailed overview.
- Use Location Markers: Employ location markers or identifiers in your photos and videos to specify where each piece of damage is located. This helps in cross-referencing during assessments.
Record Detailed Descriptions
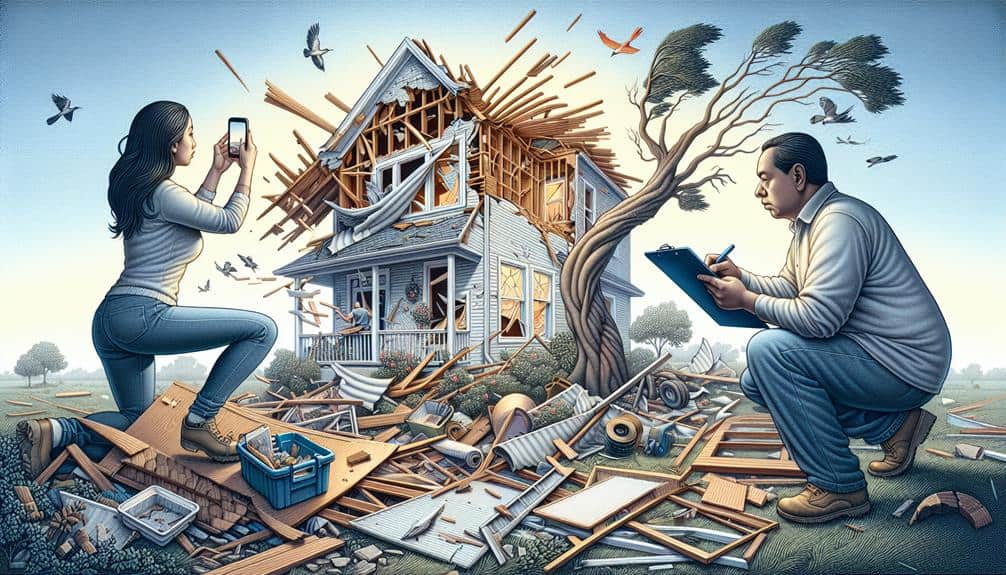
After capturing visual evidence, let's complement it with detailed accounts to create a thorough record of the storm damage. Written descriptions provide context that photos, detailed sketches, and video footage might miss. They allow us to paint a complete picture of the damage, which is essential for accurate assessments and potential insurance claims.
First, let's carefully describe each damaged area. Note the specific types of damage—such as broken windows, roof shingles, or flooded basement—and their severity. Mention any immediate safety concerns, like exposed wires or structural instability. Use precise language to avoid ambiguity and ensure our records are as clear as possible.
In addition to these descriptions, let's include any relevant background information. For example, indicate if the damaged area was recently repaired or if it had any pre-existing issues. This context can help distinguish new storm damage from older wear and tear.
When describing the damage, let's align our written notes with our visual evidence. Refer directly to our detailed sketches and video footage to provide a cohesive narrative. This way, anyone reviewing our documentation can easily cross-reference and verify the information.
Include GPS Coordinates
Incorporating GPS coordinates in our storm damage documentation guarantees accurate location tracking, bolsters the evidence for insurance claims, and streamlines data collection.
By pinpointing exact locations, we can provide clear and indisputable proof of damage.
This practice not only enhances the credibility of our reports but also expedites the claims process.
Accurate Location Tracking
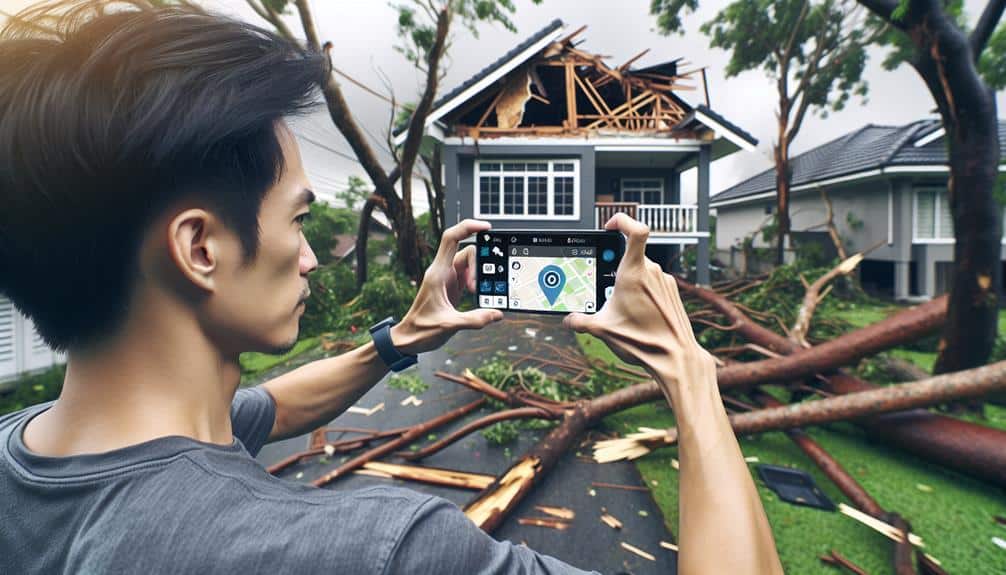
For exact storm damage documentation, recording the exact location of each incident by using GPS coordinates is pivotal. Accurate location tracking guarantees that we capture the specific areas affected, facilitating a more extensive recovery process. Leveraging geographic positioning systems (GPS) provides us with pinpoint accuracy, which is vital for both immediate response and long-term analysis.
By incorporating GPS coordinates in our documentation, we can:
- Validate damage claims: Exact locations help in verifying the authenticity of reported damages, reducing the risk of fraudulent claims.
- Coordinate recovery efforts: Knowing the precise locations enables efficient allocation of resources and personnel, ensuring that the most affected areas receive timely assistance.
- Support aerial photography: Coupling GPS data with aerial photography offers a bird's-eye view of the damage, creating a detailed visual map of the impacted regions.
When we rely on precise geographic positioning, we empower ourselves to respond more effectively and adapt to the evolving needs of storm recovery. This meticulous approach not only enhances our documentation process but also strengthens our overall resilience.
Enhanced Claim Evidence
Incorporating GPS coordinates into our storm damage documentation significantly enhances the credibility and accuracy of claim evidence. By embedding precise location data, we guarantee that our records are both verifiable and trustworthy. This not only reassures insurers but also strengthens our position when filing claims. We can pinpoint exact locations affected by the storm, leaving no space for ambiguity.
When we combine GPS coordinates with detailed notes, our documentation becomes even more strong. Descriptions of the damage, the extent, and the specific areas impacted are essential. These notes should be meticulously recorded, capturing every nuance of the damage.
Adding video evidence to this mix further enhances our claim. Videos provide a visual account that complements our detailed notes and GPS data, offering a complete view of the storm's impact.
Efficient Data Collection
Collecting data efficiently after a storm is crucial, and integrating GPS coordinates into our process guarantees accuracy and precision. Using GPS technology, we can pinpoint the exact location of the damage, enhancing both the data accuracy and the claim process. This approach not only streamlines our workflow but also provides indisputable evidence when filing insurance claims.
To make certain our data collection is both thorough and thorough, we should follow these steps:
- Use GPS-enabled devices: Equip ourselves with smartphones or tablets that have built-in GPS to capture precise locations of the damage.
- Photograph and tag: Take high-quality photos of the damages and tag each image with GPS coordinates to validate the exact spots.
- Create detailed reports: Include GPS data in our reports to create an extensive and accurate damage assessment.
Incorporating GPS coordinates into our storm damage documentation process reinforces the integrity of our data. The result is a more reliable and efficient claim process, empowering us to present clear, factual evidence to support our claims. This method guarantees that we can navigate the post-storm landscape with confidence and precision.
Maintain Organized Records
To guarantee we've a thorough record of storm damage, we must carefully organize all relevant documents and photographs. A systematic approach assures we can access and present information efficiently when needed.
First, let's consider the blend of digital storage and paper documentation. Utilizing both methods provides a reliable way to secure our records and allows us to choose the most convenient format for different situations.
We should start by creating a central repository for all digital files. This can be a dedicated folder on a secure, cloud-based service or a well-organized local drive. Each file should be clearly labeled, including the date, type of damage, and any other relevant details. Digital storage offers the advantage of easy search and retrieval, making it an invaluable tool.
Simultaneously, maintaining paper documentation is equally important. We can use binders or file folders to keep printed photographs, receipts, and written reports. Each document should be systematically categorized and labeled. This physical backup assures we've tangible evidence ready for situations where digital access might be limited.
Back Up Your Data
Consistently backing up our data safeguards we don't lose critical information during unforeseen events. Proper data protection is essential, especially when documenting storm damage. Utilizing cloud storage is a reliable method to secure our records remain intact and accessible.
Here's how we can effectively back up our data:
– Use Multiple Cloud Storage Providers:
Relying on a single provider can be risky. Diversifying ensures redundancy and increases our chances of data recovery in case one service fails.
– Automate Backups:
Setting up automatic backups means we don't have to remember to do it manually. This minimizes the risk of human error and secures our data is always up-to-date.
– Regularly Test Backup Systems:
Periodically testing our backup systems verifies that our data is being stored correctly and can be restored without issues. This proactive approach helps identify and rectify potential problems before they become critical.
– Encrypt Sensitive Information:
Encrypting our data before backing it up adds an extra layer of security. This protects our sensitive information from unauthorized access, even if a breach occurs.
Frequently Asked Questions
How Soon After the Storm Should I Start Documenting the Damage?
We should start documenting the damage as soon as it's safe, ideally within 24 hours. Prompt property assessment helps with accurate insurance claims and guarantees we've got the necessary details to support our case effectively.
What Equipment Is Best for Capturing Storm Damage?
Remember our neighbor's roof after the last storm? We should use a high-resolution DSLR camera for detailed photos and videos. Drones are useful but have limitations like battery life and weather conditions. Camera selection is important.
Should I Document Pre-Storm Conditions for Comparison?
Yes, we should document pre-storm conditions for comparison. This pre-storm preparation helps us conduct a thorough damage assessment. By comparing before-and-after photos, we can secure accurate insurance claims and effective restoration efforts.
How Do I Handle Hazardous Areas While Documenting Damage?
When handling hazardous areas while documenting damage, we prioritize safety precautions. We use remote documentation tools to avoid dangerous spots. This guarantees our safety while still capturing the necessary details for accurate records.
Can I Use a Drone for Aerial Documentation of Storm Damage?
Just like eagles scan the landscape, we can use drones for aerial storm damage documentation. However, we must consider drone limitations and adhere to legal considerations to guarantee safe and effective usage while maintaining our freedom.