Before entering storm-damaged property, you’ll need to verify it’s structurally safe and free from electrical hazards. Document everything through wide-angle photos, close-ups with measuring tape, and narrated video walkthroughs from multiple angles. Create detailed written records of each damaged item, including measurements, materials, model numbers, and repair costs. Organize all documentation, receipts, and contractor estimates in a centralized file with cloud backups. Following these systematic steps will strengthen your insurance claim and guarantee you’re fully compensated for legitimate repairs.
Key Takeaways
- Prioritize safety by checking for gas leaks, downed power lines, structural instability, and electrical hazards before beginning documentation.
- Capture comprehensive photos and videos from multiple angles with timestamps, including wide shots, close-ups, and measurements for scale.
- Document damage systematically room-by-room, recording specific measurements, materials affected, brand names, model numbers, and purchase dates.
- Obtain official weather reports and create a detailed timeline tracking storm date, damage discovery, repairs, and adjuster meetings.
- Consolidate all documentation, receipts, and correspondence into organized master files with multiple backups in separate locations.
Prioritize Safety Before Beginning Any Assessment
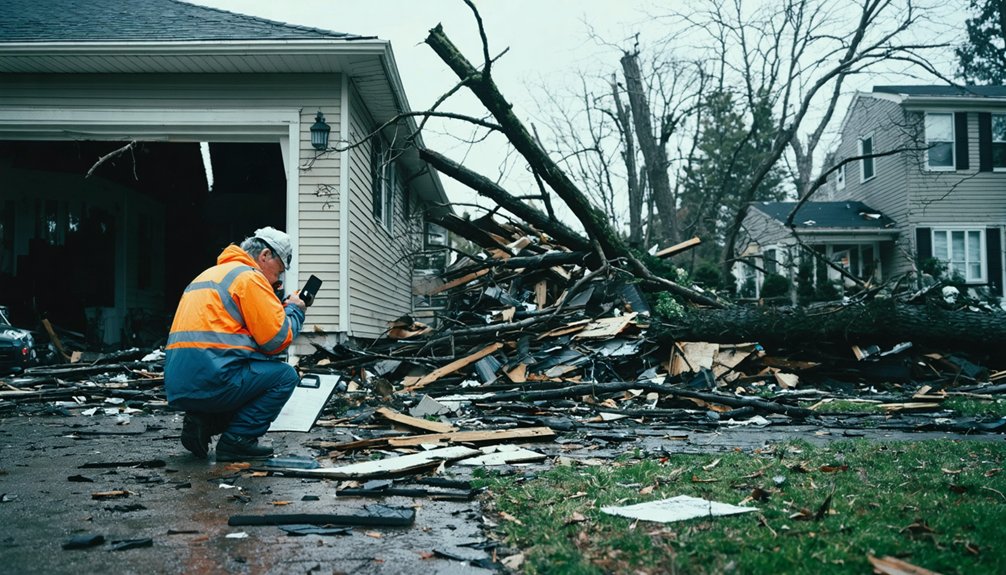
Before you photograph a single shingle or measure any water line, conduct a systematic safety evaluation of the storm-damaged property. Prioritize utility stabilization by confirming no gas smells, downed power lines, or wet electrical panels exist.
Conduct on-site triage from ground level—avoid climbing potentially compromised roofs during initial assessment. Document structural instability, active water intrusion points, and broken windows requiring immediate securing. Check for exposed wiring, unstable trees, and standing water that creates electrical hazards.
Only qualified personnel should assess energized utility assets. If hazards prevent full access, record what’s safely reachable and note restricted zones. Evacuate immediately if structural damage threatens collapse.
Keep your emergency kit accessible with flashlights, first-aid supplies, and contact information for 24/7 restoration services. Safety documentation protects both you and future repair crews.
Conduct a Thorough Preliminary Property Inspection
Once safety hazards are addressed, begin your systematic exterior-to-interior inspection by walking the property’s perimeter with a clipboard, camera, and measuring tape. Document each finding methodically—photograph missing shingles, dented gutters, cracked siding, and foundation issues from multiple angles. Check flashing around chimneys and vents for looseness. Note granule accumulation in downspouts, indicating roof wear.
Move inside to examine ceilings, attic spaces, and walls for water stains, dampness, or mold growth. Inspect rafters and insulation for compression or discoloration. Schedule effective assessments room-by-room, recording measurements and locations precisely. A systematic inspection guarantees you’ll capture every detail needed for insurance claims and contractor estimates, protecting your interests and expediting repairs without unnecessary delays or disputes.
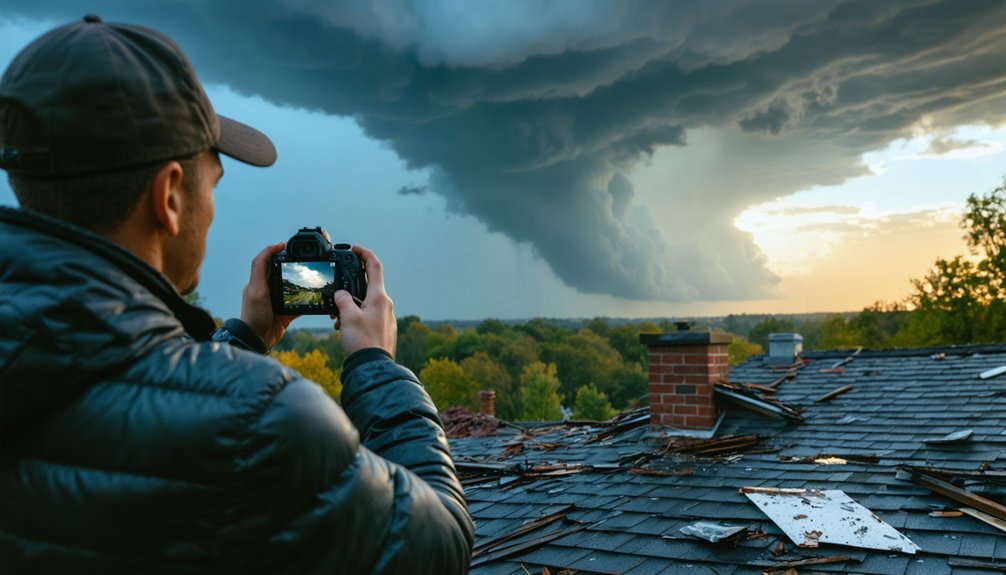
Take Comprehensive Photographs From Every Angle
When documenting storm damage, thorough photography serves as your most powerful evidence tool—capturing every detail from multiple perspectives prevents claim disputes and guarantees accurate repair estimates.
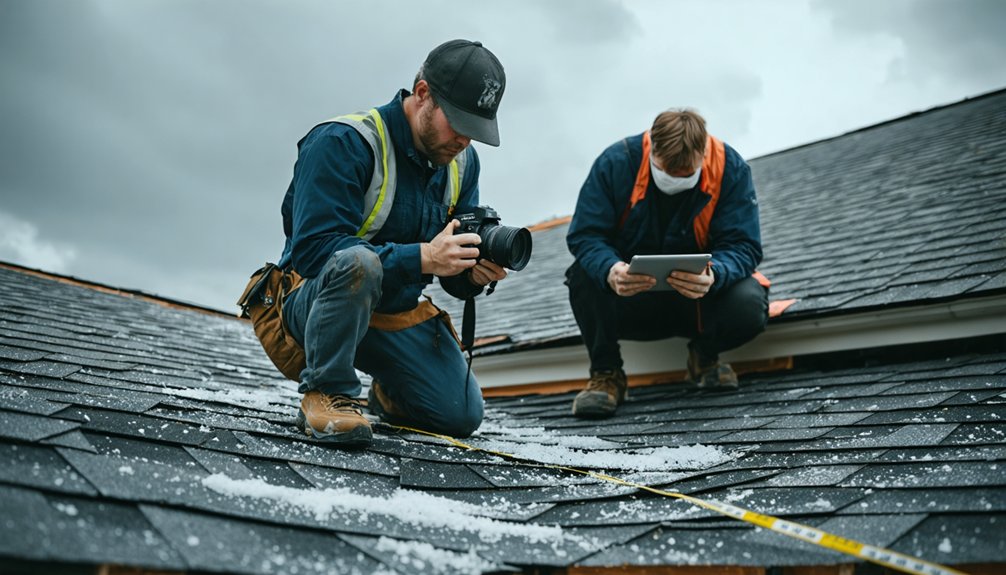
Start with four to six wide-angle exterior shots including landmarks, then photograph entire room layouts from doorways. Move systematically left to right at eye level, capturing overlapping views. Follow with close-ups of every damaged item—cracks, water stains, warped floors, appliances—filling your frame completely. Include serial numbers and measuring tape for scale. Shoot from opposite corners and multiple angles: front, side, back.
Use adequate lighting to eliminate shadows while avoiding glare. Maintain steady device positioning to prevent blur. Enable timestamp features. Combine high-resolution images with proper exposure levels, ensuring sharp focus that withstands adjuster scrutiny and accelerates your claim settlement.
Capture Video Footage of All Damaged Areas
Video documentation provides dynamic evidence that photographs can’t capture, allowing you to show the full scope of storm damage through continuous motion and spatial context. Record a complete walkthrough from multiple vantage points—starting with wide exterior shots of the entire property, then moving to close-up footage of specific damaged areas like compromised roofing, broken siding, or structural issues.
Narrate your observations as you film, verbally identifying each damaged component, its location, and the severity you’re documenting to create an exhaustive, detailed audiovisual record for your insurance claim.
Document From Multiple Angles
After a storm strikes, capturing detailed video footage from multiple angles creates an indispensable visual record that preserves every detail of the damage before conditions change or repairs begin. Use fixed focal length lenses for consistent scale across your documentation, and capture aerial shots for broader perspective on roof and structural impacts.
Pan slowly around each damaged area—corners, edges, and impact points—ensuring overlapping coverage that eliminates blind spots. Position your camera at eye level, then overhead, then ground level to reveal hidden cracks or water intrusion patterns. Include reference objects like measuring tapes within frame to establish true dimensions.
This systematic, multi-angle approach provides adjusters with irrefutable evidence, strengthening your claim while giving you complete control over your documentation process and insurance outcome.
Record Narrated Damage Walkthrough
Your smartphone becomes a courtroom-quality evidence tool the moment you press record and begin narrating storm damage throughout your property. Start with proper equipment setup: hold your phone horizontally, clean the lens, and test audio quality before walking through.
Begin by stating the date, time, property address, and claim number while noting current weather conditions.
Apply effective narration techniques by speaking clearly at a moderate pace, using factual terms adjusters recognize. Describe each damaged area while pointing directly at it, including measurements when possible. Pan slowly across damaged sections, pausing 5-10 seconds per area.
Move methodically from exterior to interior, spending 15-30 seconds per room. Save this raw footage unedited, storing multiple copies in cloud storage immediately for maximum protection.
Create Detailed Written Descriptions of Each Problem
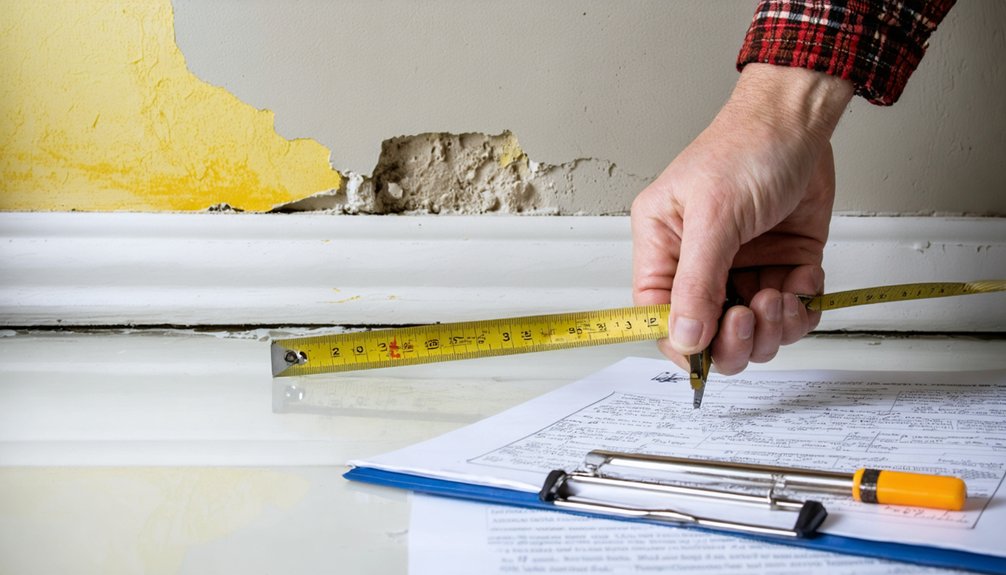
Conduct a systematic room-by-room assessment, documenting each damaged area with specific measurements, locations, and observed defects. Record the materials affected—whether asphalt shingles, drywall, or hardwood flooring—and describe structural compromises like cracked joists, separated seams, or compromised waterproofing. Include your estimated repair or replacement costs for each item, noting brand names, model numbers, and purchase dates to support your insurance claim with verifiable figures.
Room-by-Room Damage Assessment
How thoroughly should you examine each room after a storm? You’ll need to measure room dimensions and document every affected surface systematically. Start at the ceiling, noting any stains, discoloration, or bubbling paint that indicates water intrusion.
Check walls for soft spots, dampness, and cracks. Inspect floors for warping, discoloration, or spongy areas underfoot. Examine windows and doors for broken glass, damaged frames, and compromised seals. Document baseboards showing swelling or water marks.
Use your phone’s timestamp feature when photographing each issue. Itemize furniture damage with specific counts of affected pieces. Note musty odors and any active water entry points. Record visible light penetration from attic spaces.
Your detailed notes create the evidence trail you’ll need for insurance claims and contractor estimates.
Material and Structural Details
When insurance adjusters review your claim, they’ll scrutinize the precision of your material and structural descriptions. Document roofing materials by recording shingle composition, manufacturer, age, and specific failure points. Measure missing sections, noting damaged flashing and underlayment exposure. Examine exterior component quality across siding, gutters, and trim—photograph cracks, dents, and detachment points with measurements.
Check for concealed moisture intrusion in attics, crawlspaces, and wall cavities. Record wet insulation, staining patterns, and compromised vapor barriers. Detail structural elements: note cracked joists, split rafters, or foundation shifts with precise locations.
Describe interior materials affected—drywall thickness, flooring type, fixture brands. Include model numbers and installation dates when possible. Quantify everything: square footage damaged, inches of standing water, number of broken windows. This specificity accelerates approval and guarantees complete restoration coverage.
Estimated Costs Per Item
Creating itemized cost estimates establishes the financial foundation for your insurance claim and guarantees full compensation for legitimate repairs. Document each damaged component with specific pricing ranges based on average cost analysis from professional contractors.
You’ll need precise measurements—calculate roof damage by square footage, noting minor leak repairs ($150-$1,000) versus complete replacement ($5,000-$20,000). Record your damage severity assessment for siding repairs ($300-$1,500 for localized sections), water remediation ($2,000-$5,000), and structural issues. Include professional inspection costs ($250-$500) as separate line items.
Photograph estimates from multiple contractors to validate pricing accuracy. Track labor rates ($50-$150 hourly), emergency services (tarping $200-$1,000), and material specifications. This detailed breakdown protects you from settlement manipulation and ensures full compensation for legitimate repairs.
Record Weather Conditions and Storm Timeline
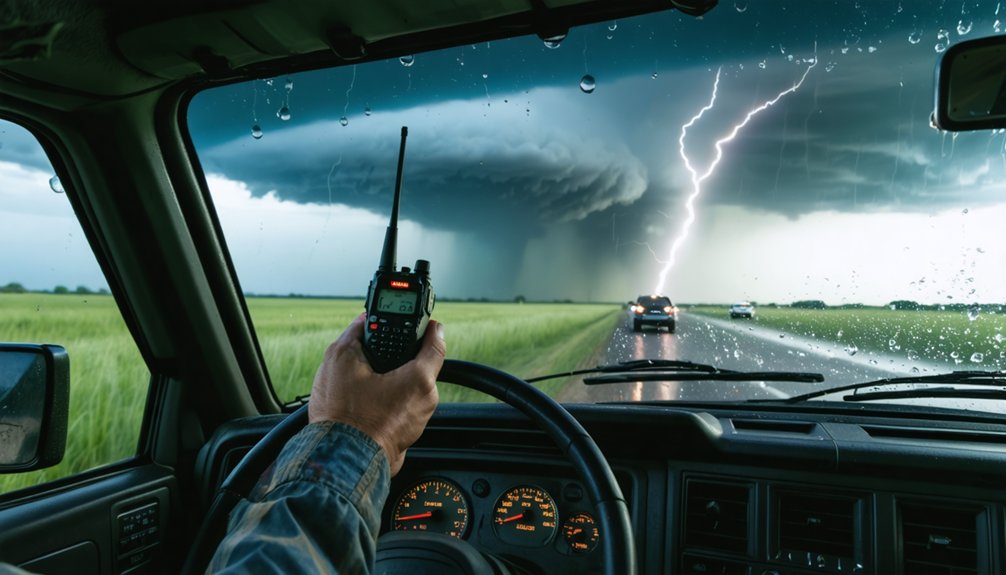
After a storm damages your property, you’ll need to establish an accurate record of when and how the damage occurred. Document the exact date, approximate time, and specific conditions—including hail size, wind speed, and direction. Obtain official weather reports from nearby stations to corroborate your observations. These detailed weather records strengthen your claim by linking conditions directly to specific damages.
Create a damaged property timeline tracking every critical moment: when you discovered the damage, contacted your insurer, applied temporary repairs, and met with adjusters. Timestamp all photos and videos immediately. Save correspondence with reference numbers and dates. Gather witness statements confirming the storm’s severity. This chronological evidence protects your rights and guarantees you’re not dependent on others’ interpretations of what happened.
Organize All Documentation Into a Central File
Create a master file that consolidates all storm damage documentation—photos, videos, written assessments, receipts, and correspondence with your insurance company—into one centralized location. Store this primary file alongside your homeowner’s insurance policy where you’ll access it frequently during the claims process.
Maintain at least two backup copies in separate physical locations and save digital versions to multiple secure platforms like cloud storage and external hard drives.
Create a Master File
A centralized master file transforms scattered documentation into an extensive claim portfolio that insurance adjusters can efficiently review. You’ll consolidate records by organizing photos, videos, written inventories, receipts, and professional reports into clearly labeled folders.
Structure your system with main categories—exterior damage, interior rooms, personal property, structural issues—then add subfolders for specific locations. Include all supporting documents: repair estimates, contractor communications, policy details, warranties, and serial numbers. When you coordinate with insurance, reference your master file’s organization to quickly locate requested evidence.
Add a summary sheet listing damage categories, estimated costs, and file locations. This thorough approach eliminates adjuster delays, strengthens your claim’s credibility, and gives you control over the entire documentation process without bureaucratic confusion.
Maintain Multiple Backup Copies
How devastating would it be to lose your entire claim documentation in a secondary incident while waiting for your insurance settlement? You need multiple backup layers to protect your evidence. Store physical copies in waterproof containers at separate locations—never keep everything in one place.
Utilize cloud storage services for digital storage security, ensuring files remain accessible even if local devices fail. Maintain at least two complete sets: one with your insurance documentation and another in secure offsite storage locations. External hard drives provide additional protection for exhaustive files.
This redundancy strategy prevents total loss if your primary residence suffers further damage. Your documentation represents thousands of dollars in potential recovery—protect it accordingly with distributed backup systems that guarantee accessibility throughout the entire claims process.
Keep Receipts for Emergency Repairs and Materials
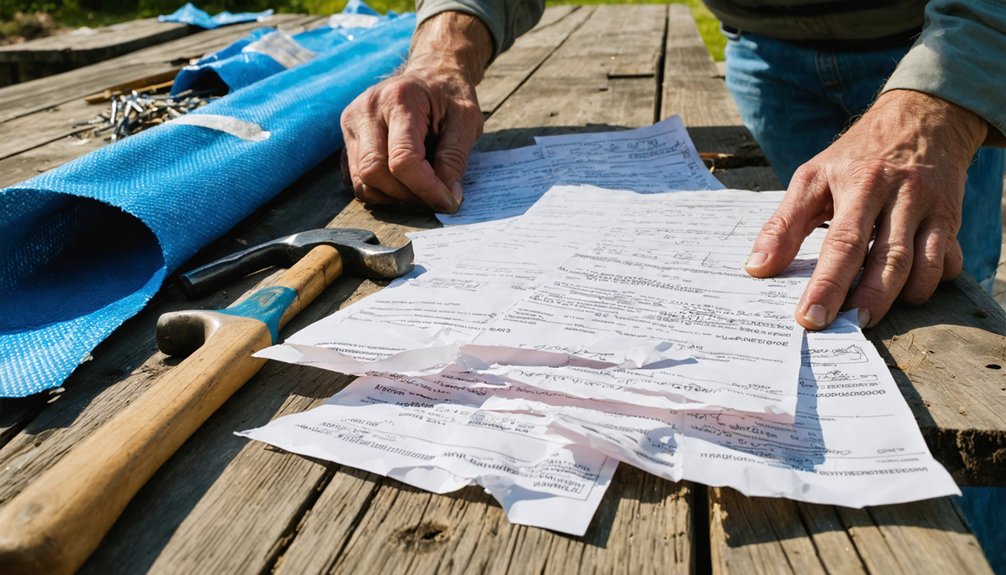
Emergency repairs require immediate documentation to maximize your insurance reimbursement and prove mitigation efforts. Purchase tarps, plywood, and water pumps immediately after the storm, keeping all receipts with timestamps that establish your quick response.
Request itemized invoices from licensed contractors performing emergency fixes, ensuring they differentiate storm damage from pre-existing conditions. Take photos of damage before repairs begin, linking visual evidence directly to each receipt.
Store receipts in secure location using cloud storage to prevent loss during ongoing damage. Categorize receipts by expense type—separating emergency materials, contractor labor, and equipment rentals into distinct folders. Include credit card statements and bank records when original receipts are unavailable.
This organized documentation proves you’ve fulfilled your policy obligation to mitigate damage while building an airtight case for full reimbursement.
Contact Your Insurance Company Immediately
Once you’ve secured emergency repairs and documented initial damage, contact your insurance company within 24-48 hours to initiate your claim. Most policies require prompt reporting to avoid denial, so don’t delay this critical step. Have your documentation checklist ready before calling.
Essential Communication Specifics to Provide:
- Policy number and detailed damage description with specific affected areas of your property
- Storm date, time, and weather report data linking damage to the event
- Photo/video evidence and timestamped inventory of all damaged items room-by-room
- Emergency repair receipts showing temporary measures you’ve already completed
Use your insurer’s 24/7 hotline, mobile app, or online portal—whichever accelerates processing. Record your claim number, adjuster’s name, and all conversation details immediately. This creates your paper trail for future reference.
Obtain Professional Contractor Estimates
Professional contractor estimates form the backbone of your insurance claim documentation and directly impact your settlement amount. You’ll want to obtain multiple estimates from licensed contractors experienced in insurance claims and familiar with FEMA standards. Verify contractor credentials including licenses, insurance coverage, and storm damage repair history before proceeding.
Select contractors based on qualifications rather than lowest bids. Guarantee they use standardized estimating software like Xactimate—the same programs insurance adjusters use—to strengthen your claim’s defensibility. Your contractor should provide itemized cost breakdowns covering labor, materials, overhead, and profit margins. Request detailed scope-of-work documentation with photos, diagrams, and damage notes. Coordinate an on-site walk-through with your adjuster and contractor together to confirm coverage expectations and define repair scope before finalizing estimates.
Frequently Asked Questions
How Long Do I Have to File a Storm Damage Claim?
Need clarity on policy deadlines? You’ve typically got one year from the loss date for formal claim filing timeline, but you’ll want to notify your insurer within 48-72 hours to avoid denial risks and complications.
Should I Start Repairs Before the Insurance Adjuster Inspects the Damage?
No, don’t start repairs before the adjuster inspects. You’ll risk claim denial and weaken your case. Instead, focus on documenting damages thoroughly with photos and getting multiple estimates while waiting for the official inspection to protect your coverage.
What if My Insurance Company Denies My Storm Damage Claim?
You’ll need to act quickly by appealing the denial decision with documented evidence like photos and contractor estimates. Start negotiating a settlement by presenting your case systematically, highlighting policy coverage and damage proof to protect your rights.
Can I Hire My Own Adjuster if I Disagree With the Estimate?
Yes, you can hire an independent adjuster during a claim settlement dispute. They’ll evaluate your damage objectively, document overlooked issues, and negotiate directly with your insurer. Most charge 10-15% of your final settlement as their fee.
Are There Tax Deductions Available for Uninsured Storm Damage Losses?
You’ll qualify for tax deductions on uninsured storm losses—but only if it’s a federally declared disaster. You can deduct losses exceeding $100 plus 10% of your AGI, though tax credit eligibility differs from government assistance programs.