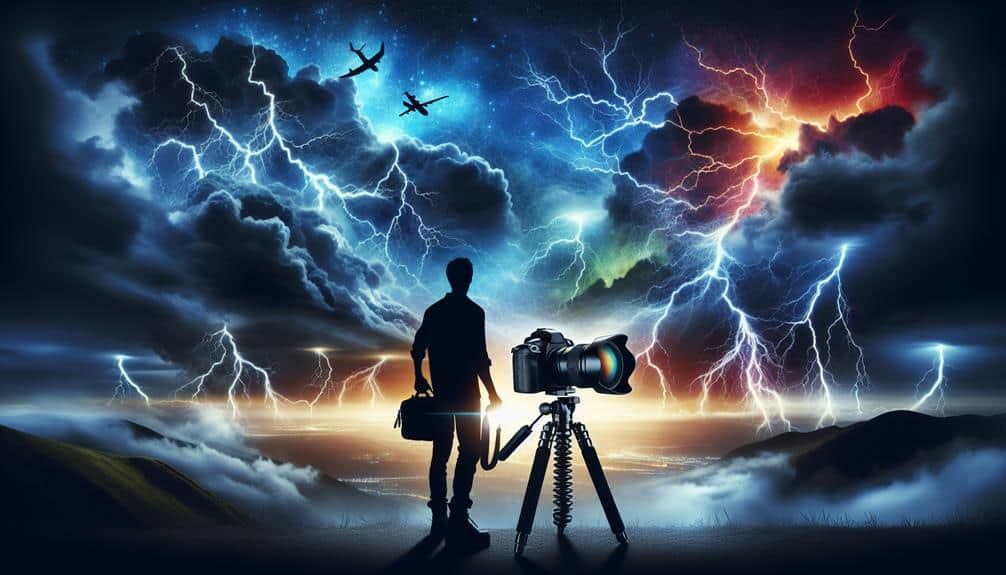
To capture stunning close-up lightning strikes, we need to focus on three key tips. First, choose weather-sealed cameras with fast shutters, a reliable tripod, and wide-aperture lenses to handle both the elements and the dramatic flashes. Second, understand lightning behavior; anticipate strikes by studying storm patterns and safely position ourselves away from the heart of the storm. Finally, optimize our camera settings: use manual mode, a low ISO to reduce noise, small apertures for sharpness, and keep the shutter open for 10-30 seconds with a remote trigger. With these steps, we can transform fleeting lightning into breathtaking photos.
Key Points
- Use a weather-sealed camera and a remote shutter release to prevent camera shake.
- Set the camera to manual mode with a low ISO and small aperture for sharp images.
- Keep the shutter open for 10 to 30 seconds to capture lightning strikes.
- Position yourself at a safe distance and anticipate lightning by observing storm movement.
Choose the Right Gear
Selecting the right gear is essential for capturing close-up lightning strikes with both precision and safety. We need to start with robust lighting equipment that can withstand the elements. A sturdy, weather-sealed camera is non-negotiable. Lightning doesn't wait for us to adjust; as a result, our camera should have a fast shutter speed and high ISO capabilities to capture those electrifying moments without delay.
Equally critical are the camera accessories. A reliable tripod is our best friend, offering the stability required to keep our shots steady during long exposures. A remote shutter release is indispensable for minimizing camera shake and ensuring those bolts of lightning are sharp and clear.
For more advanced control, an intervalometer allows us to automate our shooting process, freeing us to focus on the storm itself. We should also invest in a lens with a wide aperture, allowing more light into the camera and making it easier to capture the vivid streaks of lightning against the dark sky.
Lastly, always carry spare batteries and memory cards; the last thing we want is to miss that perfect shot because we ran out of power or storage.
With the right gear, we're ready to chase the storm and capture its raw, untamed beauty.
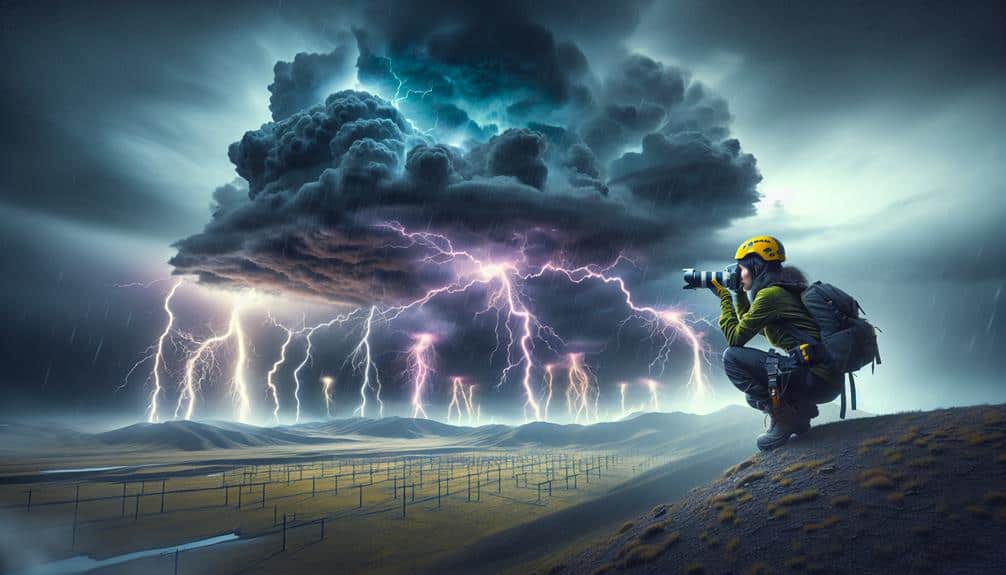
Understand Lightning Behavior
To capture lightning strikes effectively, we must first grasp the underlying behavior and patterns of this powerful natural phenomenon. Lightning doesn't strike randomly; it follows specific atmospheric conditions. Typically, it occurs during thunderstorms, where the clash of warm and cold air masses generates electrical charges. These charges build up within storm clouds until the potential difference between the cloud and the ground becomes too great, resulting in a sudden discharge we're aware of as lightning.
Understanding these lightning patterns is essential. We need to anticipate where lightning is likely to strike to position ourselves ideally. Observing storm movement, cloud formations, and wind directions helps us predict the general area where lightning will occur.
However, while chasing the perfect shot, we must prioritize safety precautions. Staying informed about weather updates and ensuring we're at a safe distance from the storm's core is crucial. Avoid open fields, tall trees, and metal structures, as they attract lightning.
Using a remote trigger for our camera lets us maintain a safe distance.
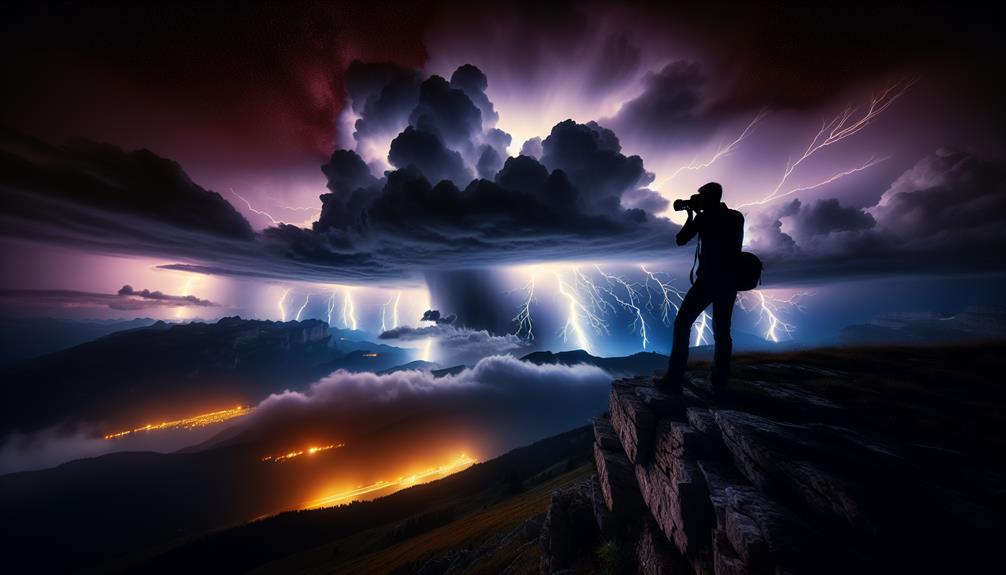
Optimize Your Camera Settings
With a solid understanding of lightning behavior, we can now focus on optimizing our camera settings to capture those electrifying moments with precision and clarity.
First, set your camera to manual mode, giving us full control over exposure, aperture, and ISO. Start with a low ISO, around 100-200, to minimize noise. Lightning is bright, and a higher ISO could easily overexpose our shot.
Next, select a small aperture, such as f/8 to f/16. This ensures that both the foreground and the lightning are sharp. The shutter speed is essential; use a remote trigger or an intervalometer to keep the shutter open for extended periods, ideally between 10 to 30 seconds. This increases the chances of capturing a strike.
When composing our shot, consider leading lines and natural frames to add depth and interest.
After capturing the lightning, we move to editing software to enhance our images. Start by adjusting the contrast and highlights to make the lightning pop. Fine-tune the exposure and reduce any noise.
Frequently Asked Questions
How Can I Stay Safe While Photographing Lightning?
To stay safe while photographing lightning, we should follow key safety precautions like staying indoors or in a car and avoid open fields. Equipment recommendations include using a tripod and remote shutter to minimize exposure to danger.
What Are the Best Locations for Capturing Lightning Strikes?
Did you know lightning strikes the ground about 25 million times annually in the U.S.? For thrilling captures, we recommend stormy mountains or coastal cliffs. These locations offer dramatic backdrops and elevate our shots to new heights.
When Is the Best Time to Photograph Lightning?
The best time to photograph lightning is during a storm's peak intensity. Our lightning photography tips include using a tripod and remote shutter release. For best camera settings, use a low ISO and long shutter speed techniques.
Can I Capture Lightning Strikes Using a Smartphone?
Yes, we can capture lightning strikes with smartphones despite their limitations. Using specific photography techniques like long exposure and manual settings maximizes our chances, creating vivid, electrifying images that showcase nature's raw power and beauty.
How Do I Edit Lightning Photos for the Best Effect?
For lightning photo editing, we enhance contrast and sharpness to highlight bolts. We use creative techniques like layering and color adjustments to amplify the drama. This approach sets free our artistic freedom, transforming photos into electrifying masterpieces.