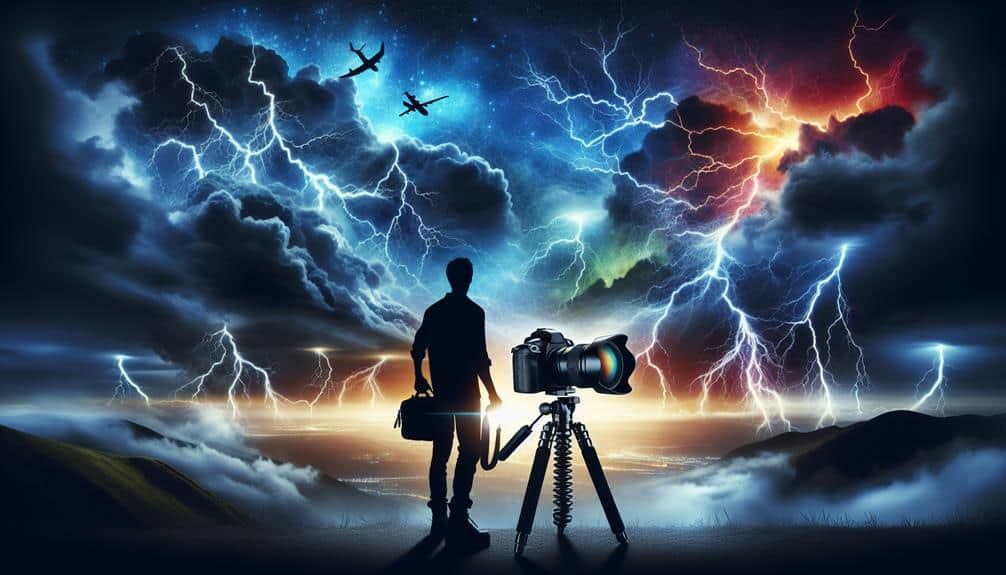
We meticulously blend high-speed camera technology, precise setup techniques, and advanced post-processing to capture the breathtaking phenomenon of lightning strikes in stunning slow-motion detail. First, we utilize cameras like the Phantom VEO for their unmatched frame rates and sensor sensitivity. Understanding lightning behavior and patterns is essential for timing our shots accurately. We optimize camera settings, fine-tuning frame rates, exposure, and ISO for impeccable clarity. Tripod stability is achieved with weight bags and precise leveling. In post-processing, frame rates are adjusted and colors enhanced for a compelling impact. Stay with us as we delve deeper into these captivating techniques.
Key Points
- Use high-speed cameras like Phantom VEO or Sony RX10 IV for capturing sharp lightning strikes in slow motion.
- Set high frame rates (1,000+ fps) and adjust exposure and ISO for optimal lightning detail and clarity.
- Stabilize your camera with sturdy tripods, ensuring all legs are locked and using weight bags or ground spikes for added stability.
- Utilize intervalometers for timed shots, enabling precise capture of unpredictable lightning strikes.
Choosing the Right Equipment
To capture lightning strikes in slow motion, we need to select high-speed cameras capable of recording at thousands of frames per second. This allows us to dissect each electrifying moment with unparalleled clarity.
When considering lightning photography, our camera selection becomes essential. We should prioritize equipment that offers high frame rates, robust sensor sensitivity, and minimal rolling shutter distortion.
For slow motion mastery, gear essentials include cameras such as the Phantom VEO or Sony RX10 IV, which can achieve frame rates exceeding 1,000 fps. These devices guarantee each bolt's intricate details and rapid progression are vividly preserved. Additionally, a camera with a high dynamic range (HDR) is vital to capture the stark contrasts and intense brightness of lightning.
We also mustn't overlook the importance of sturdy tripods and weather-resistant housings. Lightning photography often places us in volatile environments, demanding equipment that withstands the elements while maintaining stability. A reliable intervalometer can further enhance our setup, enabling precise control over exposure timing without manual intervention.
Understanding Lightning Patterns
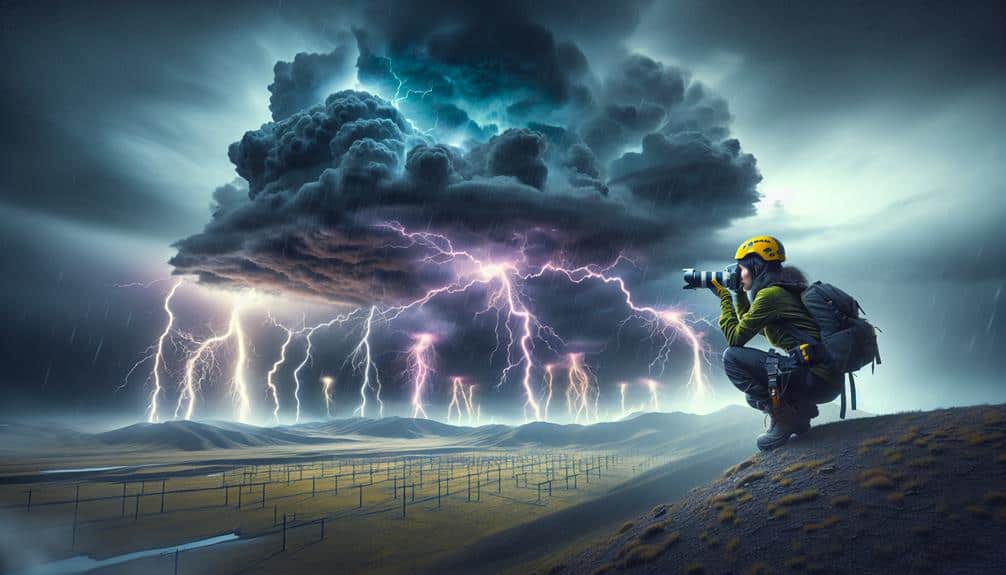
Understanding the numerous patterns of lightning is crucial for predicting and capturing its fleeting moments with precision. As we explore lightning behavior and storm tracking, it becomes clear that not all lightning strikes are created equal.
Each bolt follows unique paths influenced by atmospheric conditions, electrical charges, and topographical features.
To master lightning photography, we need a thorough understanding of these variables:
- Storm Movement: Tracking the storm's path helps us anticipate where lightning will strike. By monitoring weather radars and storm patterns, we can position ourselves strategically.
- Lightning Frequency: Some storms produce frequent strikes, while others are sporadic. Observing the intervals between strikes allows us to time our shots effectively.
- Strike Patterns: Lightning can be cloud-to-ground, cloud-to-cloud, or even intra-cloud. Understanding these variations helps in composing our shots to capture the most dramatic moments.
Setting Up Your Camera
Let's start by selecting the perfect camera gear, ensuring we've a high-speed camera capable of capturing lightning's rapid motion with clarity.
Next, we'll fine-tune our camera settings, focusing on frame rates, exposure, and ISO to achieve excellent results.
These steps will enable us to freeze each electrifying moment with artistic precision.
Choosing Appropriate Camera Gear
Choosing the appropriate camera gear is vital for capturing the stunning spectacle of lightning strikes in slow motion. We need to take into account several important factors to make sure we're fully prepared to seize that perfect moment. Our choice of equipment can greatly impact the final result, especially under varying lighting conditions and camera angles.
Here are three key items to focus on:
- High-Speed Camera: A camera capable of recording at extremely high frame rates is non-negotiable. Look for models that offer at least 1,000 frames per second (fps) to capture the rapid, intricate details of lightning. The higher the fps, the smoother and more detailed the slow-motion footage will be.
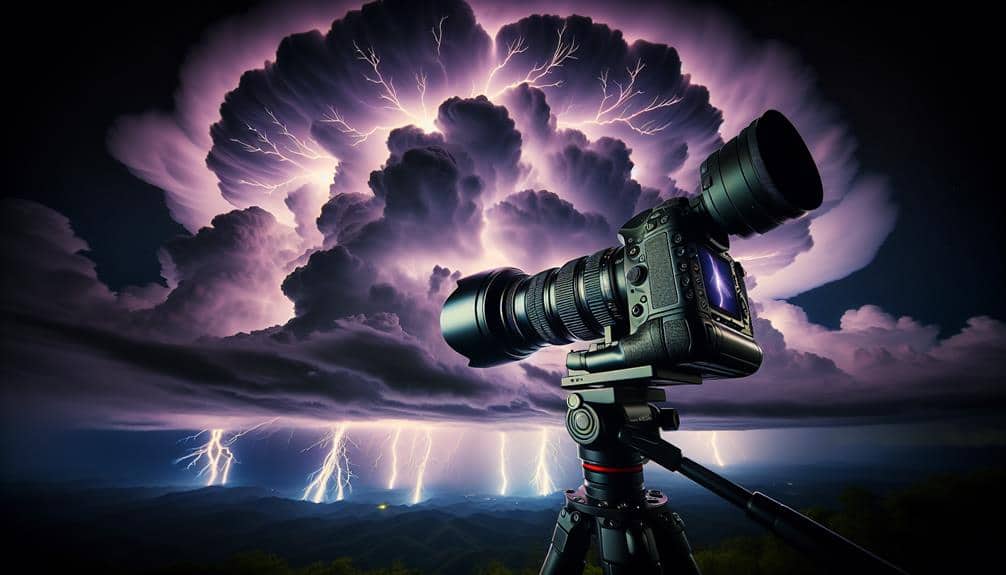
- Sturdy Tripod: Stability is paramount. A robust tripod ensures that our camera remains perfectly still, even in windy conditions. This stability is essential for maintaining consistent framing and sharpness, especially given the unpredictable timing of lightning strikes.
- Remote Shutter Release: A remote shutter release allows us to trigger the camera without physically touching it, minimizing vibrations. This tool is particularly useful for capturing lightning, where precise timing and exposure settings are critical to success.
Selecting the right gear empowers us to capture the raw, untamed beauty of nature's most electrifying phenomena with precision and artistry.
Configuring Optimal Camera Settings
Configuring our camera settings with technical precision is vital to capturing the electrifying drama of lightning strikes in slow motion. First, we need to meticulously calibrate our exposure settings to match the unpredictable lighting conditions of a storm. Aperture, ISO, and shutter speed must be finely tuned to balance the brightness of lightning against the often darkened skies. A smaller aperture (around f/8 to f/11) and a lower ISO (100-200) will help minimize noise and capture the intricate details of each flash.
Next, let's consider weather patterns. Monitoring storm activity and understanding the movements of thunderclouds will inform our choice of camera angles and composition techniques. Positioning the camera to maximize the sky in the frame while ensuring a stable foreground can add depth and context to our shots.
For slow-motion capture, a high frame rate is essential. Our cameras should be set to at least 120 frames per second (fps) to achieve that desired fluidity.
Adjusting Shutter Speed
Adjusting shutter speed is critical in capturing the intricate details and fleeting moments of a lightning strike in slow motion. By manipulating the shutter speed, we can control how motion blur and lighting effects are recorded, providing us with a canvas for compelling video editing and photography techniques.
Let's break down the essentials:
- Long Exposure: By extending the shutter speed, we can accumulate more light, which helps in capturing the entire path of the lightning strike. This technique reduces noise and enhances detail, making each bolt vivid and striking.
- Short Exposure: Using a faster shutter speed allows us to freeze the moment, capturing the sharp inception of the lightning strike without the trailing effects. This creates a crisp, clear image of the bolt, offering a different perspective for slow-motion playback.
- Balanced Exposure: Achieving a balance between long and short exposures can provide a harmonious blend of motion and clarity. This approach helps us capture the initial burst of light while preserving the intricate details of the strike's trajectory.
Optimal Aperture Settings
Understanding the best aperture settings allows us to fine-tune the depth of field and control the amount of light entering the lens, which is essential for capturing the nuanced textures and dynamic range of a lightning strike in slow motion. We should aim for an aperture setting that balances sharpness with adequate exposure compensation, ensuring that neither highlights get blown out nor shadows lose detail.
Selecting an aperture around f/8 to f/11 often yields the ideal depth of field. This range provides sufficient sharpness while avoiding diffraction that can soften the image. Given the unpredictable nature of lightning, pairing this with a suitable focal length—typically between 24mm and 70mm—offers a versatile field of view to capture the full majesty of the strike.
Incorporating time-lapse photography techniques can enhance our slow-motion capture, revealing subtle variances in each bolt. Here, the aperture's role in managing motion blur becomes paramount. A smaller aperture, such as f/11, can help in reducing motion blur, enabling us to freeze the intricate, fleeting details of lightning as they unfold.
Using a Tripod Effectively
To capture lightning strikes with clarity, we must stabilize our camera by utilizing a strong tripod. Adjusting the tripod height is important for best framing and minimizing vibrations.
Stabilize Your Camera
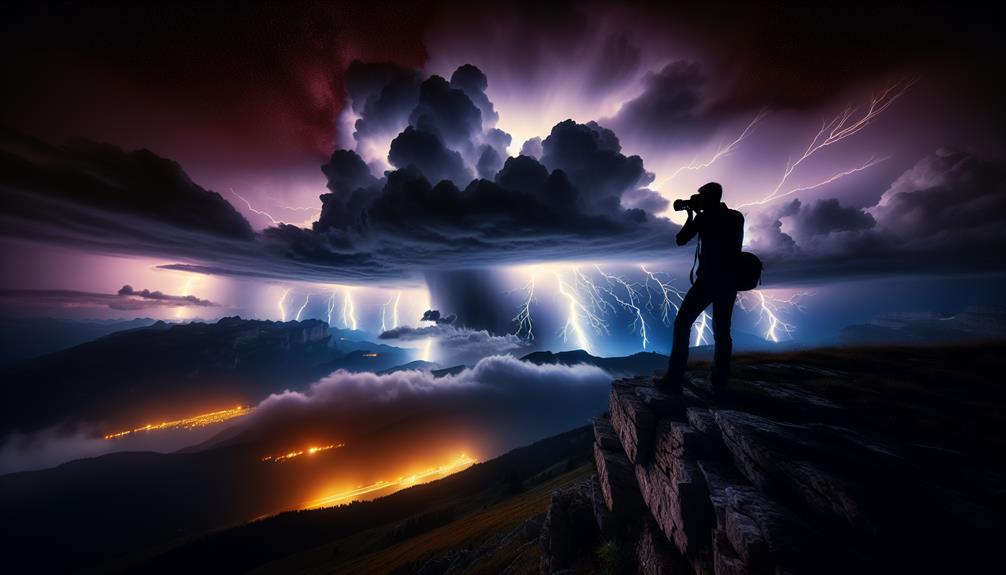
A tripod, when utilized with precision, becomes the foundation of capturing crystal-clear, slow-motion footage of lightning strikes. To harness its full potential, we must first consider the prevailing weather conditions and ideal camera positioning. Guaranteeing the tripod is set on stable ground is essential, especially in unpredictable environments where strong winds could otherwise destabilize our setup.
Maximizing tripod stability involves more than just securing the legs. We need to be mindful of the lighting angles to guarantee that the incoming lightning is captured in its most dramatic form. The interplay of light and shadow can make or break the shot, and a sturdy tripod helps maintain the exact angle we need for the perfect capture.
Here are three essential steps to achieve optimal stabilization:
- Anchor the Tripod: Use weight bags or ground spikes to secure the tripod, minimizing movement caused by wind or uneven terrain.
- Adjust the Legs: Extend the tripod legs fully and lock them in place to maintain a low center of gravity, enhancing stability.
- Check the Bubble Level: Utilize the built-in bubble level to ensure the tripod is perfectly horizontal, reducing the risk of skewed footage.
Adjust Tripod Height
When adjusting tripod height, accuracy in elevation ensures that we capture lightning strikes from the most dynamic and revealing angles. To achieve this, we must consider the interplay between lighting conditions and camera angle. By elevating the tripod to ideal heights, we can highlight the brightness of lightning against the darkened sky, creating a sharp and dramatic contrast that enhances our visual narrative.
In addition to lighting conditions, weather conditions play a pivotal role in determining tripod height. Strong winds or unstable weather can compromise camera stability. By adjusting the tripod to a lower height, we can mitigate the impact of gusts, ensuring that our camera remains steady and unshaken.
Conversely, in calmer weather, a higher tripod elevation can afford us a broader field of view, capturing the grandeur of the storm in its entirety.
Precision in height adjustment not only affects camera stability but also the dynamism of our shots. By meticulously calibrating the tripod, we optimize the freedom to experiment with diverse perspectives, capturing lightning strikes that are both technically proficient and artistically compelling. This fusion of technical precision and artistic insight brings our slow-motion lightning capture to life.
Choose Sturdy Equipment
Selecting a sturdy tripod forms the foundation of capturing lightning strikes with both technical accuracy and artistic flair. When we're out in unpredictable weather conditions, our equipment's stability is essential.
Let's explore how to use a tripod effectively to guarantee our slow-motion captures are both stunning and secure.
First, make sure your tripod can withstand severe weather conditions. Wind and rain can easily destabilize weak setups.
- Material: Opt for carbon fiber or aluminum tripods for their combination of strength and lightweight properties.
- Locking Mechanisms: Use tripods with dependable locking systems to prevent sudden collapses during extreme weather.
- Weight Distribution: Balance your camera's weight by adjusting the tripod legs evenly on uneven terrain.
Next, lightning safety is vital. We must position our tripod in a way that maximizes our distance from the storm while still capturing the action. Avoid setting up near tall objects or open fields, which can attract lightning.
Ultimately, mastering the use of a tripod in these conditions grants us the freedom to push creative boundaries. We can focus on the artistic elements of our shots, knowing our equipment is secure and our risk minimized.
This careful preparation guarantees we're not just capturing lightning, but wielding it artistically.
Post-Processing Tips

How can we enhance the drama and detail of our lightning strike footage through meticulous post-processing methods? By utilizing advanced lighting effects and precise color adjustments, we can transform raw captures into stunning visual masterpieces.
First, let's refine the footage by adjusting the frame rate to highlight slow motion techniques. This guarantees the electrifying details of each strike are vividly displayed.
Next, we explore color grading. By manipulating the tones, saturation, and contrast, we can enhance the natural intensity of the lightning. Subtle changes in the blues and purples can create a more dynamic and enthralling scene, while maintaining the integrity of highlights and shadows.
Lighting effects are another essential aspect. By boosting the brightness and contrast of the lightning bolts themselves, we can make them stand out prominently against the darker stormy backdrop. Methods like selective sharpening can further accentuate the intricate patterns within each strike.
Lastly, consider the overall composition. Cropping and framing can help guide the viewer's gaze to the most intense elements, maximizing the visual impact. Through these post-processing techniques, we can ensure our lightning strike footage not only captures nature's power but also presents it with unmatched clarity and creativity.
Frequently Asked Questions
What Safety Precautions Should Be Taken When Photographing Lightning?
When engaging in lightning photography, we must prioritize safety precautions. To shield ourselves from lightning strikes, we should stay inside a vehicle or building. For gear protection, use waterproof camera equipment and avoid open areas during a storm.
How Do You Find the Best Locations to Capture Lightning Strikes?
We scout remote locations with minimal light pollution for ideal lightning photography. Scenic landscapes enhance the dramatic effect. Using advanced meteorological tools, we predict storm activity and position ourselves strategically for capturing nature's electrifying spectacles in their full glory.
Can Smartphone Cameras Be Used for Slow-Motion Lightning Photography?
We can attempt lightning photography with smartphones, but smartphone limitations make slow motion challenging. Advanced terminology like frame rate and sensor sensitivity highlights the technical precision needed, though artistic insight reveals the freedom to experiment with unconventional methods.
What Time of Year Is Best for Photographing Lightning?
Oh, you know, any time we're not dodging snowflakes is prime lightning season! Seriously though, summer offers the best equipment conditions and ideal settings for capturing those electrifying moments with precision and artistic insight.
How Do You Protect Your Camera Gear During a Storm?
We prioritize camera gear protection by using waterproof covers and sturdy tripods. Storm safety precautions include maintaining a safe distance from tall objects and ensuring we have grounded our equipment, balancing creative freedom with technical precision.