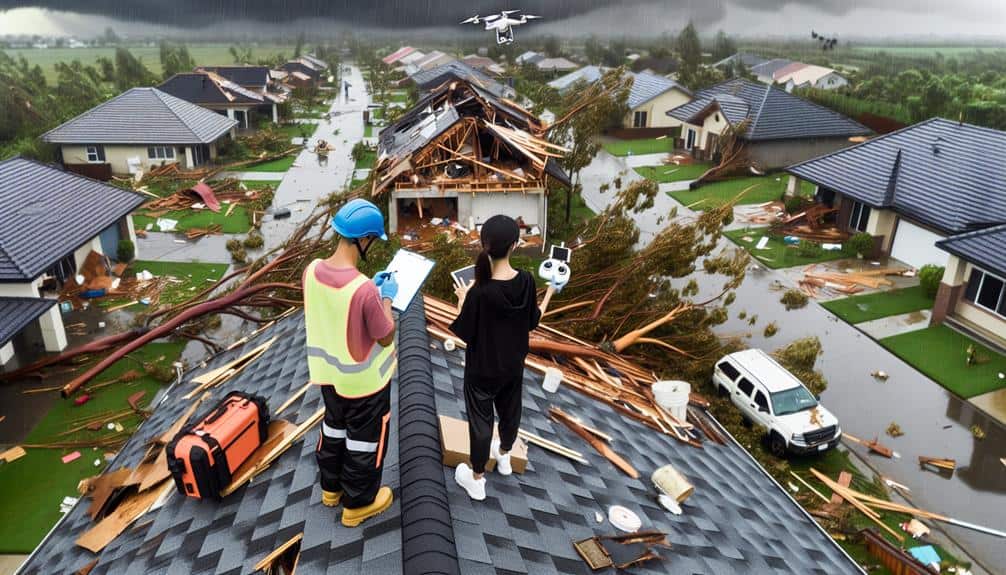
We document storm damage efficiently by first charging our equipment and selecting a top-notch camera with interchangeable lenses. Safety comes next: helmets, boots, and high-visibility vests are necessary. We capture both wide shots for context and close-ups for details, using varied angles and proper lighting to highlight damage. Key areas include roof leaks, foundation cracks, and downed power lines. Timing is critical; shooting during the golden hour or with cloud cover provides ideal lighting. We categorize photos by damage type and include time stamps for clarity. By paying attention to these details, we can create a thorough damage record.
Key Points
- Wear safety gear and stay informed about weather and hazards to ensure personal safety while photographing storm damage.
- Use a DSLR or mirrorless camera with high dynamic range and low-light performance for clear and detailed images.
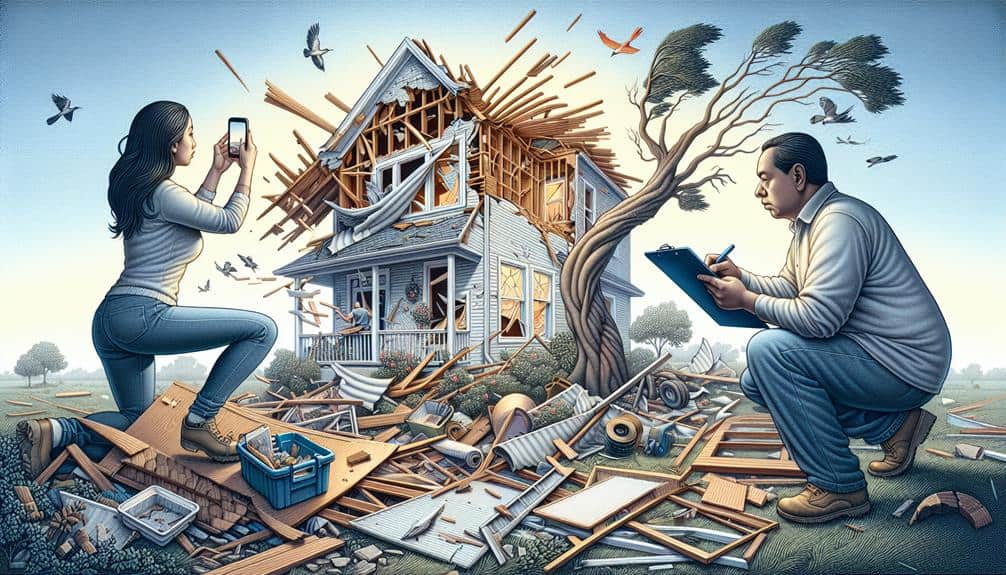
- Capture wide shots for context and close-ups of specific damage to create a comprehensive record.
- Organize photos by damage type and include time stamps to maintain a clear and structured documentation.
Preparing Your Equipment
Before we head out to document storm damage, let's make sure our equipment is fully charged, organized, and ready for use. Choosing the right camera is essential for capturing high-quality images that accurately represent the damage. We should opt for a camera with a high dynamic range and good low-light performance since storms often create challenging lighting conditions. A DSLR or mirrorless camera with interchangeable lenses will give us the flexibility we need.
Understanding exposure is vital for documenting storm damage effectively. We need to be familiar with the exposure triangle: aperture, shutter speed, and ISO. Adjusting these settings allows us to control the light entering the camera, ensuring our images are neither too bright nor too dark. For instance, a smaller aperture (higher f-stop) will give us a greater depth of field, capturing more details in our shots.
Let's also pack extra batteries, memory cards, and cleaning supplies. Dust and moisture can interfere with our camera's performance, so having cleaning tools on hand is crucial.
Safety First
Before we document any storm damage, we must prioritize our safety by wearing protective gear, such as helmets and sturdy boots.
We should also remain vigilant for hazards like downed power lines and unstable structures.
Additionally, we'll stay informed on the weather conditions to avoid any unexpected dangers.
Wear Protective Gear
Safeguarding our safety while documenting storm damage demands us to wear appropriate protective gear at all times. This isn't just a precaution; it's a necessity. Proper equipment can shield us from unpredictable weather conditions and potential hazards.
First and foremost, we need sturdy, waterproof boots to navigate through debris and waterlogged areas. These boots should have non-slip soles to prevent falls. Hard hats are essential to protect our heads from falling objects. High-visibility vests will guarantee that we're easily seen, especially in low-light conditions or where visibility is poor due to the storm aftermath.
Gloves are indispensable for handling sharp or rough materials, and they also provide a better grip on our camera equipment. Safety goggles will defend our eyes from dust, debris, and other airborne particles. Depending on the weather conditions, we might also need a raincoat or windbreaker to keep ourselves dry and warm.
Let's not overlook respiratory masks, particularly in areas with mold, dust, or other airborne contaminants. These masks are critical for maintaining our respiratory health.
Watch for Hazards
Identifying potential hazards is crucial to ensure our safety while documenting storm damage. In the aftermath of a storm, the environment can be unpredictable and dangerous. We must conduct a thorough hazard assessment to guarantee our well-being. Let's be cautious and adhere to essential safety precautions to minimize risks.
When evaluating the area, keep an eye out for these hazards:
- Downed power lines: They pose a severe electrocution risk. Always assume lines are live and maintain a safe distance.
- Floodwaters: They can conceal sharp objects, contaminants, and unstable ground. Avoid wading through them.
- Unstable structures: Buildings damaged by the storm may collapse. Be vigilant around weakened walls and roofs.
- Fallen trees and debris: These can shift unexpectedly, causing injury. Navigate these areas with care.
Engaging in risk management involves recognizing these dangers and implementing appropriate safety measures. If we encounter a hazardous situation, our first priority should be to execute an emergency response by avoiding the area and alerting the relevant authorities.
Stay Informed on Weather
Keeping ourselves informed about the latest weather updates is vital for guaranteeing our safety while documenting storm damage. By using reliable weather tracking tools, we can stay ahead of any sudden changes in weather conditions. Accessing real-time data through apps or websites allows us to make informed decisions about when it's safe to venture out and when we should seek shelter.
In addition to weather tracking, preparing emergency kits is essential. These kits should include essentials such as water, non-perishable food, first aid supplies, flashlights, and batteries. Having these items readily available ensures we're equipped to handle any unexpected situations that may arise while we're out in the field.
Let's also make a habit of checking official weather advisories and alerts regularly. Staying current with updates from trusted sources like the National Weather Service or local news channels helps us avoid unnecessary risks.
Ideal Photo Angles
To effectively document storm damage, we need to capture photos from multiple angles to provide a thorough view of the affected areas. By using creative compositions and different perspectives, we can make sure we're capturing the full extent of the damage. Let's break down some ideal approaches:
- Wide Shots: Capture the entire area to provide context. This helps in showing the scope of the damage.
- Close-Ups: Focus on specific areas of interest. Highlight intricate details like cracks, water damage, or debris.
- High and Low Angles: Varying the height at which we take photos can reveal hidden damage that might be overlooked.
- Panoramic Views: Use panoramic shots to cover larger areas, especially when the damage spans a wide landscape.
Utilizing different perspectives allows us to create a more inclusive visual record. For example, capturing a roof from above and below provides a full understanding of its condition.
Lighting plays an important role; dramatic shadows can bring out textures and highlight subtle damages that flat lighting might miss.
Key Damage Indicators
We need to focus on several key indicators to accurately assess the extent of storm damage.
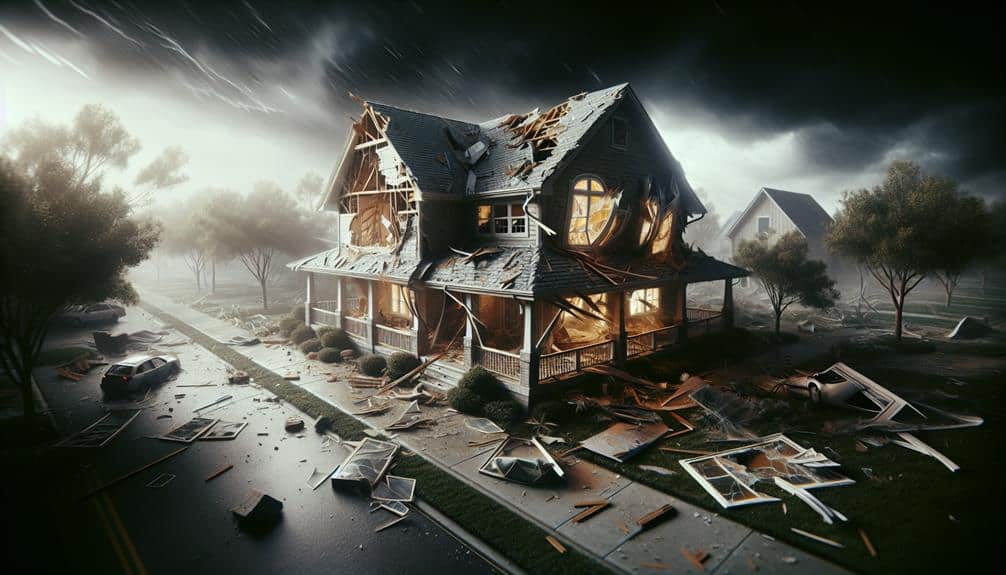
First, roof leaks are a primary concern. Water stains, sagging ceilings, or visible drips inside the home signal compromised roofing. Document these issues thoroughly, capturing clear images of stained areas and any visible damage to shingles or gutters.
Next, foundation cracks are critical indicators of structural issues. Look for horizontal or stair-step cracks in the foundation walls or the exterior of the house. These can indicate significant stress caused by the storm and should be photographed from multiple angles to provide a detailed view.
Tree damage can be hazardous and affect multiple aspects of the property. Broken branches, uprooted trees, and fallen limbs should be documented. Pay special attention to trees that have impacted structures or vehicles.
Lastly, downed power lines are both a safety hazard and a sign of severe storm impact. Always maintain a safe distance when photographing these, using a zoom lens if necessary.
Documenting these indicators will help create a detailed and accurate record of the storm's impact, aiding in efficient repairs and insurance claims.
Lighting and Timing
Proper lighting and timing are essential for capturing clear, detailed photographs of storm damage. By choosing the right moments, we can highlight the extent and nuances of the damage more effectively. The interplay of light and shadow during specific times of the day can add depth and detail to our images.
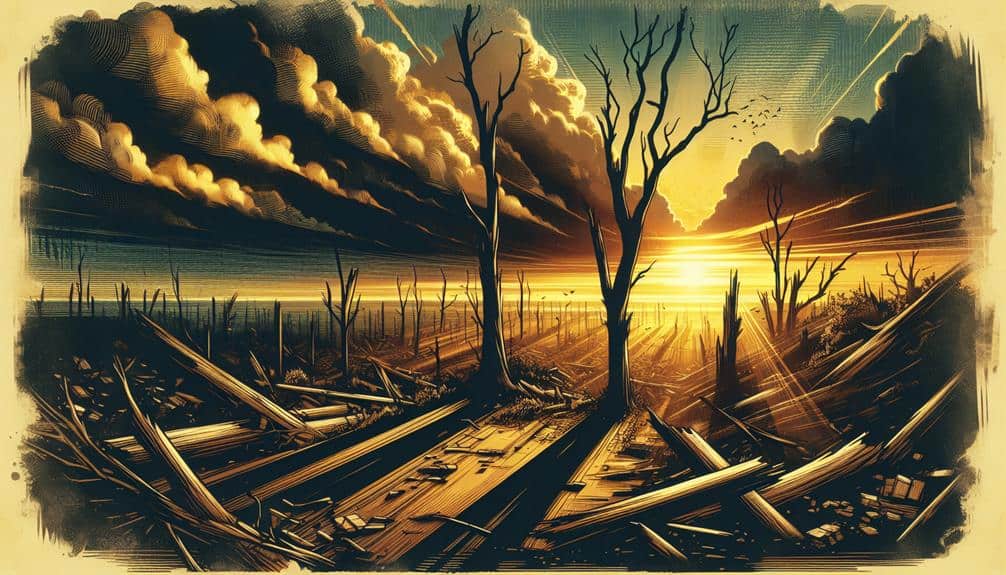
Early morning provides a unique opportunity to capture eerie effects, with soft light casting long shadows that emphasize textures and contours. Sunset shots, on the other hand, introduce dramatic contrasts that can make the damage appear more pronounced and striking.
To make the most of lighting and timing, we should consider the following tips:
- Golden Hour: Shoot during the first hour after sunrise and the last hour before sunset for soft, warm light.
- Cloud Cover: Overcast skies reduce harsh shadows and provide even lighting, ideal for detailed shots.
- Low Light Conditions: Use a tripod to avoid camera shake and keep ISO low to reduce noise.
- Angle of Light: Side lighting can highlight textures and depth better than direct front lighting.
Organizing Your Photos
Let's organize our photos by categorizing them based on the type of damage and ensuring each image is time-stamped.
This systematic approach will make it easier to present evidence to insurance adjusters and contractors.
Categorize by Damage Type
To efficiently document storm damage, we should categorize our photos by specific damage types to make sure a thorough and organized record. This approach helps us maintain clarity and verifies that nothing is overlooked when it's time to review the evidence.
By categorizing, we can easily pinpoint areas of concern and provide a structured narrative of the storm's impact.
Here are several key damage types to focus on:
- Roof Damage: Capture images of missing shingles, holes, or any debris on the roof. Be sure to get close-ups as well as wide shots to provide context.
- Tree Damage: Document fallen trees, broken branches, and any damage they may have caused to structures or vehicles.
- Flood Damage: Take photos of standing water, water lines on walls, and any items submerged or soaked. Include images of the surrounding area to show the extent of flooding.
- Structural Damage: Focus on cracks in walls, foundation issues, and any compromised structural elements.
Use Time Stamps
We should make sure that every photo we take includes a time stamp to accurately document the sequence and timing of the storm damage. Time stamps help us establish a clear timeline of events, which is crucial for insurance claims and assessments. By recording the exact time, we can differentiate between damage that occurred before and after the storm. This chronological documentation is invaluable for understanding the full extent of the impact.
When taking photos, we should capture images both during the day and at night to provide a thorough view of the damage. Daytime photos offer clarity and detail, while nighttime photos can reveal different aspects under artificial lighting. Ensuring that the time stamps are visible on all photos will help us organize our evidence more effectively.
To add time stamps, we can use the settings on our camera or smartphone, or employ photo-editing software if needed. This small step can make a significant difference in proving the sequence of events. By meticulously time-stamping our photos, we create a reliable and detailed record that stands up to scrutiny, empowering us to navigate the aftermath of a storm with confidence and precision.
Frequently Asked Questions
How Can I Ensure My Photos Are Accepted by Insurance Companies?
Did you know 85% of insurance claims get accepted with clear photos? By submitting high-quality images, following photography tips, and using backup solutions, we can guarantee our documenting process meets standards, improving insurance claim acceptance.
What Resolution Should My Photos Be for Clear Documentation?
For clear documentation, we should use a resolution of at least 12 megapixels. This guarantees high image quality. We can optimize storage options by using cloud services, allowing us to maintain freedom without compromising detail.
Do I Need to Include Identifying Information in the Photos?
Coincidentally, privacy concerns and location details often overlap. Including identifying information can help but let's follow professional advice. Documenting with precision mitigates legal implications. Always balance thoroughness with respect for privacy to maintain our freedom.
Is It Better to Use a Camera or a Smartphone for Storm Damage Photos?
When comparing camera vs smartphone for storm damage photos, we find that while smartphones offer convenience, cameras often deliver superior photo quality. Ultimately, our choice depends on balancing ease of use with the need for high-resolution images.
How Should I Back up My Photos to Prevent Loss?
To prevent loss, let's back up our photos using both cloud storage and an external hard drive. This dual approach guarantees our data's security while granting us the freedom to access our photos from anywhere and anytime.