When reporting storm damage, you’ll first need to confirm your safety by avoiding power lines and unstable structures. Document everything with timestamped photos of your roof, interior water damage, and destroyed property while creating a detailed inventory. Contact your insurance company within 24 hours with your policy number and damage description ready. Gather contractor bids from licensed professionals before the adjuster arrives, then present your evidence systematically during the inspection. Maintaining organized records of all communications, receipts, and documentation throughout this process will strengthen your position considerably.
Key Takeaways
- Contact your insurance company within 24 hours with your policy number, storm date, damage description, and photos ready.
- Document all damage with timestamped photographs from multiple angles and create a written inventory of affected items.
- Prioritize safety by avoiding downed power lines, unstable structures, and standing water before inspecting your property.
- Keep detailed records of all communications, receipts, claim numbers, and adjuster names throughout the entire process.
- Gather contractor bids and inspection reports before the adjuster visit to support your claim assessment.
Prioritize Safety and Prevent Further Damage
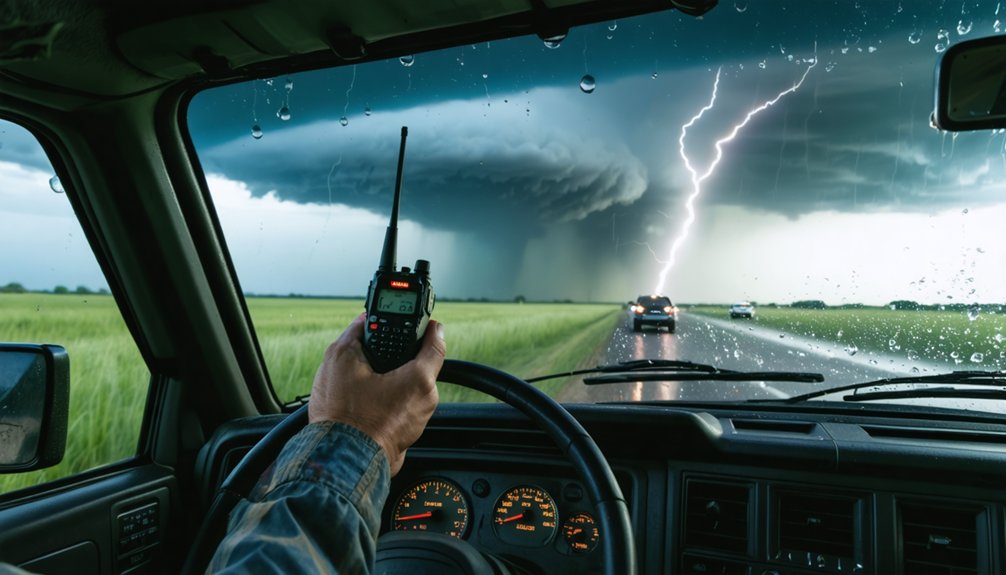
When a storm passes through your area, your immediate focus must shift to identifying and mitigating safety hazards before addressing property damage. Mitigate storm hazards by avoiding downed power lines and objects touching them—electrocution risks remain active post-storm. Don’t enter heavily damaged buildings that risk collapse. Watch for exposed nails, which cause nearly one-third of cleanup injuries, and broken glass when walking through affected areas.
To secure property integrity, board up broken windows with plywood or shutters. Move outdoor items like furniture and grills inside to prevent wind-borne projectiles. Park vehicles in garages or secure them with straps. Close all window coverings to block flying glass. Stay inside until weather forecasts confirm complete storm passage, then systematically assess damage while maintaining vigilance. Monitor updates through NOAA Weather Radio, battery-powered radio, or your cell phone to stay informed about continuing weather conditions. After a flood, avoid standing water as it hides dangers like toxins, chemicals, and sharp objects.
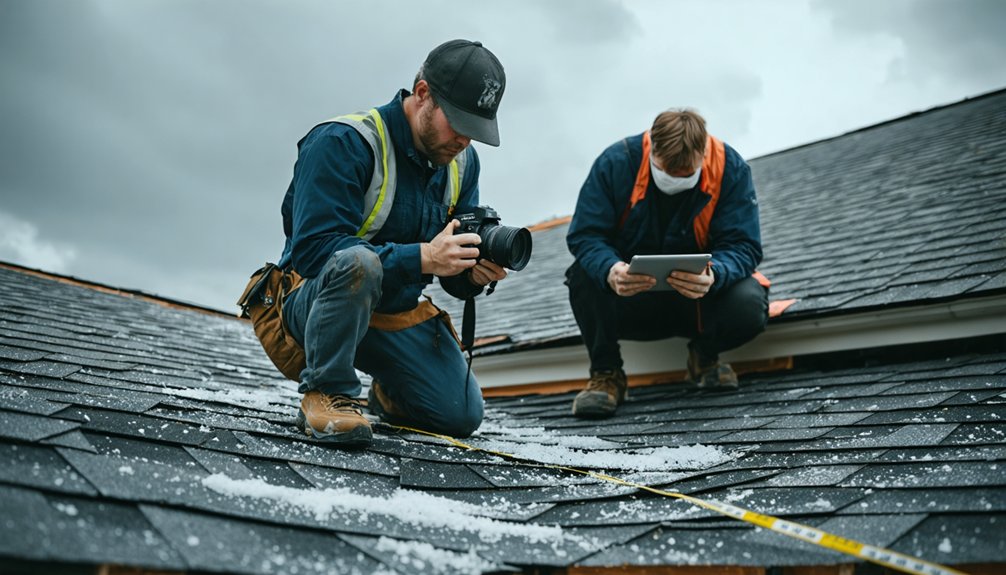
Document Every Detail of the Damage
After securing your property and confirming everyone’s safety, you must create a detailed record of all storm damage before making any permanent repairs. Start by photographing your roof from multiple angles, capturing missing shingles, damaged flashing, and gutter destruction.
Document all storm damage with detailed photographs before making any repairs—this evidence is critical for your insurance claim.
Document your yard’s downed trees, damaged fencing, and debris. Take exterior close-ups of siding cracks, dents, and damaged vents.
Inside, inspect ceilings, attics, and roof decks for water stains and leaks. Photograph foundation indicators like diagonal cracks and jammed doors. Look for circular dents or pockmarks on exterior surfaces that could indicate hail damage. Create a written inventory listing every damaged item with age, purchase price, and model numbers.
These exhaustive records will help you identify critical evidence and manage the claims process effectively. Insurance companies deny thousands of claims annually due to insufficient documentation—don’t let yours be one. Remember to include the date and time on all your documentation to establish a clear timeline of when the damage occurred.
Contact Your Insurance Company Immediately
Once you’ve documented the damage, contact your insurance company within 24 hours to initiate your claim. Report promptly using your preferred method—phone, mobile app like MyAmFam, online portal, or through your agent. Have your policy number, damage description, storm date, and photos ready when you contact them. This immediate action meets time-sensitive policy requirements and protects you from potential denial due to late notice.
Record your claim number and assigned adjuster’s name immediately. Avoid delays that jeopardize coverage—claims cycles already average 24 days, extending six days from previous years. Request an adjuster visit and ask specific questions about your deductible, coverage limits, and emergency mitigation steps. Document every conversation, email, and correspondence to maintain a complete paper trail throughout the claims process. Keep receipts for temporary repairs you make to prevent further damage, as these mitigation costs are typically reimbursable. Organize documentation in a clear and organized manner before submitting to ensure all relevant evidence supports your claim.
Prepare for the Adjuster’s Visit
Your adjuster visit represents the critical evaluation that determines your claim’s outcome, so thorough preparation directly impacts your settlement amount. Compile all documentation before the appointment: timestamped photos from multiple angles, detailed inspection reports from your contractor, line-item cost breakdowns, and roof measurements. Request contractor bids from at least two licensed professionals to establish fair market repair costs.
Walk the adjuster through each damaged area systematically—missing shingles, hail dents on gutters, interior water stains, and soft decking. Present your evidence methodically, allowing the adjuster to verify findings independently. Aerial inspections can reveal micro-fractures and damage patterns that remain invisible during standard ground-level assessments. Don’t accept initial estimates without review. Compare the adjuster’s assessment against your contractor bids to identify discrepancies. A detailed inspection report will strengthen your position during negotiations with the insurance provider. This documentation empowers you to negotiate claim settlement effectively, ensuring you receive adequate compensation for legitimate storm damage.
Keep Detailed Records Throughout the Claims Process
Every document, photo, and conversation related to your storm damage claim serves as potential evidence that protects your financial interests and strengthens your negotiating position. Maintain organized file system separating photos, videos, receipts, and correspondence by date and category. Label folders with storm event details for quick retrieval.
Document every communication with your insurer, including claim numbers, adjuster names, and appointment times. Retain digital backups of all evidence on cloud storage and external drives—you’re safeguarding yourself against lost paperwork or disputed claims. Keep receipts for emergency repairs and temporary lodging expenses.
Record time-stamped photos showing damage progression. Store your policy declarations page, both digitally and physically. Keep warranty information for damaged appliances or systems that may have been affected by the storm. Save all itemized reports from contractors to support damage assessments and provide professional validation of repair costs. This systematic approach gives you control over the claims process and guarantees you’re prepared to defend your position.
Frequently Asked Questions
Does Homeowners Insurance Cover All Types of Storm Damage or Just Some?
Standard storm coverage selectively protects you—your insurance policy limits include wind, hail, and lightning damage, but storm coverage exclusions specifically exclude floods and earthquakes. You’ll need separate policies to secure complete protection and maintain your financial freedom.
How Long Do I Have to File a Storm Damage Claim?
Your claim filing timeline typically ranges from 30 to 90 days after discovering storm damage, though some policies allow up to one year. Check your policy’s specific storm damage timeframe immediately—prompt reporting protects your rights and prevents denial.
What if My Insurance Company Denies My Storm Damage Claim?
If your insurer denies your roof claim citing pre-existing damage, you can challenge their decision. Review the claim rejection process details, gather storm evidence, then start disputing claim denial through formal appeals. You’re entitled to fight unfair determinations independently.
Should I Make Temporary Repairs Before the Adjuster Visits My Property?
Yes, you should make temporary repairs immediately to prevent further damage. Document everything with photos and receipts. You can hire a contractor for urgent work like tarps or boarding, but notify your insurer first for potential reimbursement.
Can I Hire a Public Adjuster to Help With My Claim?
Yes, you can hire a public adjuster who’ll work exclusively for you to negotiate claim details with your insurer. Understanding the adjuster’s role helps you decide if professional representation suits your needs and maximizes your settlement potential.
References
- https://www.leonattorneys.com/blog/storm-damage-how-to-file-a-successful-claim/
- https://www.dalyblack.com/how-to-file-an-insurance-claim-for-storm-damage/
- https://domaininsuranceinc.com/blog/reporting-storm-damage-how-and-when-matters/
- https://www.pactkc.com/blog/ultimate-guide-to-storm-damage-insurance-claims
- https://palkerlaw.com/blog/top-tips-for-documenting-storm-damage-for-your-insurance-claim/
- https://www.amfam.com/resources/articles/at-home/tips-for-storm-damage-insurance-claims
- https://www.stormlex.com/weather-patterns-storm-damage-claims-guide/
- https://content.naic.org/article/what-do-and-after-storm
- https://societyinsurance.com/blog/4-tips-for-avoiding-costly-storm-damage-insurance-claims/
- https://www.statefarm.com/simple-insights/residence/severe-weather-safety-tips