Capturing lightning strikes like a pro means using high-quality cameras with manual settings, setting up on a sturdy tripod, and employing remote shutter releases. We need to monitor storm patterns with lightning detection apps for perfect timing and composition. Adjust ISO to minimize noise, optimize the aperture for depth of field, and use long exposures to capture multiple strikes. Safety first: set up on non-conductive surfaces and maintain a safe distance from power lines and water. Mastering these tips and understanding storm behavior will elevate our lightning photography. Develop these skills further to truly excel in this electrifying craft.
Key Points
- Use a sturdy tripod and remote shutter release to avoid camera shake during long exposures.
- Set your camera to manual mode, using long exposure, low ISO, and optimized aperture settings.
- Track storm movements and use lightning detection apps for real-time alerts and strategic positioning.
- Establish a safe shooting location, avoiding tall structures, bodies of water, and maintaining distance from power lines.
Choose the Right Equipment
To capture lightning strikes effectively, we need a high-quality camera, a robust tripod, and a remote shutter release. These tools are essential for achieving the perfect lighting exposure and ensuring our shots are clear and sharp.
Let's break down why these camera accessories are vital for this type of photography.
First, a high-quality camera with manual settings allows us to control exposure time, aperture, and ISO, which are pivotal for capturing lightning's fleeting brilliance. We should opt for a DSLR or mirrorless camera that provides extensive control over these settings.
Next, a robust tripod is non-negotiable. Lightning photography often involves long exposures, and any slight movement can ruin the shot. A durable, stable tripod will keep our camera steady, even in windy conditions.
A remote shutter release is another key accessory. This tool helps us avoid camera shake when taking long exposures. By triggering the shutter remotely, we keep our hands off the camera, ensuring maximum stability.
Understand Lightning Patterns
Why is it important to understand lightning patterns?
Knowing how lightning behaves can make or break our photography session. We must grasp these patterns to anticipate strikes and position ourselves for the perfect shot. Lightning behavior isn't random; it follows specific trends, which we can leverage for stunning results.
Storm Tracking:
Monitoring weather forecasts and storm movements helps us predict where lightning will strike. Using apps and radar systems can give us the advantage in being at the right place at the right time.
Lightning Behavior:
Understanding that lightning typically strikes the highest point in an area or follows a path of least resistance allows us to choose the best shooting angles. This insight enhances our photography techniques, ensuring we capture the most dramatic strikes.
Safety Precautions:
Recognizing patterns also keeps us safe. By knowing how storms progress and where lightning is likely to strike next, we can maintain a safe distance. Safety isn't just about avoiding danger; it's about being smart with our approach.
In essence, understanding lightning patterns empowers us to capture those awe-inspiring moments with both precision and safety in mind.
Let's harness this knowledge to elevate our lightning photography game.
Set Up a Safe Location
When setting up a safe location to capture lightning strikes, we must avoid tall structures that could attract lightning.
Ensuring proper shelter and grounding will protect both us and our equipment.
Additionally, maintaining a safe distance from water reduces the risk of electrical hazards.
Avoid Tall Structures
Setting up a safe location for capturing lightning strikes means steering clear of tall structures that can attract bolts. It's essential for our lightning safety to avoid positioning ourselves near trees, towers, or buildings that stand out in the landscape. Such structures increase the risk of a direct hit, which could be hazardous.
When considering weather precautions, we should prioritize:
- Distance from Tall Structures: Always set up at least twice the height of the tallest nearby object. If a tree is 50 feet tall, we should be at least 100 feet away.
- Open Fields: Opt for wide, open spaces where the risk of a direct strike is minimized. These areas allow us to have an unobstructed view of the sky, enhancing our ability to capture the perfect shot.
- Ground Elevation: Choose locations that aren't on elevated ground. Higher ground is more prone to lightning strikes. Instead, lower areas or gentle slopes offer safer alternatives without compromising our vantage point.
Shelter and Grounding
To secure our safety while capturing lightning strikes, we must establish a well-grounded shelter that offers both protection and a stable base for our equipment. Lightning safety is vital, and our first consideration should be finding a location that not only shields us from direct strikes but also minimizes electrical hazards.
We should look for a sturdy structure, like a car or a building, to use as our base. If neither is available, a portable lightning shelter designed for storm chasers can be a viable option. These shelters are specifically engineered to provide grounding and reduce the risk of electrical hazards.
Our equipment needs grounding as well. Setting up a tripod on a non-conductive surface, such as rubber or a wooden platform, is essential. This step ensures that any electrical surge doesn't travel through our gear. Additionally, using surge protectors for our cameras and other electronics adds an extra layer of safety.
We must also remain vigilant about our proximity to power lines and other metallic structures. These can act as conductors, increasing the risk of electrical hazards. Keeping a safe distance from these elements is vital for effective lightning safety.
Distance From Water
We must consistently verify our setup is a safe distance from bodies of water, as they're prime conductors of electricity during lightning storms. This precaution is paramount for both our safety and the effectiveness of our lightning strike photography.
Urban settings often provide unique opportunities to capture lightning, but proximity to water presents inherent risks and challenges.
To maximize our safety and photographic outcomes, we should consider the following:
- Maintain Distance: Confirm we set up at least 100 meters away from any significant body of water. This distance reduces the risk of electrical conduction through the water and minimizes potential hazards.
- Utilize Water Reflections: When photographing in urban settings, we can use water reflections to enhance our images. Positioning ourselves at a safe distance allows us to capture striking reflections without compromising our safety.
- Scouting Locations: Prior to the storm, scout for safe vantage points that offer a clear view of both the sky and any interesting water features. This pre-planning ensures we're ready to capture the perfect shot when the lightning strikes.
Master Camera Settings
Understanding the ideal camera settings is vital for successfully capturing the fleeting brilliance of lightning strikes. First, let's talk exposure settings: we need to set our cameras to manual mode. A long exposure, typically between 5 to 30 seconds, helps us capture multiple strikes in a single frame. Adjust the ISO to a low setting, like 100 or 200, to minimize noise. The aperture should be around f/8 to f/11 for best depth of field and sharpness.
For composition, positioning the camera to include both the horizon and the sky can create a dramatic effect. We should optimize the scene, allowing the lightning to be the focal point without any distractions.
Focusing techniques are essential here. Switch to manual focus and set the lens to infinity. To refine, use live view and zoom in on a distant light source to achieve tack-sharp focus.
In post-processing, we can enhance the image by adjusting the contrast and highlights to bring out the lightning's intensity. Cropping can improve composition, and noise reduction software can clean up any residual grain.
Use a Tripod
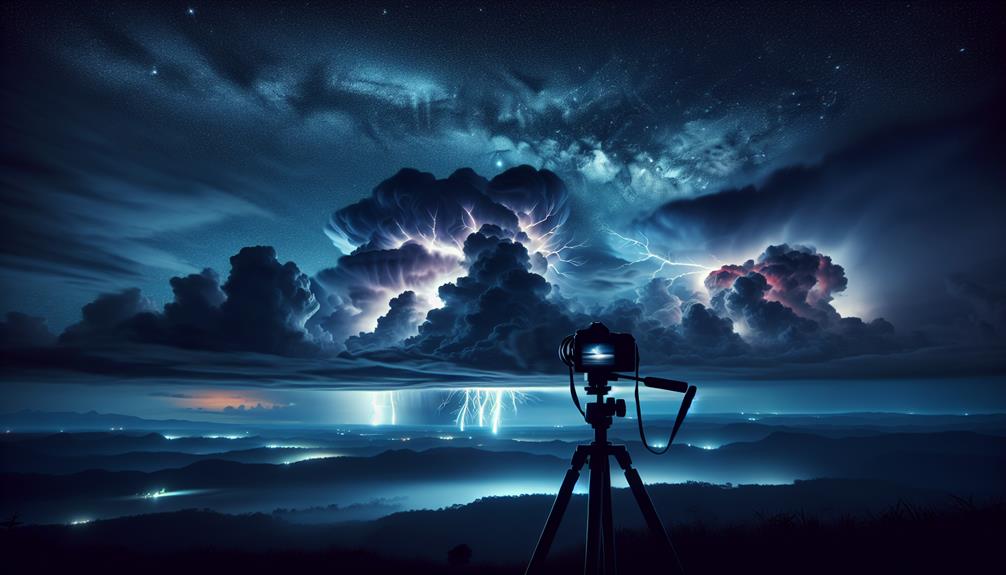
Using a tripod is necessary for achieving the sharpness and stability needed when capturing lightning strikes. Without a tripod, our shots risk becoming blurry due to the long exposure times required to catch these fleeting moments. Tripod stability allows us to focus on refining our lighting composition, guaranteeing each shot captures the raw power and beauty of the storm.
To make the most of our tripod, let's consider these essential points:
- Weight Capacity: Ensure our tripod can handle the weight of our camera and lens. A sturdy tripod minimizes vibrations, providing the stability required for clear, sharp images.
- Adjustability: A tripod that offers flexible height and angle adjustments allows us to compose our shots perfectly. This adaptability ensures we can capture lightning strikes from various perspectives, enhancing our lighting composition.
- Portability: While stability is key, we should also consider a tripod that's easy to transport. Lightweight materials like carbon fiber offer a blend of strength and portability, giving us the freedom to chase storms without being burdened down.
Time Your Shots
To effectively capture lightning strikes, we must monitor weather conditions and use lightning detection apps to anticipate activity.
Understanding lightning patterns also enables us to time our shots more precisely.
These strategies will help us maximize our chances of getting that perfect shot.
Monitor Weather Conditions
By closely monitoring weather conditions, we can strategically time our shots to capture the most dramatic lightning strikes. In lightning photography, understanding weather patterns is essential. Let's delve into some advanced practices for storm chasing that will help us maximize our opportunities.
- Analyze Weather Reports: Regularly check meteorological data and forecasts. High-quality weather apps and websites provide real-time updates on storm potential, helping us pinpoint where lightning is most likely to occur.
- Track Storm Movement: Use radar imagery to follow storm cells. This allows us to predict the direction and speed of the storm, giving us the edge to position ourselves in ideal locations for capturing lightning. Knowing when a storm will intensify or dissipate can greatly enhance our chances of success.
- Understand Lightning Patterns: Different types of storms produce different lightning behaviors. Familiarize ourselves with these patterns by studying past storm data. For example, supercell thunderstorms often generate more frequent and intense lightning strikes than their weaker counterparts.
Use Lightning Detection Apps
Utilizing lightning detection apps empowers us to accurately time our shots for ideal lightning captures. These apps provide real-time lightning alerts, ensuring we're aware of imminent strikes. With high app accuracy, we can pinpoint the exact timing and location of lightning activity. This precision allows us to set up our equipment and adjust our settings efficiently, maximizing our chances of capturing that perfect shot.
We're living in an age where technology grants us the freedom to predict natural phenomena with remarkable precision. Apps like My Lightning Tracker and BlitzortungLive offer detailed radar maps, showing active lightning strikes and storm paths. These apps use data from multiple sources, including weather stations and satellite imagery, to deliver timely lightning alerts. This empowers us to act quickly, setting up in the most strategic locations.
With precise app accuracy, we can anticipate the best moments to shoot, reducing the guesswork and increasing our success rate. We're no longer at the mercy of unpredictable storms. Instead, we harness technology to capture nature's raw power on our terms. This proactive approach not only enhances our efficiency but also our safety, allowing us to focus on achieving stunning lightning photography.
Understand Lightning Patterns
Understanding lightning patterns is crucial for timing our shots perfectly, securing we capture the most dramatic moments. By observing lightning behavior, we can predict strikes and position our cameras accordingly. Lightning photography isn't just about being in the right place at the right time; it's about understanding the rhythm of the storm.
1. Observe Initial Strikes:
The first few strikes in a storm often occur in quick succession. By watching these initial bolts, we can gauge the frequency and likely areas of subsequent strikes, allowing us to anticipate and prepare for the perfect shot.
2. Analyze Intervals:
Lightning tends to follow a pattern of intervals. Timing these intervals gives us a window of opportunity to capture the next strike. Use a stopwatch or a lightning detection app to track these intervals and keep your camera ready.
3. Monitor Storm Movement:
Storms usually follow a predictable path. By understanding the storm's directional movement and speed, we can position ourselves to maximize the chances of capturing a strike. This insight not only improves our shots but also secures our safety.
Mastering the art of lightning photography involves more than just technical know-how; it's about attuning ourselves to the natural rhythm of the storm, securing we're always poised to capture nature's spectacular display.
Edit Your Photos
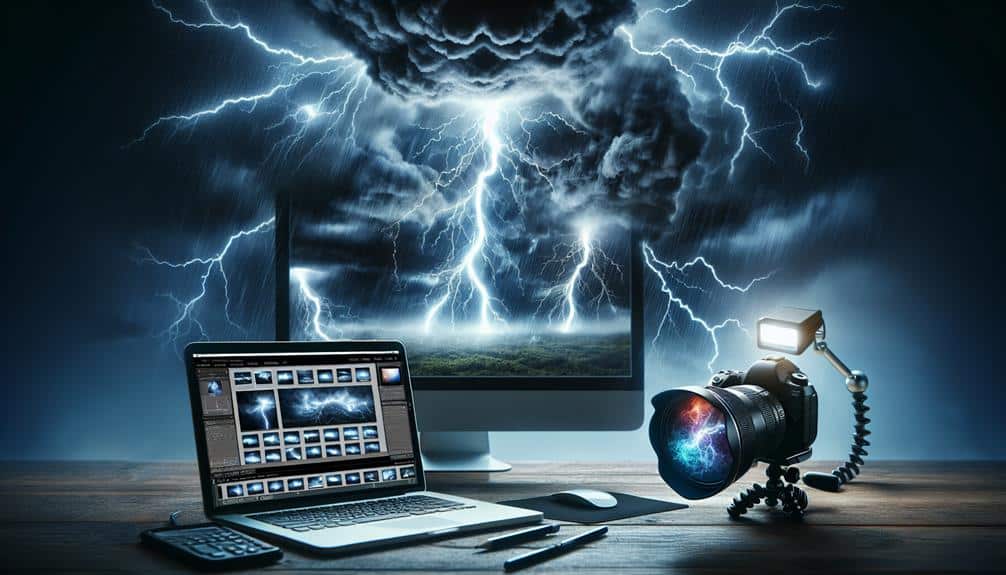
Once we've captured our lightning shots, the next essential step is to edit the photos to enhance their dramatic impact.
We'll start with basic Lightroom adjustments. First, we boost the contrast to make the lightning bolts pop against the dark sky. Adjusting the highlights and shadows can help to reveal hidden details, while tweaking the clarity and dehaze sliders can add depth to the image.
After initial adjustments in Lightroom, we move to Photoshop for more precise edits. Here, we can use layers and masks to fine-tune specific areas of the photo, ensuring that the lightning remains the focal point. Dodging and burning can further emphasize the bright and dark areas, adding a sense of drama.
Next, we explore creative filters and artistic enhancements. Applying a gradient filter can add a surreal touch to the sky, while experimenting with color grading can set the mood of the image. Remember, the goal is to amplify the natural beauty of the lightning, not overshadow it.
Frequently Asked Questions
Can You Capture Lightning Strikes With a Smartphone Camera?
Yes, we can capture lightning strikes with a smartphone camera. For night photography, using proper equipment and settings enhances results. In landscape photography, manual mode, long exposure, and a tripod are essential for clear lightning shots.
How Do Weather Apps Help in Predicting Lightning Activity?
Weather apps paint vivid pictures of stormy skies, enhancing our lightning tracking accuracy. They boost lightning safety by alerting us to avoid water bodies, and aid our photography by predicting the best moments to capture lightning's electrifying beauty.
What Are Some Common Mistakes When Photographing Lightning?
When photographing lightning, we often make mistakes with timing and exposure. We don't always choose the right location or consider composition thoroughly. These errors can result in missed strikes or poorly framed shots, affecting overall quality.
Is It Safe to Photograph Lightning Near Water Bodies?
Did you know lightning kills about 50 people annually in the U.S.? When photographing lightning near water, the risks are high. It's important to prioritize safety precautions over capturing beautiful water reflections and stunning aesthetics.
How Can You Protect Your Camera Equipment During a Storm?
To guarantee equipment protection during lightning photography, we should use weatherproofing gear like rain covers and desiccant packs. Quick tips and tricks include avoiding open areas and using a tripod for stability while keeping safety our top priority.
