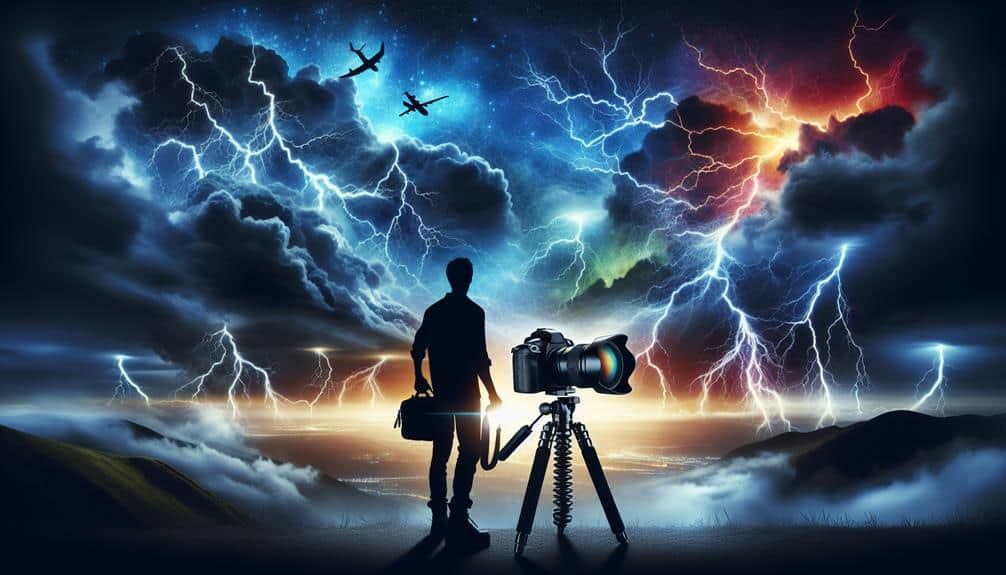
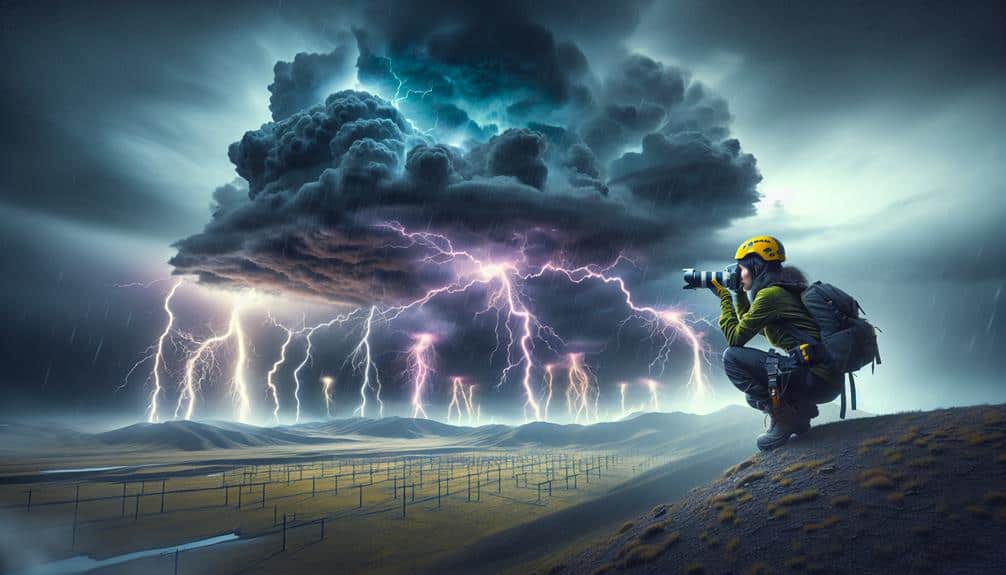
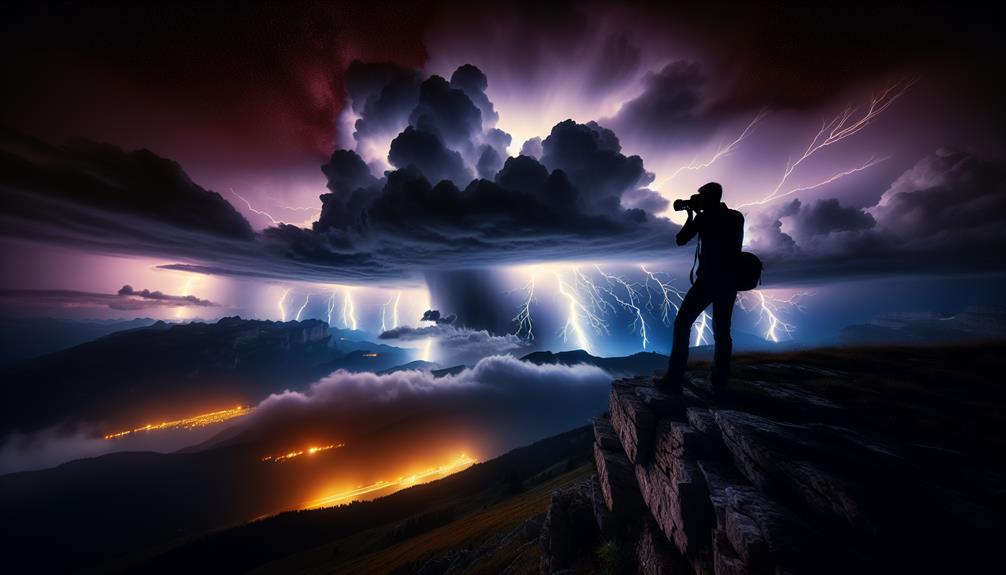
To capture stunning lightning strikes, let's start with the right gear: use a sturdy tripod and a camera with full manual controls, complemented by a remote shutter release. Prioritize safety by selecting a location with an unobstructed view, like open fields or elevated terrains, and make sure you're protected inside a sturdy structure like a car. Finally, master your camera settings: switch to manual mode, set a long exposure of 10-30 seconds, use an aperture of f/8 or f/11, and a low ISO (100-200) to reduce noise. Stay with us to uncover more detailed insights into lightning photography.
Key Points
- Use a sturdy tripod and a remote shutter release for stability and to prevent camera shake.
- Set your camera to manual mode with a long exposure (10-30 seconds) to capture multiple lightning strikes.
- Select a narrow aperture (f/8 to f/16) and keep ISO low (100-200) for sharp, clear images.
- Focus manually at infinity to ensure distant lightning strikes are sharp.
Choose the Right Gear
When capturing lightning strikes, we must prioritize using a sturdy tripod and a camera with manual settings to guarantee stability and control over exposure. Lightning photography demands precision, and a stable platform is non-negotiable. A robust tripod assures our camera remains rock-steady, especially during long exposure times, essential for capturing the brilliance of lightning against a dark sky.
Choosing a camera with full manual controls is equally necessary. We'll need to adjust the aperture, shutter speed, and ISO settings manually to adapt to varying weather conditions. For example, setting a narrow aperture (f/8 to f/16) and a low ISO (100-200) helps in reducing noise and capturing sharp, detailed lightning bolts. Shutter speed, however, is where the magic happens. A longer exposure (around 10-30 seconds) increases our chances of catching a strike.
Additionally, a remote shutter release or an intervalometer is crucial. It allows us to trigger the shutter without touching the camera, eliminating any chance of shake. This setup not only gives us freedom from constant manual operation but also guarantees we're ready for unpredictable lightning strikes.
Embracing this gear empowers us to make the most out of volatile weather conditions and capture awe-inspiring lightning photos.
Find a Safe Location
To effectively capture lightning strikes, we must meticulously choose a safe location that offers an unobstructed view of the sky while minimizing personal risk. First and foremost, let's prioritize storm chasing safety. Being outdoors during a storm presents inherent dangers, so we need to position ourselves in an area where we can quickly take shelter if needed.
Open fields, elevated terrains, and coastlines often provide excellent vantage points, but they also expose us to the elements. A sturdy structure like a car can offer both mobility and protection, serving as a makeshift base.
When considering lightning photography techniques, an unobstructed, panoramic view of the sky is paramount. We want to avoid areas densely populated with trees, buildings, or power lines that could obstruct our view or interfere with our shots. A hilltop or a wide-open plain can be ideal, but always remember to stay away from isolated tall objects that might attract lightning.
Lastly, let's monitor the storm's progression using radar apps or weather updates. This not only enhances our safety but also helps us anticipate where the most dramatic strikes might occur.
Master Your Camera Settings
As we settle into our selected location, let's carefully adjust our camera settings to maximize the chances of capturing that perfect lightning strike. First, we'll set our camera to manual mode, giving us full control.
A long exposure is essential; setting the shutter speed between 10-30 seconds allows us to capture multiple strikes in one shot. We'll adjust the aperture to f/8 or f/11 to balance the bright lightning against the dark sky.
Our ISO setting should remain as low as possible, ideally between 100-200, to minimize noise.
Now, let's consider composition. Framing our shot with a wide-angle lens helps capture the vastness of the storm and increases the likelihood of including more strikes within the frame.
Timing is vital. We'll use a remote shutter release or intervalometer to avoid camera shake and guarantee consistent intervals.
For focus, we'll switch to manual focus and set it to infinity, then fine-tune by focusing on a distant light source or using live view.
This careful setup not only gives us the technical advantage but also the freedom to enjoy the electrifying spectacle unfolding before us, knowing our camera is poised to capture nature's dramatic display.
Frequently Asked Questions
What Time of Day Is Best for Photographing Lightning?
We find evening, particularly during the blue hour, is ideal for photographing lightning. Morning vs. evening shows evening as superior due to minimal ambient light. Golden hour's warmth can't match blue hour's contrast for striking lightning shots.
How Do You Predict When and Where Lightning Will Strike?
Ready for some excitement? We can predict lightning strikes by using lightning detection technology and weather forecasting tools. These methods help pinpoint when and where the next electrifying bolt might light up the sky.
Can You Capture Lightning With a Smartphone Camera?
Yes, we can capture lightning with a smartphone camera, but smartphone limitations like shutter speed and sensor size often hinder quality. For better results, we should consider alternative equipment options like DSLR cameras with manual settings and tripods.
How Can You Enhance Lightning Photos During Post-Processing?
Isn't it ironic how we capture lightning's raw beauty only to enhance it digitally? Let's use editing techniques like enhancing colors through Lightroom presets or Photoshop filters. It's how we elevate nature's drama to a whole new level.
What Safety Precautions Should You Take While Photographing Lightning?
When we're doing lightning photography, safety precautions are essential. During a lightning storm, we avoid open areas, stay in vehicles, and use remote triggers. These photography tips guarantee we capture stunning shots without compromising our safety.


