You’ll nail the perfect supercell shot by mastering HRRR data to predict convective initiation, positioning 3-10 miles from the storm base with clear escape routes south, and deploying a full-frame camera with wide-angle glass at f/5.6-f/8, ISO 100. Monitor radar-looped motion vectors for rightward deviations, identify wall clouds and inflow bands through rain-free bases, and abort when lightning closes within three miles. The complete technical breakdown of storm forecasting, positioning protocols, and exposure bracketing techniques awaits below.
Key Takeaways
- Use storm forecasting models like HRRR to identify promising supercells and position yourself 3-10 miles from the storm base safely.
- Equip a full-frame or APS-C camera with wide-angle to telephoto lenses and a sturdy tripod for capturing dramatic structure.
- Start with ISO 100 and aperture f/5.6-f/8 for deep focus, adjusting exposure based on lighting and distance conditions.
- Target photogenic features like wall clouds, inflow bands, mammatus clouds, and rain-free bases for compelling compositions.
- Maintain southern escape routes, monitor radar for storm movement, and retreat when lightning strikes within three miles.
Understanding Storm Forecasting and Target Selection
Every successful supercell chase hinges on one critical skill: interpreting the atmospheric chaos before it explodes. You’ll need ruthless efficiency in target domain selection, synthesizing High-Resolution Rapid Refresh data with stability indices that reveal where conditional instability meets boundary layer moisture.
Your regional atmospheric analysis demands multiple intel streams—ensemble forecasts exposing uncertainty zones, Convection-Allowing Models painting individual storm cells, real-time rawinsondes measuring wind shear profiles. Don’t trust single model runs; divergent ensembles signal atmospheric rebellion.
Focus where HRRR shows convergence triggers within one-hour windows. Scan mesoscale discussions as they evolve toward watches—that’s your green light. The difference between epic structure shots and empty highways? Reading physics faster than storms materialize.
Launch when data alignment screams convective supremacy.
Strategic Positioning for Safety and Composition
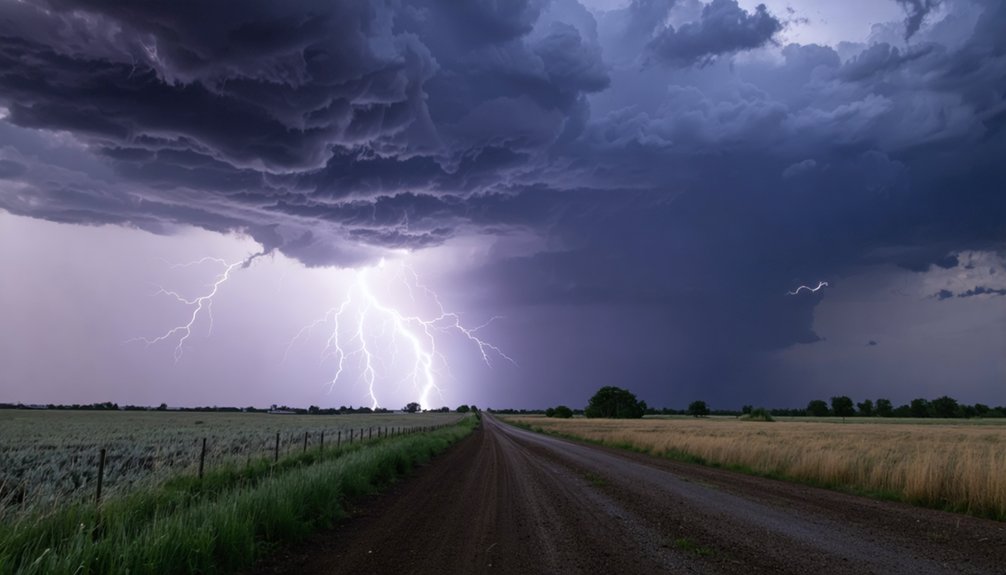
Storm forecasts put you on target, but survival dictates where you plant your tripod. Position 3-10 miles from the storm base—close enough for dramatic structure, far enough to outrun shifting threats.
Balance proximity with prudence: position your tripod where drama meets survivability, never trading escape routes for composition.
Your shooting location assessments must factor radar-looped motion vectors, identifying rightward deviations before they trap you. Maintain southern escape routes clear; supercells don’t negotiate. Storm avoidance isn’t cowardice—it’s operational intelligence.
Mount your rig on carbon fiber, trigger remotely from your vehicle’s Faraday protection, and never surrender mobility for a single frame. Monitor wind shifts: increasing southeast flow signals rotation. Elevate your position for contrast between funnel and sky, but abort immediately when strikes close within three miles.
Freedom means knowing when to shoot—and when to vanish.
Essential Camera Gear and Lens Choices
When violent convection explodes across the Great Plains, your sensor choice determines whether you’ll capture sculptural wall clouds or muddy grain. Full-frame bodies like Canon’s 6D or Nikon’s D750 dominate low-light sensor comparisons, crushing noise when anvils block sunlight. APS-C shooters aren’t benched—Sony’s a6300 delivers clean structure shots while keeping your rig mobile.
Your lens arsenal needs three critical ranges:
- Wide-angle (14-24mm) for immersive shelf cloud documentation when positioned dangerously close
- Standard zoom (24-70mm f/2.8) as your primary weapon for evolving mesocyclones
- Telephoto (70-200mm) providing escape-route insurance during rapid intensification
Tripod selection matters brutally—Manfrotto’s 190 aluminum survives wind-driven abuse without anchoring you down. Pack polarizers for contrast-punched cloud definition. You’re chasing freedom in chaos; your gear can’t fail.
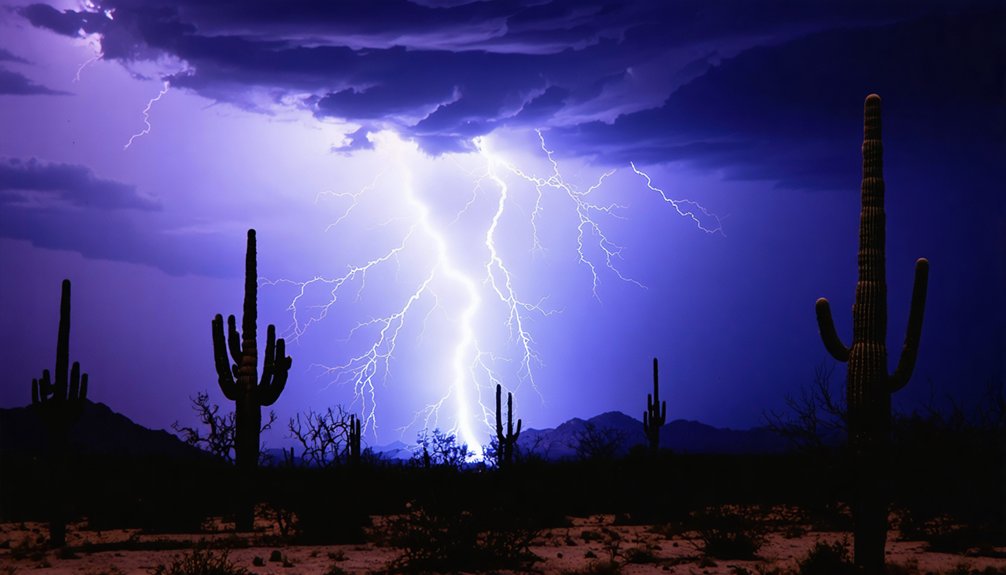
Identifying Photogenic Storm Features
Rotating updrafts telegraph their violence through five structural signatures you’ll learn to decode before the funnel drops. Wall clouds descend as smooth lowerings beneath rain-free bases—your primary tornado precursor in classic supercells.
Overshooting tops punch through the troposphere, creating visible domes above the anvil that signal extreme updraft power reaching 50,000 feet.
Rain-free bases separate inflow from precipitation, giving you clear updraft visualization without obstruction. Inflow bands spiral horizontally into the mesocyclone, revealing rotation patterns through dramatic striped formations.
Mammatus clouds hang like pouches beneath cooling anvils, adding compelling cloud textures when backlit. Position yourself in low-precipitation environments where these features remain unwrapped and accessible—your freedom to chase depends on reading these structural warnings before they evolve into ground-level threats.
Daytime Camera Settings for Structure Photography
Start with your camera locked at ISO 100—this base setting prevents blown highlights when that supercell lights up with a close strike. Pair it with f/11 to f/16 for suitable depth of field across the storm’s towering structure while maintaining workable shutter speeds in bright daylight.
You’ll tighten that aperture to f/22 for nearby lightning or open to f/8 when the bolt’s hammering the horizon miles away—distance dictates your exposure triangle adjustments.
Base ISO and Aperture
- f/5.6-f/8: Deep focus captures entire structure—updraft to anvil—razor-sharp
- f/2.8-f/4: Wide aperture versatility isolates wall clouds, sacrificing background detail
- f/10+: Maximum depth in bright sun; demands ISO bump to 400-800 under darker cells
Smaller f-stops require ISO compensation—double sensitivity per stop. Balance depth against brightness. You’re chasing fleeting structure; hesitation kills shots. Set aperture first, then adjust ISO until exposure nails correct brightness without motion blur.
Lightning Distance Exposure Adjustments
When lightning detonates three miles out versus twenty, your camera doesn’t care about the spectacle—it only reads the lux hitting your sensor. Distant strikes demand ISO bumps to 640-800 while close bolts blow highlights at anything above 320.
Your shutter trigger integration won’t compensate for overexposed plasma—drop to ISO 100 and f/16 when bolts crack nearby. Flash exposure bracketing becomes critical here: shoot sequences adjusting ISO in 160-point increments between strikes. Start at 400, review histograms ruthlessly, then pivot.
Close lightning requires faster shutters near 1/4 second to prevent sensor saturation, while distant storms let you extend toward one second with triggers active. Distance dictates your exposure triangle—ignore it and you’ll capture blown-out garbage or underexposed static.
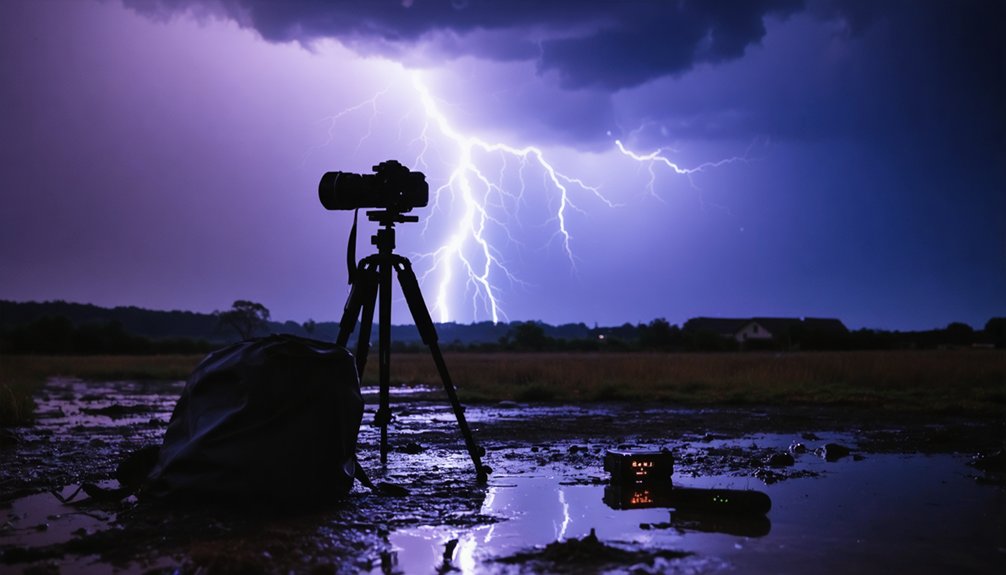
Nighttime Techniques for Lightning and Cloud Detail
Your baseline configuration for in-cloud structure:
- ISO 400 at f/8 reveals storm architecture without overexposure
- Multiple shutter cycles between bright flashes prevent blown highlights
- Several miles separation maintains structural detail visibility
Urban shooters: tighten to f/10-f/16 for starburst effects from city lights. Blue hour demands wider apertures as darkness deepens. Test, adjust, capture—no universal settings exist in this chase.
Frequently Asked Questions
How Do You Protect Camera Equipment From Hail Damage During Shoots?
You’ll need rapid camera lens protection—deploy waterproof covers instantly and position gear under eaves as hailstone deterrents. Point your lens downward between shots, use sturdy support systems, and don’t hesitate to retreat when cores intensify overhead.
What Post-Processing Techniques Best Enhance Supercell Structure and Contrast?
Sculpt your raw supercell like lightning carving sky—boost structure sliders in Lightroom, dodge/burn for explosive contrast, mimic natural lighting enhancements through graduated filters, and refine camera angle adjustments in post-crop. You’ll release that storm’s untamed architecture instantly.
How Do You Communicate Location and Safety Updates With Chase Partners?
You’ll share real-time location tracking via GPS apps while maintaining constant radio contact with your team. Storm chase coordination demands split-second updates—broadcast position changes, hazard warnings, and escape routes immediately. Don’t hesitate; communicate or risk getting cut off.
What Backup Power Solutions Work Best for Extended Storm Photography Sessions?
Your power arsenal demands redundancy—lithium battery pack capacity of 20,000-50,000mAh delivers critical juice, while solar generator options provide untethered independence. You’ll maintain shot-critical uptime when storms rage for hours, guaranteeing you never miss that perfect rotating wall cloud.
How Do You Determine When to Abandon a Storm Shoot?
Abandon immediately when flash-to-bang hits 30 seconds—you’re in the kill zone. Monitor approaching storm conditions relentlessly; changing weather patterns like sudden wind shifts, electrical smell, or hair standing signal you’ve pushed your luck too far. Retreat now.