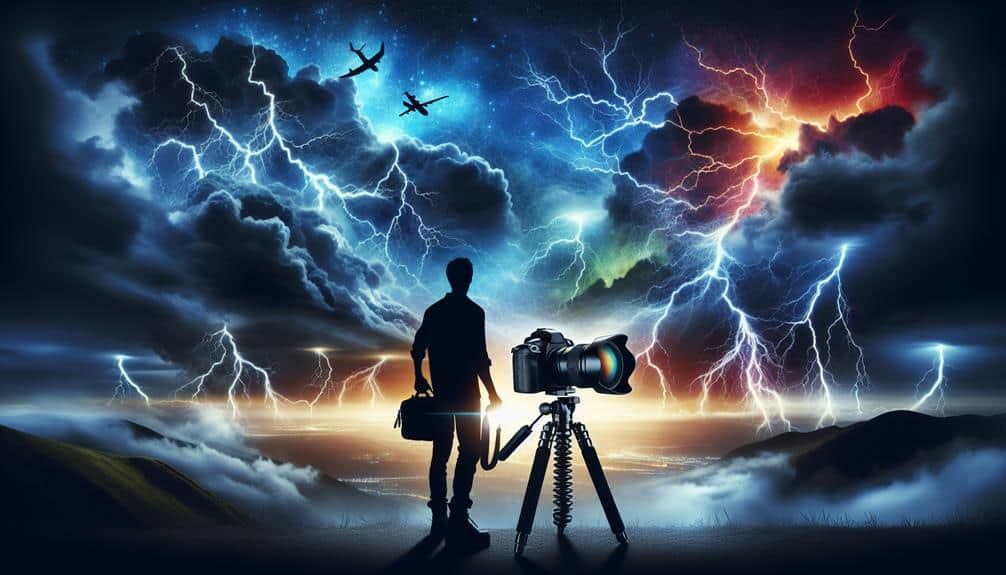
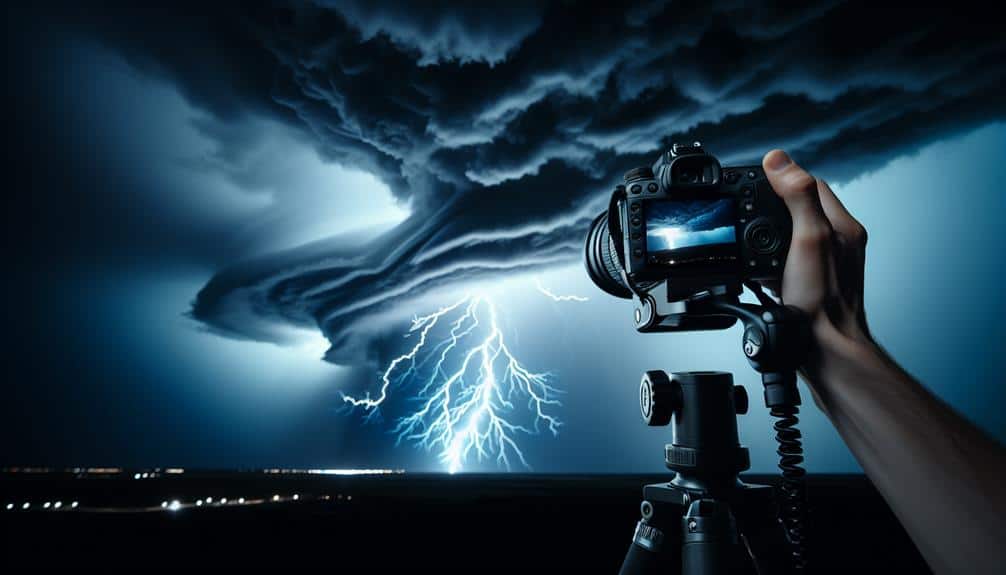
When photographing lightning, we need a DSLR or mirrorless camera with manual mode capabilities, a sturdy tripod, and a remote shutter release. Our safety is paramount; avoid open fields and monitor real-time weather updates. We'll use long exposure times and small apertures to capture intricate light details, keeping the ISO low to reduce noise. Manual focus on distant points and an expansive open sky vantage point elevate our shots. Aligning aperture, ISO, and exposure time within the exposure triangle is critical. Each composition should be meticulously planned for dramatic effect, and patience is key. Explore advanced techniques and master this electrifying craft.
Key Points
- Use a DSLR or mirrorless camera with manual mode for precise exposure control.
- Set your camera on a sturdy tripod and use a remote shutter release to avoid camera shake.
- Opt for longer exposure times to capture the full trajectory of lightning bolts.
- Use a small aperture and low ISO settings to minimize noise and maximize depth of field.
Choose the Right Gear
Choosing the appropriate gear is vital in capturing stunning lightning photographs, and we'll need a DSLR or mirrorless camera, a sturdy tripod, and a remote shutter release to achieve excellent results. The camera should offer manual mode to control exposure settings accurately.
A sturdy tripod guarantees stability during long exposures, essential for sharp images. The remote shutter release prevents camera shake, an important aspect given the long exposure times needed for lightning photography.
Regular gear maintenance is essential, especially considering the often harsh weather conditions we're likely to face. Ensuring our lenses and sensor are clean can greatly impact image quality. Weather-sealed cameras and tripods resist adverse conditions better, prolonging their functionality.
When considering equipment upgrades, investing in lighting accessories like a lightning trigger can improve our chances of capturing the perfect strike. These devices detect the initial burst of light and trigger the shutter faster than our reflexes could manage.
Balancing technical prowess with the right gear frees us to explore the dynamic beauty of lightning without limitations. This approach guarantees we're prepared to face any storm and seize those fleeting, electrifying moments.
Safety Precautions First
While having the right gear is fundamental, our topmost priority must be guaranteeing personal safety when venturing out to capture lightning photographs. Lightning dangers are no small matter; they can be life-threatening. We must remain vigilant about our surroundings and the storm's behavior.
First, let's remember that lightning can strike up to 10 miles away from the center of a storm. Hence, finding a safe location is critical. We should avoid open fields, hilltops, and isolated trees, as these are prime targets for strikes. Instead, opting for a sheltered location or shooting from within a vehicle can significantly reduce risks.
Our storm safety precautions should include monitoring weather updates through reliable sources like NOAA or dedicated weather apps. Understanding the storm's trajectory helps us plan our shoots more effectively and avoid hazardous situations. Additionally, setting up our gear before the storm arrives ensures we aren't caught off guard when the lightning show begins.
Lastly, we must be prepared to abandon our shoot if conditions worsen. No photograph is worth compromising our safety. By adhering to these storm safety guidelines, we can enjoy the exhilarating experience of lightning photography while staying secure.
Best Camera Settings
Let's fine-tune our approach by exploring the best shutter speed, aperture, and ISO settings to capture lightning with precision.
We'll analyze how different focusing techniques can enhance sharpness, ensuring each strike is crisply defined.
Mastering these settings will elevate the quality of our lightning photos to a professional level.
Ideal Shutter Speed
To capture the mesmerizing brilliance of lightning, we need to fine-tune our shutter speed to balance exposure and freeze the fleeting moment. When photographing lightning, our shutter speed and timing are essential. We typically set a longer exposure time, often ranging between 5 to 30 seconds, to guarantee the camera's sensor captures the lightning bolt's full trajectory. This method allows us to harness the natural lighting effects without overexposing the scene.
Employing a longer shutter speed gives us the liberty to experiment with creative angles and compositions. We can position our camera to frame dynamic backgrounds or intriguing foregrounds, adding depth and context to our shots. It's important to adjust for ambient light conditions; urban environments with light pollution may require shorter exposures, while rural landscapes can accommodate longer durations.
To maintain precision, we should use a sturdy tripod and a remote shutter release. This setup minimizes camera shake, making sure our images are sharp and detailed. Additionally, activating the camera's bulb mode can offer greater flexibility, allowing us to manually control the exposure length as we anticipate the next lightning strike. Balancing these technical elements empowers us to capture the electrifying essence of a storm.
Aperture and ISO
Mastering aperture and ISO settings is vital for achieving the best exposure and clarity when photographing lightning. Let's explore the intricacies of the exposure triangle and how it influences our compositions.
Aperture, the size of the lens opening, directly impacts the depth of field and the amount of light hitting the sensor. For lightning, we typically use a small aperture (high f-stop like f/8 to f/16) to maximize depth of field and guarantee sharpness across the frame. This also helps in capturing the intricate details of light trails created by lightning strikes.
ISO, the sensor's sensitivity to light, is another essential component. Lower ISO settings (100-400) are preferred to minimize noise, a common issue in long exposures. Combined with long exposures, this setting ensures we capture the full brilliance of lightning without introducing unwanted grain.
Balancing these elements within the exposure triangle is key. A well-chosen aperture and ISO work in harmony with long exposures to create stunning lightning photographs, capturing both the dramatic burst of light and the ambient details.
Focusing Techniques
Achieving precise focus in lightning photography demands careful attention to detail and the skilled use of manual focus settings to ensure every bolt is captured with razor-sharp precision. Let's explore the intricacies of ensuring that our shots are flawlessly focused.
Firstly, manual focus is essential. Auto focus tends to struggle with the unpredictable and fleeting nature of lightning strikes. By switching to manual focus, we gain control over the depth of field, ensuring that our focal point remains firm on distant subjects. A practical approach is to initially focus on an object at the horizon or a distant light source, then fine-tune as necessary.
Composition angles play a critical role in achieving ideal focus. We should experiment with various angles to identify the most dramatic and visually compelling perspectives. Remember, lightning often illuminates vast portions of the sky, so a broader depth of field is preferable. This can be achieved by using a smaller aperture, such as f/8 or f/11, which enhances sharpness across the frame.
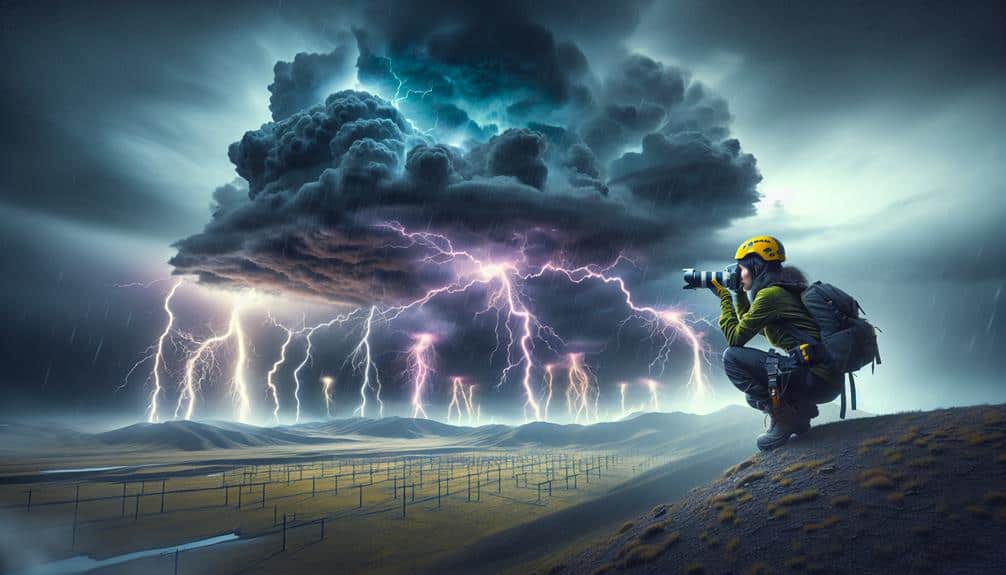
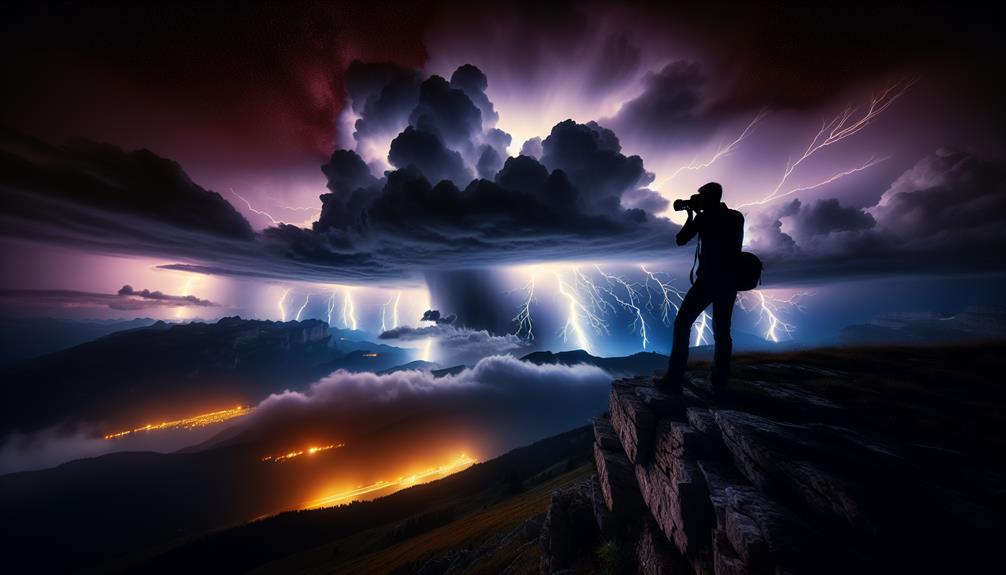
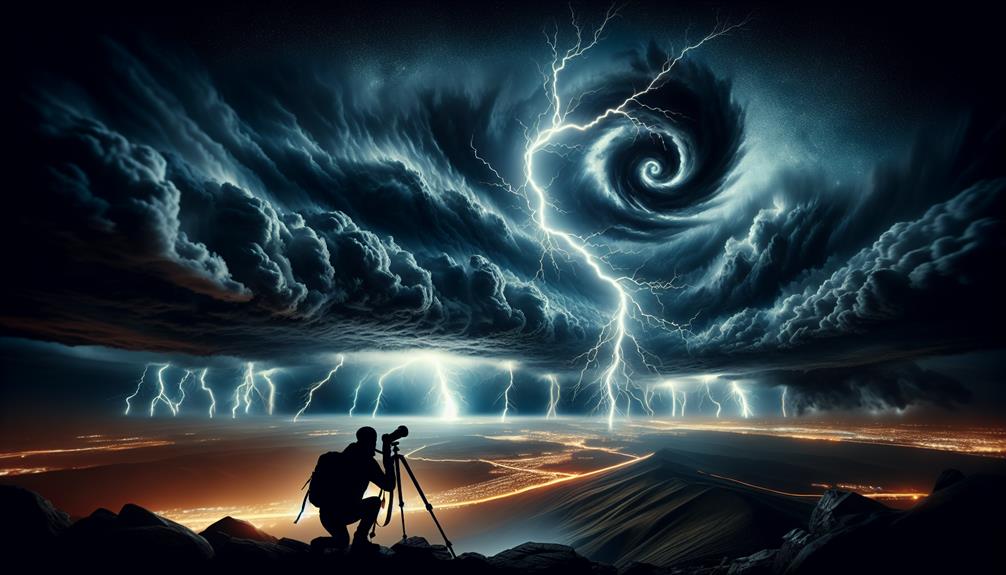
Ideal Locations
When selecting ideal locations for lightning photography, we must prioritize open sky vantage points to maximize our field of view and capture expansive storm activity. Equally important is ensuring we choose safe shooting spots, maintaining a substantial distance from the storm to mitigate the risk of lightning strikes.
Open Sky Vantage Points
Scouting for open sky vantage points is essential for capturing unobstructed and dramatic lightning shots, as these locations minimize visual barriers and maximize sky visibility. By positioning ourselves in strategic spots, we can optimize our chances of seizing that perfect moment when lightning illuminates the sky.
Let's explore some prime locations that offer expansive, open vistas ideal for lightning photography.
- Urban rooftops: Elevated perspectives from skyscrapers and high-rise buildings grant us a panoramic view, cutting through the clutter of city lights and structures to frame the lightning in all its glory.
- Mountains: Ascending to mountain peaks provides a natural high ground, giving us a vast expanse of sky with minimal obstructions. The altitude also places us closer to storm activity, enhancing the drama of our shots.
- Beaches: The open, flat terrain of beaches offers an uninterrupted horizon, ideal for photographing lightning over the ocean or shoreline. The reflective surface of the water can amplify the visual impact of the lightning bolts.
Safe Shooting Spots
While finding the perfect vantage point is key for capturing stunning lightning shots, prioritizing our safety at these locations is paramount. We must meticulously analyze the weather conditions to avoid hazardous situations.
An ideal safe shooting spot would be an elevated, open area that offers a clear, unobstructed horizon. However, let's not forget that lightning tends to strike the highest point in an area, making elevated positions risky. As a result, a safe compromise could be shooting from a car or a sturdy building, where we're protected from direct strikes.
Understanding lightning patterns is equally essential. By studying historical data and real-time meteorological reports, we can predict where lightning is likely to occur and position ourselves strategically, without compromising safety. We should avoid areas with tall structures or isolated trees, as they attract lightning. Instead, seek locations that offer both safety and a panoramic view, such as wide-open fields with distant storm activity.
Moreover, employing remote shutter release and long exposure techniques allows us to capture lightning from a safer distance. This way, we can balance our quest for freedom and creativity with the necessary precautions to achieve our well-being while photographing these electrifying phenomena.
Timing Your Shots
Capturing the perfect lightning shot requires precise timing and an understanding of storm patterns and electrical activity. To master capturing the moment, we must explore the intricacies of weather patterns and the dynamics of thunderstorms. Timing isn't just about pressing the shutter button; it's about predicting where and when the lightning will strike.
We need to examine atmospheric conditions and comprehend the lifecycle of a storm. By tracking the storm's progression, we can anticipate the peak electrical activity. Advanced tools such as Doppler radar and lightning detection networks can provide real-time data, enhancing our ability to predict lightning strikes.
Key strategies for timing our shots include:
- Continuous Shooting Mode: Using this mode increases the probability of capturing lightning by taking multiple shots in quick succession.
- Long Exposure: Setting a longer exposure can capture multiple lightning bolts in one frame, offering a dramatic effect.
- Manual Shutter Release: This allows us to open and close the shutter based on visual cues, essential for unpredictable lightning.
Using a Tripod
To maximize the effectiveness of our timing strategies, utilizing a tripod guarantees stability and sharpness in our lightning photography. In the unpredictable dance of storm light, the tripod's stability is non-negotiable. Handheld shots introduce motion blur, compromising clarity, especially with long exposures necessary to capture lightning bolts. Our tripod acts as the bedrock, ensuring each shot remains razor-sharp.
We must consider lighting angles to optimize our composition. By adjusting the tripod height and orientation, we can experiment with varied perspectives, capturing the dramatic interplay between sky and landscape. Elevating the camera might offer a more expansive view of the storm, while lowering it can foreground dramatic terrain against the lightning.
Tripod stability is critical when setting up on uneven ground. We should use a tripod with adjustable legs and a sturdy build to withstand gusty winds typical of thunderstorms. Sandbags or weighted hooks can offer additional stabilization, ensuring our setup remains unshaken.
Moreover, the tripod frees us from physically holding the camera, allowing us to focus on refining composition and timing. This liberation not only enhances our creative control but also augments our technical precision, making each captured bolt a demonstration of meticulous craftsmanship.
Remote Shutter Release
A remote shutter release is essential for ensuring our lightning photography remains free from the slightest camera shake, facilitating precise long-exposure captures. When we're aiming to immortalize the spectacular lighting effects dancing across stormy skies, even the smallest vibration can blur our image. Utilizing a remote shutter release allows us to engage the camera without physically touching it, maintaining the integrity of our composition and focus.
Here are some key reasons why a remote shutter release is a game-changer:
- Enhanced Stability: It eliminates any risk of camera shake that occurs when pressing the shutter button manually.
- Longer Exposures: We can effortlessly capture extensive lightning sequences by locking the shutter open for extended periods.
- Distance Control: Operating the camera from a distance keeps us safe during volatile weather conditions.
Composing Your Shot
While our remote shutter release guarantees stability, mastering the art of composing your shot is essential to creating captivating lightning photographs that mesmerize and intrigue.
We must integrate advanced framing techniques and artistic angles to harness the raw energy of lightning. Utilizing the rule of thirds, we strategically position the lightning bolt along the intersecting lines, transforming a mundane shot into a dynamic composition. This approach secures our images possess visual balance and depth.
Leading lines are crucial in guiding the viewer's eye through the scene. By incorporating elements like roads, rivers, or even architectural structures, we create a visual pathway that naturally directs attention to the lightning strike. This technique not only enhances the image's narrative but also adds layers of complexity.
Considering artistic angles is vital. Shooting from a low angle can amplify the scale and drama of the storm, while a high vantage point offers a panoramic view of the sky, capturing the vastness of the lightning display. By experimenting with these perspectives, we elevate our compositions, creating evocative images that resonate with freedom and the untamed power of nature.
Meticulous composition transforms fleeting moments into timeless captures.
Post-Processing Tips
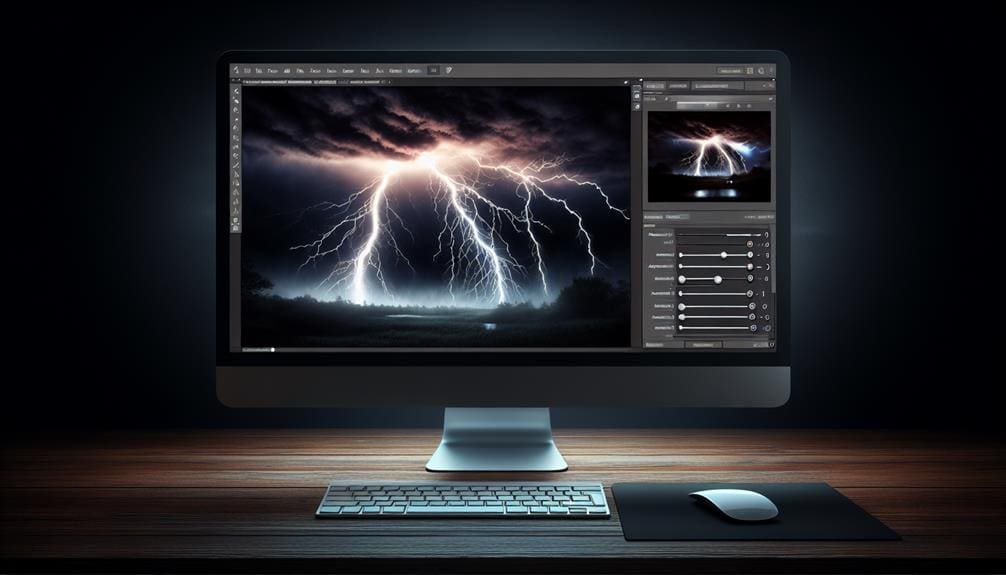
Now, let's focus on post-processing to elevate our lightning photographs.
We'll address enhancing lightning colors to intensify visual impact.
Employ noise reduction techniques to maintain image integrity.
Apply sharpening for best clarity.
These strategies will transform our raw captures into stunning, professional-quality images.
Enhance Lightning Colors
Harnessing the raw power of lightning and transforming it into a vibrant array of colors entails mastering advanced post-processing techniques in software such as Adobe Lightroom or Photoshop. Our journey commences with color temperature adjustments, a vital step to guarantee the lightning's hues appear natural or artistically enhanced. By refining the white balance, we can emphasize the cool blues or warm yellows, depending on the desired impact.
This precise manipulation of color temperature establishes the foundation for our creative editing methods.
Next, we immerse ourselves in specialized tools that enable us to enhance the dynamic range and contrast of our lightning shots. Utilizing adjustment layers and masks, we can selectively intensify the lightning's brightness without overexposing other elements in the frame. Techniques like dodging and burning assist us in adding depth and dimension, making the lightning bolts stand out against the dark sky.
To make our editing process more captivating, explore these advanced techniques:
- Gradient Maps: Apply gradient maps to create striking color shifts that accentuate the lightning's path.
- Selective Color Adjustments: Isolate specific colors to intensify or soften them, achieving a more impactful effect.
- Curves Adjustments: Fine-tune the tonal range for a well-balanced, high-contrast image.
Noise Reduction Techniques
With our vibrant colors refined, we must address noise reduction to guarantee our images maintain clarity and detail, especially in the darker areas of the frame. It's essential to employ advanced noise reduction techniques in post-processing.
First, let's explore filter selection within your preferred editing software. Using luminance and chrominance noise filters can greatly reduce grain without sacrificing sharpness.
We should also consider exposure compensation. Adjusting the exposure during post-processing can lessen noise introduced by high ISO settings used during the shoot. When reducing noise, make sure that we fine-tune the white balance to preserve the natural hues of the lightning against the night sky. This balance maintains the image's authenticity while minimizing color noise.
Most editing software provides tools like the 'Detail' panel in Lightroom or the 'Denoise' filter in Photoshop. These allow us to precisely control the extent of noise reduction, making sure we don't overly soften the image.
We suggest starting with a lower noise reduction setting and gradually increasing it, focusing on the darker regions of the frame.
Sharpening for Clarity
To enhance the fine details of our lightning photos, we must employ advanced sharpening techniques that target the image's edges while preserving the overall integrity. This allows us to bring out the striking intricacies of each lightning bolt without introducing unwanted artifacts.
By using precise post-processing techniques, we can greatly improve contrast and make sure that our images are both sharp and vibrant.
Here are some essential steps to keep in mind:
- High-Pass Filter: A non-destructive method that sharpens edges without affecting the image's overall texture. Simply duplicate the layer, apply the high-pass filter, and set the blending mode to overlay.
- Unsharp Mask: Fine-tune sharpening by adjusting the amount, radius, and threshold. This method helps to accentuate the details in the lightning bolts while keeping noise to a minimum.
- Smart Sharpen: Utilize the advanced controls like 'Remove Gaussian Blur' or 'Lens Blur' for more refined results. This tool provides better control over sharpening halos.
Practice and Patience
Mastering lightning photography demands a blend of consistent practice and unwavering patience to capture the fleeting brilliance of each strike. We need to familiarize ourselves with different lighting styles and artistic approaches in order to transform each photograph into a masterpiece. Understanding how various lighting techniques affect the final image is critical. Whether we aim for a dramatic silhouette or a vividly illuminated landscape, each choice shapes the narrative of our photograph.
Weather conditions play a pivotal role in our success. Storm chasing isn't just a hobby; it's a calculated endeavor requiring real-time weather tracking, understanding meteorological patterns, and sometimes hours of waiting. We should always stay well-informed about the storm's development and our own safety.
Patience is our ally. Capturing the perfect lightning shot often means setting up our gear, composing our shot, and then waiting—sometimes for hours—until that perfect moment materializes.
Each storm is unique, and with every click of the shutter, we refine our technique, learning subtleties that can only be mastered through experience. Let's embrace the unpredictability and the thrill of storm chasing, knowing that with each bolt, we inch closer to the perfect capture.
Frequently Asked Questions
How Do I Predict Where Lightning Will Strike?
Predicting lightning is like reading nature's heartbeat. We utilize lightning detection systems and analyze storm patterns. Always prioritize safety precautions, ensuring we're equipped and aware, letting us capture the perfect shot while staying safe and free.
What Weather Apps Are Best for Tracking Lightning Storms?
We rely on apps like MyLightningTracker and RadarScope for storm chasing. These platforms integrate advanced technology to enhance lightning safety and refine our photography techniques. They're essential tools for those passionate about capturing the perfect storm.
Can I Photograph Lightning in Urban Areas?
Yes, we can photograph lightning in urban areas, but we must navigate urban obstacles and mitigate light pollution. Using long exposures, narrow apertures, and carefully selecting vantage points maximizes our chances of capturing dramatic lightning strikes.
What Should I Do if Caught in a Storm While Photographing?
Did you know lightning can strike up to 10 miles from a storm? If we're caught in one, prioritize safety precautions: seek shelter immediately and follow our emergency plan to guarantee we're protected from potential hazards.
Are There Specific Seasons Better for Lightning Photography?
Yes, certain seasons provide better conditions for lightning photography. We should target summer for ideal locations with frequent storms. Utilize best equipment like a sturdy tripod and a camera with manual settings to capture stunning shots.