To enhance our lightning strike photos, we should start with top-notch editing software like Adobe Lightroom or Capture One, as they offer advanced techniques and user-friendly interfaces. Proper exposure settings—longer shutter speeds, smaller apertures, and low ISOs—are pivotal for capturing lightning's intensity. Boosting contrast and clarity guarantees each bolt stands out sharply against the stormy sky. Adjusting color balance enhances the natural hues of the scene. Advanced noise reduction techniques are essential for maintaining bolt sharpness and minimizing high ISO noise. By refining these aspects, our lightning photos will achieve professional-quality impact, revealing further potential with additional insights.
Key Points
- Use long exposure times to capture multiple lightning strikes in a single shot.
- Adjust white balance to ensure accurate hues and natural stormy sky colors.
- Apply sharpening filters to enhance the clarity and sharpness of lightning bolts.
- Utilize noise reduction techniques to minimize noise from high ISO settings.
Choosing the Right Software
Selecting the appropriate software for editing lightning strike photos is vital for achieving professional-quality results. We need to conduct a thorough software comparison to identify the best tools that offer advanced editing techniques tailored for lightning photography.
Adobe Lightroom and Photoshop are industry standards, renowned for their extensive feature sets. However, we shouldn't overlook alternatives like Capture One or Affinity Photo, which also provide robust capabilities.
User experience plays an important role in our decision-making process. A software's interface must be intuitive, allowing us to navigate through complex adjustments seamlessly. We want to focus on refining our images, not struggling with cumbersome menus.
Compatibility requirements are another significant factor. Our chosen software should smoothly integrate with our operating systems and support various file formats, ensuring we can work with RAW images without any hitches.
Adjusting Exposure Levels
To achieve the perfect balance in our lightning strike photos, adjusting exposure levels is essential for capturing the intensity and detail of each strike. As storm chasers, we understand that lightning can be unpredictable, and the window of opportunity is often limited.
In night photography, where ambient light is minimal, mastering exposure can mean the difference between a striking image and a missed moment.
First, let's make sure our camera settings are optimized:
- Shutter Speed: A longer exposure time, typically between 10-30 seconds, allows us to capture multiple lightning strikes in one frame. However, too long can result in overexposure.
- Aperture: A smaller aperture (higher f-stop number) helps to manage the brightness of the lightning, preventing it from blowing out the image while maintaining depth of field.
Enhancing Contrast and Clarity
Improving contrast and clarity in our lightning strike photos guarantees that each bolt stands out sharply against the dark sky, transforming a simple capture into a visually stunning masterpiece.
To achieve this, we need to focus on both enhancing the overall sharpness and adjusting the finer details of the image.
First, increasing sharpness is essential. We can apply a sharpening filter to emphasize the edges of the lightning bolts. This technique helps in defining the intricate, often fractal-like patterns of the strikes, making them pop against the background.
Next, adjusting highlights allows us to fine-tune the brightness levels, making sure the lightning appears both brilliant and dramatic without losing detail.
Boosting saturation is another key step. By enhancing the saturation levels, we amplify the vividness of the colors present in the sky and the surrounding environment. This secures that the photo captures the electric intensity of the storm.
Correcting Color Balance
When correcting color balance, we must make sure the hues accurately represent the natural palette of a stormy sky, effectively highlighting the true essence of the lightning. Achieving this begins with meticulous white balance correction.
We can utilize advanced editing techniques to secure our photos mirror the electric intensity of the scene, preserving the vivid contrast between the lightning and the brooding clouds.
Implementing these post-processing tips will enhance the authenticity of our images:
- Adjust White Balance: Begin by setting the correct white balance. In many cases, using the camera's predefined settings for cloudy or shade can create a good starting point. Fine-tune these settings in post-processing software to achieve the desired effect.
- Leverage Color Correction Tools: Utilize color correction tools to adjust the hues and tones. These tools help in neutralizing any color casts that can distort the true appearance of the lightning.
Removing Noise and Artifacts
Eliminating digital interference and imperfections is vital to guarantee our lightning strike photos retain their clarity and professional quality. High ISO settings, often necessary for capturing lightning, can introduce unwanted disturbances. To address this, we utilize advanced noise reduction techniques. Utilizing software like Adobe Lightroom or DxO PhotoLab, we can fine-tune luminance and color noise sliders to minimize grain without sacrificing detail.
Artifacts removal is equally important, especially when long exposures are involved. Hot pixels and banding may spoil our otherwise stunning images. Tools such as Photoshop's Healing Brush and Clone Stamp allow us to meticulously eradicate these imperfections. A more automated approach involves using AI-driven software like Topaz DeNoise AI, which intelligently distinguishes between noise and intricate details, ensuring our lightning bolts remain sharp and impactful.
We must also pay attention to chromatic aberration, a common artifact in high-contrast scenes. By adjusting the lens correction settings in our editing software, we can eliminate color fringing and maintain the purity of our photos.
Through diligent noise reduction and artifacts removal, we guarantee our lightning strike photos are as engaging and pristine as possible.
Adding Finishing Touches
Let's enhance our lightning strike photos further by applying strategic finishing touches that amplify their visual impact. By leveraging advanced photo editing techniques and integrating creative effects, we can elevate our images from merely impressive to truly awe-inspiring.
First, let's consider the composition tips that can turn a good photo into a compelling piece of visual storytelling. Cropping to focus on the lightning's point of origin or its interaction with the landscape can add drama. Adjusting the horizon line can also shift the viewer's perspective, leading to a more dynamic composition.
Next, we should apply creative effects to highlight the natural intensity of lightning:
- High Dynamic Range (HDR): Merge multiple exposures to achieve a balanced tonal range, preserving details in both the shadows and highlights.
- Selective Color Enhancement: Amplify the lightning's color to make it stand out against the darkened sky.
Frequently Asked Questions
What Type of Camera Is Best for Capturing Lightning Strikes?
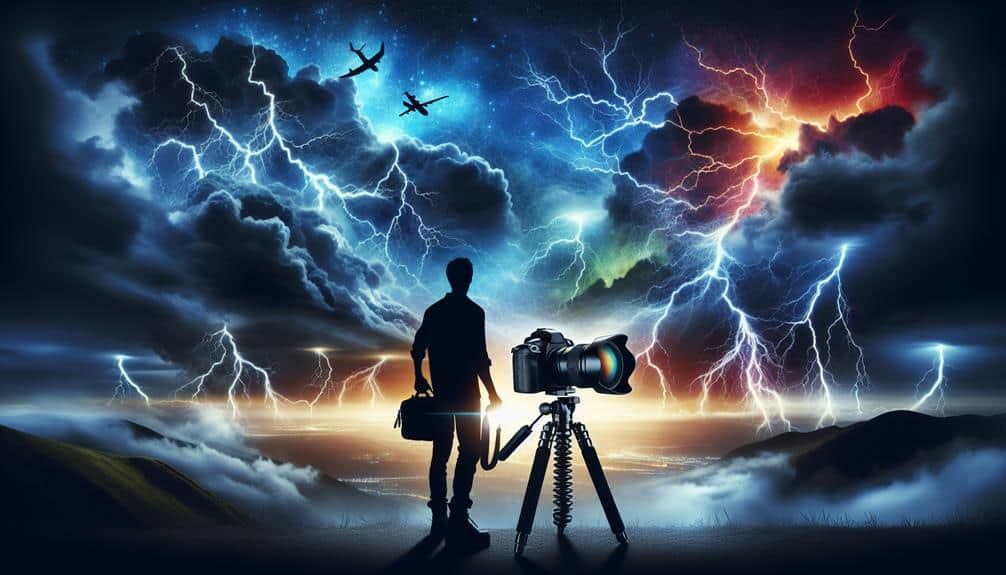
For capturing lightning strikes, we recommend DSLRs or mirrorless cameras. Consider equipment recommendations like sturdy tripods and remote shutters. Prioritize safety precautions and photo composition to guarantee stunning and safe lightning photos. Explore various camera options for flexibility.
How Can I Safely Photograph Lightning During a Storm?
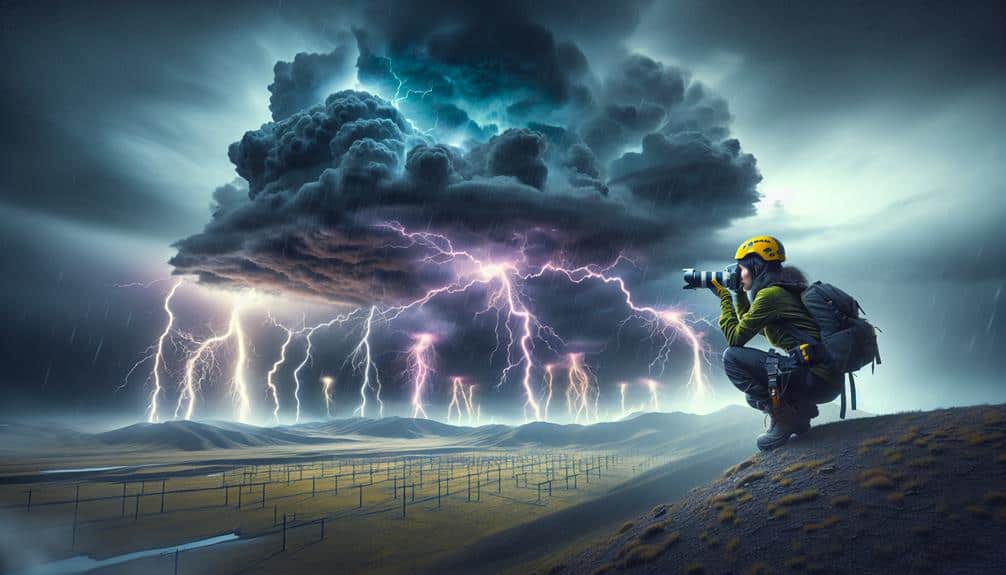
Capturing lightning safely requires us to master storm preparation and gear setup with the precision of seasoned storm chasers. Prioritize lightning safety, guarantee robust gear protection, and meticulously plan your composition for breathtaking, electrifying shots without compromising safety.
What Settings Should I Use on My Camera for Lightning Photography?
For best lightning photography, we should use long exposure settings and apply advanced composition techniques. Ensuring quality camera gear is essential. Post-shoot, let's enhance our shots with precise editing tricks to achieve stunning, professional results.
How Do I Position Myself to Get the Best Lightning Shots?
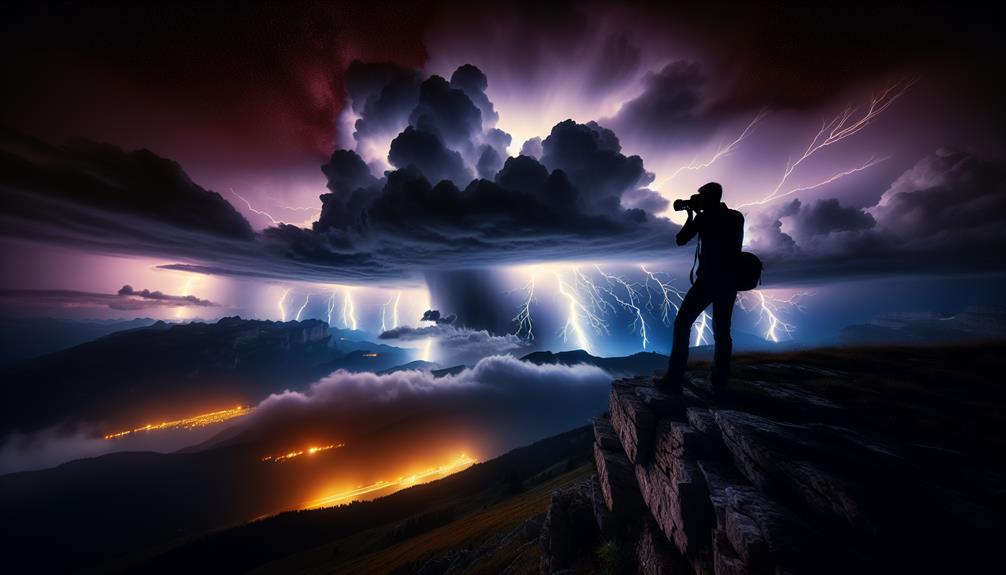
Want the best locations and timing for lightning shots? We should scout open areas with clear views and check weather conditions. Essential equipment includes a sturdy tripod and a remote shutter release. Safety and preparation are key.
What Type of Lens Works Best for Lightning Photography?
For best lightning photography, we should use a wide-angle lens to capture expansive skies. Considering lighting conditions and composition techniques, post processing tricks in editing software can enhance details and vibrancy for stunning results.