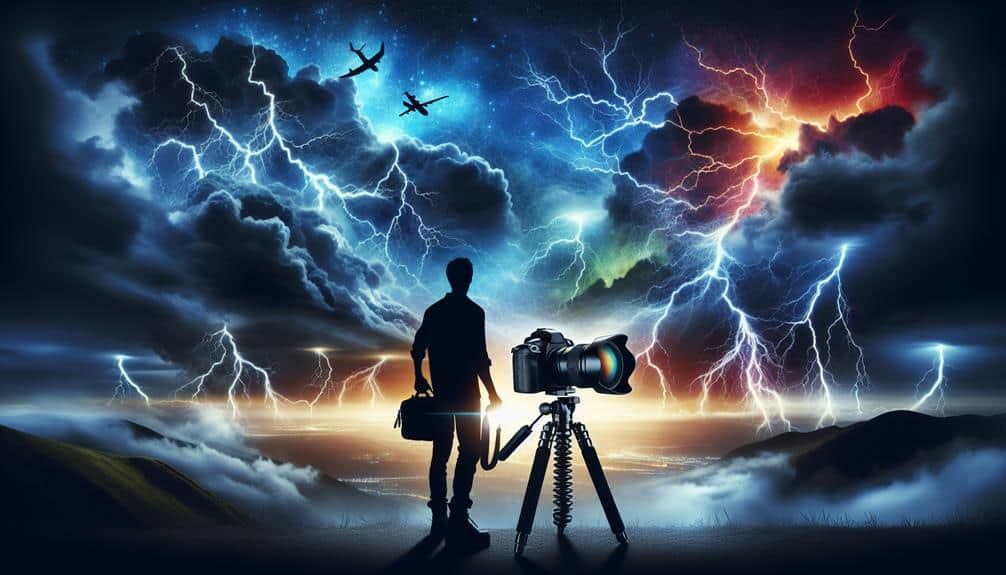
We need to prioritize areas with unobstructed views and minimal light pollution, using a sturdy tripod and remote trigger to ensure stability. Studying weather patterns helps track storms, and choosing vantage points based on radar data is essential. Manual focus and long exposures with mid-range apertures capture lightning best; keeping ISO low retains image clarity. The golden hour or nighttime offers dramatic lighting, while framing with leading lines and Rule of Thirds enhances composition. For compelling narratives, include foreground elements like silhouettes or reflective surfaces, but above all, prioritize safety with detailed planning and route assessments for shelter. Let's explore these aspects more deeply.
Key Points
- Use Leading Lines: Incorporate natural lines to guide the viewer's eye towards the lightning strike.
- Dynamic Perspectives: Experiment with low and high angles to add drama and uniqueness to the shot.
- Rule of Thirds: Position the lightning strike off-center for a balanced and aesthetically pleasing composition.
- Foreground Elements: Include silhouetted objects or reflective surfaces to add depth and context.
Scouting Ideal Locations
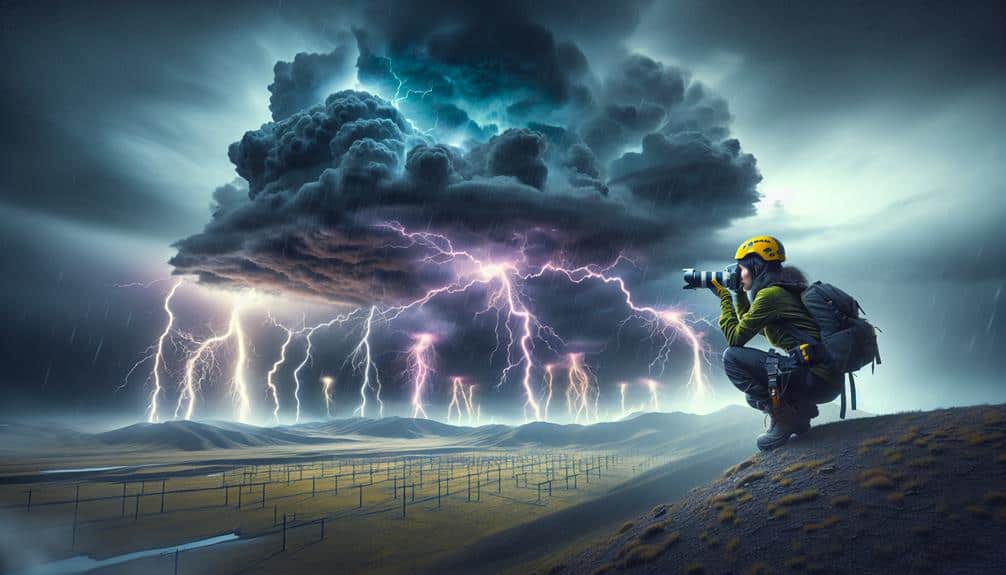
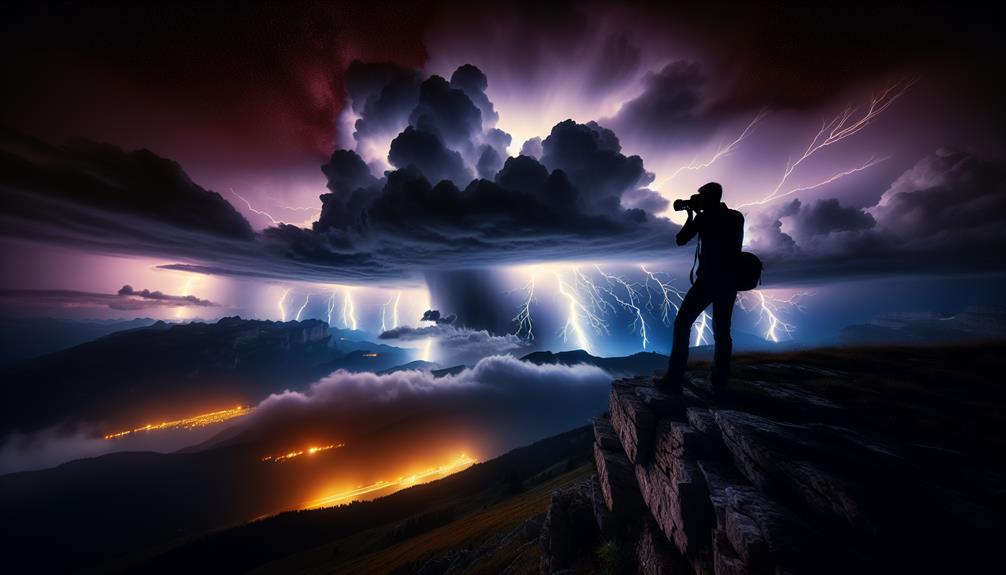
When scouting ideal locations for lightning strike photography, we should prioritize areas with an unobstructed view of the horizon and minimal light pollution. This guarantees that our captures are both striking and free from distracting elements.
An essential part of our preparation involves a thorough equipment checklist. We'll need a sturdy tripod to stabilize our shots, a high-quality camera capable of handling long exposures, and remote triggers to avoid camera shake.
In terms of lighting conditions, we must seek out locations where artificial light is at its lowest. Urban areas, with their pervasive glow, often obscure the natural brilliance of lightning. Open fields, coastal regions, or high vantage points far from city lights offer the best conditions.
Our artistic vision comes into play when framing the shot. By positioning ourselves strategically, we can capture the full drama of a lightning strike against a darkened sky. Utilizing remote triggers allows for precise timing, while long exposures help encapsulate the electric energy in a single frame.
Each bolt of lightning becomes a brushstroke on our canvas, painting vivid stories of nature's raw power. With the right location and preparation, our photographs will truly embody the freedom we seek.
Understanding Weather Patterns
To truly master lightning strike photography, we must also understand weather patterns that predict these electrifying events. As storm chasers, our journey begins with studying meteorological data. We need to familiarize ourselves with key indicators such as atmospheric pressure changes, humidity levels, and temperature gradients. These elements help us anticipate thunderstorm development.
When we're analyzing cloud formations, cumulonimbus clouds are our primary focus. These towering giants, with their anvil-shaped tops, are a telltale sign that lightning might be imminent. We should keep an eye out for the early stages of these clouds, which often start as towering cumulus formations. Observing their growth can provide us with vital lead time to set up our gear.
Our artistic vision comes into play when we position ourselves relative to the storm. By understanding the storm's movement, we can choose vantage points that offer both safety and best composition. We should track the storm's path using radar and satellite imagery, allowing us to anticipate where the most intense lightning activity may occur.
Ultimately, combining technical expertise in weather patterns with our creative instincts enables us to capture the raw power and beauty of lightning strikes.
Camera Settings for Lightning
Mastering the camera settings for lightning photography requires a blend of technical knowledge and artistic intuition. To capture the electrifying beauty of lightning, we need to meticulously adjust our exposure settings. Ensuring that our focus is sharp is essential. We'll often use manual focus, dialing in on a distant object or setting the lens to infinity to guarantee that the lightning bolts are crisp.
Shutter speed plays a pivotal role here. Given the unpredictable nature of lightning, we'll often use long exposures to increase our chances of capturing a strike. Setting the shutter speed to around 10-30 seconds allows the camera to gather more light and detail. This is especially effective when paired with a sturdy tripod to avoid any motion blur.
Aperture settings are equally significant. Generally, we'll aim for a mid-range aperture, around f/8 to f/11. This balances depth of field and sharpness, ensuring both the foreground and the lightning strike are in focus.
Lastly, let's not forget ISO. We should keep it low, around 100-200, to minimize noise and maintain image clarity. With these settings dialed in, we're ready to capture the raw power of lightning with both precision and creativity.
Optimal Time for Shots
Choosing the best time for lightning shots hinges on understanding weather patterns and the unique atmospheric conditions that precede a storm. We need to monitor weather forecasts and storm radars to predict when and where lightning might occur.
The golden hour, typically the hour after sunrise or before sunset, can provide dramatic lighting that enhances the visual impact of our images. However, nighttime shots often yield the most striking results, as the darkness contrasts beautifully with the bright flashes of lightning.
When storm chasing, we should target the best locations where storms are frequent and visibility is unobstructed. Open fields, high vantage points, and coastal areas offer expansive views of the sky, maximizing our chances of capturing the perfect strike.
It's essential to time our shots just right, ideally just before the storm peaks, when the lightning activity is at its most intense.
Framing and Composition

As we explore framing and composition, we'll focus on using leading lines, following the rule of thirds, and incorporating foreground elements to enhance our lightning strike shots.
By strategically placing these elements, we can guide the viewer's eye and add depth to our images.
Let's break down how each technique can contribute to a more compelling photograph.
Leading Lines Usage
In lightning strike photography, we can harness the power of leading lines to guide the viewer's eye and enhance the dramatic impact of the composition. By integrating leading lines, we create a visual journey that draws attention directly to the heart of the image—the lightning strike itself.
These lines can be natural elements such as roads, rivers, or tree lines, or they can be man-made structures like fences, bridges, or urban landscapes.
To achieve the most compelling results, we should experiment with creative angles and dynamic perspectives. By positioning ourselves at different vantage points, we can capture the leading lines in ways that amplify the sense of depth and drama.
For instance, shooting from a low angle can make the lines converge towards the lightning strike, creating a powerful visual pull. Alternatively, a high vantage point can provide an expansive view that showcases both the leading lines and the vastness of the stormy sky.
When we master the use of leading lines, we don't just capture a lightning strike; we tell a story with each photograph. This technique allows us to transform a fleeting moment into a timeless piece of art that commands attention and sparks imagination.
Rule of Thirds
While leading lines guide the viewer's eye, the Rule of Thirds helps us frame the lightning strike within a balanced, visually engaging composition. By dividing our frame into a 3×3 grid, we can position the lightning in a way that enhances its impact and draws the audience into the scene.
To master lightning composition using the Rule of Thirds, let's break it down:
- Position the Strike: Place the lightning bolt along one of the vertical lines of the grid. This technique guarantees the strike isn't centered, adding dynamic tension and interest.
- Incorporate the Horizon: Align the horizon with one of the horizontal lines. This balance between sky and land creates a natural, appealing division of space, making the lightning the focal point.
- Use Intersections: Aim to place key elements of the lightning strike, such as the brightest flash or the point where it meets the ground, at the intersections of the grid lines. These points naturally attract the viewer's eye.
Foreground Elements
Foreground elements can dramatically enhance our lightning photography by adding depth, context, and a sense of scale to the composition. When we incorporate objects like trees, buildings, or even mountains into our shots, we create a compelling narrative that transforms a simple lightning strike into a powerful scene. These elements provide a reference point, making the lightning appear more formidable and majestic.
By using creative positioning, we can frame our foreground elements in a way that complements the natural lighting effects of the storm. For instance, placing a silhouetted tree against the illuminated sky can create stark contrasts that draw the viewer's eye directly to the lightning bolt. In addition, incorporating reflective surfaces such as water bodies or wet pavements can amplify the lighting effects, adding layers of intrigue to the photograph.
We should also consider the distance between our foreground elements and the lightning. A close foreground can create a sense of immediacy and danger, while a distant one can emphasize the vastness of the storm.
Safety Precautions
Prioritizing safety is vital when capturing lightning strikes, as the inherent dangers require thorough planning and adherence to specific precautions. We must create an emergency plan and maintain an equipment checklist to make sure we're prepared for any unforeseen circumstances.
Evaluating the risk and practicing lightning avoidance are crucial steps we can't overlook. Let's break down the key precautions:
- Emergency Plan and Equipment Checklist: Before heading out, we need to establish a clear emergency plan. This includes knowing the quickest routes to shelter and ensuring our gear, such as cameras, tripods, and protective casings, is in top condition. An equipment checklist guarantees we don't forget essential safety items like first aid kits and weather radios.
- Lightning Avoidance and Risk Evaluation: We should always conduct a thorough risk evaluation by monitoring weather forecasts and lightning activity. Avoiding high-risk areas like open fields and tall structures reduces our exposure to potential strikes. It's essential to have a solid understanding of the storm's behavior and stay within a safe distance.
- Shelter and Timing: Timing our photography sessions is key. We should plan to shoot from a sheltered location, such as a car or a building, and avoid being the tallest object in an area. By timing our shots wisely, we can balance capturing stunning images with staying safe.
Frequently Asked Questions
How Do You Protect Your Camera Equipment During a Lightning Storm?
We protect our camera equipment during lightning storms by using weatherproof gear and camera covers. We also set up lightning rods and use surge protectors to shield our devices from electrical surges, ensuring both functionality and safety.
What Post-Processing Techniques Enhance Lightning Photos?
We enhance lightning photos by applying color correction and cropping to frame the shot perfectly. We also use noise reduction to clarify the image and sharpening techniques to highlight the lightning's intricate details, achieving artistic brilliance.
Can Smartphone Cameras Capture Lightning Effectively?
Can smartphone cameras capture lightning effectively? We've investigated the theory and found smartphone limitations often hinder capturing lightning. However, using lightning photography apps and alternative options, we can still achieve impressive results with some artistic vision and detailed analysis.
What Accessories Are Essential for Lightning Photography?
For lightning photography, we need essential gear like a sturdy tripod and a remote shutter release. Proper techniques and precise composition allow us to capture the perfect lighting shot, highlighting the sky's dramatic beauty with artistic vision.
How Do You Avoid Overexposure When Photographing Lightning at Night?
Imagine this: the night sky ignites with a brilliant flash. To avoid overexposure, we adjust exposure settings meticulously. Night photography demands patience; composition tips and understanding lighting conditions are essential for capturing that perfect lightning shot.