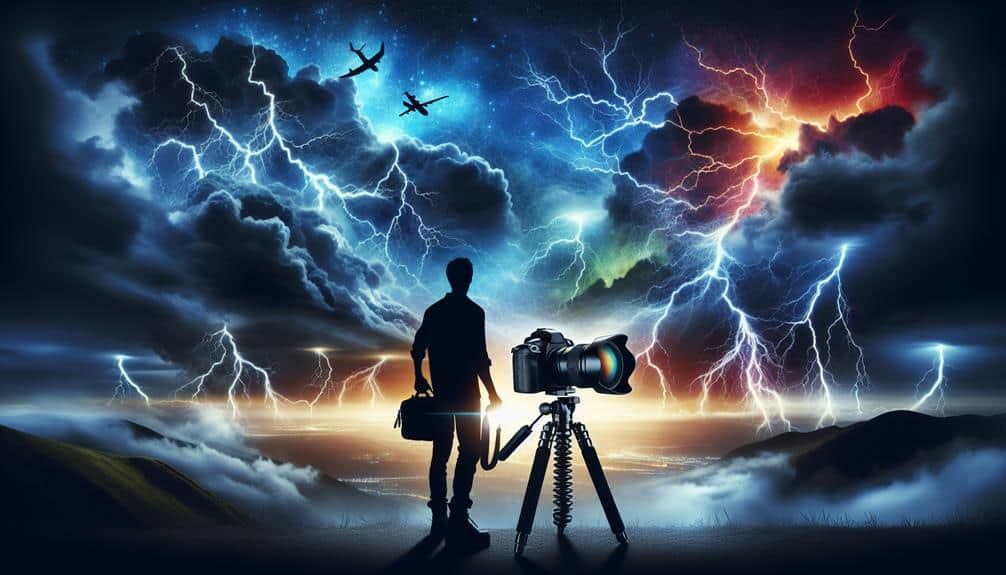
Capturing lightning strikes involves a mix of technical skill and artistic vision. We use a sturdy tripod and a DSLR or mirrorless camera with manual settings, paired with a wide-angle lens for expansive sky coverage. Start with a low ISO (100-200), a small aperture (f/8 to f/11), and longer shutter speeds (5 to 30 seconds) to frame multiple strikes. Safety is key, so we choose locations away from metal objects and water bodies, using apps to track storms. By focusing manually and experimenting with angles, we enhance our chances of immortalizing a dramatic strike. There's more to explore for refining these techniques.
Key Points
- Use a sturdy tripod and remote shutter release to avoid camera shake.
- Set a low ISO (100-200) and small aperture (f/8 to f/11) for sharp, noise-free images.
- Opt for long shutter speeds (5-30 seconds) to capture multiple lightning strikes.
- Choose safe locations with wide, unobstructed views and minimal light pollution.
Choosing the Right Gear
When capturing the elusive beauty of a lightning strike, selecting the right gear is essential to make sure you get sharp, well-exposed images. We need a sturdy tripod to keep our camera steady during long exposures. A DSLR or mirrorless camera with manual settings is pivotal for flexibility. Don't forget a wide-angle lens to cover more sky and increase our chances of capturing the strike.
Gear maintenance is also crucial. Regularly cleaning lenses and ensuring our camera's sensor is free from dust helps maintain image quality. Even in unpredictable weather, a rain cover or weather-sealed equipment keeps our gear safe.
For those of us on a tight budget, there are budget options that don't compromise too much on quality. Used or refurbished cameras can be just as effective as new ones. A basic tripod might lack some features but still provides the needed stability. Manual cable releases or inexpensive remote triggers can help us avoid camera shake without breaking the bank.
Camera Settings for Lightning
Now that we've got our gear sorted, let's explore the camera settings that will help us capture the perfect lightning strike.
First, exposure settings are important for lightning photography. We should start with a low ISO, around 100 or 200, to minimize noise. A small aperture, like f/8 or f/11, will help keep the lightning bolts sharp and the depth of field wide. A longer shutter speed, typically between 5 to 30 seconds, allows us to capture multiple strikes in a single frame.
To enhance our composition techniques, it's vital to frame the shot with a balanced horizon and interesting foreground elements. Lightning can appear anywhere in the sky, so a wide-angle lens is often best.
Focusing tips are also crucial. We should use manual focus, setting our lens to infinity or slightly back from it, to make sure the lightning bolts are crisp. Autofocus might struggle in low light conditions and miss the perfect moment.
For lighting effects, we can experiment with:
- Exposure bracketing to capture different intensities of light.
- Long exposure noise reduction to keep the image clean.
- Bulb mode for extended control over shutter speed.
Safety Precautions During Storms
When we're out capturing lightning, safety must be our top priority.
We should monitor weather alerts closely, choose safe locations away from open fields or bodies of water, and avoid metal objects that could conduct electricity.
Monitor Weather Alerts
As storm clouds gather on the horizon, it's important to monitor weather alerts to guarantee safety and capture stunning lightning photography without risking harm. By doing so, we can keep ourselves safe while ensuring our shots are both awe-inspiring and technically proficient. Understanding lightning patterns and storm tracking is key to predicting where lightning will strike, which informs our positioning and timing.
When monitoring weather alerts, we should:
- Use weather apps: These provide real-time updates and detailed radar images to help us track storm movement.
- Follow local news: Local meteorologists often give precise information about storm intensity and potential hazards.
- Set up alerts: Many apps allow for custom notifications for severe weather, ensuring we don't miss critical updates.
Use Safe Locations
Choosing safe locations is necessary to protect ourselves from the inherent dangers of photographing lightning storms. When we're out in the field, location scouting becomes our first line of defense. We need to identify spots that offer both a clear view of the dramatic skies and a safe distance from the storm's core.
Elevated areas like hills can provide stunning vantage points, but we must make sure they're not the highest point in the area to minimize risk. Our equipment essentials should include a sturdy tripod to keep our camera steady and a remote shutter release to avoid touching the camera during long exposures. Safety gear like waterproof bags for our equipment is also important, as sudden rain can be unpredictable.
To capture those creative angles that highlight lightning's raw power, we should look for natural frames like tree lines or mountain ranges, making sure we're always a safe distance away. The interplay of lightning against such dramatic skies can create mesmerizing images, but our safety must always come first.
Avoid Metal Objects
It's vital that we steer clear of metal objects during lightning storms, as metal conducts electricity and enhances the risk of a strike. When capturing lightning, we must prioritize safety by maintaining a distance from metal tripods, fences, and even camera gear with metallic components. This precaution not only safeguards our health but also ensures we're in a position to focus on the art of photography.
In these volatile lighting conditions, understanding composition angles is essential. We can experiment with different perspectives while maintaining a safe distance. Our choice of shutter speed and camera focus will greatly influence the quality of our shots.
- Avoid metal tripods: Opt for carbon fiber or other non-conductive materials.
- Stay away from vehicles: Metal bodies can attract lightning.
- Maintain distance from metal fences and poles: These can act as lightning conductors.
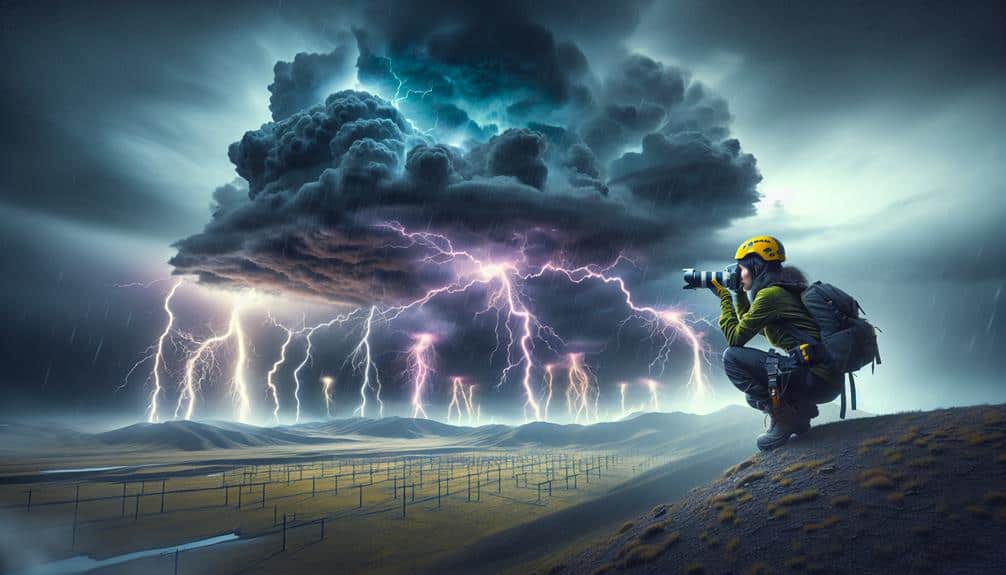
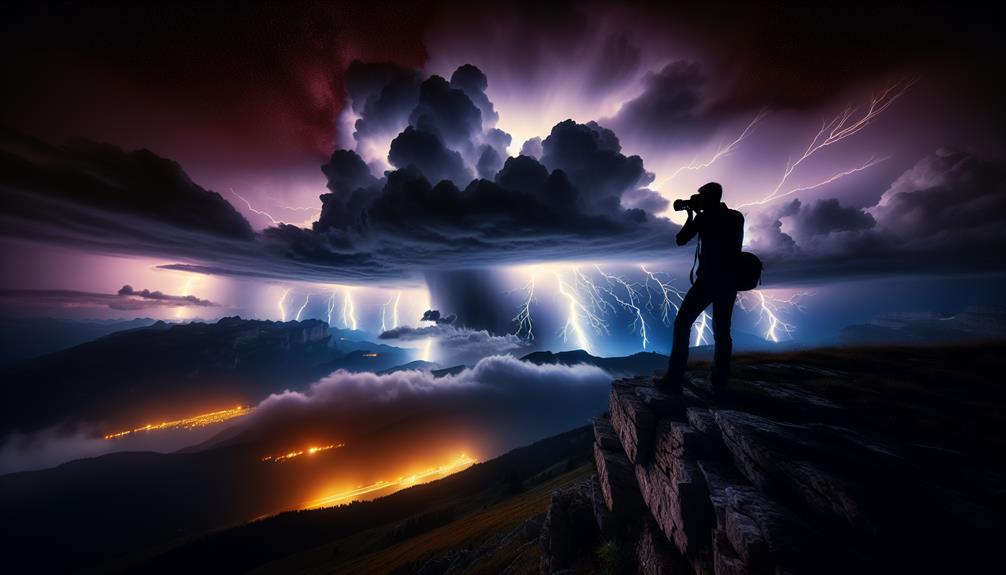
Ideal Locations for Shots
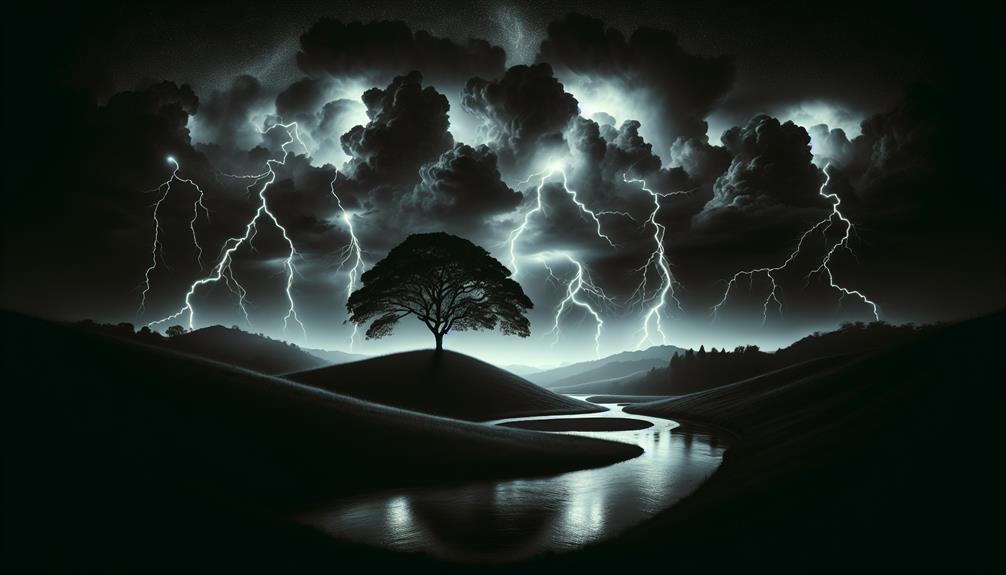
For capturing stunning lightning photographs, we need to identify locations with wide, unobstructed views of the sky and minimal light pollution. Scenic vistas with dramatic skies provide the perfect canvas for nature's electrifying display. Think open fields, hilltops, or coastal areas where the horizon stretches endlessly. These spots allow us to frame the lightning against a vast expanse, making the image more striking.
Secluded spots and hidden gems are ideal since they offer both tranquility and the necessary darkness to enhance the lightning's brilliance. Far away from city lights, these locations guarantee the sky remains the focal point, free from artificial distractions. We can scout for places like national parks, remote beaches, or mountainous areas. These areas not only provide solitude but also unique foreground elements like trees, rocks, or water bodies that can add depth to our compositions.
When choosing an ideal location, safety is paramount. Elevated areas offer great vantage points but make sure we're not the highest object around. Staying mindful of our surroundings allows us to capture the raw power of lightning while keeping ourselves safe. By seeking these perfect spots, we unlock our artistic vision and technical expertise to create breathtaking lightning photography.
Timing Your Shots
Having scouted the perfect location, we now need to master the timing of our shots to capture the fleeting brilliance of lightning. Achieving this requires a blend of technical expertise and artistic vision. To effectively capture lightning, we need to understand both the storm's rhythm and our camera's capabilities.
First, let's set our exposure settings. A good starting point is using a low ISO (100-200) to minimize noise, a narrow aperture (f/8 to f/16) to capture the depth of lighting effects, and a long exposure time (10-30 seconds) to increase the chances of catching a strike. Using a remote shutter release or an intervalometer can be a game-changer, allowing us to take continuous shots without touching the camera.
Here are some key points to keep in mind:
- Use Bulb Mode: This allows us to control the exposure time manually, keeping the shutter open until lightning strikes.
- Monitor the Sky: Observing the storm's pattern helps in anticipating when and where lightning will strike.
- Safety First: Always stay in a safe location, preferably indoors or in a vehicle.
Post-Processing Techniques
Once we've captured our lightning shots, post-processing becomes essential to enhance the dramatic effect and bring out the finest details in our images.
The first step in our workflow should be color correction. Lightning can cast an array of hues depending on the weather and time of night. Using tools like Adobe Lightroom or Photoshop, we can adjust the white balance to make sure colors look natural and vivid. Fine-tuning the saturation and vibrance can further enhance the visual impact without making the image look artificial.
Next, let's talk about contrast adjustment. Lightning photographs often benefit from increased contrast to highlight the stark differences between the bright lightning and the dark sky. By adjusting the levels or curves, we can make the lightning bolts pop against the backdrop, adding depth and drama to the scene.
Pay attention to the shadows and highlights; bringing out the details in these areas can make a significant difference.
Experimenting With Composition
When experimenting with composition, we should focus on framing the perfect shot by carefully selecting our vantage point.
By incorporating compelling foreground elements like trees or buildings, we can add depth and scale to our images.
This approach not only enhances the visual impact but also provides context to the dramatic lightning strikes.
Framing the Perfect Shot
To frame the perfect lightning shot, we must experiment with composition by considering elements like foreground, background, and the rule of thirds to create a balanced and engaging image. The interplay of lighting effects, combined with creative angles, can transform a simple lightning strike into an extraordinary visual narrative.
In our pursuit of the ideal shot, we should keep in mind the following:
- Foreground Interest: Including elements in the foreground can add depth and context to the shot, making the lightning appear more dramatic.
- Background Clarity: A clear background, free of distractions, guarantees that the lightning remains the focal point.
- Rule of Thirds: Positioning the lightning strike along the lines or intersections of the rule of thirds grid can produce a more dynamic and interesting composition.
Utilizing Foreground Elements
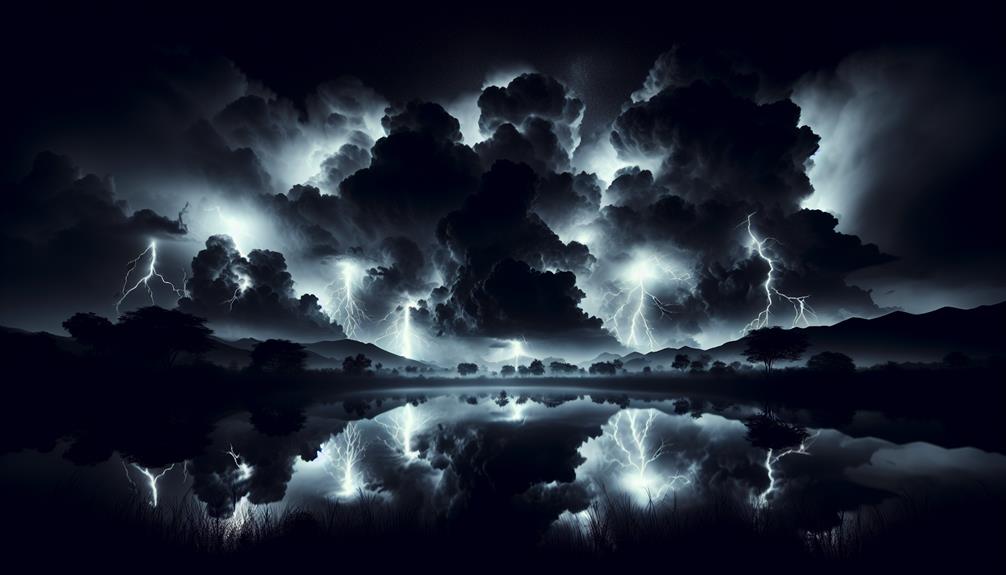
Incorporating foreground elements into our composition adds layers of depth and storytelling to our lightning photography, enhancing the overall impact of the shot. By using creative angles and dramatic lighting, we can transform an ordinary scene into an extraordinary one. Consider framing the lightning with tree branches, buildings, or even mountains. These elements provide context and scale, making the lightning strike appear even more powerful.
Silhouettes are particularly effective when shooting lightning. By using long exposures, we can capture the jagged bolts against a darkened foreground, creating a stark contrast that emphasizes both the brightness of the lightning and the shapes of the silhouettes. This technique not only heightens the drama but also adds a sense of mystery to the image.
Experimenting with composition also means we shouldn't be afraid to break traditional rules. Try positioning the horizon lower or higher in the frame to see what works best. Play around with different focal points to draw the viewer's eye toward the most compelling parts of the scene. By blending technical expertise with our artistic vision, we can create lightning photographs that aren't just visually stunning, but also deeply evocative.
Frequently Asked Questions
How Can I Predict When Lightning Will Strike?
Predicting lightning involves monitoring weather radars and storm patterns. We should always prioritize safety precautions, seeking shelter during storms. With technical expertise and artistic vision, we capture nature's electrifying beauty while ensuring our safety and freedom.
What Apps Can Help Track Lightning Storms?
We recommend lightning tracking apps with high accuracy and robust features. Look for ones that offer real-time updates, alerts, and notifications. These apps' dependability guarantees we can capture the perfect storm shot with artistic precision.
Is It Safe to Photograph Lightning From Indoors?
Yes, it's safe to photograph lightning from indoors if we prioritize indoor safety and take proper precautions. Using a sturdy tripod, shooting through a window, and avoiding metal surfaces guarantee we capture stunning shots without risking our safety.
Can Lightning Photography Damage My Camera?
Yes, lightning photography can damage our camera. Prioritize camera protection by using a weather-sealed model and a sturdy tripod. For equipment safety, avoid shooting during heavy storms and use a remote shutter to minimize exposure.
How Do I Protect My Equipment During a Storm?
During a storm, our equipment protection is paramount. Let's shield our gear with rain covers and sturdy tripods. For the best lightning photography, use low ISO, a wide aperture, and long exposure settings. Safety measures first!