We've distilled the art of lightning strike time-lapse photography into an ultimate guide, integrating advanced techniques and essential equipment to elevate your storm-chasing sessions. Start with a weather-sealed camera, wide-aperture lens, lightning trigger, sturdy tripod, and remote shutter release for stability. Opt for longer shutter speeds, narrow apertures, manual focus, and low ISO to capture sharp, noise-free images. Prioritize open, low-light locations and follow stringent safety protocols, such as using weather apps and maintaining safe distances. Fine-tune exposure with remote triggers and intervalometers, and master post-processing with Lightroom and Photoshop for ideal results. Ready to perfect your storm photography skills?
Key Points
- Use a weather-sealed camera and a wide-aperture lens for durability and optimal light capture.
- Set a longer shutter speed and manual focus to infinity for capturing multiple sharp lightning strikes.
- Choose open locations with minimal light pollution and scout known lightning hotspots for the best shots.
- Prioritize safety by wearing rubber-soled boots, using real-time weather apps, and maintaining a safe distance from the storm.
Equipment Essentials
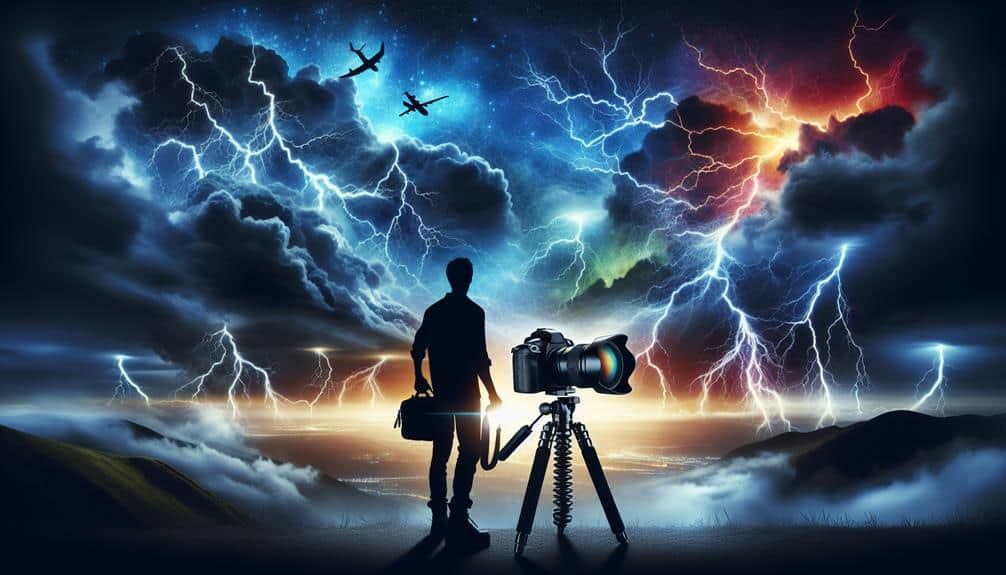
To capture stunning lightning strike time-lapse photography, we need a robust set of equipment that guarantees both safety and image quality. First and foremost, let's talk about the lighting gear. A high-quality, weather-sealed camera is essential to withstand the elements during a storm. We should also consider using a lens with a wide aperture to capture as much light as possible. A lightning trigger device is invaluable, as it detects lightning strikes and automatically activates the shutter, ensuring we don't miss any spectacular moments.
Next, tripod stability is vital. A sturdy, heavy-duty tripod keeps our camera steady during long exposure shots, even in windy conditions. Investing in one with adjustable legs allows us to set up on uneven terrain, giving us more freedom to find the perfect angle. Using a remote shutter release or an intervalometer prevents any camera shake, maintaining the sharpness of our images.
Additionally, we should pack extra batteries and memory cards, as time-lapse photography can be power-hungry and consume significant storage.
With this carefully selected equipment, we're well-prepared to venture into the storm and capture the breathtaking beauty of lightning strikes.
Camera Settings
Frequently, achieving the perfect lightning strike time-lapse requires us to meticulously adjust our camera settings to balance exposure, sharpness, and dynamic range.
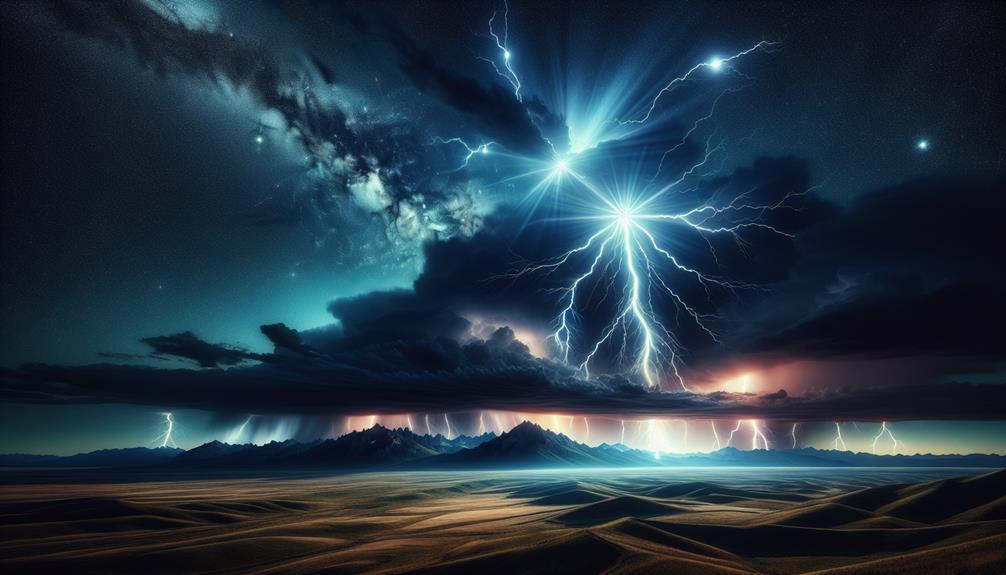
We must first consider exposure adjustments. By setting a longer shutter speed, we can increase the chances of capturing multiple lightning strikes in a single frame. Typically, a shutter speed of 15 to 30 seconds works well, but this might vary based on the intensity and frequency of the lightning.
Next, let's talk about aperture settings. We should use a narrower aperture, around f/8 to f/16, to make sure that the entire scene remains sharp. This also helps in controlling the exposure, preventing the lightning from overexposing the frame. Remember, our goal is to capture both the lightning and the surrounding landscape with clarity.
Focus techniques are equally essential. We should manually focus the lens to infinity to guarantee that both the lightning and the distant landscape are sharp. Using live view and magnifying the image on the camera's LCD can help us nail the focus.
Lastly, to preserve the dynamic range, we might need to adjust the ISO settings. Keeping the ISO as low as possible, ideally between 100 and 400, minimizes noise and maximizes image quality, giving us the freedom to capture the awe-inspiring beauty of lightning strikes.
Choosing Locations
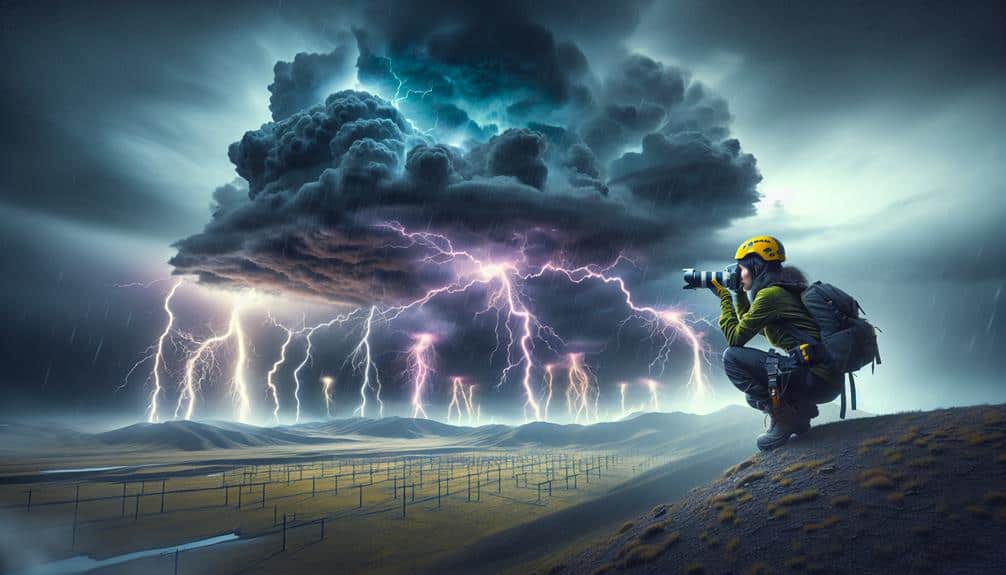
When selecting locations for lightning strike time-lapse photography, we must prioritize open areas with unobstructed views of the sky and minimal light pollution to guarantee excellent visibility and image quality. Our journey begins with finding hotspots, regions known for frequent lightning activity. Websites and weather apps can help us identify these areas.
Scouting spots in both remote locations and urban settings is essential. In remote locations, we're gifted with darker skies, free from city lights that can interfere with our shots. Look for elevated terrains like hills or open fields; they provide a wide horizon and reduce the risk of obstructions.
Urban settings, while challenging due to light pollution, can offer dramatic contrasts between lightning and cityscapes. Here, rooftops of tall buildings or open parks can serve as ideal vantage points.
We should also consider accessibility and ease of setting up our equipment. Remote locations may require off-road vehicles or hiking gear, while urban settings need permissions or access passes. By meticulously scouting spots and balancing these factors, we can maximize our chances of capturing breathtaking lightning strike time-lapses.
With each location offering its unique charm, our quest for the perfect shot becomes an exhilarating adventure.
Safety Precautions
Securing our safety while capturing lightning strike time-lapse photography demands meticulous planning and adherence to strict safety protocols. First, we need to prioritize safety gear. A sturdy tripod is essential to keep our equipment grounded, but we must also invest in rubber-soled boots and insulated gloves to minimize the risk of electrical conduction. Wearing a weather-resistant jacket equipped with reflective material enhances visibility in low-light conditions, further guaranteeing our safety.
Monitoring weather conditions is critical. Before heading out, we should consult real-time weather apps and radar systems to track storm movements and predict lightning activity. It's paramount to avoid high-risk zones such as open fields, tall trees, and bodies of water. Instead, we should opt for safer locations like sturdy buildings or designated storm shelters.
Additionally, maintaining a safe distance from the storm's epicenter reduces the likelihood of a direct strike. The 30/30 rule is a reliable guideline: if the time between lightning flash and thunder clap is less than 30 seconds, seek shelter immediately. Waiting at least 30 minutes after the last clap of thunder before resuming photography guarantees the storm has moved a safe distance away.
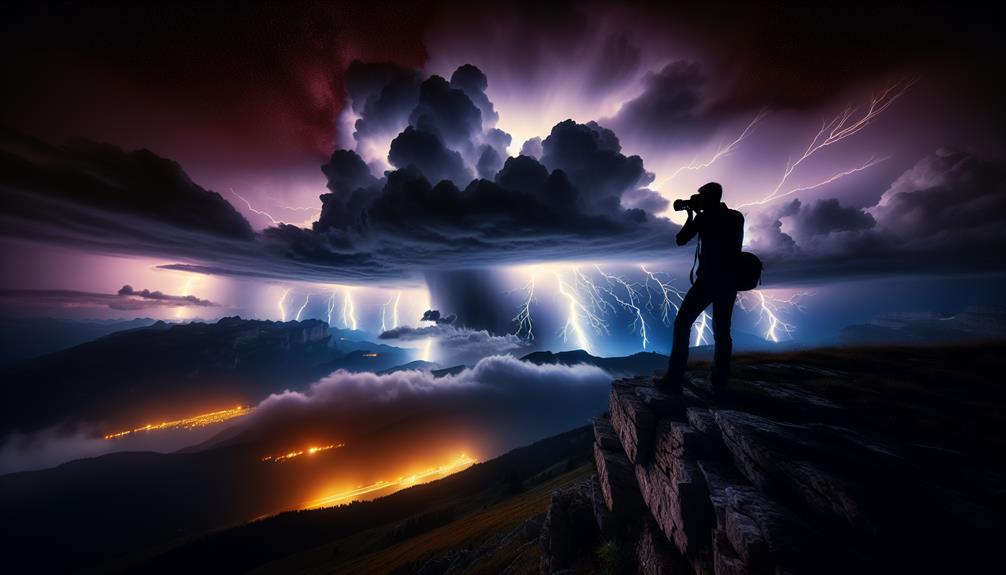
Timing the Shots
Capturing the perfect lightning strike requires precise timing and an understanding of the storm's rhythm. We've got to master exposure management and shutter speed to catch those fleeting moments.
A good starting point for shutter speed is around 10-30 seconds, depending on the frequency of the lightning and ambient light conditions. This allows the sensor to capture multiple strikes in a single frame, giving us a better chance to get that perfect shot.
To refine our timing, remote triggers are invaluable. They let's stay safe while making sure the camera is ready at the correct moment. Using an intervalometer, we can set accurate interval settings to automatically take a series of shots. This not only frees us from manually pressing the shutter but also guarantees consistent timing, capturing the storm's unpredictable nature.
Exposure management is equally essential. We need to balance ISO, aperture, and shutter speed to avoid overexposed or underexposed images. Starting with an ISO around 100-400 and an aperture of f/8 to f/16 can provide a good balance. Adjust as needed based on the storm's intensity and the ambient light.
Post-Processing Tips
Let's improve our lightning strike time-lapses by focusing on three key post-processing techniques: boosting color vibrancy, effectively reducing noise, and sharpening lightning details.
By adjusting saturation and contrast, we can make the colors pop without losing natural tones.
Noise reduction and precise sharpening will guarantee our lightning bolts remain crisp and striking against the night sky.
Enhancing Color Vibrancy
To enhance the color vibrancy of lightning strike photographs, we should start by adjusting the saturation and contrast levels in a non-destructive editing environment like Adobe Lightroom or Photoshop. First, let's fine-tune the color balance to guarantee the hues appear natural yet vivid. We can do this by manipulating the temperature and tint sliders to achieve a balanced look that enhances the electric blues and purples often present in lightning strikes.
Next, let's explore filter options to further intensify the colors. We can apply a Vibrance filter to boost the less saturated colors without oversaturating the already vivid areas. Additionally, utilizing a Graduated Filter can help enhance specific parts of the image, such as the sky, by increasing its saturation and contrast selectively.
For even more control, we can use Lightroom's HSL (Hue, Saturation, Luminance) panel to individually adjust the colors. This allows us to amplify the striking colors of the lightning while maintaining a natural look across the entire image.
Reducing Noise Effectively
Reducing noise effectively in lightning strike photographs requires a meticulous post-processing approach to maintain image clarity without sacrificing detail. We start by leveraging software like Adobe Lightroom or Photoshop, where noise reduction tools are highly advanced. When working with long exposure shots, noise can be more prominent due to the extended sensor activity.
First, we import our images and zoom in to assess the noise levels. We then adjust the luminance slider under the noise reduction panel, carefully balancing it to reduce grain without softening the lightning details. It's pivotal to adjust the color noise reduction as well, ensuring that any chromatic aberrations introduced by varying camera angles are minimized.
Next, we utilize the mask tool to isolate the sky from the foreground. This selective approach allows us to apply noise reduction primarily where it's needed, preserving the intricate details in other areas.
If additional reduction is required, we can employ the advanced noise reduction filters in Photoshop, applying them with subtlety.
Sharpening Lightning Details
Enhancing the sharpness of lightning details in post-processing demands a precise application of sharpening tools to accentuate the intricate patterns without introducing artifacts.
Let's explore the technical aspects. First, we should kickstart our image editing by carrying out a meticulous exposure adjustment. This step guarantees that the lightning stands out against the darker background, providing a solid foundation for further enhancements.
Next, we utilize focus stacking to merge multiple exposures, enabling us to capture the full depth of the lightning's intricate branches. This method ensures that every bolt, from the foreground to the distant horizon, remains sharp and clear.
When it comes to sharpening, we need to be careful. Excessive sharpening can introduce unwanted noise and halos, detracting from the image's natural beauty. We recommend using high-pass filters with a subtle touch, focusing on the lightning details while preserving the overall image integrity.
Sharing Your Work
Why not showcase our stunning lightning strike time-lapse photography on platforms like Instagram or Flickr to reach a broader audience and receive constructive feedback? Developing a robust social media strategy is pivotal.
We can curate an online portfolio that highlights our best work, ensuring each post is accompanied by detailed captions that explain our process, equipment, and settings. This not only attracts fellow photographers but also engages enthusiasts who appreciate the technical intricacies of our art.
By leveraging hashtags related to lightning photography, time-lapse, and nature photography, we can increase our visibility and attract followers who share our passion. Additionally, participating in online photography communities and forums provides valuable networking opportunities.
We can exchange tips, collaborate on projects, and even find mentors who can help refine our techniques.
Don't overlook the potential of art exhibits. Submitting our work to local galleries or online exhibits can elevate our profile and introduce our photography to a broader audience. Exhibitions provide a platform for real-world interactions, allowing us to meet other artists and potential clients face-to-face.
These encounters often lead to collaborative projects and new creative ventures, expanding our horizons and enriching our craft.
Frequently Asked Questions
How Can I Predict Weather Patterns for Optimal Lightning Photography Conditions?
Remember when surfers chase the perfect wave? We do the same with lightning. Using weather forecasting apps, we track storms and combine lightning prediction with advanced photography techniques to capture ideal conditions for stunning lightning photographs.
Are There Specific Seasons Better Suited for Capturing Lightning?
For lightning photography, summer vs. winter is essential. Summer often offers the best conditions due to frequent thunderstorms. The best locations for lightning photography include open plains, coastal areas, and regions with high storm activity.
What Are Some Creative Composition Techniques for Lightning Photography?
Capturing lightning is like painting with light. We can enhance our shots by using varied lighting angles and framing techniques. For effective composition, include foreground elements and experiment with different focal lengths to create dynamic, striking images.
How Do I Protect My Camera Gear From Rain During a Storm?
We protect our camera gear from rain during storms by using specialized rain gear. Camera protection includes waterproof covers, lens hoods, and desiccant packs. It's vital to shield our equipment, ensuring our creativity isn't hindered by weather.
Can I Use My Smartphone for Lightning Strike Time-Lapse Photography?
Did you know 70% of photographers start with smartphones? While smartphones have limitations, you can still capture lightning with them. However, for better results, consider alternative equipment options like DSLR cameras with long exposure capabilities.