To master night lightning photography, we need precise techniques and reliable equipment. First, we'll use a sturdy tripod to ensure our shots are stable. Second, we'll balance our settings with a low ISO, a shutter speed that captures lightning moments, and an aperture of f/8 to f/11. Third, manual focus is essential; we'll use Live View and set focus to infinity. Fourth, timing is everything, so we'll anticipate storm activity and use bulb mode for control. Finally, safety is paramount—keep a safe distance, monitor weather, and use remote shutters. Exploring further, we'll discover these practices in depth.
Key Points
- Use a sturdy tripod to prevent camera shake and ensure stable shots.
- Set your camera to manual focus and adjust to infinity for sharp images.
- Balance shutter speed, aperture (f/8 to f/11), and low ISO for optimal exposure.
- Utilize a remote shutter release or bulb mode to capture lightning precisely.
Use a Sturdy Tripod
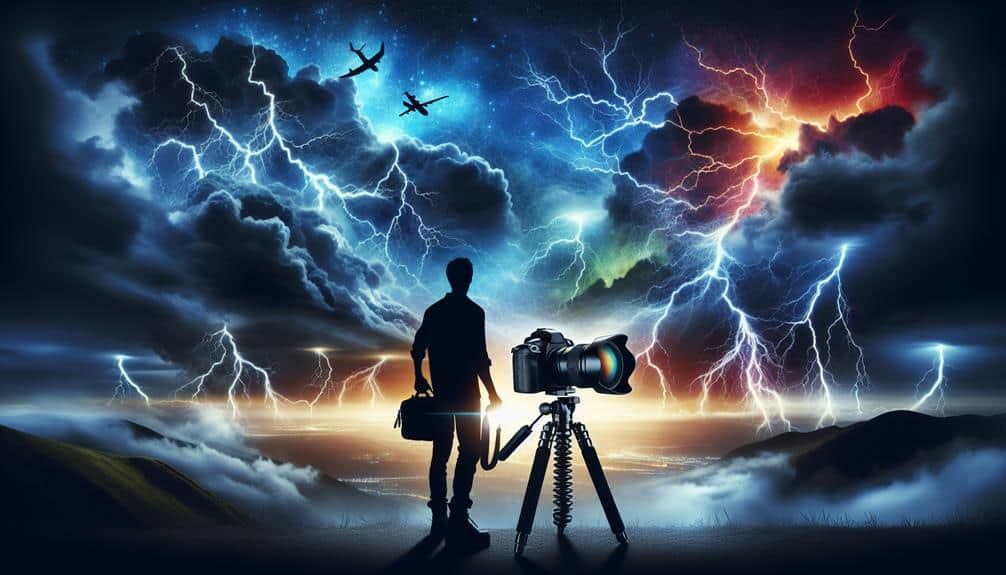
A sturdy tripod is necessary for night lightning photography because it provides stability and prevents camera shake during long exposure shots. When we're out in unpredictable weather conditions, a reliable tripod is our best companion. It holds the camera steady, allowing us to capture those split-second bolts of lightning without any blur. The solid footing of a sturdy tripod guarantees that even gusty winds won't disrupt our shot.
Choosing the right tripod isn't just about stability; it's about flexibility too. We need to adjust our camera angle swiftly to frame the lightning accurately. A good tripod offers smooth panning and tilting, so we're not struggling when the storm is raging. Features like quick-release plates make it easy to switch camera equipment, letting us respond quickly to changing weather conditions.
For night lightning photography, exposure length is vital. We often work with exposures that stretch into several seconds or minutes. A flimsy tripod simply won't suffice. Those long exposure lengths demand a rock-solid foundation. By investing in a high-quality tripod, we guarantee our camera remains motionless, capturing sharp, awe-inspiring images of nature's raw power.
Choose the Right Settings
Mastering the camera settings is vital for capturing the dramatic essence of night lightning photography. First, let's discuss exposure settings. We need to balance our shutter speed, aperture, and ISO to get the perfect shot. For lightning, a longer exposure time, typically between 10 to 30 seconds, works best. This allows us to capture multiple lightning strikes in one frame, enhancing the composition.
Next, we need to set our aperture between f/8 and f/11. This range helps to keep the entire scene in focus while still allowing enough light to hit the sensor. Moving on to ISO, we should keep it as low as possible, usually around ISO 100 or 200. A lower ISO minimizes noise, which is essential for maintaining the sharpness and clarity of our images in low light conditions.
Additionally, using a remote shutter release or the camera's timer function can prevent any camera shake during long exposures. This guarantees our shots remain crisp and clear.
Focus Manually
While mastering the settings is important, focusing manually guarantees that our lightning shots are sharp and well-defined even in the challenging low-light conditions. Auto-focus can struggle in these conditions, so we need to switch to manual focus to ensure accuracy.
Let's break down the steps to perfect manual focus for night lightning photography:
- Use Live View: Engage Live View on our camera equipment to magnify the image on the screen. This helps us fine-tune the focus on distant objects, ensuring they're clear.
- Set Focus to Infinity: Adjust the focus ring to the infinity mark. This allows us to capture distant lightning with clarity, avoiding any soft or blurry images.
- Check Focus with Test Shots: Take a few test shots and review them on the camera's screen, zooming in to check the sharpness. Make minor adjustments as needed.
Employing these techniques, our images will stand out during post processing, making the most of our exposure techniques and composition techniques. By focusing manually, we gain the freedom to capture the raw power and beauty of lightning with unparalleled sharpness.
Time Your Shots
Capturing lightning demands precise timing, so we must anticipate the storm's activity and be ready to trigger the shutter at the perfect moment. To achieve this, understanding weather conditions is vital. Monitoring weather apps and radar can help us predict when lightning is most likely to strike, giving us the upper hand in our preparation.
Choosing the right camera equipment is essential. We need a DSLR or mirrorless camera with manual settings, a sturdy tripod to keep the camera steady, and a remote shutter release to avoid any camera shake during long exposures. Setting the camera to bulb mode allows us to control the exposure time manually, necessary for capturing unpredictable lightning bolts.
Next, let's consider camera angles and composition techniques. A wide-angle lens is preferable, as it covers more sky and increases our chances of capturing lightning.
Framing the shot with interesting foreground elements, like trees or buildings, adds depth and context to our photographs. Experimenting with different camera angles can yield dramatic results, transforming a simple lightning bolt into a mesmerizing scene.
Stay Safe

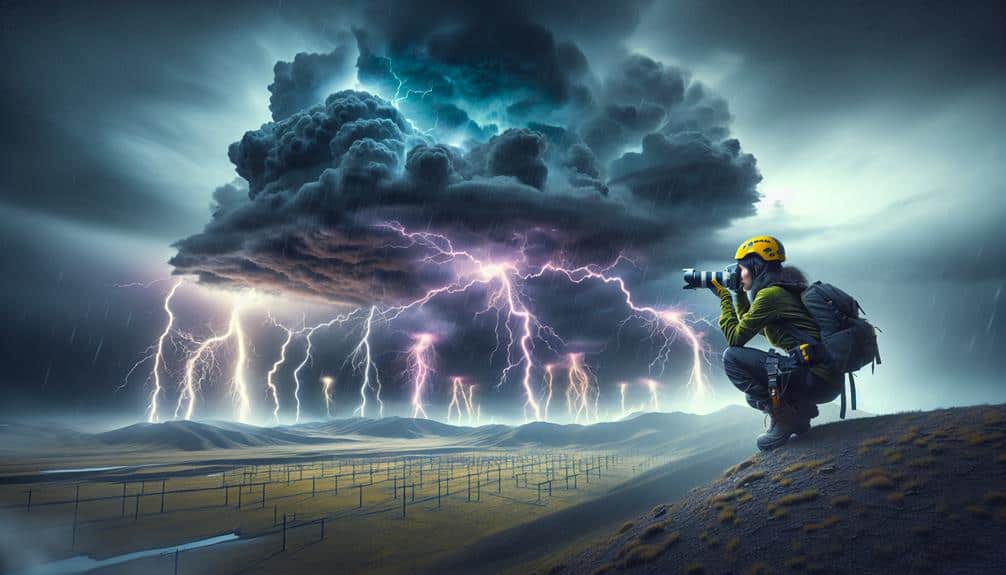
Prioritizing safety during night lightning photography is paramount, as thunderstorms can be unpredictable and hazardous. We must adopt a meticulous approach to secure our safety while capturing these electrifying moments. Here are some critical safety precautions:
- Monitor Weather Conditions: Constantly check weather forecasts and radar to stay updated on storm movements. Apps like RadarScope provide real-time data, allowing us to anticipate lightning activity and potential hazards.
- Maintain Distance: Always keep a safe distance from the storm. A minimum of 10 miles is advisable to evade the risk of lightning strikes. Remember, lightning can extend far from its parent storm.
- Use a Tripod with Remote Shutter: Setting up our camera on a sturdy tripod and using a remote shutter release minimizes our exposure to the elements. This setup allows us to operate the camera from a safer, sheltered location.
Frequently Asked Questions
How Can I Reduce Noise in My Night Lightning Photos?
To reduce noise in our night lightning photos, let's use noise reduction techniques, adjust camera settings like ISO, and experiment with exposure length. Minimizing light pollution by shooting in darker areas also greatly helps.
What Lenses Are Best for Capturing Lightning at Night?
Capturing lightning is like chasing wild horses. We recommend using wide-angle lenses with a focal length of 14-24mm for dramatic skies. Adding lens filters helps reduce glare and enhance details, giving us the freedom to create stunning shots.
Should I Use a Remote Shutter Release for Night Lightning Photography?
We should use a remote shutter release for night lightning photography. The benefits include reducing camera shake and capturing precise moments. While not a necessity, alternatives like self-timers have drawbacks, such as less control over timing.
How Do I Properly Compose a Night Lightning Shot?
To properly compose a night lightning shot, let's guarantee tripod stability and use precise focus techniques. Adjust our framing to include key elements. Use appropriate exposure settings—start with a low ISO, small aperture, and longer shutter speed.
Can Post-Processing Enhance My Night Lightning Photos?
Can post-processing enhance our night lightning photos? Absolutely not, who needs vibrant colors and a dramatic night sky? Oh wait, we do! Using post-processing techniques, we can enhance colors and perfect those long exposures for stunning results.


