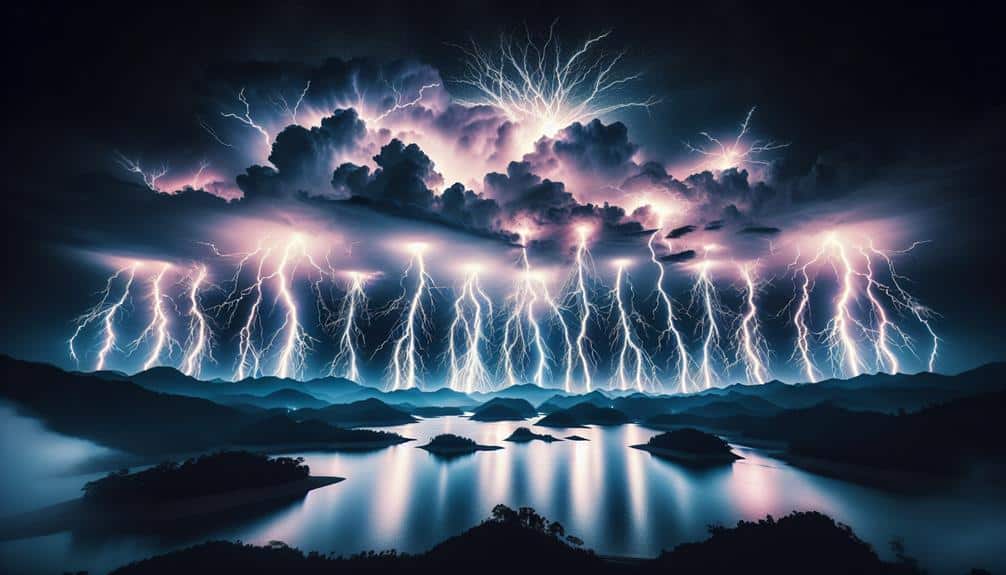
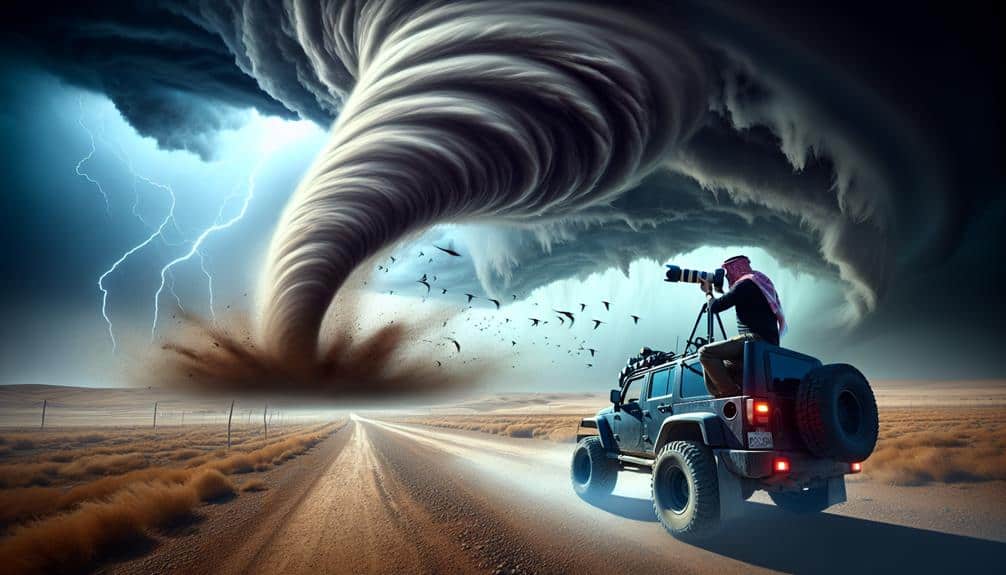
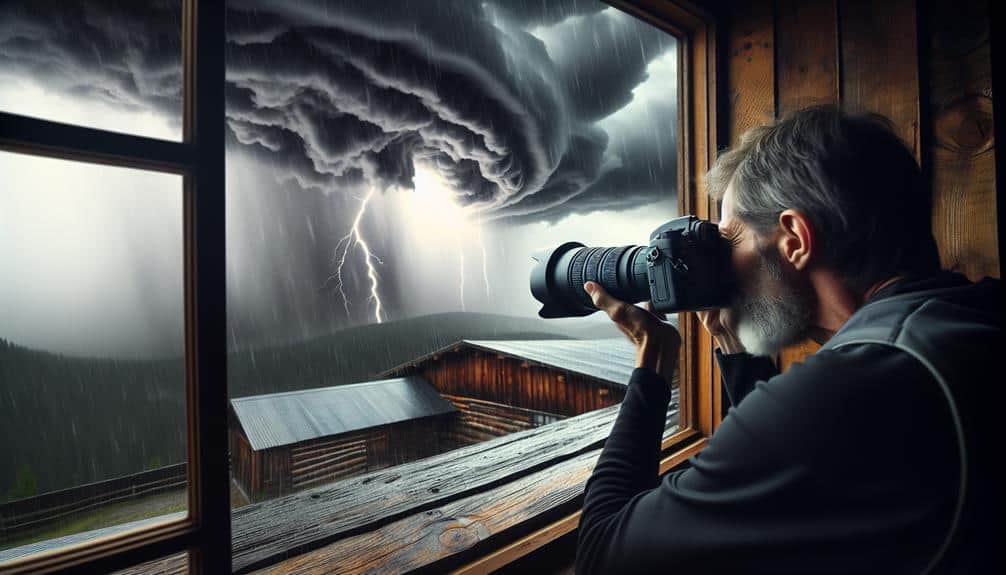
When capturing the drama of storms, we start with the Rule of Thirds to place key elements along intersecting grid lines, drawing the viewer's eye and enhancing visual impact. Leading lines, such as roads or lightning, guide the gaze through the image, emphasizing the tempest's narrative and adding depth. We also frame the shot by including foreground elements like trees to provide context and scale, balancing the composition with precise lighting and focal points. These techniques guarantee our images convey the raw power and beauty of storms. Expand your skills and enrich your storm photography journey by exploring further.
Key Points
- Apply the Rule of Thirds to align key storm elements at grid intersections for dynamic balance.
- Utilize leading lines to guide the viewer's gaze and create depth and movement in the scene.
- Frame the shot with foreground elements like trees or buildings to provide context and scale.
- Position lighting effects and focal points off-center to adhere to the Rule of Thirds and enhance visual interest.
Rule of Thirds
When we apply the Rule of Thirds in storm photography, we create a dynamic balance by aligning key elements along the grid's intersections. This technique allows us to craft compelling images where the raw power of weather elements is harmonized with a structured composition.
By placing the storm's focal point—such as a dramatic lightning bolt, swirling clouds, or a tempestuous sea—on one of the four intersecting points, we draw the viewer's eye naturally into the scene.
In storm photography, the sky often takes precedence, so we might position the horizon along the lower third of the frame, allowing the vast, tumultuous sky to dominate. Alternatively, when the storm's impact on the landscape is the focus, placing the horizon on the upper third highlights the interaction between earth and sky.
This method not only enhances visual interest but also imbues our images with a sense of scale and drama.
Leading Lines
Harnessing the power of leading lines in storm photography, we guide the viewer's gaze through the frame, creating a pathway that accentuates the narrative of the tempest. Leading lines can be anything from roads, fences, or even the jagged edges of lightning bolts. By carefully selecting our perspective angles, we can draw the eye toward the storm's most dramatic elements, enhancing the sense of dynamic contrast between tranquility and chaos.
To achieve this, we start by identifying natural or man-made lines in the environment that can serve as visual guides. For instance, a winding road leading into the heart of a storm can create a compelling journey for the viewer. When we align these lines with the horizon or the storm's focal points, we create a sense of depth and movement, pulling the observer into the scene.
Using perspective angles effectively can also heighten the narrative. Shooting from a low angle looking up can make the storm appear more imposing and powerful, while a high vantage point might emphasize its vastness.
The goal is to create a harmonious blend of elements that encapsulate the raw energy and beauty of the storm, offering viewers a sense of freedom and awe.
Framing the Shot
To master framing the shot in storm photography, we focus on strategically positioning key elements within the frame to create a balanced and impactful composition. The interplay between lighting effects and focal point placement is critical in guiding the viewer's eye and evoking the intended emotions. By placing the storm's most dramatic elements—such as lightning bolts or ominous cloud formations—off-center, we adhere to the rule of thirds, enhancing visual interest and depth.
Lighting effects play a pivotal role in framing. We can utilize natural light sources like the setting sun or lightning to highlight specific areas, creating contrast and drama. For instance, a well-placed lightning strike can serve as a dynamic focal point, drawing attention and adding intensity.
We must also consider foreground elements like trees or buildings to frame the storm, providing context and scale. Including these elements can ground the scene, making the storm appear even more formidable.
In storm photography, our artistic vision and technical precision come together, enabling us to capture the raw power of nature while maintaining a harmonious composition. By mastering these techniques, we can create images that not only document the storm but also convey a sense of awe and freedom.
Frequently Asked Questions
What Camera Settings Are Ideal for Capturing Lightning During a Storm?
To capture lightning, we need ideal exposure settings and timing. Use a long exposure with low ISO. Guarantee tripod stability and protection against the elements. This approach captures the storm's raw energy while maintaining artistic control.
How Can I Safely Photograph Storms Without Risking My Equipment?
To safely photograph storms, we prioritize safety precautions and equipment protection. We track weather patterns and use timing strategies for best shots. Ensuring our gear is weather-sealed or using protective covers keeps it safe from elements.
What Types of Lenses Work Best for Storm Photography?
For storm photography, we prefer a wide angle lens for capturing expansive skies and dramatic clouds. A telephoto lens lets us focus on distant lightning and storm details, allowing for both artistic freedom and technical precision.
How Do I Find the Best Locations for Storm Photography?
Finding the best storm photography locations is like finding buried treasure. We scout spots with unique landscape features, timing our shots perfectly. Using weather apps, we track storms to guarantee we capture nature's fury at its peak.
How Can I Capture the Color and Intensity of Storm Clouds Accurately?
To capture the color accuracy and cloud intensity of storm clouds, we need to focus on lighting capture and precise camera settings. Utilize a low ISO, fast shutter speed, and manual white balance to achieve stunning, accurate results.


