When photographing waterspouts, we should first select a telephoto lens in the 100-400mm range for best distance and detail. Use a polarizing filter to enhance contrast and a fast shutter speed to freeze motion. Understanding atmospheric conditions is vital; look for warm water surfaces and low wind shear. Manual focus guarantees precision, particularly in rapidly changing light. Safety is paramount, so maintain a safe distance and monitor real-time meteorological data. Finding the right coastal angles and mastering composition techniques like the rule of thirds will elevate our shots. For detailed insights into perfecting these elements, there's more to explore.
Key Points
- Use a telephoto lens (100-400mm) to capture detailed waterspout images from a safe distance.
- Monitor weather conditions and real-time alerts to predict waterspout formations effectively.
- Employ fast shutter speeds to freeze the dynamic motion of waterspouts.
- Utilize the rule of thirds and natural framing for balanced and dynamic compositions.
Choosing the Right Gear
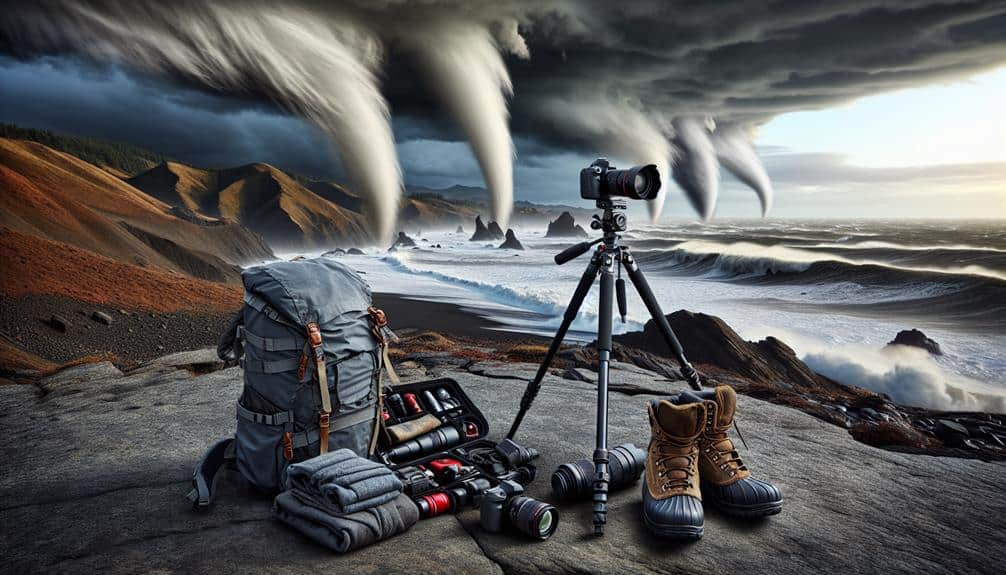
Selecting the right gear is vital for capturing high-quality images of waterspouts, requiring a durable DSLR or mirrorless camera with weather sealing, a telephoto lens, and a sturdy tripod. We need to prioritize lens selection based on the distance and scale of the waterspout. A telephoto lens, ideally in the range of 100-400mm, allows us to capture the detail and drama from a safe distance. Prime lenses offer sharper images but limit flexibility, whereas zoom lenses provide versatility in framing.
Camera accessories like polarizing filters can enhance contrast and reduce glare, while neutral density filters help manage exposure in varying lighting conditions. We should never underestimate the importance of a solid tripod; carbon fiber tripods offer stability without adding excessive weight, essential for long durations in unpredictable weather.
Lighting techniques play a critical role in waterspout photography. Utilizing natural light effectively requires shooting during the golden hour or leveraging the dynamic interplay of sunlight and storm clouds. A remote shutter release or intervalometer minimizes camera shake, ensuring sharp images.
Understanding Waterspout Behavior
To effectively capture waterspouts, we must grasp their formation and lifespan, recognizing that these phenomena can develop rapidly under specific atmospheric conditions.
We should monitor weather patterns closely, as certain conditions like warm water temperatures and unstable air masses are critical.
Formation and Lifespan
Understanding the formation and lifespan of waterspouts involves analyzing the intricate interplay of atmospheric conditions, such as temperature gradients, humidity levels, and wind shear. These elements converge to create the mesmerizing vortex we aim to capture.
From a scientific explanation standpoint, we must appreciate the nuances of how warm air rising over water meets cooler air aloft, leading to the development of these phenomena. This understanding helps us anticipate their formation, positioning ourselves strategically for the shot.
Photographic challenges abound when dealing with waterspouts. Rapid formation and short lifespans demand quick reflexes and an acute sense of timing. The visual appeal of waterspouts, with their dynamic and transient nature, offers endless possibilities for artistic interpretations.
Capturing these natural wonders in their peak moments involves not only technical proficiency but also a deep comprehension of their behavior. We must be ever-ready, camera settings dialed in, to seize those fleeting instances when the light, composition, and the waterspout itself align perfectly.
This readiness transforms a scientifically intriguing subject into a visually stunning masterpiece. By mastering the interplay of atmospheric dynamics and photographic technique, we elevate our craft and showcase the raw beauty of nature's fleeting marvels.
Weather Conditions Required
Identifying the specific weather conditions that foster waterspout formation is essential for both safety and successful photography. By understanding the atmospheric variables at play, we can better position ourselves to capture these stunning phenomena.
The key indicators include:
- Warm Water Surfaces: Waterspouts thrive over warm bodies of water, typically where surface temperatures exceed 26°C (79°F). This warmth fuels the convective activity necessary for their formation.
- High Humidity: Elevated humidity levels in the lower atmosphere enhance cloud formation and support the vertical development of cloud structures where waterspouts originate.
- Low Wind Shear: Minimal wind shear, or the change in wind speed and direction with altitude, is essential. It allows for the vertical alignment of the waterspout, making it stable and visible for longer periods.
- Cumulus Clouds: Look for towering cumulus or cumulonimbus clouds. These cloud types are often precursors to waterspout activity, providing the necessary updrafts.
For best results, we should plan our photography sessions by considering the most suitable photography angles and lighting conditions. Additionally, proper equipment maintenance ensures our gear withstands the humid and sometimes salty environments.
Combining these observations with detailed shooting strategies, we'll be well-prepared to capture breathtaking images of waterspouts.
Movement and Patterns
Observing waterspout behavior reveals distinct movement patterns that are critical for positioning and timing our shots effectively. Waterspouts generally move in a serpentine or spiral motion, driven by wind currents and the underlying water surface. Understanding these dynamics lets us anticipate their path, enabling precise capturing motion and artistic angles that highlight the raw power and elegance of these natural phenomena.
To capture these dynamic subjects, we must be adept at using fast shutter speeds to freeze the motion while experimenting with slower speeds to blur the action, adding a sense of energy. We should also employ creative framing techniques, such as the rule of thirds, to place the waterspout within a broader context, showcasing the relationship between water, sky, and spout. This approach offers unique perspectives that resonate with viewers seeking a deeper connection to nature's untamed beauty.
Moreover, leveraging advanced equipment like telephoto lenses and high-resolution sensors allows us to maintain detail and clarity, even from a distance. By mastering these techniques, we can transform our waterspout images into compelling visual narratives that evoke a sense of freedom and awe, capturing the essence of these mesmerizing natural wonders.
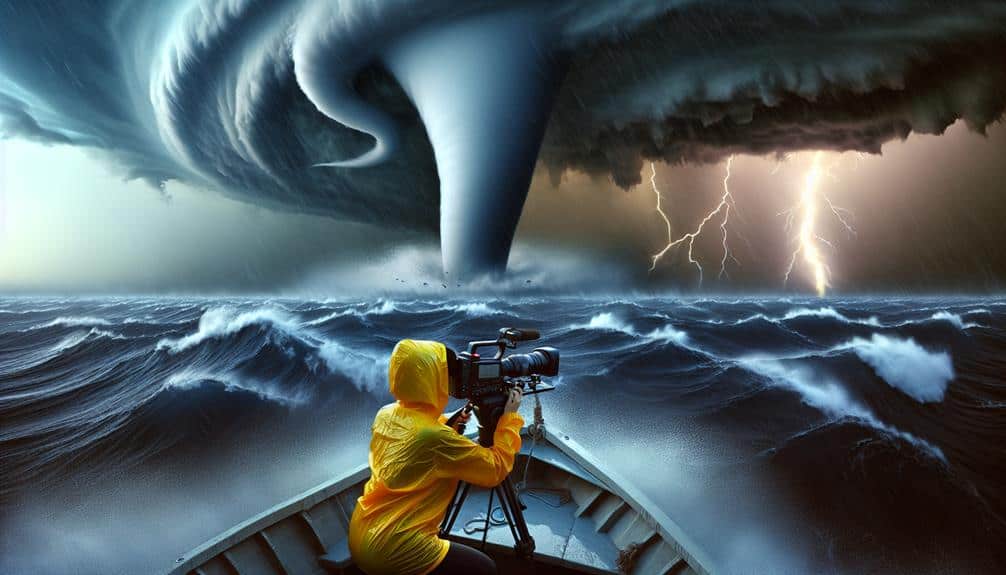
Safety Precautions
When photographing waterspouts, it's essential to prioritize safety by consistently monitoring real-time meteorological data and maintaining a safe distance from the phenomenon.
Using telephoto lenses can help capture detailed images without jeopardizing safety.
Additionally, it's crucial to have emergency equipment like first aid kits and communication devices to ensure preparedness for any unforeseen circumstances.
Monitor Weather Updates
We must continuously monitor weather updates from reliable meteorological sources to safeguard our safety while photographing waterspouts. As storm chasers, our photography skills are only as good as our ability to anticipate and respond to changing weather conditions. Utilizing advanced weather forecasting tools helps us stay ahead of the storm and guarantees we've the right photography equipment ready for action.
To effectively monitor weather updates, we should:
- Subscribe to Real-time Alerts: Sign up for notifications from trusted meteorological services to receive immediate updates on severe weather conditions. This enables us to react swiftly to emerging waterspouts.
- Use Weather Radar Apps: Employ high-resolution radar applications on our smartphones or tablets. These apps provide detailed insights into storm development and trajectory, giving us a tactical advantage.
- Consult Professional Meteorologists: Engage with meteorologists for expert advice. Their analyses can offer deeper insights into storm patterns and potential waterspout formations.
- Monitor Local News: Keep an eye on local news outlets for region-specific updates. Local stations often provide real-time broadcasts that can be essential during rapid weather changes.
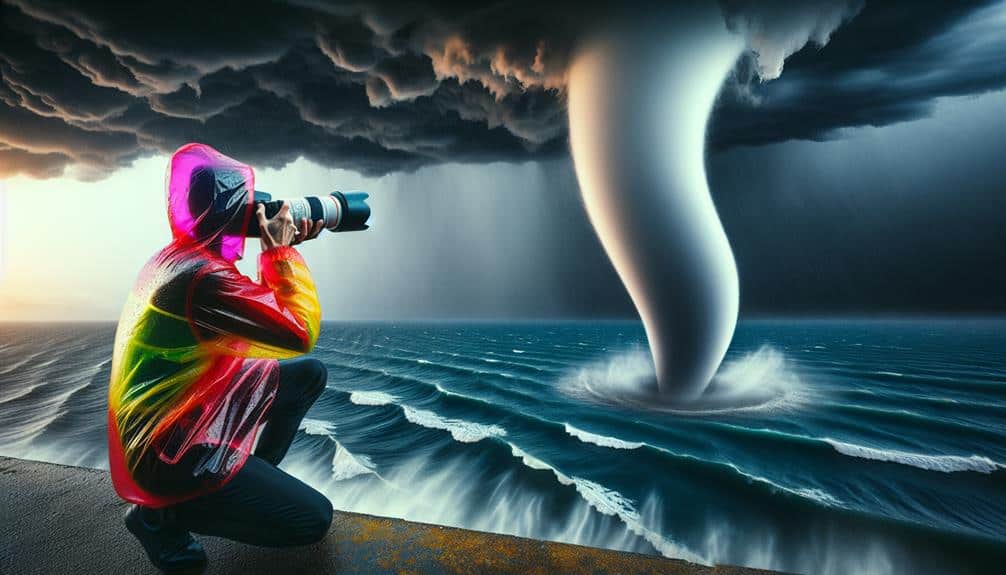
Maintain Safe Distance
Maintaining a safe distance from waterspouts is vital for securing our safety and capturing high-quality images without compromising our well-being. When we set out on location scouting, we should prioritize vantage points that offer the best angles while keeping us at a safe distance from potential danger.
Utilizing telephoto lenses allows us to maintain this distance without compromising our shot's detail and clarity.
Understanding and respecting the environmental impact is pivotal. Waterspouts, while mesmerizing, are powerful natural phenomena that can cause significant harm if we venture too close. Part of our responsibility as photographers is to practice conservation efforts by avoiding disruption to local ecosystems. Staying on established paths and using designated viewing areas helps minimize our footprint.
Advanced techniques also play a role in ensuring safety. We should be skilled at reading weather patterns and understanding the behavior of waterspouts. By doing so, we can anticipate changes and make informed decisions about when to retreat.
Additionally, having a clear escape route planned in advance guarantees that we can leave the area swiftly if conditions deteriorate.
Emergency Equipment Essentials
How do we guarantee our safety while photographing waterspouts? Equipping ourselves with essential emergency gear is important. Waterspouts, while breathtaking, can quickly turn dangerous. We must have a robust emergency plan and the right survival gear to secure our safety.
First, let's outline the key items that can make a difference:
- Weather Radio: A portable, battery-operated weather radio is necessary. It keeps us updated on weather conditions, allowing us to make informed decisions.
- First Aid Kit: Accidents can happen, and a well-stocked first aid kit is crucial. Include items like bandages, antiseptic wipes, and pain relievers to handle minor injuries.
- Emergency Shelter: A lightweight, portable emergency shelter can provide vital protection against sudden weather changes. Look for one that's easy to set up and can withstand strong winds.
- Personal Locator Beacon (PLB): In case we find ourselves in a dire situation, a PLB can send a distress signal to rescue services. This device is essential for our safety, especially in remote locations.
Ideal Shooting Locations
Identifying prime coastal advantageous points is pivotal for capturing the mesmerizing dynamics of waterspouts. To do this effectively, we should first focus on remote sites, which often offer the best views unobstructed by human activity. While these spots may be less reachable, the endeavor is well worth it for the unmatched beauty and clarity of the shots we can achieve.
Utilizing aerial photography can greatly enhance our ability to capture these natural phenomena. Incorporating drone use, for example, allows us to gain a bird's-eye view of the waterspouts, providing angles and perspectives that ground-based photography simply can't achieve. When selecting a drone, we should consider models with stable flight capabilities and high-resolution cameras to guarantee quality footage.
For those of us who prefer a more traditional approach, coastal cliffs and elevated terrains are ideal. These locations not only provide a wide view of the ocean but also allow us to observe and photograph the waterspout from a safe distance. It's vital to monitor weather conditions and local advisories to ensure safety while shooting in these areas.
Ultimately, blending accessibility with strategic positioning and advanced techniques like aerial photography can elevate our waterspout images from ordinary to extraordinary.
Camera Settings
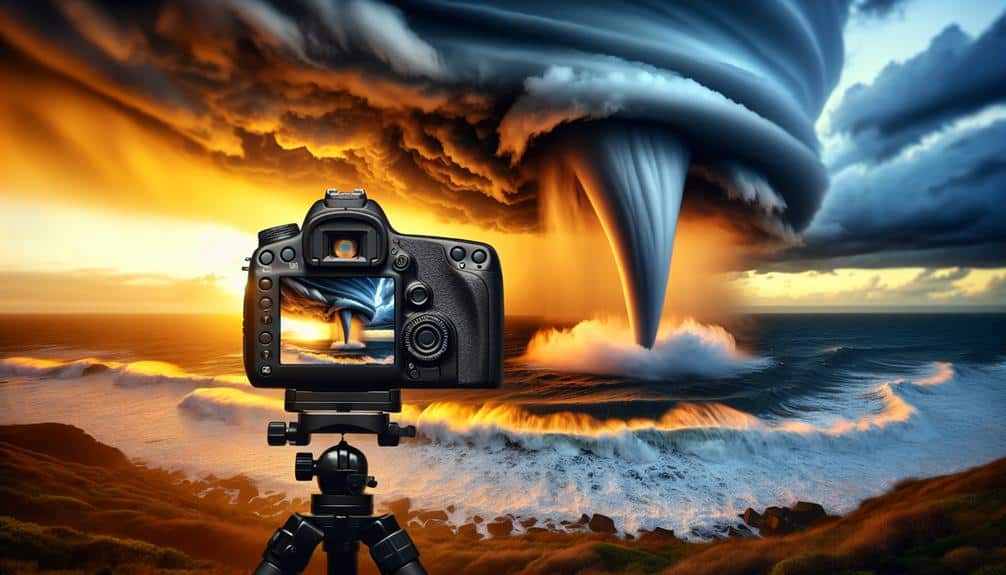
To capture the detailed aspects of waterspouts, we must meticulously adjust our camera settings for best exposure and sharpness. Precision in exposure settings, focus points, and white balance is vital for achieving professional-grade results. Here's a breakdown of the key settings we should prioritize:
- Exposure Settings: To balance the dynamic range of the sky and sea, we need to set a low ISO (ideally between 100 to 400) to minimize noise. Use aperture settings around f/8 to f/11 for peak depth of field and sharpness.
- Shutter Speed: Depending on the light conditions and the speed of the waterspout, a fast shutter speed (1/500s or faster) is essential to freeze the motion and capture the intricate details of the swirling water. Adjust accordingly for light changes to maintain clarity.
- Focus Points: Manually select focus points on the waterspout itself rather than relying on auto-focus. This guarantees that the most dynamic part of the scene remains sharp and well-defined.
- White Balance: Use a custom white balance setting to accurately represent the colors, ensuring that the blues of the ocean and the grays of the storm are true to life.
Composition Techniques
Mastering composition techniques ensures our waterspout photographs aren't only technically superb but also captivating and dynamic. Let's explore the essential principles to elevate our shots.
First, we need to uncover the power of creative angles. By changing our perspective, we can showcase the dramatic scale of the waterspout against the horizon. Low-angle shots highlight the towering nature of the waterspout, while high-angle shots can include more of the surrounding landscape, establishing a sense of place.
Framing techniques are equally important. Utilizing natural elements like trees or shoreline contours to frame the waterspout can add depth and focus, directing the viewer's gaze directly to our subject. The rule of thirds remains a steadfast guideline; placing the waterspout along the intersecting lines of an imaginary grid can create a balanced and visually appealing composition.
Lighting effects play a crucial role in defining the mood and clarity of our photographs. Backlighting can outline the waterspout, emphasizing its shape, while side lighting can reveal texture and detail in the cloud structure. Remember to experiment with different lighting conditions to discover what enhances the scene best.
Lastly, while we'll explore editing techniques further, keep in mind that thoughtful composition reduces the need for extensive post-processing.
Post-Processing Tips

Post-processing our waterspout photographs can refine and enhance the dramatic impact captured in-camera, allowing the natural spectacle to truly shine. Utilizing advanced editing software is important for achieving professional results. Let's explore some specific techniques that will elevate our waterspout images to the next level.
1. Color Correction:
Adjusting the white balance and overall color tones can significantly enhance the vibrancy and realism of the waterspout. We should start by calibrating our monitors to guarantee accurate color representation. In editing software, use tools like the white balance selector and HSL (Hue, Saturation, Luminance) adjustments to fine-tune the colors.
2. Contrast and Clarity:
Waterspouts often involve intricate textures and dynamic lighting. Increasing contrast and clarity can help highlight these details. In Lightroom or Photoshop, use the clarity slider carefully to enhance mid-tone contrast without over-processing.
3. Selective Sharpening:
Focus on sharpening the edges of the waterspout and surrounding waves while keeping the sky smooth to avoid noise. Apply masking techniques to selectively sharpen areas that attract the viewer's attention.
4. Noise Reduction:
High ISO settings, often necessary in stormy conditions, can introduce noise. Use noise reduction tools to clean up the image, particularly in the sky and shadow areas, while preserving essential details in the waterspout itself.
These techniques, when applied skillfully, guarantee our waterspout photographs captivate and inspire.
Frequently Asked Questions
How Can I Predict When a Waterspout Will Form?
We can predict waterspout formation by analyzing weather patterns and forecasting tools. Monitoring atmospheric conditions, such as temperature variations and humidity levels, provides key indicators. Advanced radar and satellite data help refine our predictions for accurate precision.
What Time of Day Is Best for Photographing Waterspouts?
Morning light and evening light offer excellent opportunities for capturing waterspouts. The golden hour enhances hues, while midday shadows might muddle details. By leveraging the sun's soft glow, we can achieve striking, superior shots of these stunning spectacles.
Do Different Types of Waterspouts Require Different Photography Techniques?
Yes, different waterspouts demand unique techniques. We must adjust camera settings and composition techniques based on the type. Varying lighting conditions dictate specific equipment needed, ensuring we capture the waterspout's distinct characteristics and dynamic energy.
How Can I Protect My Camera From Water Damage During a Shoot?
To protect our cameras from water damage, we should secure a waterproof casing and a protective lens cover. These safeguards shield our gear from splashes and spray, ensuring we capture stunning shots without compromising equipment integrity.
Are There Any Legal Restrictions on Photographing Waterspouts?
We've got no legal restrictions on photographing waterspouts in public spaces. However, we should still respect privacy concerns. Always guarantee we're not intruding on private properties or violating any local regulations while capturing these natural phenomena.