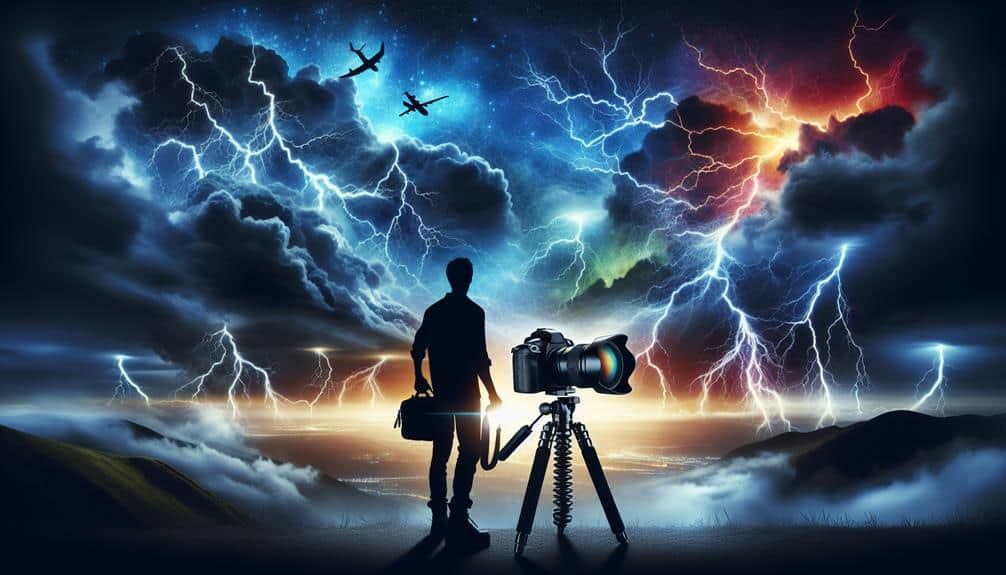
To safely capture lightning strikes, we need the right gear and knowledge. Use a DSLR or mirrorless camera with manual settings on a sturdy tripod and a wide-angle lens. Set ISO to 100-200, aperture to f/8-f/11, and use bulb mode for long exposures. Weather is vital; track storms using radar, and recognize cumulonimbus clouds. Stay away from open fields and tall structures; always have an emergency plan. Protect our gear with waterproof covers and guarantee firm tripod stability. Don't forget remote shutter release or timer. These tips secure safety and stunning photos, with more detailed steps just ahead.
Key Points
- Use a sturdy tripod and remote shutter release to minimize camera shake.
- Set your camera to bulb mode for controlling long exposures.
- Track storms using radar and choose safe, clear locations for shooting.
- Protect your gear with waterproof covers and weather-sealed lenses.
Choose the Right Equipment
Selecting the proper equipment is essential for safely and effectively capturing lightning strikes. First, let's talk camera selection. We need a DSLR or mirrorless camera that allows manual control over settings. These cameras offer the flexibility to adjust exposure settings, vital for capturing lightning against varying lighting conditions.
A sturdy tripod is a must to keep the camera stable during long exposures, ensuring sharp images.
Next, consider lens choice. A wide-angle lens is ideal because it covers more of the sky, increasing our chances of capturing a strike. For exposure settings, start with a low ISO to reduce noise—ISO 100 or 200 works well. Aperture settings should be around f/8 to f/11 to maintain depth of field and sharpness.
Shutter speed is where the magic happens; use bulb mode to keep the shutter open as long as needed, enabling us to capture multiple strikes in a single frame.
Safety is paramount. Always maintain a safe distance from the storm and use a remote shutter release to avoid standing near the camera during a strike.
With the right equipment and settings, we're set to capture the raw power of nature.
Understand Weather Patterns
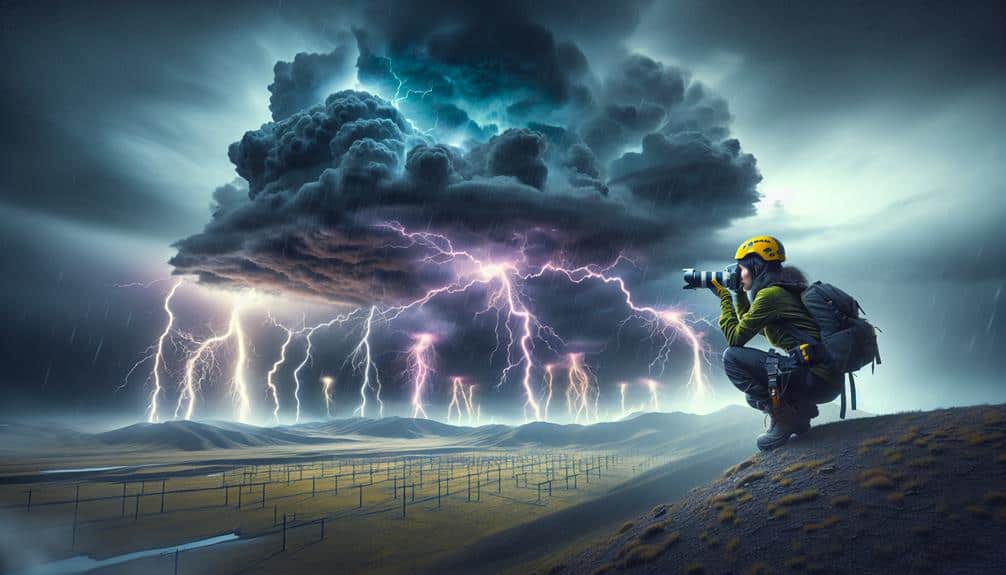
Understanding weather patterns is vital for predicting when and where lightning will strike, allowing us to position ourselves safely and efficiently for capturing the perfect shot.
To start, we need to become adept at storm tracking. By utilizing radar and satellite data, we can monitor storm movements and anticipate where they're headed. This real-time information helps us plan our positioning well in advance.
Next, recognizing cloud formations is pivotal. The presence of cumulonimbus clouds, which are tall, dense, and capable of producing thunderstorms, is a significant indicator of potential lightning activity. We should also look for anvil-shaped tops and dark, heavy bases, which are telltale signs of a developing storm.
Lightning safety and emergency preparedness should always be at the forefront of our minds. Being aware of the weather conditions enables us to take necessary precautions and have a solid emergency plan in place. Carrying a weather radio or having a reliable weather app can provide timely updates on severe weather warnings, helping us stay informed.
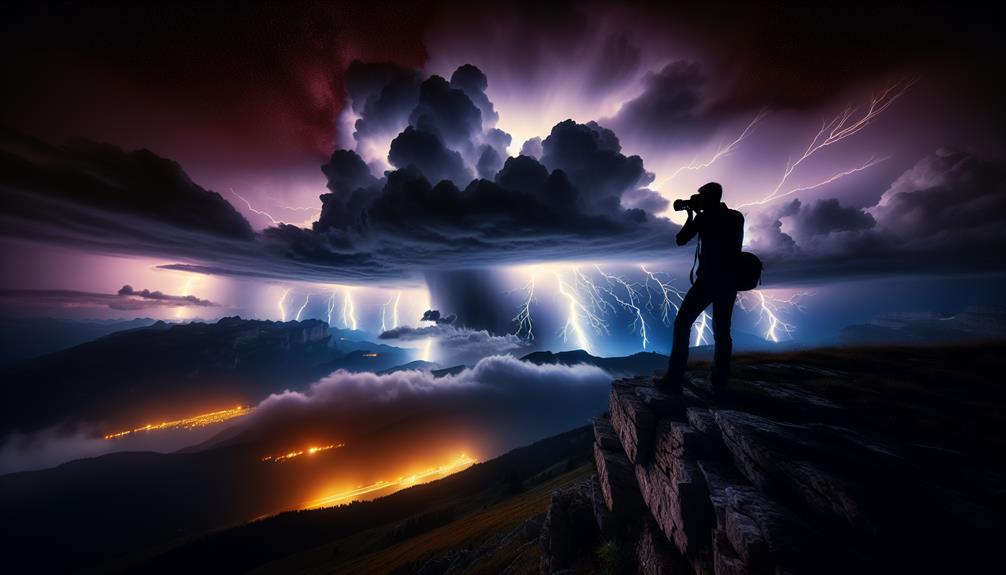
Pick a Safe Location
Armed with our knowledge of weather patterns, we must now focus on picking a safe location to set up our equipment for capturing lightning strikes. Safety is paramount, and ensuring we're not putting ourselves in harm's way is the first step.
Always prioritize lightning safety by avoiding open fields, isolated trees, and tall structures. Instead, let's aim for ideal locations that offer both a clear view of the sky and a safe shelter—think of areas like covered porches, car interiors, or buildings with large windows.
We should also be mindful of the terrain. Elevated areas might provide a stunning vantage point, but they increase the risk of a direct lightning strike. Flat, open spaces with a clear horizon are preferable, but only if we can photograph from within a safe structure. Remember, lightning can strike even if we're miles away from the storm.
Additionally, setting up near bodies of water might be tempting for dramatic reflections, but these areas are highly conductive and dangerous during a storm. Instead, let's seek higher ground that's still sheltered, ensuring our equipment is protected and we're not exposed to unnecessary risks.
This balance of visibility and safety will help us capture stunning lightning shots without compromising our well-being.
Use a Tripod
To achieve the sharpest lightning photos, we must use a sturdy tripod to stabilize our camera, guaranteeing clear, blur-free images. Camera stability is vital when dealing with the extended lighting exposure times required to capture lightning strikes effectively. By keeping our camera rock-steady, we eliminate the risk of motion blur, which can ruin an otherwise perfect shot.
Selecting a high-quality tripod is our first step. We need one that can withstand wind and uneven terrain while providing strong support. A tripod with adjustable legs and a ball head mount will give us the flexibility to position our camera at the perfect angle.
In addition to using a tripod, we should always employ a remote shutter release or the camera's built-in timer to avoid even the slightest movement when pressing the shutter button. This small step further enhances camera stability, allowing us to achieve immaculate images of nature's electrifying display.
Safety is paramount; we must set up our tripod in a secure location, away from metal objects and tall structures. By prioritizing both stability and safety, we guarantee our lightning photography sessions are both productive and hazard-free, giving us the freedom to focus on capturing those awe-inspiring moments.
Set Proper Camera Settings
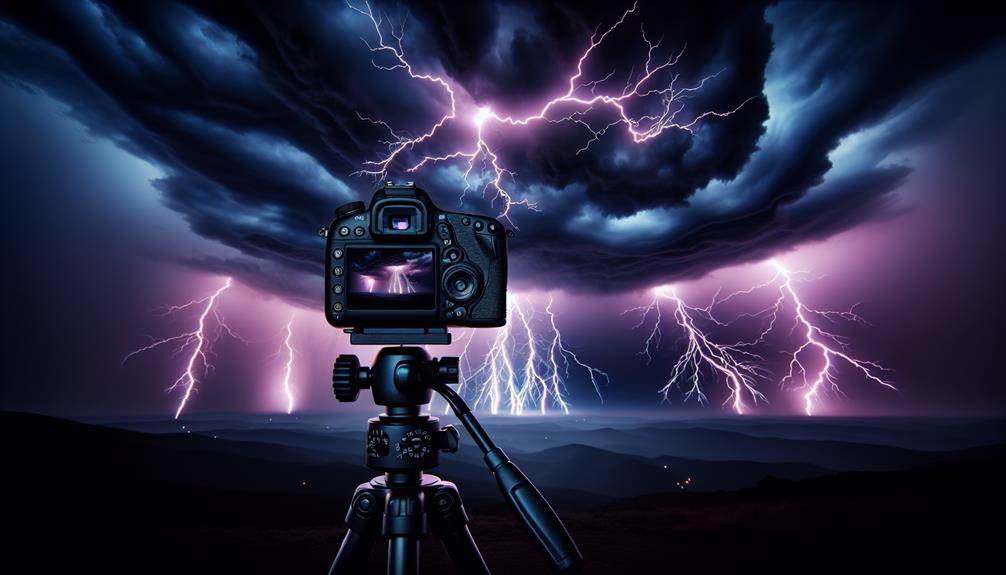
Selecting the correct camera settings is important for capturing stunning lightning photographs. We need to master our exposure settings to make sure we capture the brilliance of each strike without overexposing the shot. Start by setting your camera to manual mode. This gives us the freedom to control the aperture, shutter speed, and ISO precisely.
For lightning, a small aperture (f/8 to f/16) and a low ISO (100-200) work best, minimizing noise and ensuring sharpness.
When it comes to framing techniques, a wide-angle lens is our best friend. It allows us to capture the vastness of the sky and increases the chances of including a lightning strike in our shot. Adjusting the shutter speed to longer exposures—anywhere from 10 to 30 seconds—lets us capture multiple strikes in a single frame, making the shot more dynamic.
Lighting conditions play an important role in our settings. If it's relatively bright during a storm, we might need to shorten the exposure time or narrow the aperture further.
Composition tips include positioning the horizon lower in the frame to emphasize the sky and lightning. Remember, safety first: always shoot from a protected location to avoid any risk.
Employ Remote Shutter
Mastering our camera settings is just the beginning; using a remote shutter guarantees stability and reduces camera shake, vital for those long exposures. In lightning photography, every fraction of a second counts. When we're dealing with longer exposure times, even the slightest movement can blur our shots. A remote shutter allows us to trigger the camera without physically touching it, ensuring maximum stability.
Here's why employing a remote shutter is vital for lightning photography:
- Minimize Camera Shake: Pressing the shutter button manually can cause slight vibrations. A remote shutter eliminates this risk.
- Long Exposure Control: With longer exposure times needed to capture lightning, a remote shutter helps us maintain steady shots.
- Timing Precision: Lightning is unpredictable. A remote shutter lets us react quickly without causing disruption.
- Safety Distance: We can operate the camera from a distance, keeping us safer from the storm.
Using remote shutters enhances our camera techniques by providing the precision and stability needed to capture the ephemeral beauty of lightning. It's a small investment with significant benefits, giving us the freedom to focus on the perfect shot without compromising on stability or safety.
Focus on Safety First
Safety is paramount in lightning photography, as no shot is worth risking our lives. When we're out capturing the raw power of a lightning storm, it's essential to prioritize safety measures.
First, always monitor weather forecasts and lightning activity using reliable sources. Real-time radar apps can help us stay informed and make timely decisions.
Next, avoid open fields, hilltops, and isolated trees. These are the most hazardous spots during a lightning storm. Instead, find shelter in a sturdy building or a car with the windows rolled up. If we're caught in an open area, crouch down with feet together and minimize contact with the ground.
Using a remote shutter isn't only a photography technique but a safety measure too. It allows us to get those stunning shots without being exposed to the elements. Also, we should always keep our gear dry and avoid using metal tripods, which can act as lightning rods.
Lastly, always have an exit plan. Know the quickest route to safety and be ready to abandon our setup if the storm intensifies. Lightning photography is exhilarating, but our well-being must remain the top priority.
Capture During Twilight
Capturing lightning during twilight offers a unique blend of ambient light and dramatic electrical discharges, creating opportunities for stunning and well-balanced photos. This magical time, often referred to as the golden hour, provides just enough natural light to illuminate the landscape while allowing the brilliance of the lightning to stand out.
To make the most out of this enchanting period, let's explore some essential tips:
- Use a Tripod: Stability is key. A tripod guarantees that your camera remains steady, reducing blurriness and maximizing clarity.
- Manual Settings: Switch to manual mode. Adjust your aperture, ISO, and shutter speed to adapt to the changing light conditions. Twilight can be tricky, but with practice, you'll nail it.
- Lightning Trigger: Invest in a lightning trigger. This device detects the sudden change in light and triggers the shutter, capturing the split-second flash of lightning.
- Long Exposure: Experiment with long exposure techniques. This allows more light to enter the lens, creating a dramatic effect as the lightning illuminates the scene.
Protect Your Gear
When capturing lightning strikes, protecting our gear is crucial to guarantee durability and peak performance.
We should always use waterproof covers to shield against sudden downpours and secure our cameras with sturdy tripods to withstand strong gusts of wind.
This approach not only safeguards our equipment but also enhances our ability to capture the perfect shot.
Use Waterproof Covers
Protecting your camera equipment from rain and moisture is important, so investing in high-quality waterproof covers is a necessity for any serious storm chaser. We understand that rain protection isn't only vital for the longevity of our gear but also for maintaining the clarity of our shots.
When the storm clouds gather and the lightning begins to flash, the last thing we require is water damage disrupting our workflow.
Here's a quick list to help you safeguard your camera:
- Waterproof Camera Cover: Get a dedicated waterproof cover that fits snugly over your camera body and lens. This will keep rain out and guarantee your camera stays dry.
- Lens Hood: Always use a lens hood to add an extra layer of protection against water droplets. This simple accessory can greatly assist in lens care.
- Silica Gel Packs: Place silica gel packs inside your camera bag to absorb any moisture that might sneak in.
- Weather-Sealed Lenses: Invest in weather-sealed lenses designed to withstand harsh conditions.
Secure With Tripod
Stabilizing our camera with a sturdy tripod is vital for capturing sharp, clear images during lightning storms, minimizing blur and ensuring our gear remains safe in unpredictable weather conditions. The tripod provides the necessary stability to handle long exposure times, which are necessary for photographing lightning. Without a solid base, even the slightest movement can ruin the shot.
Let's set up our tripod on firm, level ground to prevent it from tipping over in strong winds. Sandbags or weights can add extra stability. Adjust the tripod legs to achieve the desired camera angles, ensuring we can frame the storm effectively. The flexibility of a good tripod allows us to react to changing lighting conditions swiftly, keeping our composition dynamic and engaging.
We must also consider the tripod's material. Carbon fiber tripods are lightweight yet strong, ideal for easy transport without sacrificing durability. It's crucial to regularly inspect the tripod's joints and locks, ensuring they're secure before heading out.
Safety is paramount; during lightning storms, keep a safe distance from tall objects and avoid open fields. By securing our gear with a reliable tripod, we protect both our equipment and ourselves, allowing us to capture nature's raw power with confidence.
Review and Edit Photos
Reviewing and editing photos of lightning strikes requires a keen eye for detail and a solid understanding of photo editing software to enhance the dramatic impact safely and effectively. We need to pay careful attention to the nuances of our lightning photography to bring out the best in our shots while ensuring we don't compromise on the integrity of the image.
When diving into photo editing, let's start with these essential steps:
- Exposure Adjustment: Lightning strikes can be incredibly bright, so adjusting the exposure helps balance the luminosity, ensuring the details in both the strikes and the surrounding environment are visible.
- Contrast and Clarity: Increasing contrast and clarity can make the lightning bolts stand out sharply against the sky, adding depth and drama to your photos.
- Noise Reduction: Night photography often introduces noise. Applying noise reduction techniques can clean up the image, making the lightning bolts appear more defined.
- Color Correction: Adjusting the white balance and saturation levels can accentuate the natural colors of the lightning, making the image more vibrant and true to life.
Frequently Asked Questions
How Can I Predict the Best Time for Lightning Photography?
We predict the best time for lightning photography by using weather monitoring systems and lightning trackers. Time lapse photography during the golden hour increases dramatic effect while ensuring safety. Always prioritize safety and stay informed about weather conditions.
What Are the Legal Considerations for Photographing Lightning?
We might think photographing lightning is straightforward, but let's consider privacy rights and public property. We must respect copyright laws and intellectual property while ensuring our safety. Remember, capturing lightning shouldn't infringe on others' rights or safety.
How Do I Avoid Overexposure When Capturing Lightning?
To prevent overexposure when capturing lightning, we must adjust our camera settings. Use a low ISO, narrow aperture, and set a shorter exposure time. This guarantees clarity and safety while preserving the lightning's dramatic effect.
Can Lightning Photography Damage My Camera Sensor?
Yes, lightning photography can damage our camera sensor. To maximize camera protection, we should use proper shielding and regularly perform sensor cleaning. Let's prioritize safety and maintain our gear for peak performance during these electrifying shoots.
What Are Some Post-Processing Tips for Enhancing Lightning Photos?
Just like refining a diamond, lightning photography benefits from careful editing techniques. We should balance exposure, enhance contrast, and sharpen details. Creative compositions make our shots pop, ensuring they shine on social media platforms.