To enhance lightning strike photography at night, we should first choose a dark, isolated location with a clear view and minimal light interference. Using a full-frame DSLR or mirrorless camera with a wide-angle lens, we'll set a long shutter speed (10-30 seconds), low ISO (100-400), and aperture between f/8 to f/11. Stability is essential, so a sturdy tripod and remote shutter release are vital. Manual focus guarantees sharp captures. Post-processing helps reveal lightning details and manage noise. Varied angles, from low to high vantage points, offer unique compositions. With these steps, our images will truly electrify. Continue and discover deeper insights.
Key Points
- Use long exposure times (10-30 seconds) to capture multiple lightning strikes in a single frame.
- Opt for low ISO settings (100-400) to reduce noise and enhance image clarity.
- Utilize a sturdy tripod to minimize camera shake during long exposures.
- Manually focus on a distant point to ensure sharpness in low-light conditions.
Choosing the Right Location
Selecting a prime vantage point is crucial for capturing the intense drama of nocturnal lightning strikes. We must carefully assess weather conditions before venturing out. Utilizing advanced meteorological tools, we can forecast storm patterns and pinpoint active regions. Scouting out locations in advance guarantees we're in the optimal position when lightning strikes.
Secluded areas provide exceptional opportunities. With minimal light interference, the sky remains dark, creating a striking contrast to the dazzling flashes. Here, we can utilize natural landmarks to frame our photographs, establishing a dynamic interaction between land and sky.
On the other hand, urban settings present a unique aesthetic. The juxtaposition of lightning against cityscapes generates a surreal ambiance. Rooftops and elevated viewpoints in cities can serve as premium locations, although we must account for the heightened ambient light.
In both situations, comprehending weather conditions is essential. Storm formations can be erratic, and we must be prepared to adapt swiftly. By combining technology and instinct, we can determine whether a remote hilltop or an urban rooftop offers the optimal shot. Our pursuit of the perfect lightning image hinges on our capacity to select locations that enhance both safety and visual impact.
Safety Precautions
Let's prioritize our safety by utilizing advanced weather monitoring tools to anticipate storm patterns.
We'll select secure shooting locations that offer both an unobstructed view and protection from lightning hazards.
Weather Monitoring Tools
To guarantee our safety while capturing the perfect lightning shot, we rely on a suite of advanced weather monitoring tools that provide real-time data and predictive analytics. These tools enable us to interpret intricate cloud patterns and atmospheric conditions, ensuring we stay one step ahead of potential hazards.
Our arsenal includes high-resolution radar systems that offer precise storm tracking, allowing us to pinpoint the development and trajectory of thunderstorms.
Utilizing lightning prediction software, we can gauge the likelihood of strikes in specific areas, thereby optimizing our setup for those breathtaking captures.
Satellite imagery provides a macroscopic view of weather systems, illuminating the broader environmental context in which individual storms form.
Additionally, we harness the power of mobile apps that alert us to sudden changes in weather, feeding us instantaneous updates on wind speed, humidity, and temperature fluctuations.
Our commitment to safety doesn't stifle our creative spirit; rather, it empowers us to explore the beauty of nature's raw power with confidence.
Safe Shooting Locations
Armed with state-of-the-art weather monitoring tools, we now turn our attention to identifying safe shooting locations that offer both best vantage points and minimized risk during lightning storms. We need to balance the pursuit of striking imagery with our safety.
The right location can make all the difference in capturing breathtaking lightning shots while ensuring we're not in harm's way.
Given the unpredictable nature of lightning, it's vital to avoid open fields, hilltops, or any elevated areas. Instead, let's look for locations that offer a clear view but provide shelter, such as:
- Underpasses or sturdy structures: These can protect us from direct strikes while allowing for dynamic lighting conditions and composition.
- Vehicles: Serving as Faraday cages, cars can shield us from lightning, making them ideal for setting up equipment and adjusting exposure settings and creative framing.
Camera Settings
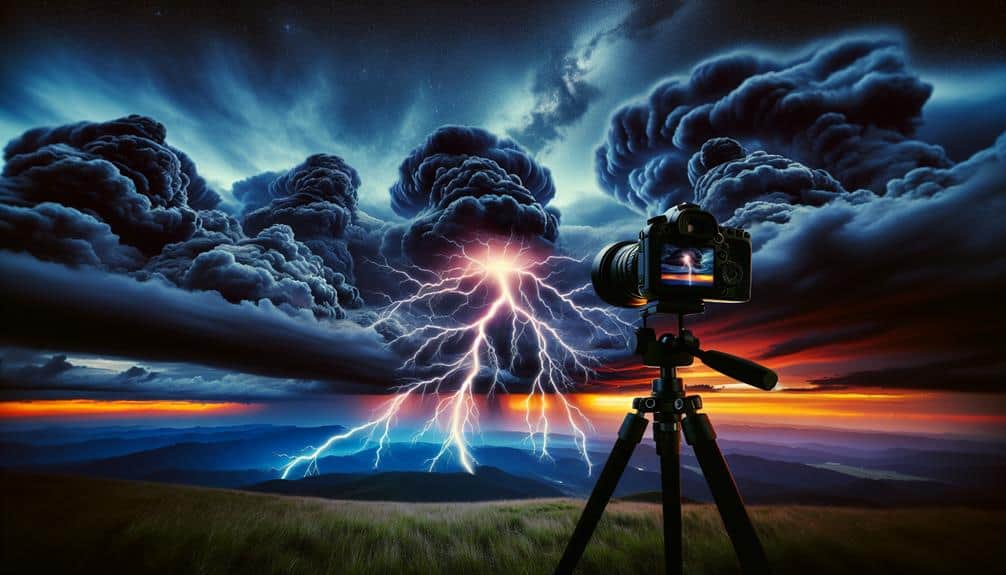
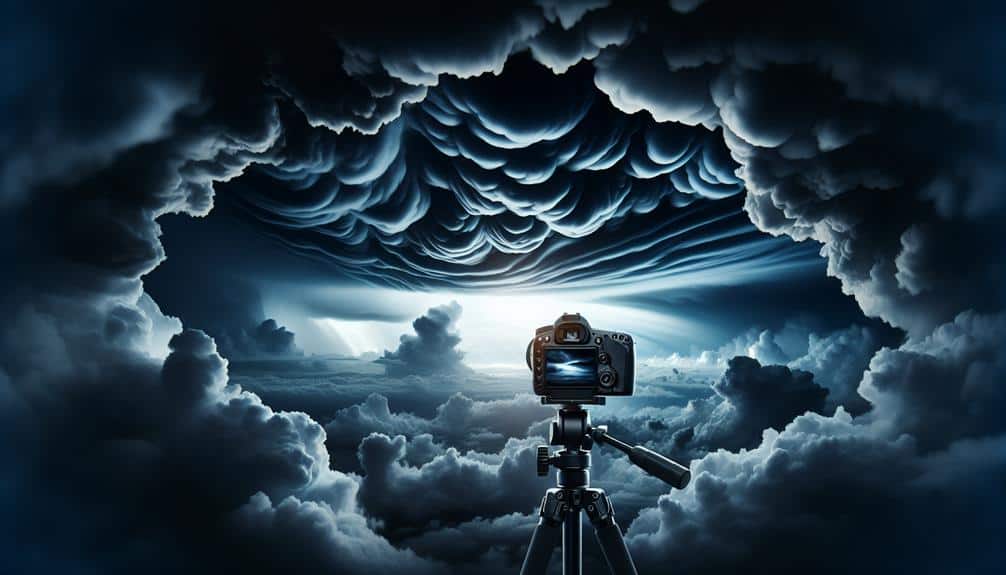
Mastering the camera settings is vital for capturing the dramatic intensity and intricate details of lightning strikes at night. We begin with exposure settings, which are pivotal in our quest. A longer shutter speed, typically between 10 and 30 seconds, allows us to capture multiple strikes in a single frame. Pair this with a low ISO setting, around 100 to 400, to reduce noise and maintain image clarity. Aperture settings around f/8 to f/11 balance depth of field and sharpness, essential for foreground and background detail.
Focus techniques are equally important. Manual focus is our ally in low-light conditions. We can pre-focus on a distant object or use the infinity focus setting to guarantee the lightning is crisp. Additionally, enabling focus peaking, if available, can provide visual confirmation of sharpness.
Turning to composition tips, we should consider the rule of thirds to frame our shots, placing the horizon or key elements off-center for dynamic balance. Incorporating foreground elements can enhance the visual narrative and emphasize the lighting effects.
We aim to juxtapose the fleeting brilliance of lightning against steady, terrestrial elements, crafting an image that resonates with both power and precision.
Essential Gear
To capture the raw power of lightning strikes, we need to prioritize our camera and lens selection, ensuring we use equipment that can handle low-light conditions and fast shutter speeds.
A sturdy tripod is indispensable for maintaining stability during long exposures, minimizing any potential shake.
Let's explore the intricate balance between these essential gear components to elevate our nighttime lightning photography.
Camera and Lens Selection
Selecting the best camera and lens is crucial for capturing the fleeting beauty of lightning strikes at night, striking a balance between technical specifications and creative potential. We need a camera that excels in low-light conditions with a high dynamic range and minimal noise at elevated ISOs. Full-frame DSLRs or mirrorless systems are excellent choices. Our lens selection should prioritize speed and sharpness.
When choosing lenses, we must consider several factors:
- Focal length and aperture settings: A wide-angle lens (14-24mm) with a fast aperture (f/2.8 or lower) allows us to capture vast sky expanses, maximizing our chances of framing lightning in a single shot.
- Lens filters: Neutral density (ND) filters can help control exposure during prolonged lightning storms, while UV filters protect the lens from dust and moisture.
Balancing these elements, we can manipulate focal lengths to encompass broad horizons, while precise aperture settings will optimize our images to remain sharp and detailed.
Tripod and Stability
Achieving unwavering stability in our setup is paramount to capturing the sharpest, most evocative lightning strike images at night. A sturdy tripod is indispensable for minimizing camera shake and ensuring our long-exposure shots remain crisp. Selecting a tripod with robust construction and a reliable ball head allows us to swiftly adjust our compositions without sacrificing stability.
When it comes to shutter speed, a solid tripod becomes even more critical. Long exposures, often necessary for lightning photography, demand absolute stillness. Any movement can result in blurred lines, diminishing the dramatic impact of the lightning. Ensuring our tripod is firmly planted and using a remote shutter release or intervalometer can further mitigate unintended vibrations.
Incorporating advanced composition techniques also benefits from a stable platform. We can experiment with framing, leading lines, and the rule of thirds to create compelling images that not only capture the lightning but also tell a story. The ability to fine-tune our angles and perspectives without worrying about destabilizing the camera frees us to be more creative and precise, ultimately enhancing our photographic artistry.
A steadfast tripod is our foundation, enabling us to seize the electrifying beauty of lightning with clarity and finesse.
Timing the Shot
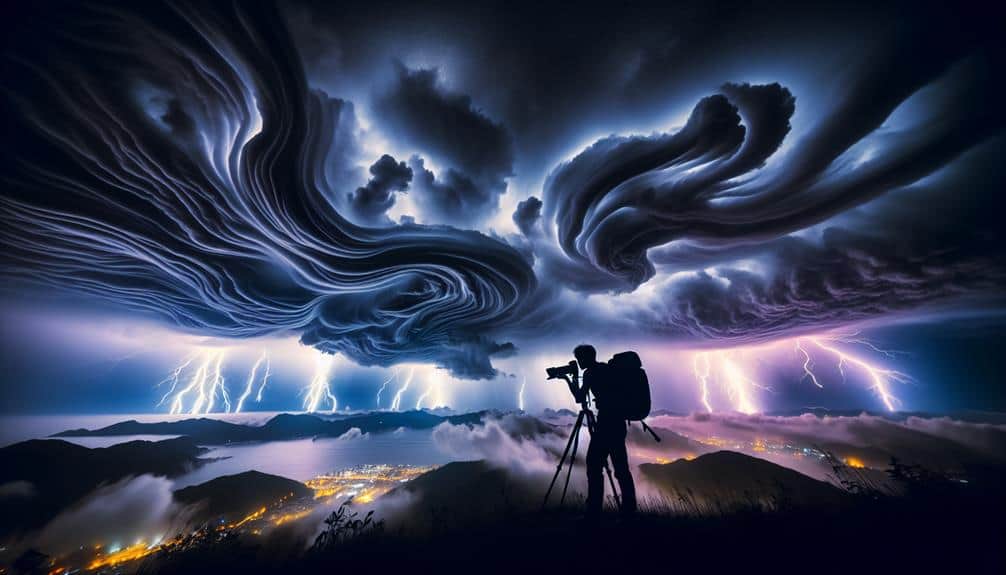
Mastering the precise moment to capture a lightning strike demands an acute understanding of storm dynamics and impeccable timing. We need to synchronize our techniques to the unpredictable rhythm of nature. The key lies in perfectly balancing exposure settings and composition, ensuring our frame is ready to seize that ephemeral flash of brilliance.
To achieve this, we employ:
- Remote triggering to minimize camera shake and react instantly.
- Manual focus to lock onto a distant point, ensuring crisp detail in low light.
Manual focus allows us to sidestep the camera's struggle to autofocus in darkness, giving us control over the sharpness of the scene. Remote triggering offers the freedom to shoot from a distance, reducing the risk of missing the fleeting moment due to physical constraints.
By fine-tuning our exposure settings, we can craft a composition that balances the ambient light with the sudden intensity of lightning.
Timing isn't just about speed; it's about anticipation and preparation. By understanding weather patterns and honing our techniques, we position ourselves to not just capture an image, but to immortalize the raw, untamed energy of a storm.
Post-Processing Tips
In post-processing lightning strike photos, we enhance the raw energy and detail captured during the shoot by meticulously adjusting exposure, contrast, and color balance.
To start, exposure adjustment is vital to reveal the intricate details of the lightning bolt without overexposing the surrounding environment. By fine-tuning the exposure, we can bring out the dramatic tension between light and shadow that characterizes a stunning lightning photograph.
Next, color correction is necessary to guarantee the natural hues of the lightning and surrounding sky are accurately represented. This involves tweaking the white balance to eliminate any color casts that could detract from the image's authenticity.
Noise reduction is another important step, especially when shooting at high ISO settings typical for night photography. We apply noise reduction techniques to minimize graininess, ensuring the image remains crisp and clean.
Finally, sharpening techniques are employed to make the lightning bolt's edges stand out sharply against the night sky. By selectively sharpening the lightning and other key elements, we enhance the overall impact of the photo.
Through these post-processing methods, we transform raw captures into compelling visual narratives that celebrate the wild, untamed beauty of nature.
Experimenting With Angles
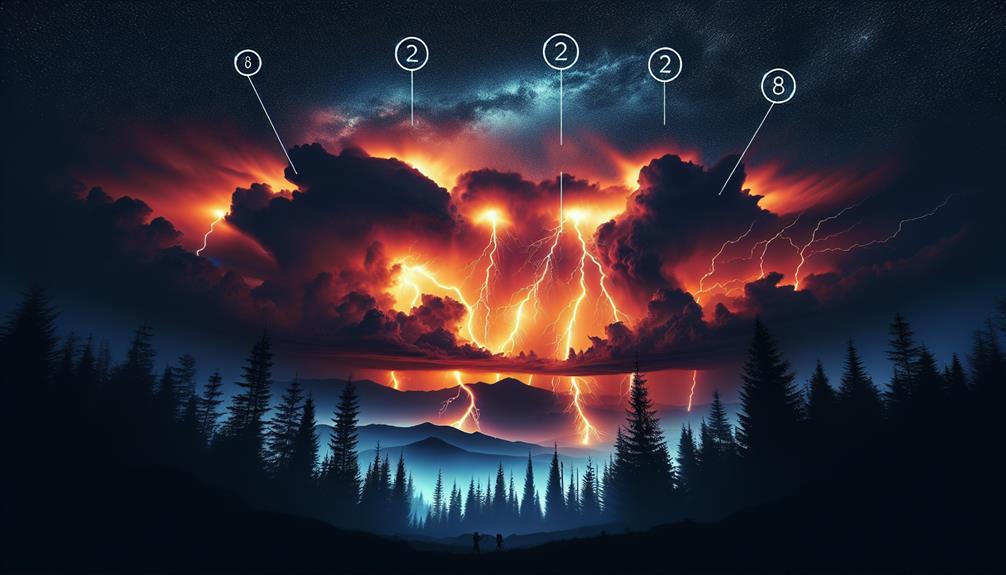
Exploring various perspectives allows us to capture the unique, dynamic forms of lightning, highlighting the interplay between the storm's intensity and the landscape's contours. By experimenting with different viewpoints, we can reveal the hidden beauty in each strike, transforming ordinary scenes into captivating images.
To maximize our creative compositions and achieve unique shots, we should consider the following techniques:
- Low Angles: Positioning our camera closer to the ground can accentuate the grandeur of lightning as it illuminates the sky, creating a dramatic and immersive effect.
- High Vantage Points: Shooting from elevated positions, like hills or tall buildings, provides a broader view of the storm, allowing us to capture intricate patterns of multiple lightning bolts against the horizon.
These creative choices not only enhance the photograph's aesthetic appeal but also evoke a sense of freedom and wonder. By mastering the art of angle experimentation, we can transform each lightning strike into a work of art, capturing the raw power and fleeting beauty of nature's most electrifying phenomena.
Frequently Asked Questions
How Can I Predict the Occurrence of Lightning Storms?
We monitor weather radars and employ lightning prediction models. Storm tracking apps and satellite data help us anticipate lightning storms. Combining these tools with atmospheric analysis, we gain precise insights, enhancing our freedom to capture nature's spectacle.
What Software Can Help With Planning Night Lightning Photography?
Like a maestro conducting an orchestra, lightning photography software like 'Photopills' and 'My Lightning Tracker' can orchestrate our plans. They predict storms, while we guarantee camera gear protection, capturing electrifying moments with technical precision and artistic insight.
Are There Any Apps to Monitor Lightning Activity in Real-Time?
Yes, there are several apps for real-time lightning detection and weather alerts. We recommend using MyLightningTracker or BlitzortungLive. These provide precise data, empowering us with the freedom to capture the perfect lightning shot.
How Do I Protect My Camera Equipment From Rain During a Storm?
How can we guarantee our waterproof camera withstands a storm's fury? We utilize a high-quality protective cover to shield our equipment from rain. This combination safeguards our gear, granting us the freedom to capture nature's electrifying display.
What Type of Lens Is Most Effective for Capturing Lightning Strikes?
We recommend using a wide-angle lens with a wide aperture and fast shutter capabilities. This setup captures expansive sky views while allowing quick adjustments, ensuring we capture the lightning's fleeting brilliance with artistic precision and technical excellence.
