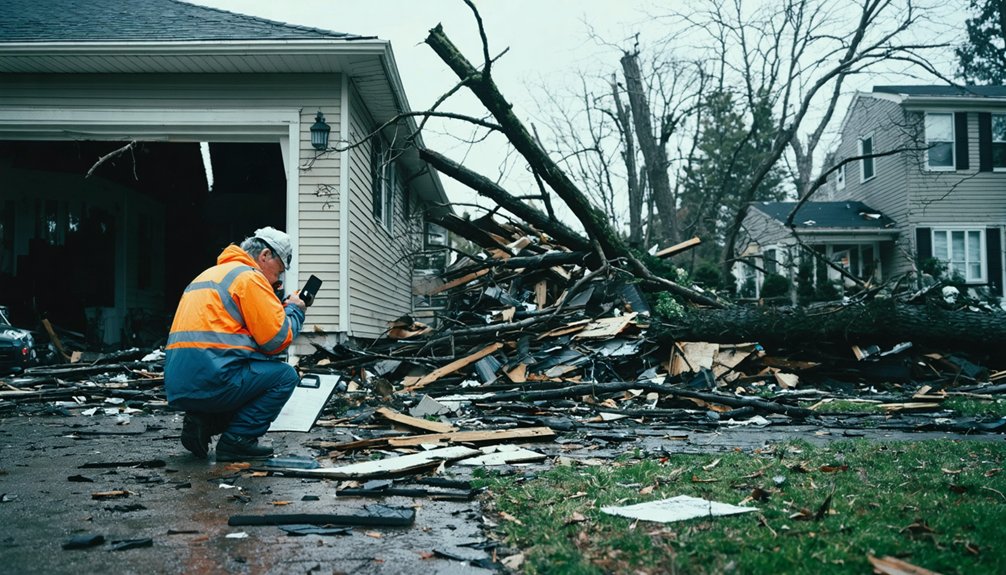
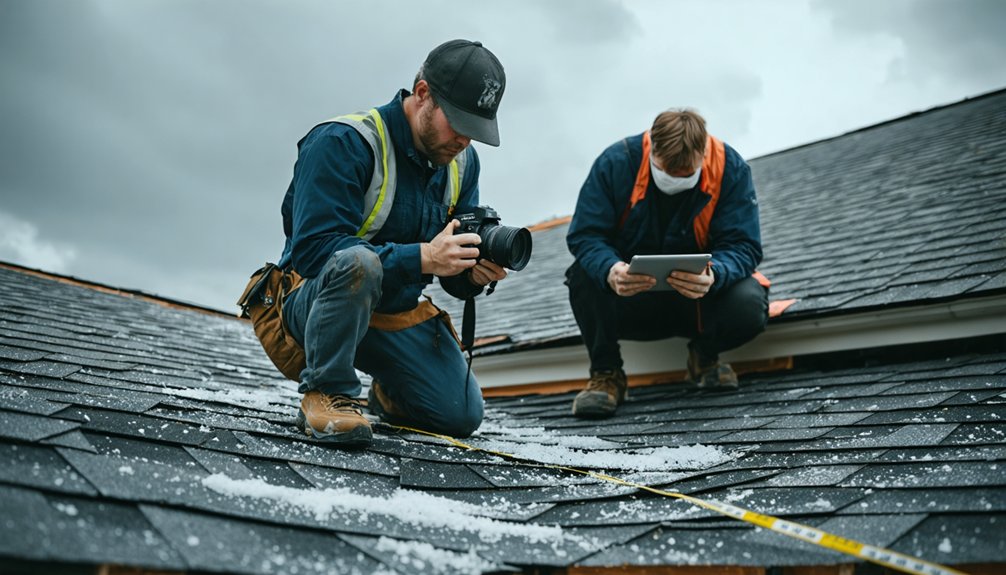
Documenting flood damage effectively starts before you even step inside — notify your insurer and FEMA first. Then photograph every room systematically, capturing wide shots and close-ups from multiple angles. Collect serial numbers, save receipts, and cut physical material samples from flooring and upholstery. Build a room-by-room inventory with descriptions, costs, and timestamps, then back everything up to cloud storage. Get written approval before discarding anything — what you preserve directly determines what you’re paid.
Key Takeaways
- Notify your insurer and FEMA before entering flood-damaged property to ensure compliance and avoid jeopardizing financial claims.
- Photograph all exterior and interior damage systematically, organizing images into labeled folders by room and location.
- Record model and serial numbers of damaged appliances, linking them to corresponding photos for accurate inventory records.
- Retain physical material samples of flooring, wallpaper, and upholstery, labeled with room location and sealed for preservation.
- Avoid discarding damaged items without written insurer approval, as premature disposal can undermine your flood damage claim.
Notify Your Insurer and FEMA Before You Re-Enter
Before you step foot inside your flood-damaged home, notify your insurance provider and FEMA. This step isn’t optional — it’s strategic. One of the most persistent insurance claim myths is that you can document and discard damaged items on your own timeline. Don’t believe it. Flood insurance policies contain specific provisions requiring prompt notification before you begin any cleanup or remediation.
Flood insurance isn’t forgiving — notify your insurer before touching a single damaged item.
Contacting your insurer first protects your right to a full payout. They’ll outline exactly what documentation they require, preventing costly missteps.
FEMA registration also unlocks federal assistance programs that supplement your policy’s limits. Acting without authorization risks claim denial.
You worked hard for your home and property. Protect that investment by following proper protocol before re-entering — your financial recovery depends on it.
How to Photograph Flood Damage the Right Way
Begin your photo documentation outside by shooting all four sides of your home from the property’s edge. Then move closer—10 to 15 feet from each wall—to capture full surface coverage sequentially.
Place a ruler, quarter, or your hand next to damage so adjusters can gauge exact size and depth. Angle your shots to use natural shadows that reveal the true severity of dents, cracks, or warping.
As you move indoors, organize every image by specific room location—labeling folders as “Interior Kitchen” or “Attic”—so your evidence builds a clear, room-by-room progression that’s impossible to dispute.
Start With Exterior Shots
When it comes to flood damage photography, the exterior of your home is where your documentation should start. Photograph all four sides from the street or property edge to capture the full structure in frame.
Then move closer, standing 10 to 15 feet from each wall, and shoot the surface sequentially to avoid missing damaged sections.
Wear waterproof footwear before stepping onto saturated ground — hidden hazards and standing water make this non-negotiable.
As you document, angle your shots to capture shadows that reveal the depth of cracks, dents, or compromised siding. These details matter when adjusters assess structural integrity and mold prevention measures.
Timestamp every photo and sort them into labeled folders by location, such as Exterior North or Exterior South, immediately after capturing them.
Capture Scale And Depth
Once you’ve covered the exterior, close-range detail shots become your next priority — and scale is everything. Place a scale reference — a quarter, ruler, or your hand — directly beside each damaged area before shooting. This gives adjusters an undeniable depth measurement they can’t dispute.
Angle your shots deliberately. Shooting parallel to a surface flattens damage; shooting at 30 to 45 degrees lets shadows reveal true crack depth, dent severity, and surface deterioration. Use natural or supplemental lighting to emphasize texture.
Don’t just photograph damage straight-on — crouch, reposition, and capture multiple angles of the same area. This approach eliminates ambiguity and strengthens your claim considerably.
Every close-up shot should tell a complete, measurable story that leaves no room for an adjuster to undervalue what you’ve lost.
Organize By Room Location
How you organize your flood damage photos can make or break your insurance claim. Create a dedicated folder on your device labeled with the storm date, then sort images by specific room locations — Exterior North, Interior Kitchen, Attic — so adjusters can trace rainwater infiltration and plumbing leaks without confusion.
Start at the front door and work room by room, capturing wide doorway shots before moving to close-up details. Label each subfolder precisely, using timestamps to establish a clear damage progression timeline. This systematic approach prevents photos from becoming an unmanageable pile of unidentified images.
When your documentation reflects a logical, room-by-room structure, you’re giving yourself maximum leverage during the claims process — protecting your right to fair, complete compensation without unnecessary delays.
Which Serial Numbers and Receipts to Collect for Your Claim
Collecting the right serial numbers and receipts can make or break your flood damage claim, so you’ll want to start with your large appliances—washers, dryers, and refrigerators—recording both the model and serial numbers to verify specifications during the adjustment process.
Extend that same discipline to every damaged item in your home. Keep all receipts tied to replacement purchases, emergency supplies, and temporary repairs, since these historical records establish your financial baseline and support accurate reimbursement.
Physical receipts are vulnerable to water damage themselves, so create digital backups immediately by photographing each one. Store those images in your labeled folder alongside your other claim documentation.
This systematic approach gives you verifiable, court-ready evidence that protects your financial interests and keeps your recovery moving forward on your terms.
Save Material Samples So Adjusters Can Verify What You Lost
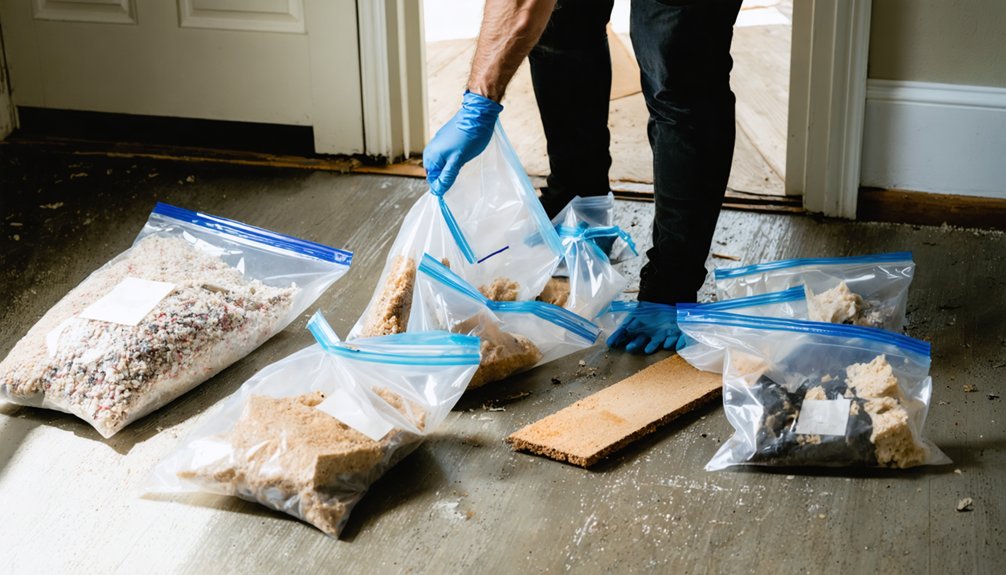
When floodwaters destroy your flooring, walls, or furnishings, you’ll want to cut and retain physical samples of carpeting, wallpaper, upholstery, and window treatments before discarding any material.
These swatches give adjusters tangible proof of the material grade, quality, and condition, eliminating disputes over replacement costs.
Label each sample with its room location, material type, and the date you removed it so the adjuster can match it directly to your written inventory and photos.
Retain Damaged Material Samples
Saving physical samples of damaged materials gives you concrete evidence that photos alone can’t fully capture—adjusters need to verify material grade, quality, and condition to calculate accurate replacement costs.
Cut and retain swatches of flooring, carpeting, upholstery, wallpaper, and window treatments before disposal. These samples prove whether you’d installed flood resistant materials or standard-grade finishes, directly impacting your settlement value.
Label each sample with its room location, material type, and installation date if known. Store them in sealed bags to prevent further degradation from moisture.
Your moisture mitigation efforts won’t mean much if adjusters can’t confirm what materials they’re replacing. Pair every physical sample with corresponding photographs showing damage context.
This two-layered approach strengthens your claim and prevents insurers from undervaluing your losses based on assumptions alone.
Document Sample Origins Clearly
Labeling your samples the moment you cut them isn’t optional—it’s what separates usable evidence from a bag of mystery materials that adjusters can dismiss or undervalue. Sample origin documentation anchors every physical piece to a specific location, giving material verification a factual foundation no adjuster can reasonably dispute.
Mark each sample immediately using waterproof labels or permanent markers. Include:
- Room location (e.g., “Master Bedroom, northeast corner”)
- Material type (e.g., “Berber carpet, padding attached”)
- Date collected following the flood event
- Corresponding photo number linking the sample to your visual record
This system connects physical evidence to your written inventory and photographs, creating a chain of documentation that’s hard to challenge. Control your claim by controlling your records.
Build a Room-by-Room Flood Damage Inventory Adjusters Trust
Building a room-by-room inventory gives adjusters the structured, verifiable evidence they need to process your flood claim accurately and efficiently. Start at the front door and work systematically through each space, documenting every damaged item’s description, brand, model, room location, age, and original or replacement cost.
A room-by-room inventory gives adjusters the structured, verifiable evidence needed to process your flood claim accurately.
For custom furniture or pieces with historical preservation value, note their provenance, craftsmanship details, and appraisal records to substantiate higher valuations.
Photograph open drawers, cabinets, and closets to confirm water exposure throughout each room. Record serial numbers from appliances and electronics directly within your written inventory, linking each entry to its corresponding photo.
Organize entries chronologically and by room, creating a precise, auditable trail that minimizes disputes and accelerates adjuster verification, ultimately protecting your right to a fair, complete settlement.
How to Label and Folder Your Flood Damage Evidence
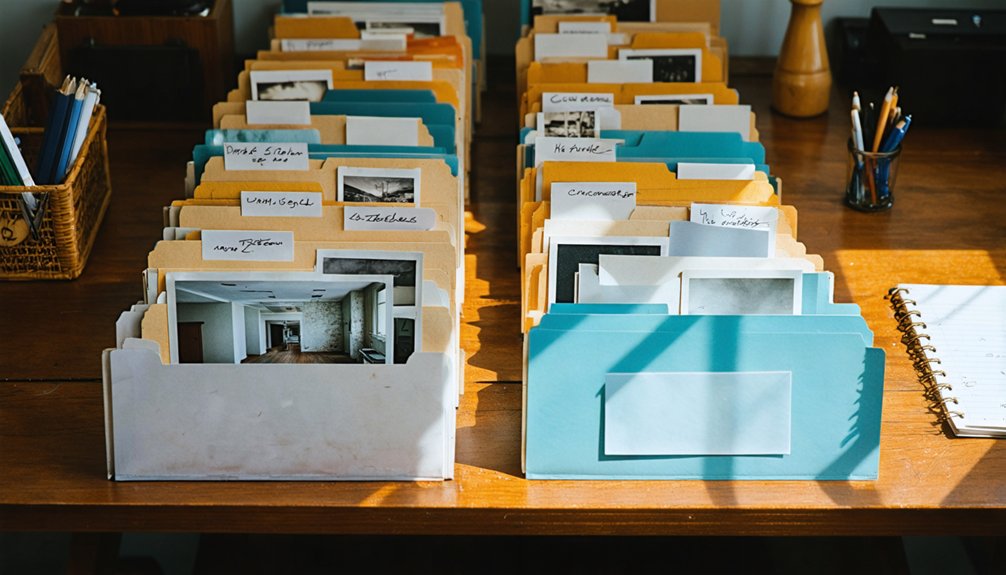
Once your room-by-room inventory is complete, organizing that evidence into a clear, retrievable folder system is what turns raw documentation into a claim insurers and adjusters can actually act on. Digital archiving with consistent labeling standards protects your rights and eliminates confusion during disputes.
Create a dedicated folder named after the storm date, then sort subfolders by location:
- Exterior_North, Exterior_South, Exterior_East, Exterior_West
- Interior_Kitchen, Interior_Basement, Interior_Attic
- Receipts_Repairs and Receipts_Emergency_Supplies
- Inventory_Written containing your room-by-room logs and item descriptions
Label every photo file with a timestamp, room name, and damage type, for example: 2024-09-15_Kitchen_WaterDamage_01.
Back up everything across two platforms — cloud storage and an external drive — so no single point of failure can erase your evidence.
What Not to Do Before Your Insurer Signs Off
Before your insurer signs off, throwing out damaged items or hiring contractors without explicit approval can seriously undermine your claim. One of the most persistent flood damage myths is that quick cleanup demonstrates responsibility — it doesn’t. It destroys evidence and fuels insurance claim disputes that delay or eliminate your payout.
Tossing damaged items before your insurer approves doesn’t show responsibility — it destroys evidence and kills your claim.
Don’t sign any remediation, cleaning, or repair agreements before consulting your adjuster. Don’t discard anything except documented health hazards like contaminated food.
Don’t assume verbal approval is sufficient — get written confirmation.
You retain the right to protect your property and your claim simultaneously. Contact your insurer and FEMA first, ask specifically what documentation they require, and act only within those boundaries. Premature action hands the insurer leverage to minimize or deny what you’re legitimately owed.
Frequently Asked Questions
How Long Should I Keep Flood Damage Documentation After My Claim Closes?
Keep your flood insurance policies and all documentation for at least seven years after claim settlement timelines close. You’ll protect yourself against disputes, audits, or reopened claims, ensuring you’re never caught unprepared when your financial freedom depends on it.
Can I Submit Flood Damage Documentation Digitally Instead of Providing Physical Copies?
Like a key opening a door, digital submission sets you free from physical copies. You can submit documentation digitally, giving you flexibility and control over your claim process efficiently.
Should I Document Damage Differently if I Am a Renter Versus a Homeowner?
Yes, you’ll document differently as a renter. Focus on tenant rights by photographing your belongings and lease terms, while landlords handle property preservation. Record serial numbers, capture room-by-room evidence, and notify your insurer immediately.
What Happens if I Lose My Documentation Before the Adjuster Visits My Home?
If you’ve lost documentation, don’t panic—you’re not powerless. Reconstruct evidence immediately by re-photographing damage, retrieving receipts digitally, and contacting your flood insurance policies provider. Prioritize water damage mitigation records, as insurers and adjusters can still work with reconstructed documentation.
Can Neighbors or Witnesses Help Support My Flood Damage Claim With Statements?
Ironically, you don’t have to face this alone—community support strengthens your claim. You can collect neighbor witness statements confirming damage they observed, giving your case credible, independent backing that adjusters can’t easily dismiss.
References
- https://www.fema.gov/press-release/20250416/how-document-damages-after-severe-weather-events
- https://magicplan.app/blog/how-to-document-water-damage
- https://www.polygongroup.com/en-US/blog/flood-damage-preparation-important-business-documents-to-protect/
- https://coverageclever.com/documenting-flood-damage/
- https://midweststormtracker.com/documenting-storm-damage-a-step-by-step-photo-and-video-guide/
- https://kevinharrisarchitect.com/documenting-flood-damage/
- https://flood.repair/document-flood-damage/
- https://www.youtube.com/watch?v=YJ6vo-jqtv4