Mastering severe thunderstorm filming means balancing creative ambition with ironclad safety discipline. You’ll need to read storm structure before you shoot, positioning yourself 2–3 miles from the storm’s edge while keeping escape routes planned and contacts informed. Use carbon-fiber tripods, remote shutter releases, and dialed-in exposure settings tailored to lightning in any light. Every frame you capture should tell a story — and there’s far more to uncover about doing it right.
Key Takeaways
- Plan escape routes, use your vehicle for shelter, and stay 2–3 miles from the storm edge to ensure safety while filming.
- Use weather radar apps and observe cloud patterns like rotating wall clouds to assess storm intensity and movement.
- Set ISO 50–100 with f/16–f/22 for daytime lightning; use Bulb mode at f/5.6–f/8 and ISO 100–400 at night.
- Incorporate foreground elements like fence lines or roads, reframe between strikes, and alternate wide-angle and telephoto shots for dynamic storytelling.
- Use ND and polarizing filters to manage exposure, but remove them immediately if light conditions shift suddenly.
Safety Rules for Filming Severe Thunderstorms
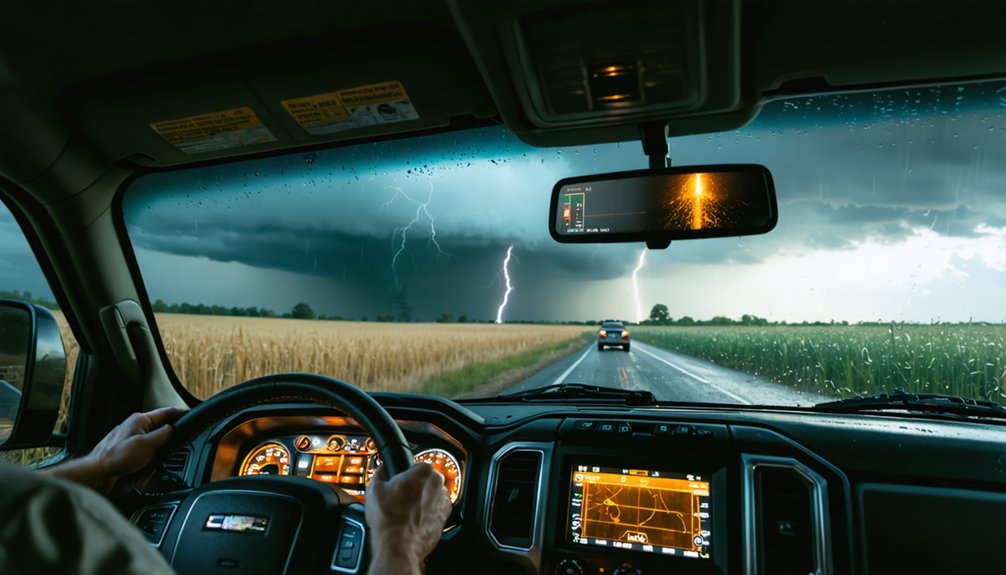
When you’re chasing severe thunderstorms, safety isn’t optional — it’s the foundation every shot is built on. Lightning safety starts before you ever raise a camera. Film from inside a production vehicle whenever possible — it’s your best defense against lethal strikes. Don’t touch the metal body or exterior while you’re sheltering inside; that contact can be deadly.
Before approaching any storm, plan your escape route and identify a shelter location in advance. Keep a trusted contact informed of your game plan and expected check-in time.
If a vehicle isn’t available, seek cover near large buildings or a dense grove of trees at the lowest practical point. Vehicle sheltering isn’t just convenient — in severe weather, it’s what keeps you alive to shoot another day.
How to Read a Storm Before You Shoot
Before you raise a camera, you need to read the storm — and that skill starts with radar. Pull up a weather radar app that tracks lightning strike prediction in real time. Watch where bolts cluster; that’s where the storm’s electrical heart beats hardest.
Study storm cloud patterns carefully. A rotating wall cloud signals intensification. A flat, structured base with defined edges tells you the storm’s organized and worth positioning against. Anvil spread indicates upper-level winds and storm direction.
Plan your escape route before you commit to a shooting location. Identify shelter in advance. Know which direction the storm travels, and never let it cut off your exit. Reading the storm isn’t just craft — it’s what keeps you free to shoot another day.
Gear Built for Thunderstorm Photography
Thunderstorm photography punishes weak gear fast — wind topples light tripods, rain kills unprotected electronics, and a single bad connection costs you the shot.
Build your kit around a carbon-fiber tripod; it’s lighter than aluminum and smarter near active lightning. Pair it with a remote shutter release or intervalometer so you’re never touching the camera during a strike sequence.
Lock your lens to infinity, shoot on battery power, and use a wide-angle for full structure or a telephoto when distance demands tighter framing.
Lightning triggered cameras give you a decisive edge, firing the moment a bolt initiates.
If you’re running storm chaser drones, ground them immediately when lightning closes in — no aerial footage justifies the risk.
Protect everything. Redundancy wins.
Camera Settings for Lightning in Any Light
Gear only gets you so far — the settings you dial in determine whether you walk away with a frame or a blown-out streak. Lightning safety starts before you touch the shutter; smart exposure decisions keep you shooting longer without repositioning recklessly.
For daytime lightning, shoot ISO 50–100, f/16 to f/22, underexposed by one stop to control sky brightness.
At night, open up to f/5.6–f/8, push ISO to 100–400, and run shutter speeds between 5 and 20 seconds in Bulb mode.
Lock focus at infinity — don’t let autofocus hunt during a strike.
Storm timing matters because light shifts fast. Run a test exposure first, then commit.
Keep ISO low, stay disciplined with your histogram, and adjust immediately when ambient conditions change.
Where to Position Yourself for the Best Storm Shots
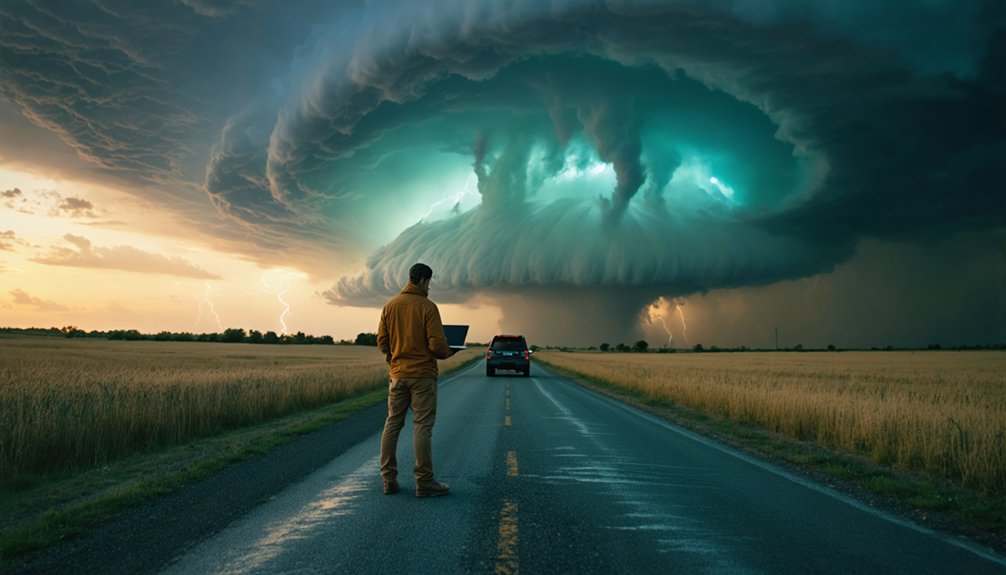
Position yourself about 2 to 3 miles from the storm’s edge to capture its full structure while staying clear of the most dangerous core activity.
Before you ever move toward a storm, identify a shelter location and plan your escape route so you’re never caught scrambling when conditions deteriorate fast.
That split-second decision-making advantage can mean the difference between a stunning shot and a life-threatening situation.
Ideal Distance From Storms
Where you stand relative to a storm can mean the difference between a stunning structural shot and a dangerous close call. For ideal storm proximity, hold your position roughly 2 to 3 miles from the storm’s edge. That distance gives you enough separation for lightning safety while keeping the full structure visible in your frame.
For wide structural shots, staying a few miles from the storm’s base works well. If a tornado develops and moves quickly, switch to a telephoto lens rather than closing the gap. You’ll capture tighter framing without sacrificing your safety margin.
Always plan your escape route before repositioning. Storm behavior shifts fast, and your exit needs to be already mapped.
Freedom in the field depends on staying disciplined about distance.
Escape Route Planning
Before you ever set up your shot, you need an escape route already mapped. Storms shift without warning, and hesitation costs you everything. Do your route reconnaissance before you approach the target area — identify every road exit, every turn, and every potential dead end.
Pinpoint your emergency shelter in advance: a large building, a solid structure, or your production vehicle parked on high ground away from flood-prone roads. Never let creative focus override situational awareness.
Tell a trusted contact your game plan and your expected check-in time. If the storm cuts off your primary exit, you need a secondary route ready without thinking.
Freedom behind the lens only exists when you’ve already guaranteed your way out. Plan the escape first, then chase the shot.
How to Frame and Compose a Thunderstorm
Framing a severe thunderstorm well starts with distance—hold your position roughly 2 to 3 miles from the storm’s edge, far enough to capture the full structure without exposing yourself to the core’s most dangerous activity.
From there, a wide-angle lens lets you pull the entire formation into a single dramatic frame, preserving cloud texture and color contrast between the storm’s dark base and the surrounding sky.
Keep your horizon straight—ultra-wide lenses exaggerate tilt instantly. Lock focus at infinity for sharp structural detail, and vary your compositions rather than defaulting to one static frame.
If the storm accelerates or a tornado develops, switch to a telephoto lens to maintain safe distance while tightening your framing.
Position yourself deliberately, shoot precisely, and never let the image outweigh your awareness.
Field Techniques That Sharpen Your Storm Footage
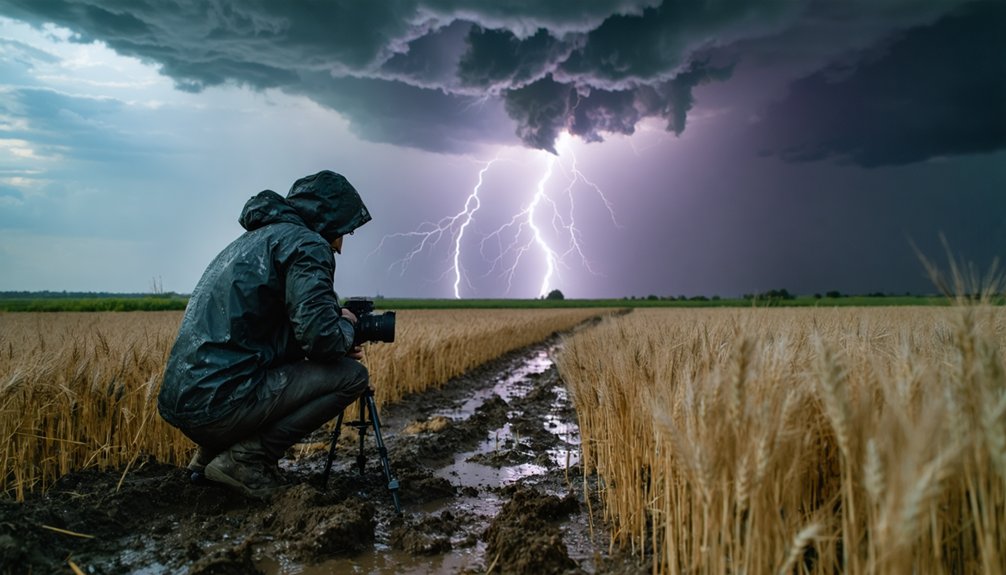
Once you’re locked into position, set your focus to infinity and leave it there—lightning and storm structure won’t wait for autofocus to hunt.
Don’t plant your camera in one static frame all session; shift your angle, change your focal length, and work the evolving scene to avoid a repetitive shot sequence.
When the sky’s contrast pushes beyond what your sensor can handle cleanly, reach for an ND filter to hold detail in both the churning clouds and the foreground without sacrificing exposure control.
Lock Focus At Infinity
When you’re out in the field with a thunderstorm building on the horizon, autofocus becomes your enemy. Shifting light, rain-streaked glass, and chaotic contrast points will send your lens hunting at the worst possible moment. Lock focus manually at infinity before the action starts.
Proper focus calibration and lens calibration matter here. Some lenses don’t focus perfectly at the infinity mark on the barrel, so verify sharpness using your camera’s live view magnification before committing to a sequence. Dial it in precisely, then lock it down.
Once you’ve confirmed critical focus on a distant cloud structure or horizon point, tape the focus ring if wind or accidental contact is a concern. You’re chasing clarity under pressure — don’t surrender it to a hunting autofocus motor.
Vary Your Compositions
Nailing focus is only half the equation — a sharp image locked on the same static frame for two hours produces forgettable footage. Framing diversity separates compelling storm documentation from static snapshots. Explore creative angles deliberately and reframe between strikes.
- Crouch low to exaggerate a towering supercell against a wide, open sky
- Incorporate a lonely road, fence line, or silhouetted tree to anchor emotional depth
- Shift between wide-angle structure shots and telephoto compression for tonal contrast
- Frame rotating wall clouds off-center to build tension within the composition
- Capture panoramic sequences when one frame can’t contain the full storm anatomy
Move intentionally, stay situationally aware, and treat each repositioning as a calculated decision — not a distraction. Your freedom behind the lens demands both creative courage and disciplined restraint.
Use Filters Wisely
Filters can make or break your storm footage when ambient light swings wildly between a darkened shelf cloud and a sun-blasted foreground.
Reach for ND filters when you need to extend shutter speed during daylight lightning work without blowing out the sky. A gray ND filter holds critical sky detail while keeping your foreground exposure honest.
Polarizing filters cut haze, deepen contrast between cloud layers, and reduce glare bouncing off wet roads or flooded fields. Stack them only when necessary, since each additional element risks flare or color shift during unpredictable storm light.
Dial in a test exposure first, then add filtration incrementally. When light shifts fast, pull the filter off immediately rather than fight a suddenly underexposed frame.
Frequently Asked Questions
Can Storm Footage Be Sold to News Agencies or Weather Organizations?
Like gold waiting to be mined, your storm footage can absolutely sell to news agencies and weather organizations. Prioritize storm safety and equipment maintenance, and you’ll turn dramatic skies into real income opportunities.
How Do Professional Storm Chasers Handle Permits or Legal Restrictions?
Professional storm chasers research local legal permits before deploying, but you’ll find open roads demand respect, not paperwork. Follow safety protocols, stay informed of restricted zones, and you’re free to chase without bureaucratic interference slowing your pursuit.
What Insurance Coverage Is Recommended for Severe Weather Filmmakers?
You’ll need robust insurance policies that include liability coverage for equipment damage, personal injury, and third-party risks. Don’t let financial exposure stop your chase—secure specialized media coverage before you ever drive toward a darkening sky.
How Do You Handle Camera Equipment Damage Caused by Severe Storms?
Shield your gear proactively—you’re responsible for equipment safety before storms strike. Prioritize camera maintenance by sealing bodies in weather-resistant bags, using rain covers, and retreating to your vehicle when conditions threaten irreplaceable, hard-earned equipment.
Are There Ethical Guidelines for Sharing Dramatic Storm Footage Online?
You’ve captured nature’s most electrifying, sky-splitting fury—now share responsibly. Always prioritize storm safety messaging over thrill-seeking narratives. Apply ethical considerations by crediting locations accurately, avoiding panic-inducing misinformation, and ensuring your footage informs rather than endangers your audience.
References
- https://www.rotarycluboffortcollins.org/stories/storm-chaser-the-art-in-severe-weather
- https://www.reddit.com/r/cinematography/comments/15fs2t3/how_can_i_film_in_a_thunderstorm/
- https://www.reddit.com/r/cinematography/comments/10rl6fc/what_ive_learned_trying_to_film_light_sea_storm/
- https://www.youtube.com/watch?v=ORRCP2F8u4s
- https://www.youtube.com/watch?v=y_E984ce3Lc
- https://www.musicbed.com/articles/filmmaking/cinematography/eye-for-the-storm-the-perils-and-glory-of-extreme-weather-photography/
- https://www.naturettl.com/how-to-photograph-storms-supercells-lightning-tornadoes/
- https://www.bhphotovideo.com/explora/photography/tips-and-solutions/the-travel-series-storm-photography-tips-with-mike-mezeul-ii