Capturing storms from above means balancing dramatic shots with serious risk management. You’ll want to position yourself several miles from the storm’s edge, ideally south or southwest to leverage golden-hour lighting. Always run full preflight checks, including battery condition and return-to-home settings, before lifting off. Use wide-angle lenses, keep the horizon low, and shoot 20–30 second exposures for lightning. The techniques below will sharpen every aspect of your approach.
Key Takeaways
- Always monitor live radar and lightning maps before flying, treating storm watches as definitive no-fly indicators to ensure safety.
- Maintain several miles of distance from the storm’s edge, positioning south or southwest to capture dramatic natural lighting.
- Complete all preflight checks, including full battery charge, compass calibration, and return-to-home altitude settings, before every storm flight.
- Use wide-angle lenses with a low horizon framing to emphasize the storm’s vertical scale and full structure.
- Capture lightning using 20–30 second exposures or a lightning trigger, centering the most active storm region in frame.
Is It Safe to Fly Your Drone in a Storm?
Flying a drone in a storm is never a straightforward decision, and the risks compound quickly once conditions deteriorate. Lightning, high winds, and sudden downdrafts represent serious storm hazards that can destroy your aircraft or injure bystanders.
Drone safety depends on your ability to read developing conditions before and during flight.
Check live radar and lightning strike maps before takeoff. Use storm watches and local weather alerts as hard go/no-go filters. If a storm shifts unexpectedly or intensifies, land immediately — recovering your drone matters less than preventing a dangerous situation.
Before you fly, check radar and lightning maps. Treat storm watches as hard stops — no exceptions.
You retain full authority over your flight decisions, but that freedom carries responsibility. Never let the shot override your judgment.
When conditions become unpredictable, the only correct move is to get your drone on the ground.
Where to Position Your Drone Relative to the Storm
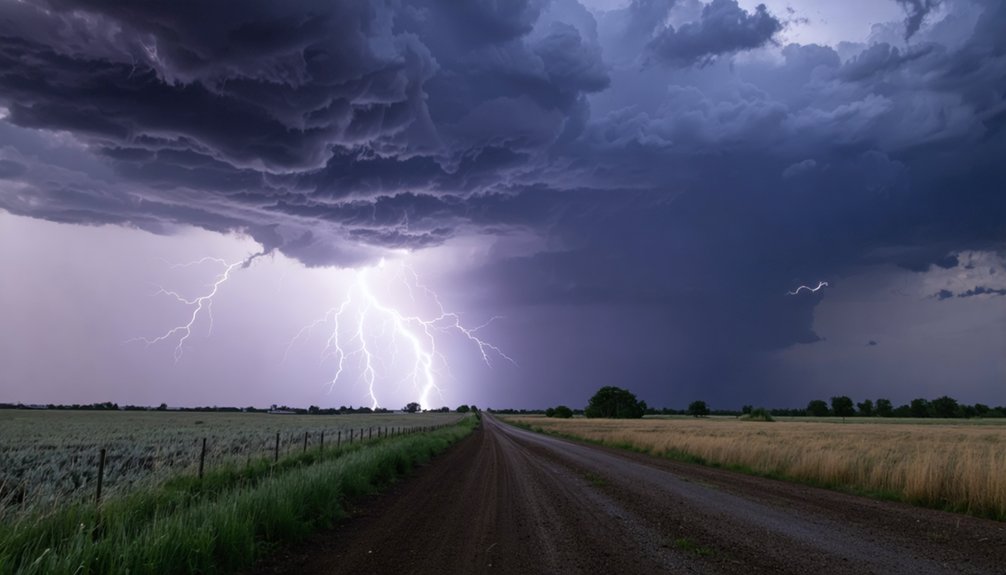
Once you’ve committed to flying near a storm, your positioning relative to it determines both your safety margin and the quality of your shots. Maintain storm proximity at several miles from the storm’s edge to keep yourself within workable safety zones.
Positioning south or southwest places the setting sun behind you, illuminating the cloud base dramatically. Wide-open terrain eliminates obstructions and exposes full storm structure, giving your footage genuine scale. Lower your horizon in the frame to emphasize the storm’s mass and depth.
Never sacrifice your escape route for a closer angle. If conditions shift unexpectedly, you need clear ground and open airspace to exit fast. Proximity is earned incrementally, only when safety zones remain intact and your exit plan stays uncompromised.
Run These Preflight Checks Before You Fly Near a Storm
Before flying near a storm, confirm your batteries are fully charged and your compass is properly calibrated, since both failures can turn a manageable situation into a lost aircraft.
Set your return-to-home altitude high enough to clear any obstacles between your flight position and the landing point.
Double-check that your return-to-home trigger is active and set to an altitude that accounts for the terrain, so the drone recovers safely if you lose signal during a fast-moving storm.
Battery and Compass Checks
Every preflight check you skip near a storm is a risk you’re choosing to accept.
Battery maintenance isn’t optional when conditions can shift without warning. Confirm your cells are fully charged, balanced, and free of swelling before you ever arm the drone. A degraded pack mid-flight near an active storm gives you no good options.
Compass calibration matters just as much. Electromagnetic interference from storm activity can corrupt heading data and destabilize flight behavior.
Calibrate away from metal structures and electrical equipment, then confirm the compass reads clean in your ground station before takeoff. If the app flags compass errors, don’t dismiss them. Land your ego alongside your caution.
These two checks take minutes and directly protect your aircraft, your data, and your ability to fly another day.
Return-to-Home Settings
Battery and compass checks keep your drone airborne and oriented—but when a storm forces an abort, your Return-to-Home configuration determines whether your aircraft makes it back at all.
Configure return to home functionality before every storm flight—not after conditions deteriorate.
Set these four parameters before takeoff:
- RTH altitude — Program a height that clears every local obstacle between your position and the drone.
- Signal-loss behavior — Confirm automatic RTH triggers immediately upon connection failure.
- Emergency landing threshold — Set a battery reserve percentage that initiates emergency landing before critical power loss.
- Home point refresh — Update the home point after repositioning your ground station.
Storm environments accelerate signal degradation.
A properly configured RTH sequence isn’t optional—it’s your last reliable defense when conditions turn hostile.
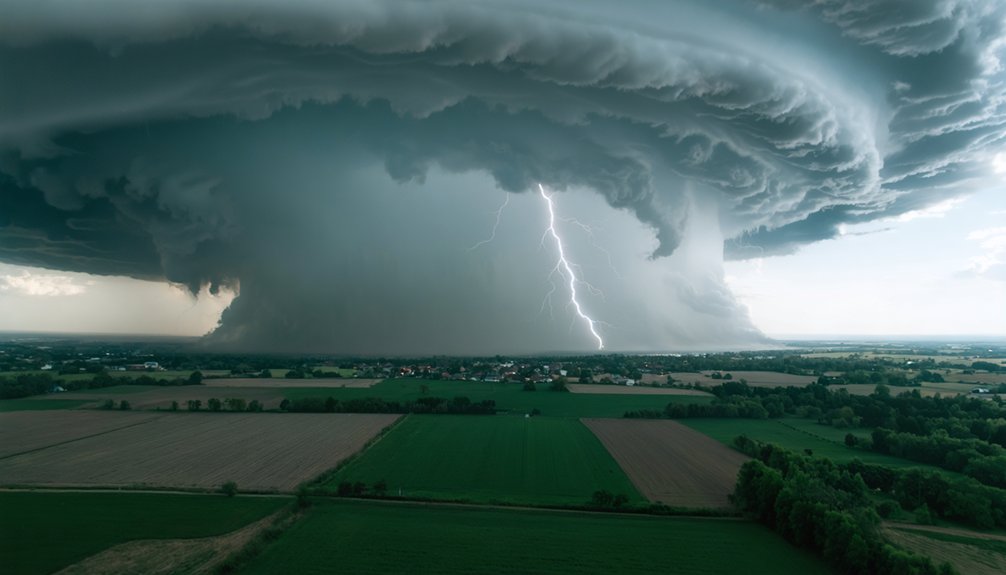
Best Lenses and Compositions for Drone Storm Photography
How you frame a storm from the air determines whether your shot conveys raw scale or falls flat. Wide-angle drone lenses capture full storm structure, including inflow bands, mammatus clouds, and rain curtains, all in a single frame.
Framing determines everything — the right lens captures storm structure, scale, and drama all at once.
If the storm’s moving fast or producing violent activity, telephoto reach lets you maintain a safer offset while still filling the frame with dramatic detail.
For composition techniques, keep the horizon low to emphasize the storm’s vertical scale. Panoramic stitching works well when a supercell or shelf cloud exceeds your lens’s coverage.
Include foreground context when possible to anchor the viewer. Mid-zoom focal lengths around 24–70mm offer versatility across changing conditions.
Always prioritize framing that tells the full story without sacrificing your escape route.
Set Your Camera for Dramatic Daytime Storm Shots
Nailing your exposure in bright storm conditions means balancing three variables without losing detail in the highlights or the structure of the clouds.
Dialing in the right settings lets you work the storm lighting precisely and preserve every layer of cloud textures.
Follow these four settings for sharper, more dynamic shots:
- ISO: Keep it low to minimize noise and protect highlight detail.
- Aperture: Shoot between f/8 and f/11 for balanced exposure and maximum cloud texture retention.
- Shutter speed: Use faster speeds to freeze motion or 1/4 to 1 second to catch lightning.
- ND filters: Stack them when storm lighting is intense to lengthen exposure without blowing out bright cloud formations.
Adjust continuously as conditions shift.
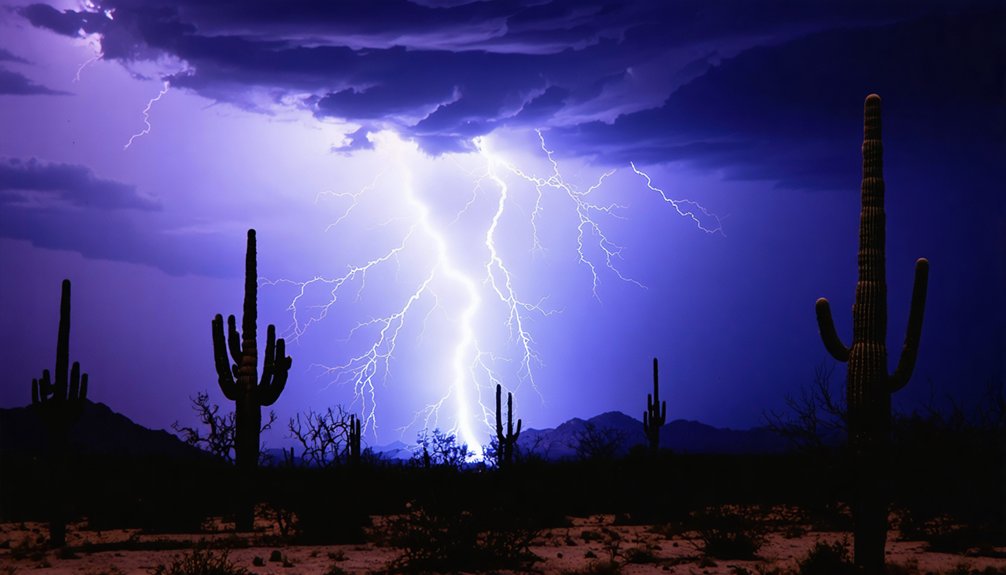
How to Capture Lightning With Your Drone
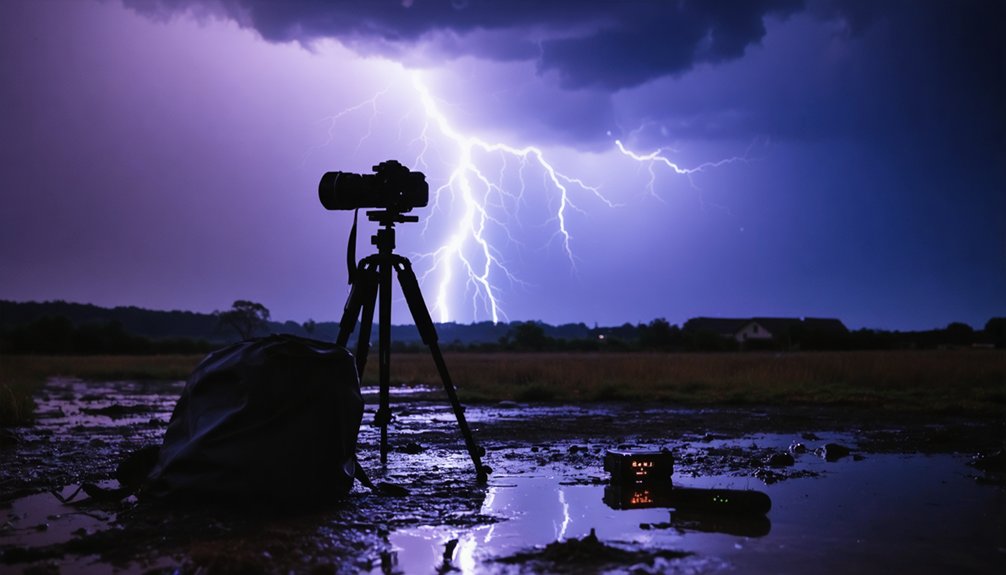
Capturing lightning from a drone requires longer exposures than standard storm photography, so you’ll need to shift your approach as soon as light fades or storm activity intensifies.
Switch to bulb mode or set repeated 20–30 second exposures to maximize lightning timing opportunities within each frame. Keep exposures under 30 seconds to reduce noise buildup.
If multiple strikes fire rapidly, close the shutter between flashes to avoid layered exposure artifacts that muddy your image.
For precise exposure techniques, consider a lightning trigger, which detects a strike electronically and fires the shutter faster than any manual reaction.
Position your drone to keep the most active storm region centered in frame, lock your composition, and let the extended shutter do the work.
Frequently Asked Questions
What Drone Models Handle Windy Storm-Edge Conditions Most Reliably?
Like Icarus learned the hard way, you’ll want drone stability and wind resistance you can trust — DJI’s Mavic 3 and Air 3 handle storm-edge gusts most reliably, giving you the freedom to capture nature’s fury confidently.
Can Storm Photography Footage Be Legally Sold or Licensed Commercially?
Yes, you can commercially sell storm footage, but you’ll need proper storm footage rights and licensing agreements. Make certain you’re compliant with FAA Part 107, property releases, and airspace authorizations before monetizing your captures.
How Do You Protect Your Drone Controller From Rain During Shoots?
Protect your precious pilot gear with drone covers and weatherproof bags that shield your controller from rain. You’ll maintain reliable signal strength, keeping your controls dry, responsive, and mission-ready throughout every storm shoot.
Should You Fly Solo or With a Spotter During Storm Photography?
You should always fly with a spotter. They’ll monitor storm movement while you focus on controls, reinforcing safety protocols and enabling real-time communication strategies that keep your escape routes open and your freedom to shoot intact.
How Does Storm Humidity Affect Drone Battery Performance and Flight Time?
High humidity impacts battery life by accelerating discharge rates. You’ll notice reduced flight time as moisture stresses cells, so always carry fully charged spares and monitor your battery percentage closely during storm operations.
References
- https://www.youtube.com/watch?v=yL7Pyw-Rt1I
- https://photzy.com/what-ive-learned-about-storm-chasing-photography/
- https://www.youtube.com/watch?v=DgRGehhaG88
- https://www.naturettl.com/how-to-photograph-storms-supercells-lightning-tornadoes/
- https://www.calebkenna.com/7-ways-to-improve-your-drone-photography/
- https://www.reddit.com/r/stormchasing/comments/1hm3r68/photography_suggestions/
- https://www.prairiepictures.com/camera-news-reviews-techniques/2017/4/6/best-gear-for-storm-photography
- https://www.facebook.com/groups/727414274424726/posts/1888336361665839/
- https://mavicpilots.com/threads/lightning-photos-best-methods.138496/
- https://www.stevenrobinsonpictures.com/blog/2024/7/8/how-to-shoot-captivating-drone-and-aerial-photography