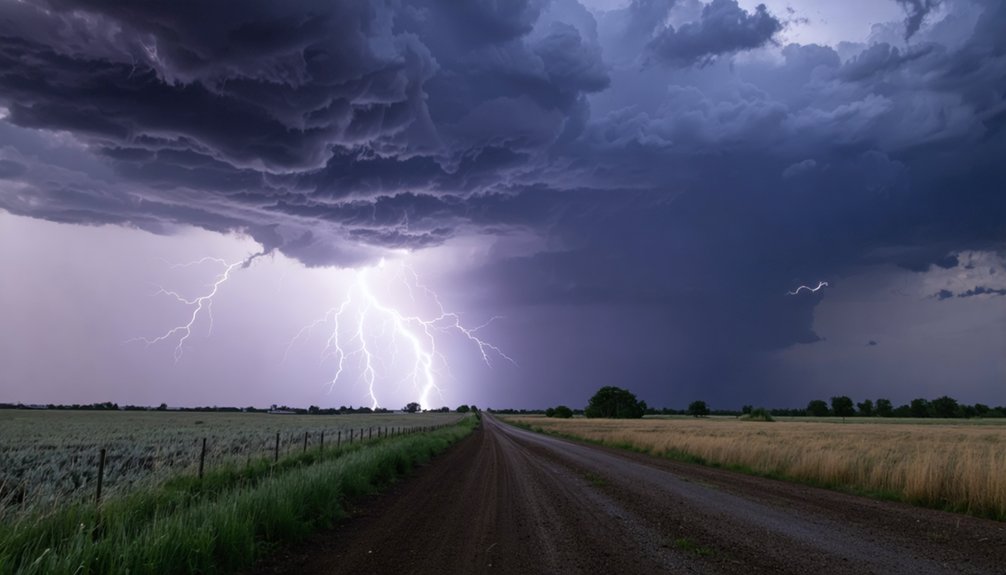
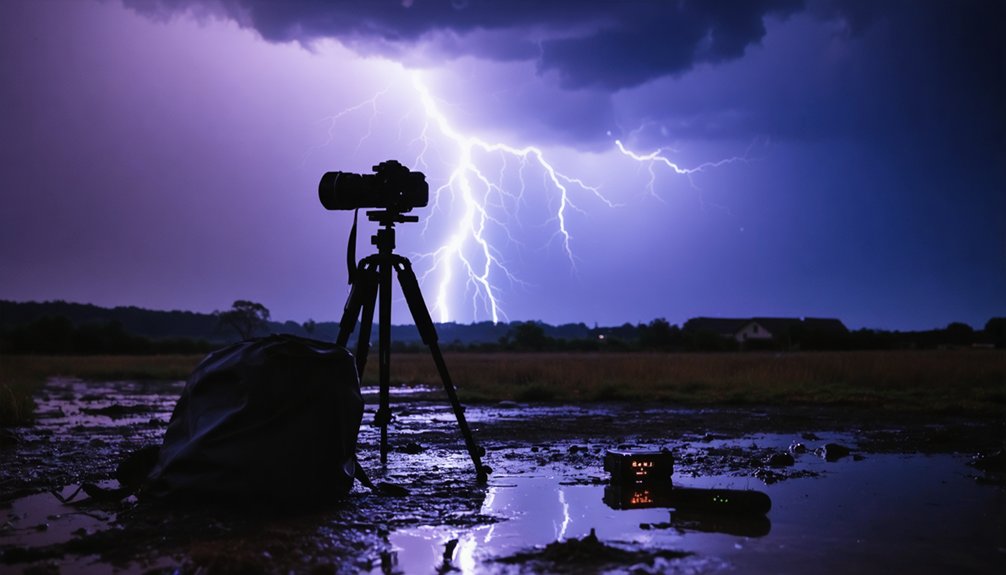
Timing lightning strikes starts with the flash-to-bang method: count the seconds between the flash and thunder, then divide by five to get the storm’s distance in miles. If that interval shrinks, the storm’s closing in fast. Apply the 30/30 rule — seek shelter when the gap hits 30 seconds or less, and wait 30 minutes after the last thunder before resuming. Pair this with a tracking app and you’ll capture far more than luck alone allows.
Key Takeaways
- Use the 30/30 rule: seek shelter when flash-to-bang is under 30 seconds, indicating the storm is within 6 miles.
- Count seconds between lightning and thunder, dividing by five to estimate storm distance and track its movement.
- Use intervalometers set to continuous shooting with 4–8 second exposures to maximize lightning capture chances.
- Lightning triggers detect strikes within 1–2 milliseconds, automatically firing your shutter for precise, reliable captures.
- Monitor storms using real-time lightning detection apps and radar to anticipate strike activity and reposition accordingly.
Why Flash-to-Bang Timing Matters for Lightning Photography
Flash-to-bang timing isn’t just a safety tool—it’s a practical way to gauge how close a storm is and whether conditions are worth shooting.
Count the seconds between the flash and the thunderclap, then divide by five to get the distance in miles. A 10-second gap means the storm is roughly 2 miles out; 30 seconds puts it at 6 miles.
Tracking successive gaps tells you how weather patterns are shifting. If the count drops between strikes, the storm is closing in. If it rises, it’s retreating.
Don’t fall for lightning myths suggesting distant storms are safe—lightning can strike 10 miles beyond a storm’s core.
Use this data to decide when to shoot and when to move.
How the 30/30 Rule Keeps You Safe While You Shoot
The 30/30 rule gives you a clear, actionable safety threshold: if the flash-to-bang count reaches 30 seconds or less, you must seek shelter immediately.
Since lightning can strike up to 10 miles from a storm’s core, a 30-second gap—roughly 6 miles—leaves little margin for error.
Once the storm passes, don’t resume shooting until 30 minutes have elapsed since the last thunder clap.
Seek Shelter At Thirty Seconds
When the gap between a lightning flash and its thunder clap drops to 30 seconds or less, you’re within roughly 6 miles of an active strike zone—close enough to be at serious risk.
Lightning frequency increases as storm cells mature, and cloud formation overhead signals accelerating danger. Don’t wait for rain—lightning routinely strikes 10 miles beyond a storm’s visible edge.
Count each flash-to-bang interval. If successive gaps are shrinking, the storm is closing in.
At 30 seconds, stop shooting immediately and move to a solid structure. An enclosed metal vehicle is your fallback when no building is available.
Every second you delay compounds your exposure risk. Your gear is replaceable—you’re not. Execute the shelter decision quickly, without hesitation.
Wait Thirty Minutes After Thunder
Reaching shelter marks the halfway point of the 30/30 rule, not the finish line. Weather safety demands you wait a full 30 minutes after the last thunder clap before resuming outdoor activity. That clock resets with every new clap.
Lightning can strike up to 10 miles from a storm’s core, meaning residual cells still pose lethal risk even as skies brighten.
Storm preparedness means treating that 30-minute window as mandatory downtime, not dead time. Use it productively: review your captures, adjust camera settings, and plan your next composition.
You regain full operational freedom only after the timer completes. Rushing back outside at minute 20 trades a potentially great shot for an unacceptable risk. Discipline here is what separates skilled shooters from reckless ones.
Use Storm Tracking Apps to Position Yourself Before You Set Up
Before you ever set up your tripod, use a real-time lightning detection app to track the storm cell’s direction and speed so you can position yourself on a safe flank rather than in the storm’s path.
Apps that overlay strike data on radar let you identify shooting zones where you’ll have a clear sightline to active lightning while maintaining a viable exit route.
Once you’re set up, keep the app running and monitor strike alerts continuously, because lightning patterns shift quickly and a cell that’s moving away can reverse or intensify without warning.
Track Storm Cell Movement
Tracking storm cell movement before you set up is one of the most effective ways to position yourself for a successful lightning shoot. Monitor radar loops to identify the storm’s direction and speed. If the flash-to-bang gap decreases between successive strikes, the cell is closing in. If it increases, the storm is pulling away.
Watch cloud formations for towering cumulus development, which signals intensification. Wind patterns often reveal storm trajectory before radar updates reflect it.
Apps like RadarScope display real-time cell movement vectors, letting you anticipate strike zones rather than react to them. Position yourself ahead of the storm’s path, not directly in it. Staying mobile and continuously updating your tracking data keeps you both productive and outside the 30-second danger threshold.
Identify Safe Shooting Zones
Identifying a safe shooting zone starts with storm tracking apps that show you real-time cell movement, strike density, and storm trajectory before you commit to a location. Cross-reference radar data with lightning detection overlays to pinpoint where strikes are concentrating.
Position yourself at the storm’s flank rather than its forward path, giving you both visual access and an exit route. Lightning safety depends on maintaining at least 6 miles between you and the active cell’s core.
Storm awareness means continuously reassessing your position as conditions shift — a cell can redirect within minutes. Avoid low-lying terrain, isolated trees, and open fields.
Confirm your chosen location offers quick access to an enclosed vehicle or structure, so you can retreat the moment flash-to-bang intervals tighten.
Monitor Strike Alerts Continuously
Storm tracking apps give you a decisive edge because they surface real-time strike data, cell velocity, and storm trajectory before you ever unpack your gear.
Cross-reference historical lightning patterns for your target location to anticipate high-frequency strike zones. Continuous monitoring keeps you compliant with lightning safety laws and protects your autonomy to shoot another day.
Run these three checks before positioning:
- Confirm cell movement direction and speed using radar overlays updated within the last 2–3 minutes.
- Verify strike frequency trends — increasing rates signal rapid storm intensification.
- Calculate flash-to-bang intervals against app data to validate proximity estimates.
If strike alerts tighten toward your coordinates, reposition immediately. Real-time data isn’t optional — it’s your primary tactical tool for staying mobile, informed, and safe.
Read Storm Movement So You Know When to Shoot and When to Run
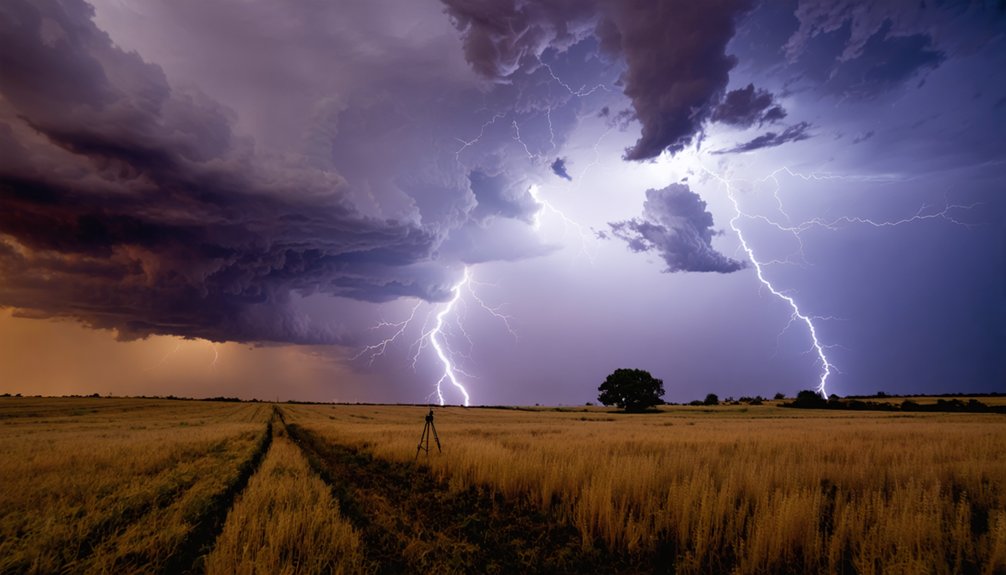
Whether a storm is approaching or retreating changes everything about how you position yourself and your camera. Track the flash-to-bang interval across successive strikes. If it’s shrinking, the storm is closing in and you need to prioritize shelter over shots. If it’s expanding, you’ve got a retreating cell and a narrowing window to shoot safely.
Watch cloud formation carefully — large, rising cumulus towers signal active development. Check wind direction to anticipate where the storm’s leading edge is headed. Lightning can strike up to 10 miles from a cell, so distance isn’t a guarantee of safety.
Apply the 30/30 rule: seek shelter when the count hits 30 seconds or less, and don’t resume shooting until 30 minutes after the last thunder clap.
The Best Camera Settings for Lightning Photography
Once you’ve locked in your position and confirmed the storm’s trajectory, your camera settings determine whether you walk away with a frame or a miss. Historical lightning data shows most captures happen with consistent, repeatable setups—not luck.
Position locked, trajectory confirmed—your camera settings are the deciding factor between a frame and a miss.
- Shutter speed: Use bulb mode or multi-second exposures at night to maximize strike probability during each frame.
- Aperture and ISO: Narrow your aperture (f/8–f/16) and keep ISO low (100–200) to prevent overexposure during active bursts.
- Focus: Switch to manual, use Live View on distant lights, or reference your lens’s infinity mark.
Don’t let lightning safety myths convince you that distance means safety—strikes travel up to 10 miles. Shoot RAW, stay decisive, and keep your escape route clear.
How to Focus Your Lens in Low Light During a Storm
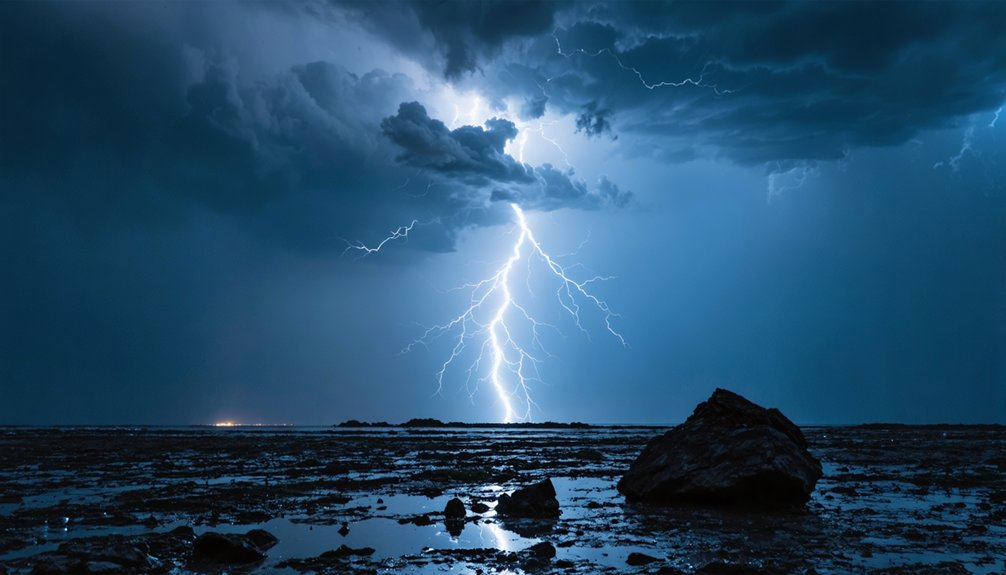
Nailing focus in low light is one of the trickier technical challenges in storm photography, but it’s manageable with a repeatable method. Switch to manual focus immediately—autofocus hunts in low-contrast, dark conditions and wastes critical seconds.
Use Live View to zoom into a distant light source, such as a city light or tower beacon, then dial in sharpness precisely. If no reference point exists, set your lens to its infinity mark, though lens calibration matters here since not all lenses focus true infinity at that mark. Test yours beforehand.
Focus stacking isn’t typically practical during active storms, so commit to one sharp focal plane before lightning arrives. Lock focus, tape the ring, and don’t touch it again until conditions change considerably.
Use a Tripod and Intervalometer to Catch More Strikes
Capturing lightning without a tripod and intervalometer is mostly a guessing game. These two tools shift the odds decisively in your favor by automating what human reflexes can’t reliably execute.
Camera stability eliminates motion blur during multi-second exposures, preserving strike detail across the full frame. Exposure control becomes precise when you’re not hand-holding and rushing.
Set up your intervalometer using this sequence:
- Set exposure duration between 4–8 seconds per frame to maximize strike probability during night shoots.
- Program zero interval between shots so no gap exists in coverage.
- Keep ISO low and aperture narrow to prevent overexposure across consecutive frames.
This approach lets your gear work continuously while you monitor conditions safely, giving you full autonomy over both timing and image quality.
Do Lightning Triggers Actually Improve Your Capture Rate?
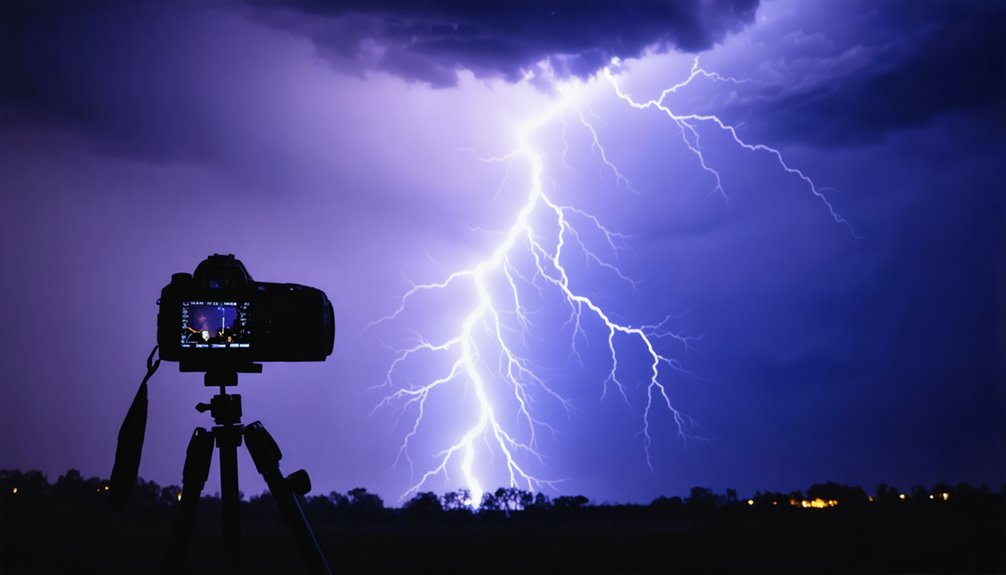
Lightning triggers can sharpen your capture rate by reacting to a strike’s light burst in as little as 1–2 milliseconds—far faster than any manual shutter response. They connect directly to your camera equipment’s shutter port and fire automatically when they detect a sudden light spike. That precision removes the guesswork entirely.
However, triggers work best during active, frequent lightning sequences. In slower storms, a wide-open shutter on a long exposure may perform comparably.
Triggers also add cost and one more variable to manage in the field.
From a lightning safety standpoint, faster capture response doesn’t justify lingering outdoors longer. If your flash-to-bang count drops to 30 seconds or less, pull your camera equipment and move to shelter immediately—no image is worth the risk.
How Long After the Last Thunder Is It Safe to Shoot Again?
Once the last thunderclap fades, don’t assume the storm has passed—wait a full 30 minutes before returning outdoors or resuming your shoot.
Historical lightning patterns confirm that trailing storm cells frequently produce late strikes with no visible warning. Lightning frequency analysis shows activity can surge after apparent pauses.
Follow this protocol before heading back out:
- Reset the 30-minute timer after every new thunderclap, not just the first.
- Check real-time lightning detection apps to confirm strike activity has ceased in your grid zone.
- Monitor radar to verify the storm cell has fully cleared your position.
You’ve worked hard for the shot—don’t compromise your safety or your gear by rushing back out before conditions genuinely support it.
Frequently Asked Questions
Can I Photograph Lightning Safely From Inside an Enclosed Metal Vehicle?
Yes, you can photograph lightning from an enclosed metal vehicle — it’s your fallback lightning protection option when no building’s available. Vehicle safety relies on keeping windows up and avoiding contact with metal surfaces.
What Cloud Formations Should I Watch for Before a Thunderstorm Develops?
Like towers reaching for the sky, watch for large, well-defined rising cumulus clouds—they’re your storm prediction signal. Track cloud development upward; if they’re building rapidly, you’ve got an incoming thunderstorm worth monitoring closely.
Is RAW or JPEG Format Better for Capturing Lightning Images?
RAW’s your best choice for camera settings—it preserves maximum dynamic range and exposure data. You’ll have full control over image storage and post-processing flexibility, letting you recover blown highlights or crushed shadows that lightning strikes commonly produce.
Can Lightning Strike Me Even if It Is Not Raining Yet?
Yes, lightning can strike you even without rain. Don’t wait for drops to seek shelter — lightning safety demands action when thunder’s heard. Thunderstorm timing matters: strikes reach 10 miles beyond a storm’s core.
Should I Use Live View to Achieve Focus During a Lightning Storm?
You can use Live View to nail your focusing techniques during a lightning storm. It’ll help you lock onto distant lights, optimizing your camera settings quickly so you’re ready to capture every strike precisely.
References
- https://www.weather.gov/safety/lightning-science-thunder
- https://www.noaa.gov/jetstream/lightning/sound-of-thunder/learning-lesson-determining-distance-to-thunderstorm
- https://www.reddit.com/r/photography/comments/1lr8ros/how_do_you_take_pictures_of_lightning/
- https://digital-photography-school.com/how-to-photograph-lightning-the-ultimate-guide/
- https://www.cdc.gov/lightning/safety/index.html
- https://crazystormchasers.com/lightning-strike-photography-timing-tips/
- https://www.rospa.com/leisure-safety/lightning
- https://www.weather.gov/source/zhu/ZHU_Training_Page/lightning_stuff/lightning2/lightning_safety.html
- https://wmich.edu/ehs/policies/lightning