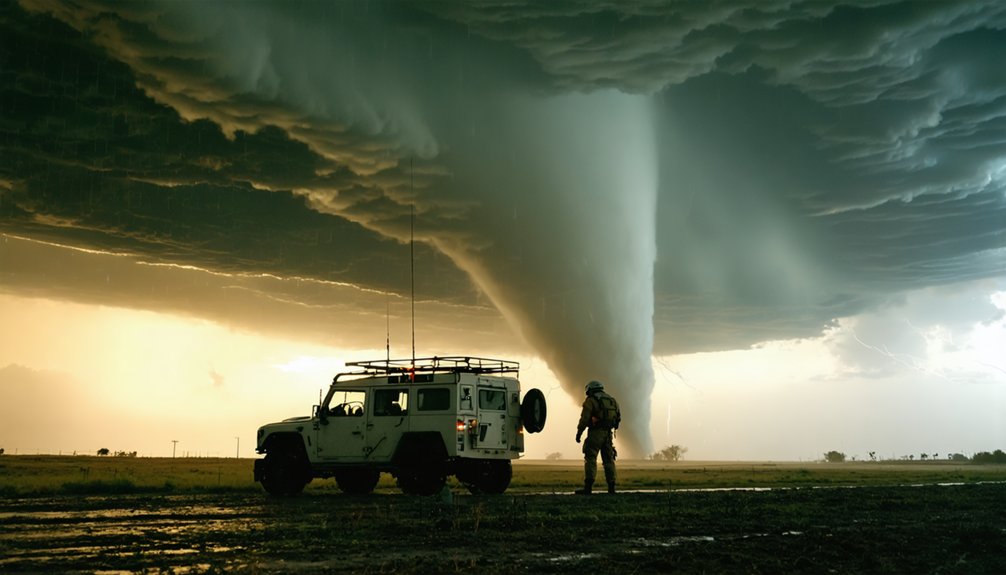
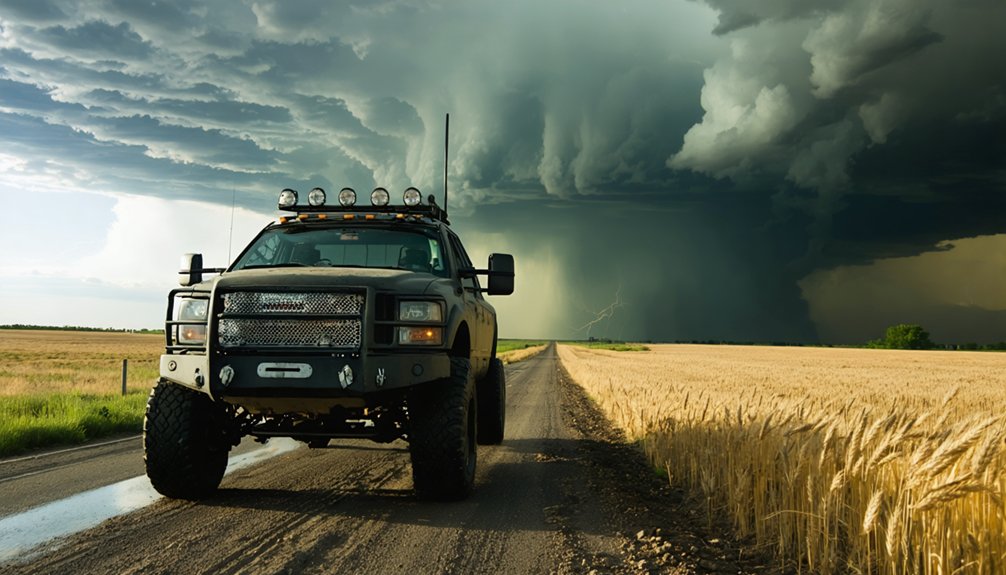
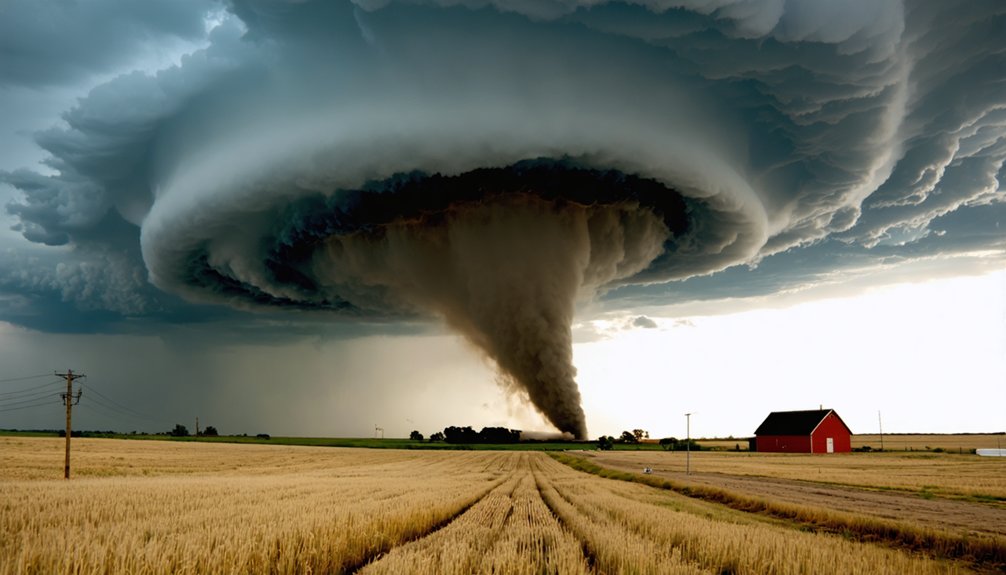
To capture incredible storm chasing photos, you’ll need to master meteorology, gear management, and rapid decision-making simultaneously. Study radar data before leaving, map your escape routes, and position yourself perpendicular to storm motion for the best angles. Shoot RAW in full manual mode, keep backup batteries and storage ready, and record GPS coordinates and storm details in the field. The essential tips ahead will sharpen every phase of your chase.
Key Takeaways
- Prioritize safety by mapping escape routes, monitoring radar, and positioning your vehicle perpendicular to storm motion before shooting.
- Audit your gear checklist, pack spare batteries, and use redundant storage media to prevent equipment or data failures.
- Shoot in full manual mode with low ISO, f/8–f/11 aperture, and wide-angle lenses for expansive storm structure shots.
- Record GPS coordinates, hail size, and tornado stages in field notes to strengthen image credibility and captioning accuracy.
- Back up images immediately after each chase, organize into labeled folders, and export both full-resolution and web-optimized versions.
Stay Safe While Chasing Storms
Storm chasing carries real risks, so your safety decisions must come before any photographic objective. You’ll want to study storm forecasts days in advance and map your escape routes before every stop. Position your vehicle pointed toward an exit, giving yourself immediate mobility when conditions shift.
Storm safety depends on disciplined positioning—stay well outside the storm’s direct path and avoid stopping on active roadways. Keep hazard lights on whenever you’re stationary, and prefer low-traffic secondary roads when they’re available.
Lightning awareness is non-negotiable. Treat every visible lightning strike as an active threat and use wireless or remote trigger equipment to shoot from inside your vehicle.
Chasing with a partner adds a critical safety layer, keeping one person monitoring conditions while the other focuses on capture.
Pack the Right Gear Before You Leave
Before you load the vehicle, audit your gear against a firm checklist: camera bodies, lenses, a sturdy tripod, wireless or lightning-trigger equipment, and fully charged batteries with spares.
Pack redundant storage media so you can back up captures immediately in the field rather than risking a single point of failure.
Treating power and storage as critical systems—not afterthoughts—keeps your workflow intact when conditions move faster than expected.
Essential Camera Gear Checklist
Packing the right gear before a chase determines whether you capture the shot or watch the opportunity dissolve. Start with fully charged camera batteries and carry extras — power failure ends your session permanently. Weather resistant gear protects your investment when conditions shift unexpectedly, so prioritize sealed bodies and moisture-protected lenses.
Tripod stability becomes non-negotiable during low-light storm work and extended lightning exposures. A lightweight carbon-fiber tripod balances portability with rigidity.
Add these essentials to your checklist:
- Multiple memory cards with backup capacity
- Wireless or lightning-trigger remote
- Lens cloths for rain and debris
- Spare camera body if scene coverage demands it
Shoot RAW exclusively — compressed formats sacrifice the detail you’ll need during editing. Confirm every item before departure, not in the field.
Backup Power and Storage
Few failures end a chase session faster than a dead battery or full memory card. Before you leave, charge every battery fully and pack at least two spares per camera body. A portable power source—such as a USB power bank or vehicle inverter—lets you recharge in the field without abandoning your position.
Data redundancy matters equally. Carry multiple high-capacity memory cards and rotate them systematically so a single card failure doesn’t erase hours of work. Offload captures to a laptop or portable SSD whenever downtime allows, creating an immediate second copy.
Label your cards, track which ones are full, and keep empties in a separate compartment. These habits eliminate preventable losses and keep you shooting through every phase of the storm.
Read Radar and Pick Your Position Before You Shoot
Before you leave home, pull up radar and study storm motion, hail cores, and any active warnings to establish a clear tactical picture.
Once you’re in the field, select a position that keeps you well outside the storm’s direct path while still offering a clean sightline to the structure you want to shoot.
Always identify your escape route before you stop, and keep your vehicle oriented so you can exit quickly if conditions shift.
Radar Monitoring Basics
Reading radar accurately before you leave the house separates productive chase days from wasted ones. Strong radar interpretation skills let you identify storm cells, track motion vectors, and anticipate where development will intensify.
Monitor reflectivity for precipitation cores, velocity data for rotation signatures, and dual-pol products for hail confirmation.
Storm evolution rarely follows a single script, so revisit radar every few minutes as conditions shift. Watch how cells merge, split, or strengthen along the dryline or outflow boundaries.
Track storm motion direction and speed so you can calculate intercept points without guessing.
Apps like RadarScope give you raw data without delays. Cross-reference that data with surface observations and mesoscale discussions from the Storm Prediction Center.
Accurate radar reading keeps you positioned correctly and your escape routes open.
Safe Positioning Strategies
Radar data only pays off when you translate it into a physical position that keeps you safe and shooting. Identify storm sheltering options along your route before you leave—overpasses aren’t safe, but low-lying terrain away from flood paths can reduce exposure during hail bursts.
Study storm motion vectors on radar, then position yourself perpendicular to that track, typically southeast of a classic supercell.
Wind shielding matters more than most photographers acknowledge. Use tree lines, ridge features, or embankments to block debris-carrying inflow when you step outside.
Always stop completely off the road, point your vehicle toward your escape route, and confirm at least two exit options before you cut the engine.
Your position defines every shot you’ll get—and whether you get home.
Choose the Right Lens for Storm Photography
Lens selection directly shapes how much of the storm’s structure you capture and how effectively individual features translate to your sensor. Lens focal length determines your compositional options, so match it deliberately to your target.
- Wide-angle (14–35mm): Prioritizes full storm structure, supercell rotation, and expansive composition framing that retains foreground context.
- Standard zoom (24–70mm): Offers flexibility when conditions shift rapidly and you can’t swap glass safely.
- Telephoto (150–600mm): Isolates distant tornado condensation funnels, debris clouds, and wall cloud detail with precision.
Avoid chasing one focal length exclusively. Conditions dictate your approach, and you’ll compromise shots by staying rigid. Keep multiple lenses accessible so you’re adapting, not scrambling.
Nail Your Camera Settings in the Field
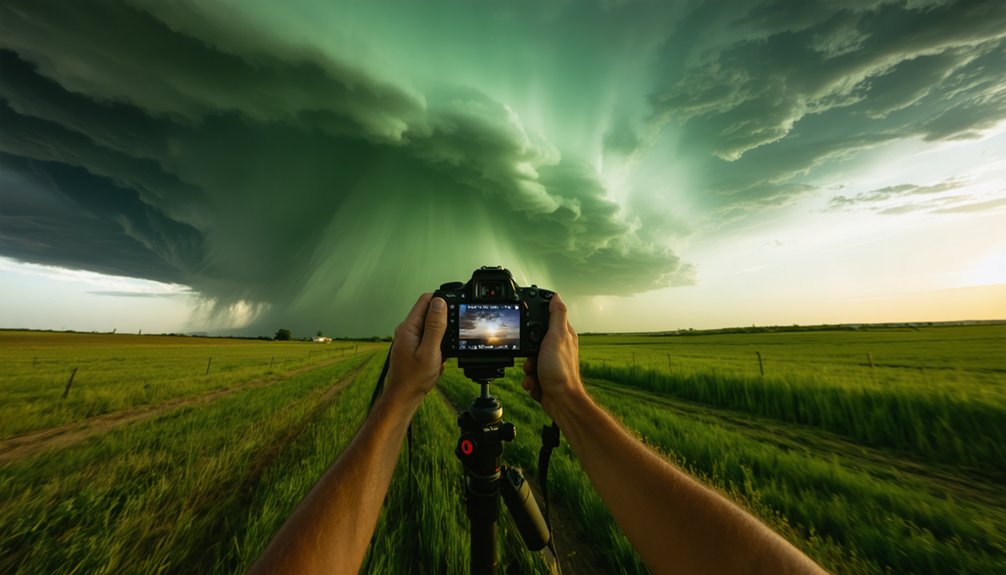
Getting your camera settings right before conditions peak is what separates sharp, usable frames from missed opportunities. Shoot in full manual mode—you’ll want complete control over every variable as lighting techniques shift rapidly during storm cycles.
Keep ISO as low as practical to preserve detail. Start at f/8 to f/11 for most storm scenes, then adjust based on ambient light and your composition strategies. Use slower shutter speeds for lightning captures and longer exposures during low-light structure shots. Switch to faster shutter speeds when you need to freeze fast-moving cloud rotation.
Lock focus at infinity before the action intensifies, and check it regularly—wind vibration drifts it. Always shoot RAW. These combined decisions give you maximum flexibility when editing frames that would otherwise be unrecoverable.
Back Up, Cull, and Edit Your Storm Photos While Details Are Fresh
Once you’re back at base, back up every card immediately before culling a single frame. Data loss after a productive chase is irreversible.
Apply consistent photo organization by sorting images into dated, location-tagged folders so your archive stays searchable long-term.
Use these post processing techniques to maximize image quality:
- Flag keepers during culling based on sharpness, composition, and storm feature clarity—delete ruthlessly.
- Adjust exposure, contrast, and white balance in RAW while your memory of actual conditions remains accurate.
- Export final edits at full resolution and create compressed web versions simultaneously.
Edit while storm details are fresh because accurate recall improves tonal decisions.
Notes recorded in the field—GPS coordinates, hail size, tornado stage—directly inform credible, precise captions that strengthen every published image.
Frequently Asked Questions
What Legal Permits Are Needed to Access Private Land During Storm Chasing?
You’ll need landowner permission, you’ll need to respect trespass laws, and you’ll need separate drone regulations permits for aerial work. Weather forecasting doesn’t grant access rights—always secure written authorization before entering private property.
How Do Storm Chasers Handle Extreme Fatigue During Multi-Day Chase Trips?
You’ll combat storm fatigue management through disciplined rest strategies: rotate driving duties, schedule short sleep windows between setups, stay hydrated, limit caffeine dependency, and prioritize recovery nights when no significant storm targets exist the following day.
What Insurance Coverage Do Professional Storm Chasers Typically Carry for Their Vehicles?
You’ll typically carry extensive collision, hail, and flood coverage plus specialized business-use riders. Prioritize weather safety by reviewing policy exclusions regularly, and include equipment maintenance coverage to protect cameras and electronics mounted in your chase vehicle.
How Do Chasers Coordinate With Emergency Services During Active Tornado Events?
Like a lifeline in chaos, you’ll follow established communication protocols by monitoring emergency frequencies, reporting real-time tornado data to NWS, and respecting storm safety boundaries—never blocking rescue routes or interfering with active emergency operations.
What Physical Fitness Level Is Recommended for Intensive Storm Chasing Pursuits?
You’ll need solid physical endurance to handle intensive storm chasing. Prioritize fitness training that builds cardiovascular stamina, core strength, and mental sharpness—you’re constantly driving, repositioning, and reacting under high-stress, physically demanding field conditions.
References
- https://www.printique.com/blog/storm-chasing-photography/
- https://www.reddit.com/r/stormchasing/comments/1hm3r68/photography_suggestions/
- https://photzy.com/what-ive-learned-about-storm-chasing-photography/
- https://www.naturettl.com/how-to-photograph-storms-supercells-lightning-tornadoes/
- https://crazystormchasers.com/capturing-storms-a-researchers-guide/
- https://photographyreference.com/weather-and-storm-chasing-photography/
- https://petapixel.com/2020/09/05/how-i-chase-and-photograph-storms-and-lightning-strikes/
- https://www.canon.com.au/get-inspired/storm-photography-tips-camera-settings