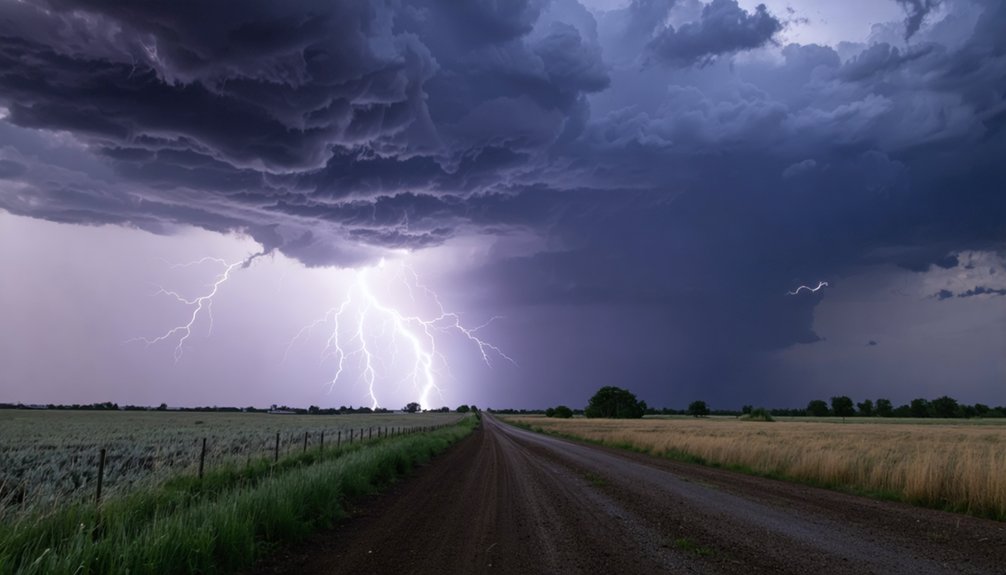
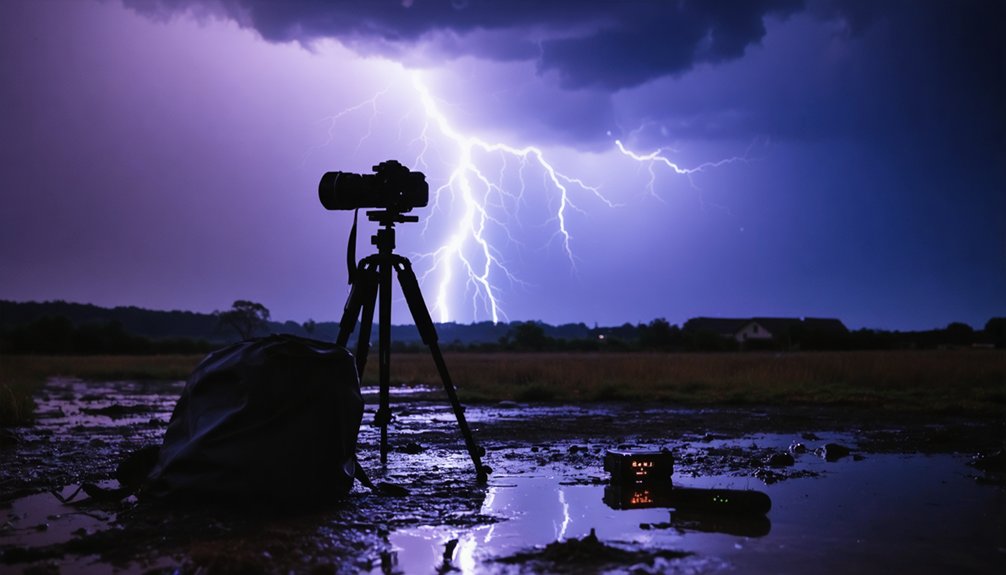
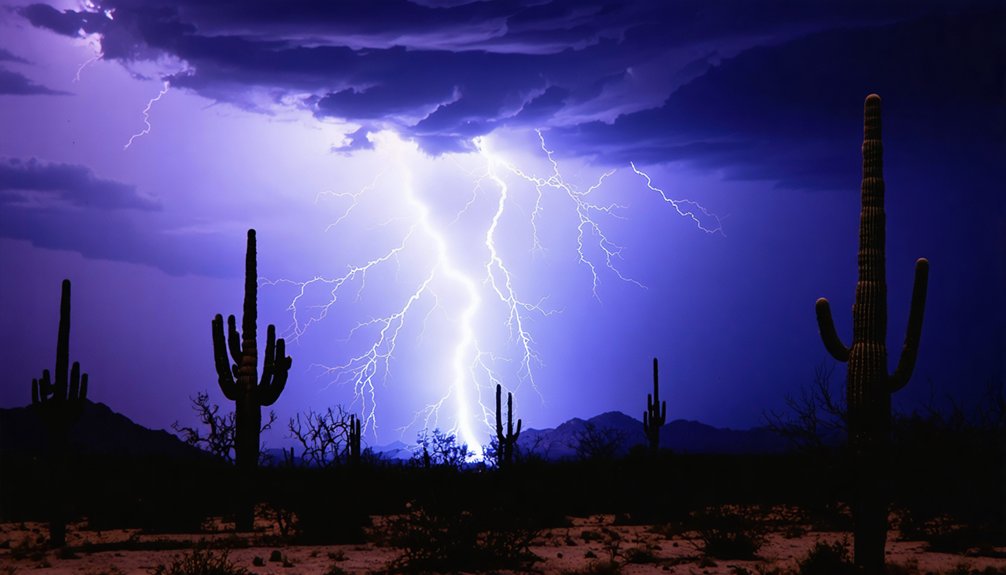
Capturing striking lightning starts with a wide-angle frame that covers the full storm cell, giving you flexibility as conditions shift. Set your ISO between 100–400, aperture at f/5.6–f/8, and expose for 5–10 seconds to maximize strike capture. Switch to manual focus using Live View, lock onto a distant light source, and secure your tripod before winds pick up. The techniques that separate sharp, dramatic shots from missed opportunities go much deeper.
Key Takeaways
- Use a wide-angle lens to capture the full storm cell, leaving room for shifting conditions without repositioning your gear.
- Anchor compositions with recognizable foreground silhouettes that add depth without competing with the lightning itself.
- Switch to manual focus before the storm arrives, locking onto a distant light source near infinity.
- Set ISO 100–400, aperture f/5.6–f/8, and 5–10 second exposures to maximize strike capture in low light.
- Mount your camera on a sturdy tripod and reframe quickly after each strike to optimize compositional placement.
Frame the Sky Wide for Lightning Photography
Because lightning strikes are unpredictable, you’ll want to start with a wide-angle composition that keeps the entire storm cell within the frame. A wide field of view lets you track shifting atmospheric conditions without constantly repositioning your gear. Let the sky dominate — it’s your primary subject, and restricting it limits your options.
Include foreground or middle-ground elements to establish scale and depth. These anchors give the eye a reference point against the storm’s intensity and cloud layering above. Strong foreground elements also prevent the composition from feeling ungrounded when the sky fills most of the frame.
Plan your shooting position before the storm arrives. Scout for a visually compelling scene, then build your composition around it so you’re not scrambling once conditions intensify.
Build a Strong Foreground for Lightning Photography
A strong foreground transforms a lightning shot from a simple sky capture into a spatially rich image with clear depth layering. Shooting at ground level gives you anchor points that frame the bolt and establish scale. Silhouette contrast between dark landforms and a bright strike creates immediate visual separation and punch.
Prioritize foreground elements that add structure without competing with the bolt:
Foreground elements should anchor the frame, not fight for attention with the bolt itself.
- Choose buildings, ridgelines, or recognizable landmarks that read cleanly as silhouettes
- Eliminate power lines, moving traffic, and airplanes that fragment the composition
- Balance empty sky above with grounded shapes below to prevent a flat, one-dimensional frame
Check your foreground placement before the storm intensifies. Once conditions deteriorate, repositioning becomes difficult. Lock in a composition that works structurally, then let the lightning complete it.
Turn Off Autofocus Before the Storm Arrives
Autofocus fails during lightning photography because low-contrast night skies give the system nothing reliable to lock onto, causing the lens to hunt continuously and miss the frame entirely. Switch to manual focus before the storm reaches your position.
Locate a distant light source — a streetlamp, tower beacon, or the moon — and focus precisely on it using Live View with magnification engaged. That target sits near infinity, which is exactly where your bolts will form.
Once you’ve locked focus, don’t touch the ring again. Verify sharpness after your first captured strike by zooming into the bolt’s channel on your LCD. If the edges appear soft, make a small manual adjustment immediately.
Maintaining that locked position throughout the shoot keeps every subsequent frame ready.
Match Your Exposure Settings to the Light
Start with ISO 100–400 to minimize noise and protect highlight detail in the bolt channel.
After dark, set your aperture to f/5.6–f/8; in brighter conditions, tighten to f/10–f/16 to prevent overexposure.
At twilight and night, use exposures of 5–10 seconds to increase your odds of capturing a strike within a single frame.
Aperture and ISO Basics
Because lightning varies dramatically in brightness depending on the time of day and ambient light, your aperture and ISO settings need to shift accordingly. Mastering aperture control and sensor sensitivity lets you own every shooting condition without compromise.
- After dark: Start at f/5.6–f/8, ISO 100–400 to preserve bolt detail and minimize blown highlights.
- Twilight: Tighten to f/8–f/11 and keep ISO low as residual light increases exposure risk.
- Daylight: Push aperture to f/10–f/16 with fast shutter speeds to prevent overexposure entirely.
Dial sensor sensitivity down first before adjusting aperture, since high ISO amplifies noise alongside the bolt’s brightness.
Test your settings after the first capture, review the histogram immediately, and correct before the next strike hits.
Exposure Length Matters
Exposure length ties directly to ambient light and determines whether your bolt registers as a crisp channel of light or a blown, featureless streak. At twilight, run exposures between 5–10 seconds to balance color contrast between the darkened sky and the bolt’s luminosity.
As weather conditions shift toward full darkness, extend exposures beyond 10 seconds to capture fainter discharge channels without overexposing surrounding cloud structures.
In bright daylight, tighten your shutter speed and push your aperture to f/10–f/16 to prevent washout. Start at ISO 100 and increase only when ambient light forces it.
Review each frame immediately after capture. If highlights are clipping on the bolt, shorten the exposure or stop down. Adjust incrementally rather than making large corrections that compound errors across multiple frames.
Keep Your Camera Stable for Long Lightning Exposures
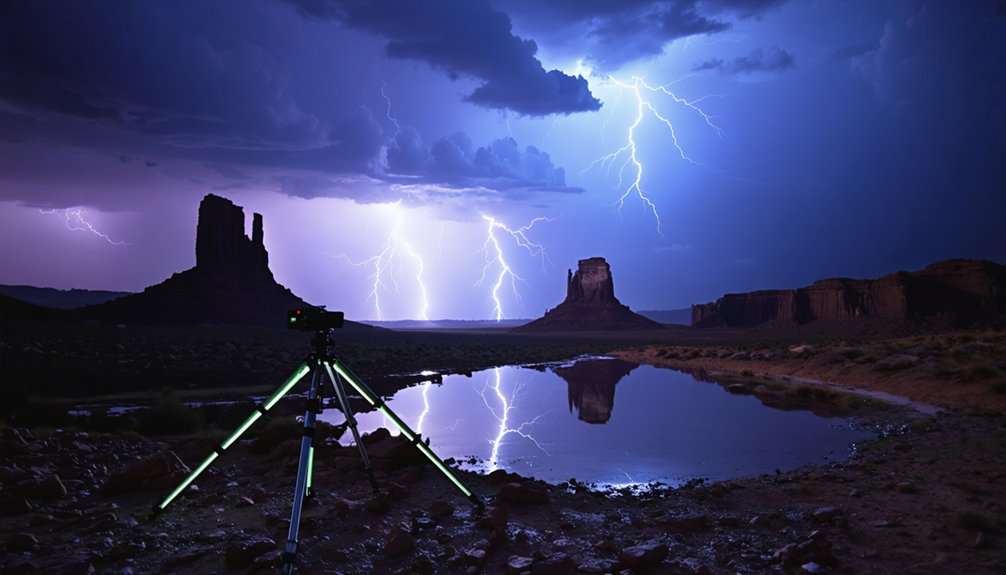
Since lightning photography depends on exposures that often run 5–10 seconds or longer, you’ll need a sturdy tripod to eliminate camera shake that would blur fine bolt detail. Camera stabilization isn’t optional here — it’s the foundation of sharp results.
A sturdy tripod isn’t optional in lightning photography — it’s the non-negotiable foundation of every sharp, detailed shot.
Long exposure success depends entirely on a locked-down setup before the storm intensifies.
Apply these stabilization disciplines during every session:
- Use a remote release or bulb mode to avoid physically touching the camera during capture.
- Lower the tripod’s center of gravity in high wind to reduce vibration transfer.
- Secure your setup early, since repositioning mid-storm introduces shake and missed strikes.
Review each frame between strikes and refine your composition without disrupting the tripod’s footing.
Place the Bolt Deliberately Within the Frame
With strike location unpredictable, your best control comes after the bolt lands — reframe quickly to pull the next strike into a stronger compositional zone. Track the storm’s direction of travel to anticipate likely strike positioning before committing to a frame.
Aim for lightning origin to fall below the top of the frame — bolts cropped at the top feel abrupt and unresolved. Leave negative space above the storm cell so each bolt reads cleanly against the sky. If a strike lands near the frame edge, crop in post-production rather than abandoning the shot entirely.
Use the storm’s movement as data. Identify where the last three strikes landed, identify the pattern, and shift your framing accordingly. Deliberate repositioning between exposures compounds your compositional accuracy over time.
Reframe Quickly After Every Lightning Strike
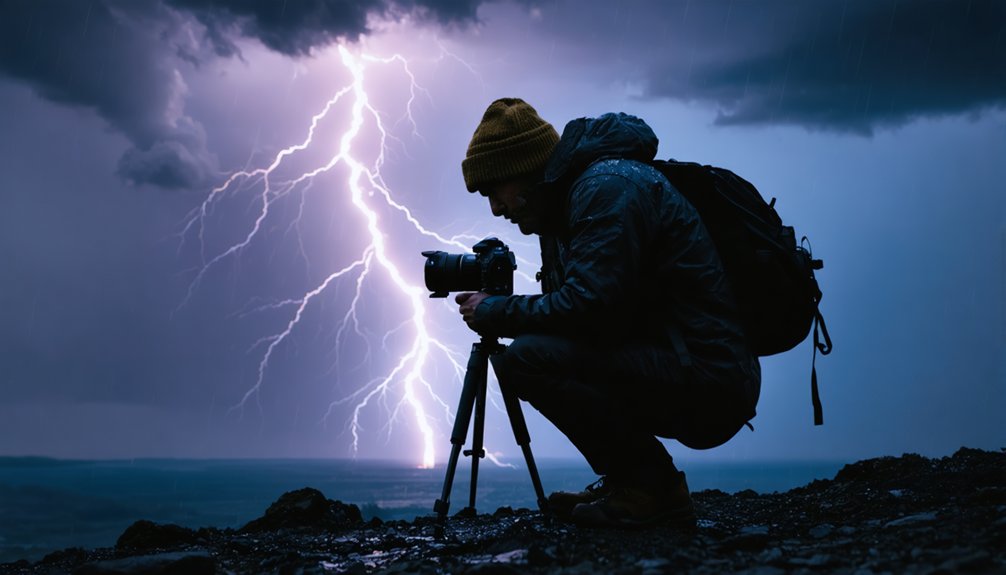
Each strike gives you a data point — use it. Where the bolt landed tells you exactly where to aim next. Don’t stay locked into a rigid composition; timing adjustments and composition tweaks between exposures are how you improve your hit rate in real time.
Each strike is a data point. Let it tell you where to aim next.
After each strike, evaluate three things immediately:
- Strike zone: Did the bolt land near the frame’s center or edge? Reframe to position the next likely strike in a stronger third of the image.
- Clipping: Did the bolt clip the top or sides? Tilt or pan to add buffer space.
- Foreground balance: Is the ground element still anchoring the shot effectively?
Treat each capture as feedback. Adjust fast, lock down your tripod, and be ready before the next discharge hits.
Frequently Asked Questions
What Safety Precautions Should I Take While Photographing Lightning Storms?
Sure, just stand in an open field holding metal gear — what could go wrong? Prioritize storm safety by sheltering indoors, and guarantee gear protection with waterproof covers. You’ll shoot better images alive than dead.
Which Camera Brands or Models Perform Best for Lightning Photography?
You don’t need a specific brand—your camera sensor’s dynamic range and reliability matter most. Canon, Nikon, and Sony all perform well. Prioritize lens selection with a wide-angle option, and you’ll capture stunning bolts effectively.
Can a Lightning Trigger Device Replace Manual Long Exposure Techniques?
Lightning triggers don’t fully replace manual techniques—they complement them. You’ll capture sharper, single-frame bolts with lightning triggers, but manual long exposures let you stack multiple strikes, giving you creative control and compositional freedom triggers can’t replicate.
How Do I Protect My Camera Gear From Rain During Storms?
Protect your precious photography pursuits with rain covers and a camera housing. You’ll shield sensitive sensors from moisture, maintain manual control, and keep shooting freely through fierce storms without sacrificing stability, sharpness, or your setup’s structural integrity.
Is Post-Processing Software Necessary to Enhance Captured Lightning Photographs?
Post-processing software isn’t strictly necessary, but it’s your most powerful tool for image enhancement. You’ll refine exposure, contrast, and bolt detail with precision, transforming a raw capture into a striking, data-rich final image that truly delivers.
References
- https://digital-photography-school.com/how-to-photograph-lightning-the-ultimate-guide/
- https://stushort.com/lightning-photography-guide-2/
- https://www.nickulivieriphotography.com/blog/lightning/
- https://www.youtube.com/watch?v=Fvr4cJLRdn4
- https://www.miops.com/blogs/news/lightning-photography-tips-and-unique-lightning-photo-compositions
- https://www.nikonusa.com/learn-and-explore/c/tips-and-techniques/how-to-photograph-lightning
- https://www.youtube.com/watch?v=45Tc7IE9nro
- https://alphauniverse.com/stories/behind-the-shot-how-to-composite-a-summer-lightning-storm/
- https://www.exposureguide.com/lightning-photography-tips/