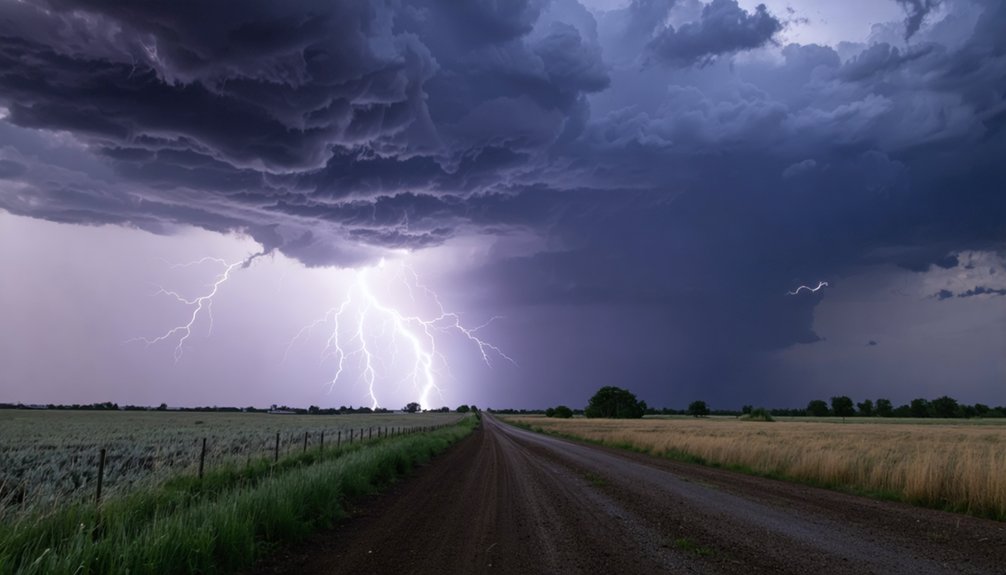
Capturing stunning long exposure shots in extreme weather demands speed, preparation, and instinct. You’ve got to check forecasts hours ahead, lock your tripod low and tight, and shoot RAW every time. Match your shutter speed to cloud movement, trust your histogram over guesswork, and ditch the ND filter when thick storm clouds do the work for you. The boldest shots come to those who understand exactly what the storm gives them — and what it takes away.
Key Takeaways
- Check weather forecasts hours in advance, monitoring wind speed, rain bands, and sunset timing to plan and capture the perfect storm shot.
- Use weather-sealed gear, dry bags, and fully charged batteries to protect equipment from rain, spray, and extreme conditions.
- Plant your tripod low and wide, hang counterweights, and lock all joints tightly to minimize wind-induced vibration and sway.
- Set ISO to 100, aperture to f/11–f/16, and match shutter speed to cloud movement for optimal long exposure results.
- Shoot RAW, rely on the histogram for accurate exposure, and act decisively to capture fleeting, dramatic storm moments.
How Weather Forecasts Help You Time Long Exposures
Before you ever leave the house, a detailed forecast check can make or break your shot. Study the weather pattern hours in advance — wind speed, rain bands, and sunset timing all determine whether you’re capturing gold or wasting a trip.
Cloud behavior is everything. Fast-moving storm clouds demand shorter exposures around one second to preserve structure. Slower drifting clouds open the door to three-to-five second pulls that build drama without destroying form.
Don’t rely on a single forecast. Extreme weather shifts fast, and real-time monitoring keeps you ahead of dangerous changes. You’re not just chasing safety — you’re chasing the precise moment when contrast, light, and motion collide.
Miss the window, miss the shot. Get there prepared, and you own it.
Protect Your Gear Before You Reach the Location
Knowing your window is one thing — showing up with working gear is another. Wild weather doesn’t wait for you to troubleshoot. Before you leave, lock down your protection plan.
- Weather-sealed bodies and lenses resist rain spray and salt air that silently destroy unprotected glass and contacts
- Safety gear means real footwear with grip, layers that move with you, and nothing loose that wind can catch
- Dry bags or sealed pouches keep filters, batteries, and remotes functional when conditions deteriorate fast
RAW capture is your safety net once you’re there — extreme contrast in storm light punishes compressed files hard. Check every seal, pack every cloth, and charge every battery.
Once wild weather hits, there’s no clean moment to fix what you forgot at home.
Lock Down Your Camera for Long Exposure Shots in Wind
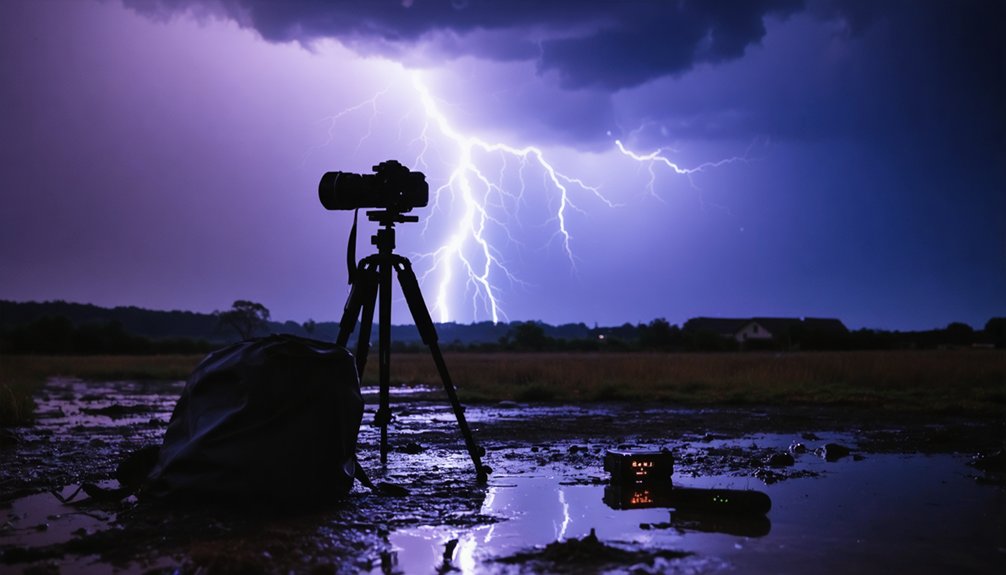
Wind will destroy your long exposure before you even press the shutter, so plant your tripod low, wide, and firm against the ground to cut vibration at its source.
You’ll gain even more control by hanging a sandbag or weighted pack from the center column, pulling the whole rig down and resisting lateral sway.
Keep every leg locked tight and every joint snug, because in strong wind a single loose point transfers straight into your shot.
Tripod Stability in Wind
Getting your tripod locked down in high wind is one of the most critical things you’ll do in extreme weather shooting. Wind gusts hit without warning, and tripod stability is the difference between a sharp image and a wasted moment.
Push hard into your setup:
- Drop your tripod low — a shorter stance cuts wind resistance and pulls your center of gravity down toward the earth
- Spike the legs into loose ground — tripod spikes bite into gravel, dirt, and rock, anchoring your rig against lateral gusts
- Hang weight from the center column — a loaded bag suspended beneath the head acts like a dead anchor, absorbing vibration before it reaches your sensor
Own your position. Don’t let the wind decide your shot.
Weighting Your Camera Rig
Even with your legs locked and your stance low, an unweighted rig can still walk in a sustained gust — that’s where dead weight becomes your last line of defense. Hang a sandbag, a loaded camera bag, or even a rock-filled stuff sack from your tripod’s center hook. That mass absorbs vibration and kills lateral drift before it reaches your sensor.
Think about camera ergonomics too — top-heavy rigs with large lenses catch wind like a sail. Redistribute weight low and tight.
Also check battery management before you weight everything down; a dead battery mid-exposure means breaking down your locked rig entirely. Swap batteries on the ground, not mid-shot.
Own the setup. Every pound you add buys you sharper frames when the wind hits hardest.
Low Placement Reduces Shake
The lower your tripod sits, the less leverage wind gets on your rig — drop those legs and cut your center column if you can. Camera ergonomics shift when you’re low, so plan your composition before you commit.
- Legs splayed wide and pressed into wet rock, your camera hugging the earth while gusts tear overhead
- Center column retracted completely, eliminating that wobbling mast that kills sharpness in a heartbeat
- Your body crouched behind the rig, blocking wind, reading the scene like weather forecasting in real time
Every inch of height you surrender is stability you gain. In brutal conditions, that tradeoff isn’t optional — it’s survival for your shot.
Get low, lock it down, and own the frame.
Aperture, ISO, and Shutter Speed for Stormy Conditions
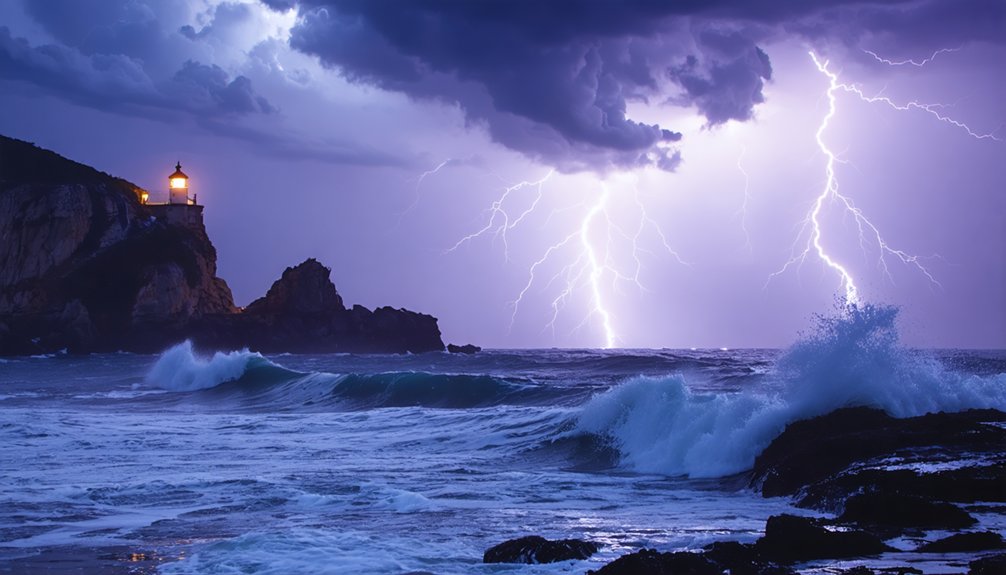
When storms hit, you’ll want to stop down to f/11 or f/16 to cut incoming light and stretch your shutter time without leaning on filters.
Lock ISO to 100 to keep noise from eating into shadow detail, because stormy scenes already push contrast to the edge.
From there, match your shutter speed to the cloud movement—fast-churning storm cells often demand shorter exposures around 1 second to hold structure, while slower-rolling skies can handle 3–5 seconds before the image loses its tension.
Aperture Control For Storms
Stormy conditions demand that you treat aperture, ISO, and shutter speed as a system rather than isolated variables. Aperture flexibility lets you push beyond a single fixed setting, balancing depth of field against the light that’s tearing across the frame.
- A narrow aperture like f/16 cuts incoming light hard, stretching your shutter into multi-second territory while keeping foreground rocks and churning water sharp.
- Wider apertures sacrifice depth of field but recover shutter control when storm light drops fast and unpredictably.
- Combining f/11 with ISO 100 keeps noise low while giving you room to layer in ND filtration if skies stay bright.
Own these relationships. When the wind hits and light shifts in seconds, you can’t afford to rethink each setting independently.
Low ISO Noise Reduction
Aperture gets you into the right exposure range, but ISO determines what survives that exposure. In extreme weather, noise isn’t just aesthetic failure — it destroys the fine detail in storm clouds and wave texture you fought to capture.
Lock ISO at 100. Don’t negotiate with that setting.
High ISO introduces grain that long exposures amplify brutally across dark skies. You can’t recover that in post.
Keep your sensor clean before heading out, because dust particles become visible distractions at low ISO and narrow apertures. Dirty sensors waste hard-won shots.
Battery management matters here too. Cold, wet conditions drain power faster, and switching batteries mid-sequence breaks your momentum.
Start with a full charge. Carry backup.
ISO 100 combined with disciplined gear prep gives your exposure the foundation it needs.
Shutter Speed Motion Management
Shutter speed is where exposure stops being technical and starts being decisive. Wind effects hit hardest here — one wrong second and your image turns to mush. Cloud movement dictates everything. You’re not guessing; you’re reading the sky and reacting fast.
Match your shutter to what’s actually moving:
- Fast-churning storm clouds — shoot around 1 second to preserve dramatic structure before wind effects dissolve the edges
- Slower rolling clouds — push to 3–5 seconds and let cloud movement paint natural motion across your frame
- Violent, gusting conditions — drop to fractions of a second and let raw contrast carry the composition
You control aperture, ISO, and shutter together. Narrow your aperture, lock ISO low, then dial shutter until the scene surrenders exactly what you want.
Do You Actually Need ND Filters for Long Exposure in Bad Weather?
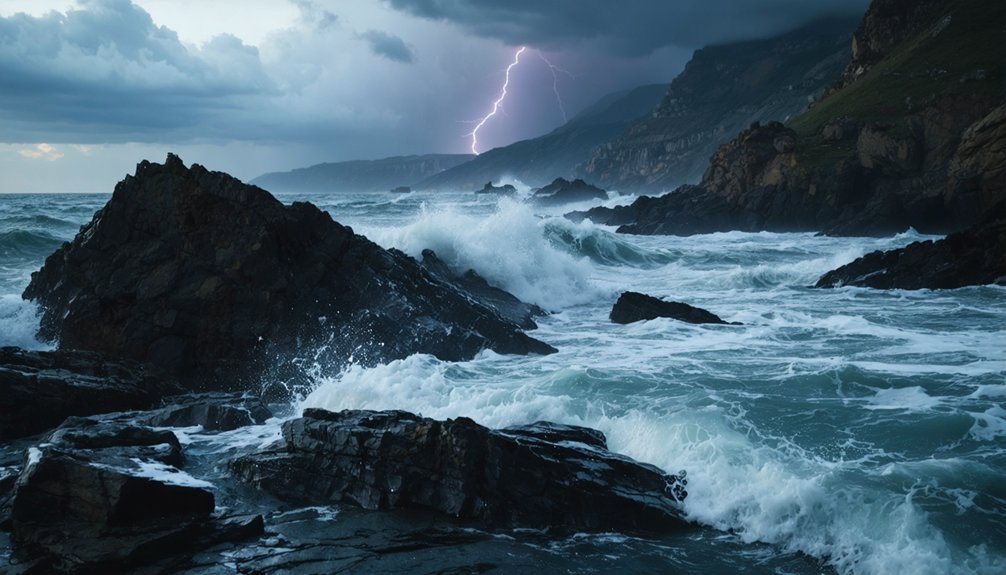
Whether you actually need ND filters in bad weather depends on the light you’re working with, and bad weather often does the filtering for you. Storm clouds, thick overcast, and fading sunset light can drop ambient levels dramatically, letting you push to f/16 or f/22 without filters and still hit 3–5 second exposures. That’s real shutter control without extra glass in your path.
Filters matter most when you’re shooting near midday breaks or when dramatic clearing storms flood the scene with harsh light. Watch for lens flare too — ND stacking in wet conditions increases surface reflections.
Trust your histogram over assumptions. Skip sensor calibration myths; your settings are doing the work. Carry a 10-stop ND as backup, but don’t default to it automatically.
How to Compose Long Exposure Shots in Dramatic Storm Light
Storm light doesn’t wait, and your composition decisions need to be faster than the scene changing around you. Dramatic contrast between dark cloud masses and breaking light creates natural tension—use it deliberately, not accidentally.
Apply these lighting techniques to anchor your frame:
- Favor a 60/40 sky-to-ground split when storm clouds dominate, letting that brutal, churning canopy command attention
- Position hard light edges where they intersect your strongest foreground element, forcing the viewer’s eye through the frame
- Expose for the highlights and protect detail in the brightest zones—your post processing tips mean nothing if you’ve blown the sky completely
Shoot RAW. Work fast. Harsh conditions reward decisive framing over hesitation, and a bold, unbalanced sky will outperform a technically perfect but lifeless composition every time.
Frequently Asked Questions
Can I Use Mirrorless Cameras for Long Exposure Shots in Extreme Weather?
Yes, you can. Seal your mirrorless in weatherproof housing, grab a battery life extension grip, and shoot fearlessly. Weather-sealed mirrorless cameras handle extreme conditions brilliantly — they’re your freedom to capture raw, uncompromising long exposures anywhere nature rages.
How Do I Clean My Lens After Shooting in Heavy Rain or Spray?
Dry your lens immediately! Use a microfiber cloth for lens cleaning, gently blotting moisture away — never wipe. Prioritize moisture prevention by stowing gear fast. You’re free to shoot wild weather, but protect your glass fiercely.
Is Bulb Mode Available on Entry-Level Cameras for Very Long Exposures?
Yes, bulb mode’s available on most entry-level cameras—you’re not locked out. Activate it, grab your remote release, and shoot freely. Just watch your sensor protection; without weather sealing, extreme conditions can kill your gear fast.
Should I Shoot RAW or JPEG During Stormy Long Exposure Sessions?
Shoot RAW — don’t compromise. Storms create brutal contrast that JPEGs can’t handle. You’ll rescue blown highlights and crushed shadows in post. Watch your battery life closely; RAW files tax it fast. Enable image stabilization and capture everything.
How Do I Avoid Condensation Forming on My Lens in Cold Weather?
Keep your lens warm and dry using lens protective covers between shots. Apply anti-fog solutions before heading out. Don’t let temperature swings ambush you—transition gear slowly between environments to stop condensation from stealing your perfect exposure.
References
- https://www.youtube.com/watch?v=V5Zy9nIEnq0
- https://www.youtube.com/watch?v=s-U82rfZdxc
- https://www.youtube.com/watch?v=olp_vePrtHc
- https://www.youtube.com/watch?v=JO_zoXhF9YU
- https://fstoppers.com/education/capture-dramatic-images-using-long-exposure-techniques-704610
- https://www.youtube.com/watch?v=n7qvfvn9_ck
- https://www.youtube.com/watch?v=z3da68M8fc0&vl=en
- https://visualwilderness.com/fieldwork/when-and-how-to-use-long-exposure-photography
- https://www.youtube.com/watch?v=gtf27Y-MPJQ
- https://www.affinity.studio/ja_jp/blog/long-exposure-photography-tips