Chasing lightning in remote areas means you’ll need to monitor CAPE values, track storm movement, and position yourself two to five miles from the storm’s southern or eastern flank. Apply the 30/30 rule strictly, set your ISO low with 30-second exposures, and configure an intervalometer with 2–3 second gaps. Always identify two exit routes before shooting begins. The techniques that separate a safe, successful shoot from a dangerous one go much deeper than these basics.
Key Takeaways
- Use apps like RadarScope to monitor CAPE values and storm movement before heading into remote areas for lightning photography.
- Position yourself two to five miles from the storm core, staying on the southern or eastern flank for predictability.
- Apply the 30/30 rule: retreat immediately if thunder follows lightning within 30 seconds, and wait 30 minutes after the last thunder.
- Set your camera to low ISO, 30-second shutter speeds, and manual infinity focus to reliably capture distant lightning strikes.
- Always identify two exit routes before shooting and use weatherproofed gear with a lightning trigger and backup batteries.
How to Plan a Remote Lightning Photography Trip
Planning a remote lightning photography trip starts 24 hours before the shoot, when you’ll want to pull up tools like RadarScope, Storm Radar, or Estofex to identify developing thunderstorm systems.
Monitor CAPE values to assess convective energy and storm tracking trajectories in your target zone. High CAPE readings signal stronger updrafts and more frequent lightning activity.
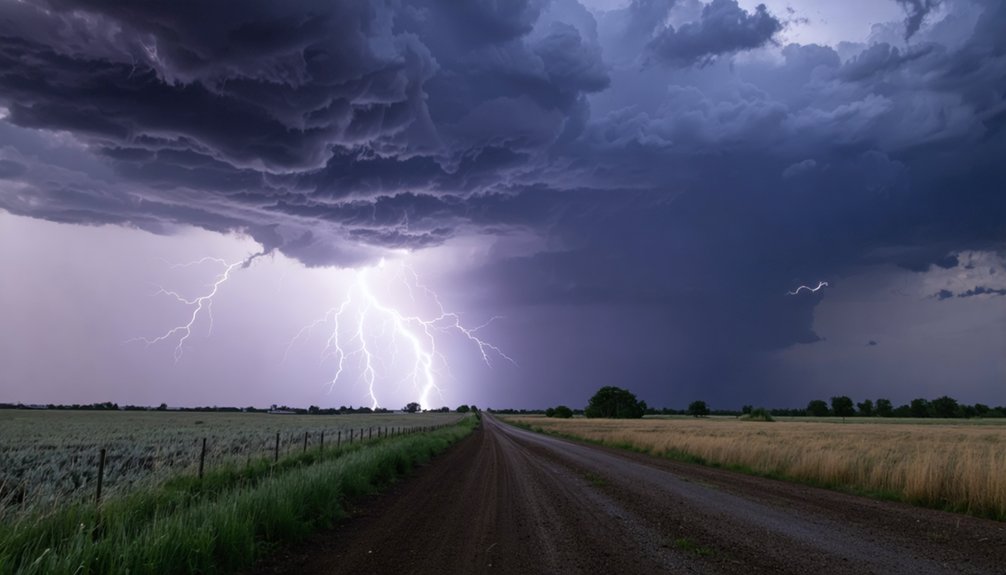
Analyze weather patterns to determine storm movement direction before committing to a location. You’ll need to position yourself several miles from the storm core, ideally on the downwind side, to maintain clear sightlines and avoid dangerous precipitation.
Arrive early to scout parking, terrain features, and exit routes. Securing your position before storms develop gives you the tactical advantage of controlling distance, angle, and escape options when conditions shift rapidly.
Where to Position for Lightning Photography Miles From the Storm
Positioning is the variable that separates a safe, productive shoot from a dangerous one. Maintain a safe distance of two to five miles from the storm core, staying on its southern or eastern flank where movement is most predictable.
Positioning is everything. Two to five miles from the core, southern or eastern flank — safe, predictable, productive.
This storm positioning keeps you outside the primary strike radius while maximizing your visual angle on the cell.
Avoid windward mountain sides, ridges, and elevated terrain — lightning preferentially targets sharp, elevated features. Instead, choose low rolling terrain or slight depressions that offer clean sightlines without elevation exposure.
Metal fences and power lines amplify strike risk; eliminate them from your proximity entirely.
Use longer focal lengths to compress distance and frame strike channels cleanly. Track storm movement continuously — a stationary setup against a shifting cell collapses your safe positioning window fast.
Lightning Safety Rules Every Photographer Must Know in the Field
Smart positioning buys you distance, but it doesn’t buy you immunity. Apply the 30/30 rule without exception: if thunder follows lightning within 30 seconds, you’re inside the danger zone. Retreat immediately.
Your storm awareness must extend beyond the visible cell — lightning strikes up to 10–15 km from parent clouds, meaning clear skies overhead aren’t safe skies.
Stay sheltered 30 minutes after the last audible thunder. Use enclosed buildings or metal-roofed vehicles, which create a Faraday cage effect. Never shelter under open gazebos or tall trees.
If caught in the open, descend to low rolling terrain, spread your group 20 feet apart, and assume lightning position — feet together, hands over ears.
These safety protocols aren’t suggestions; they’re the margin between a great shoot and a fatal one.
Manual Settings and Interval Shooting for Lightning Capture
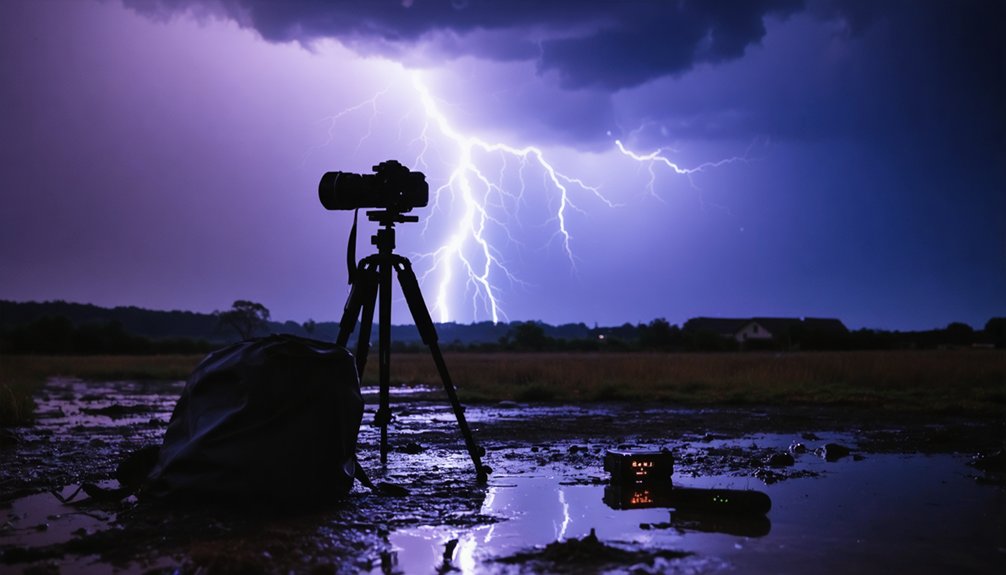
Once you’ve secured a safe position outside the storm’s core, your camera settings determine everything. Set ISO low to minimize noise during extended captures. Lock your shutter speed at 30 seconds, pointing toward anticipated strike zones.
Manual focus at infinity eliminates autofocus failures in low light or rain-degraded visibility — don’t trust automation here.
Manual focus at infinity is non-negotiable — rain and darkness will break autofocus every time.
Your exposure settings work alongside interval shooting to maximize strike capture probability. Configure your intervalometer to fire continuously with two-to-three-second gaps between frames.
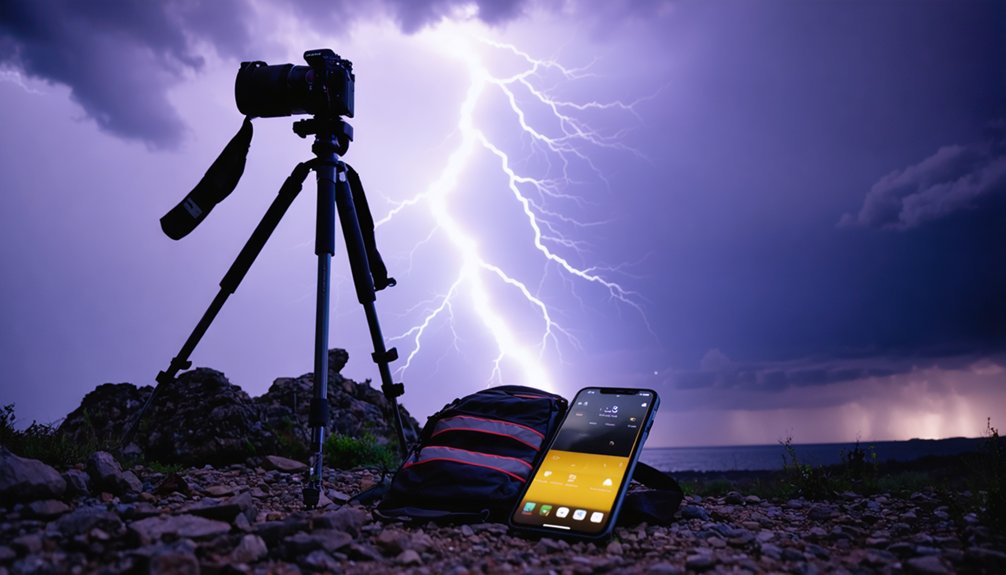
This approach removes constant manual shutter operation, keeping your hands free and reducing equipment exposure to moisture. Lightning triggers connected via phone apps automate capture further, activating only when a strike registers.
Together, these techniques transform passive waiting into a systematic, data-driven process that dramatically improves your capture rate.
The Gear, Apps, and Exit Plan for Lightning Photography Shoots
Your gear loadout and app stack directly shape how long you can stay operational and how quickly you can exit when conditions deteriorate.
For gear essentials, pack a lightning trigger, fully charged intervalometer, weatherproofed camera housing, and backup batteries. These components eliminate manual intervention during active storms, keeping you mobile and reactive.
For app recommendations, run RadarScope for real-time cell tracking, AccuWeather for CAPE data, and Weather Underground for hyper-local conditions. Cross-reference all three before committing to a position.
Your exit plan isn’t optional—it’s structural. Identify two departure routes before shooting begins.
If thunder registers under 30 seconds from the flash, you’re already inside the danger threshold. Pack immediately, move low, and don’t negotiate with deteriorating conditions for one additional frame.
Frequently Asked Questions
How Do You Legally Access Remote Private Land for Lightning Photography?
You’ll need landowner permissions before entering private land. Secure access agreements in writing, specifying dates, locations, and liability terms. Contact owners directly, explain your purpose, and document consent to protect your legal standing.
What Insurance Covers Camera Damage During Extreme Weather Photography Shoots?
Like a shield in a storm, specialized camera coverage protects you. Seek inland marine insurance or rider policies on homeowner’s plans—they’ll cover gear damaged under extreme weather conditions during shoots.
Can Lightning Photography Be Done Profitably as a Freelance Career?
Yes, you can profit from lightning photography by mastering advanced lightning techniques and applying smart freelance marketing strategies. License images to agencies, sell prints, and pitch editorial clients to build sustainable, location-independent income streams.
How Do You Find Photography Partners for Remote Lightning Chasing Trips?
Like signal strength in a storm, your network determines your reach — join local photography groups and online forums to connect with partners who’ll share remote lightning chasing risks, coordinate positioning, and split equipment costs effectively.
What Physical Fitness Level Is Required for Remote Lightning Photography Expeditions?
You’ll need solid cardiovascular endurance to handle rapid terrain changes and emergency exits. Strong hiking skills let you reposition quickly, covering 2+ miles from storm cores while carrying heavy camera gear safely.
References
- https://www.kuhl.com/borninthemountains/guide-to-storm-and-lightning-photography
- https://backpackinglight.com/forums/topic/88079/page/2/
- https://www.pcta.org/wp-content/uploads/2012/11/BackcountryLightningSafety.pdf
- https://www.weather.gov/media/owlie/backcountry_lightning.pdf
- https://petapixel.com/2020/09/05/how-i-chase-and-photograph-storms-and-lightning-strikes/
- https://www.facebook.com/brandon.montgomery.1612147/posts/my-personal-lightning-photography-tips-and-tricks-are-exposed-below-when-storm-/1506981780964226/
- https://iso.500px.com/chasing-lightning-landscape-photography-tutorial/
- https://www.youtube.com/watch?v=PfRnKwtTTyo
- https://www.reddit.com/r/coolguides/comments/1otu23f/a_cool_guide_to_staying_safe_in_the_backcountry/
- https://weareexplorers.co/hikers-guide-lightning-safety/