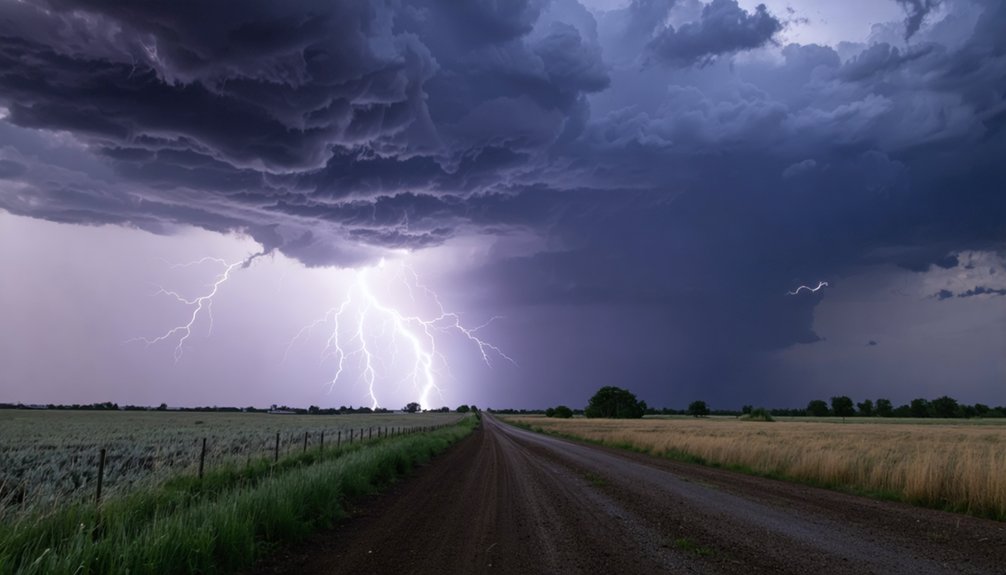
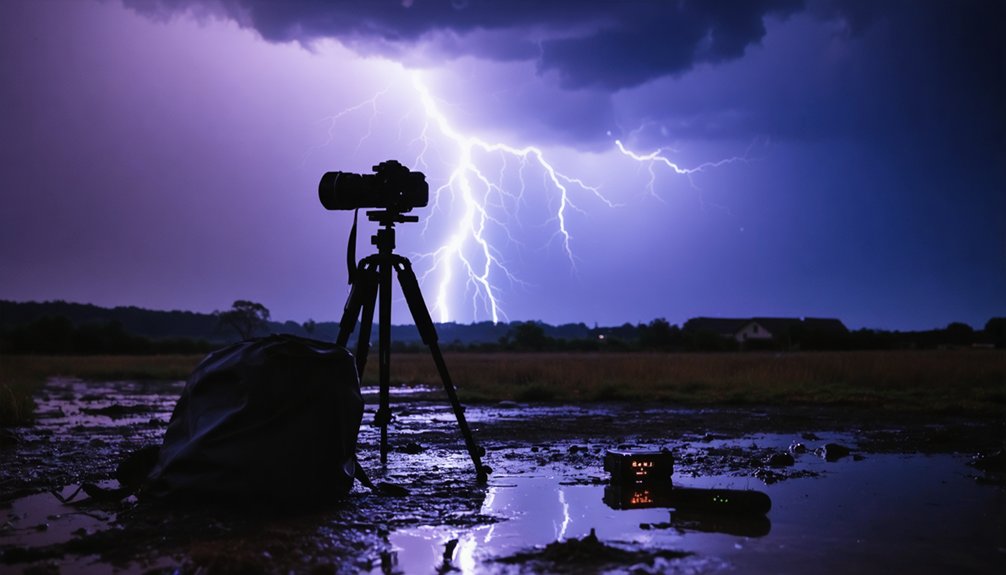
To capture dynamic wind patterns in storm photography, you’ll want to monitor atmospheric pressure below 1005 hPa and CAPE values between 1500–2500 J/kg before heading out. Use shutter speeds of 1/2s or longer to blur grass and cloud trails, or 1/1000s to freeze airborne debris. Stabilize your camera with a weighted tripod and shoot in manual mode for full control. There’s a precise method to mastering every technical element involved.
Key Takeaways
- Use shutter speeds of 1/2s or longer to blur grass, clouds, and foliage, revealing wind movement through ghosted motion trails.
- Wide-angle lenses (16–35mm) capture expansive storm skies, while low-angle framing emphasizes wind direction through natural leading lines.
- Apply 6-stop or 10-stop ND filters to achieve long exposures in bright storm conditions without overexposing the frame.
- Set aperture between f/7–f/10 to maintain sharpness across the full scene, from wind-driven foreground detail to the horizon.
- Monitor CAPE values between 1500–2500 J/kg and pressure below 1005 hPa to identify atmospherically active, dynamic shooting conditions.
Read the Storm Before You Shoot
Before you raise your camera, you’ve got to read the storm’s atmospheric signature. Monitor atmospheric pressure closely — readings below 1005 hPa signal active, wind-driven conditions worth pursuing. That pressure drop tells you wind energy is building and the atmosphere is primed for dramatic visual structure.
Pressure below 1005 hPa doesn’t lie — the atmosphere is charged, restless, and ready to perform.
Track CAPE values between 1500–2500 J/kg to gauge storm intensity without entering dangerous territory. Wind shear in the 12–20 m/s range produces striking formations while keeping conditions manageable.
Confirm visibility sits between 2500–4000m so you maintain clear sightlines to both your subject and your exit.
Don’t show up blind. Cross-reference wind gust forecasts, keeping gusts under 18–22 m/s for workable shooting conditions. Understanding these metrics before you deploy gives you tactical control — and that control is what separates deliberate storm photography from reckless guesswork.
Stabilize Your Gear in High-Wind Conditions
Once you’ve assessed the storm’s atmospheric metrics and confirmed conditions are within workable parameters, your next problem is mechanical: keeping your camera still while wind actively works against you. Tripod stability isn’t optional here — it’s foundational. Use a heavy, sturdy tripod and anchor it firmly against the ground. Hang a weighted bag from the center column to drop your center of gravity and counter lateral wind pressure.
Eliminate touch-induced shake entirely by using a remote shutter release or your camera’s built-in timer. For gear protection, fit a lens hood and use weather-sealed equipment to block airborne debris and moisture. Store unused gear in a closed bag.
These measures let you control motion blur intentionally, keeping static elements sharp while wind-driven subjects blur on your terms.
Choose Camera Settings for Storm Photography
With your gear locked down and stable, camera settings become your primary tool for translating wind into visual language. You’ll control the narrative by choosing how motion renders in your frame.
For freezing crashing waves or debris, shoot at 1/1000s or faster. For fluid, ghosted cloud trails or blurred grass, drop to 1/2s through several seconds. Use ND filters — 6-stop or 10-stop — to execute long exposures in bright storm light without overexposure.
Aperture control between f/7 and f/10 keeps your entire scene sharp from foreground to horizon. ISO flexibility lets you compensate quickly as storm light shifts unpredictably.
Shoot manual mode exclusively — automatic modes can’t adapt fast enough to dynamic, chaotic wind conditions you’re deliberately pursuing.
Pick the Right Lens for Storm Compositions
Lens choice directly shapes how wind reads in your final image. Wide-angle and telephoto options each serve distinct purposes, and aperture variation determines depth across chaotic scenes.
Your lens choice tells the wind’s story — wide-angle or telephoto, each shapes how chaos reads on screen.
- 16–35mm wide-angle: Captures expansive sky and wind-driven wave patterns; watch for lens distortion at edges.
- 24–105mm mid-range: Balances environmental context with compositional control in storm scenes.
- 70–200mm telephoto: Isolates distant sea stacks or clouds while compressing wind motion dramatically.
- f/7–f/10 aperture: Maintains sharpness from foreground grass to horizon during chaotic conditions.
- Low-angle framing: Emphasizes wind direction through swaying grass or bending trees as leading lines.
Match your lens to your intended wind story. Control lens distortion intentionally, and use aperture variation strategically to separate sharp anchors from deliberately blurred motion.
Protect Yourself and Your Gear in High Winds
Shooting in high winds introduces physical hazards that demand the same deliberate attention you give your camera settings. Wind safety starts with knowing your surroundings—identify escape routes before debris or surge zones become threats.
Keep your back to gusts when possible, and never position yourself downwind of unstable structures or wave impact zones.
For gear protection, mount protective filters to shield lens elements from airborne dust and particles. Store unused equipment in sealed bags, not open cases.
Weather-sealed bodies handle moisture better, but they’re not invincible—dry them between shots. Use a lens hood to deflect wind-driven debris.
Stay alert to sudden condition shifts. The freedom to shoot remote, dramatic locations depends entirely on your ability to read risk accurately and exit quickly.
Frequently Asked Questions
What Time of Day Produces the Most Dramatic Wind Pattern Photography?
You’ll find golden hour delivers the most dramatic results, as low-angle light amplifies atmospheric turbulence textures while peak wind speed during pressure shifts creates visually striking contrasts between illuminated storm structures and shadowed, wind-driven cloud formations.
Can Wind Photography Techniques Apply to Urban or City Environments?
Like Ansel Adams chasing wilderness light, you can chase city wind. Urban landscapes offer dynamic subjects — capture blurred flags, swaying signs, and pedestrians mid-motion. Apply slow shutter speeds to reveal City wind’s invisible, liberating force.
How Do I Edit Motion Blur From Wind in Post-Processing Software?
Use motion blur editing tools in Lightroom or Photoshop to enhance wind-driven blur selectively. Apply wind simulation techniques via radial or path blur filters to amplify movement, giving you’re images a dynamic, unrestricted energy.
What Weather Apps Best Predict Ideal Storm Photography Wind Conditions?
Use Windy, Storm Radar, and Weather Underground for precise weather forecasting and storm tracking. They’ll give you real-time wind speed, CAPE values, and pressure readings, helping you identify that ideal 12–20 m/s window for dynamic storm photography.
How Does Wind Direction Affect the Emotional Mood of Storm Photos?
Sweeping storms shift your scene’s emotional impact dramatically. Wind symbolism transforms mood: winds blowing toward you create confrontation and tension, while receding winds evoke release and freedom. You’ll harness direction deliberately to amplify your composition’s psychological resonance.
References
- https://visualwilderness.com/seasons/mastering-coastal-storm-photography
- https://stephen-milner.com/blogs/landscape-photography/windswept-wonders-capturing-dynamic-landscapes-in-windy-conditions
- https://visualwilderness.com/seasons/photograph-windy-conditions
- https://photoweather.app/blog/storm-photography-guide/
- https://stephen-milner.com/blogs/landscape-photography/whispers-of-wind-capturing-movement-in-the-landscape