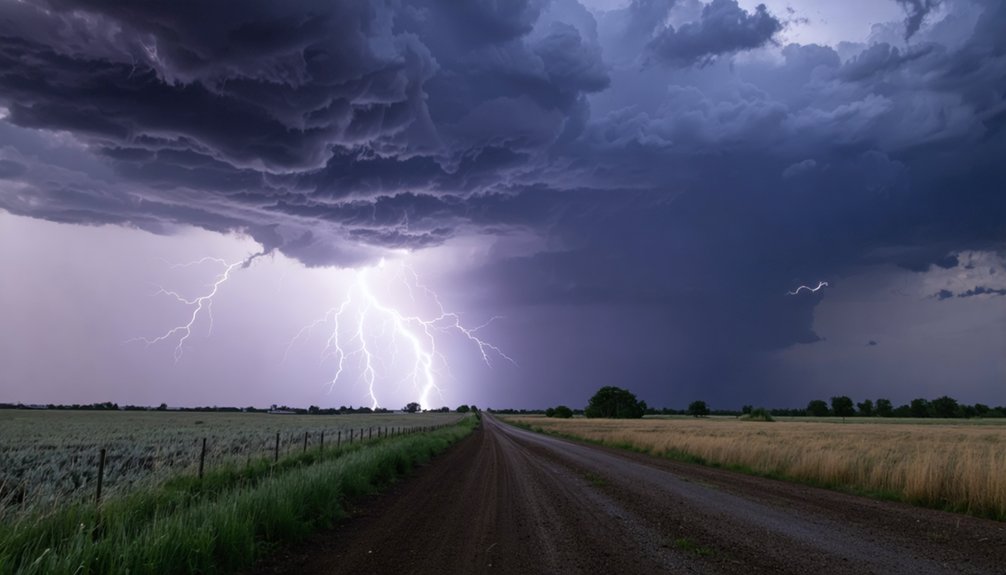
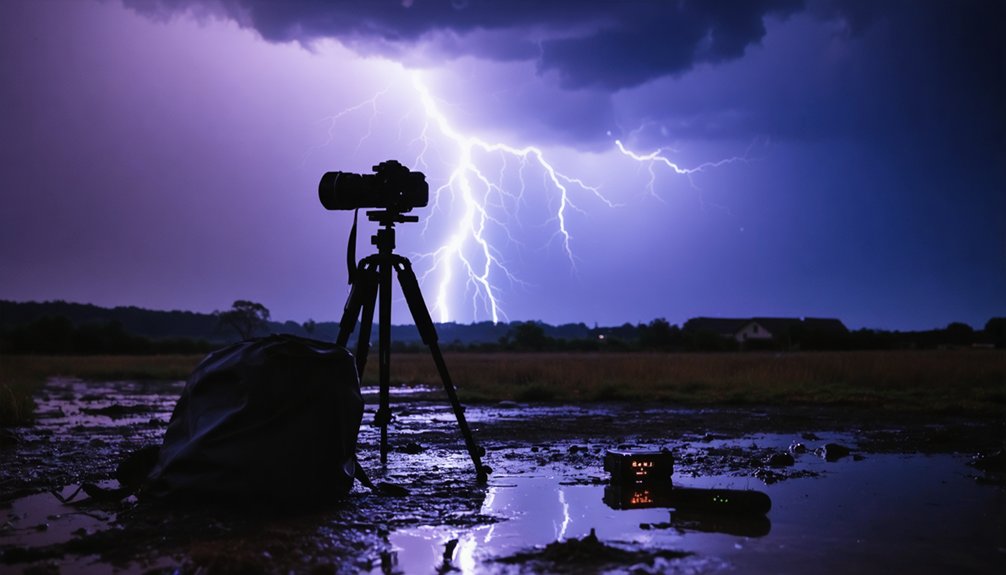
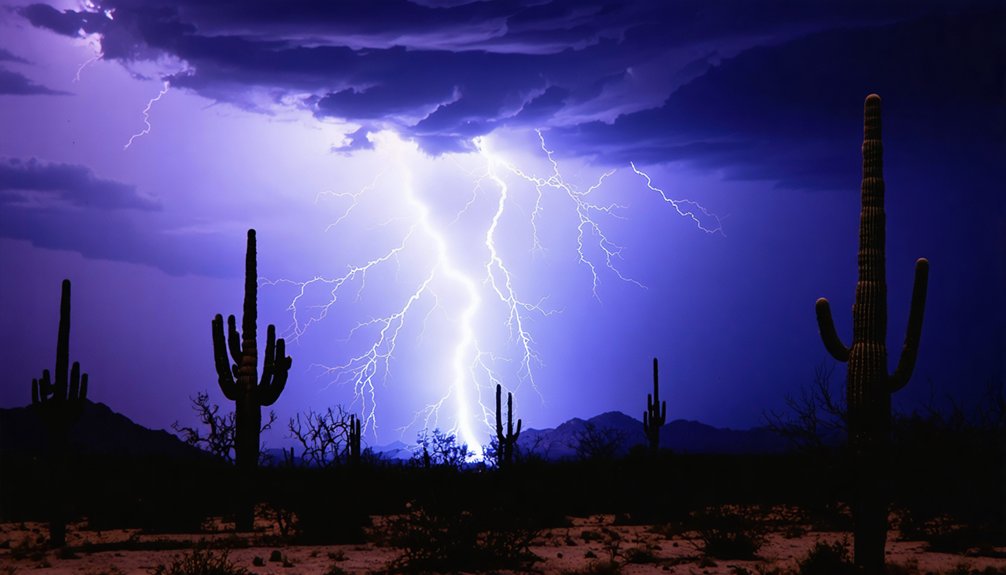
To enhance night lightning photography, you’ll want to shoot at f/5.6–f/8, ISO 100, with 5–30 second exposures on a sturdy tripod. Switch to manual focus and verify sharpness using Live View zoom. Use wide-angle lenses to maximize sky coverage, and incorporate foreground silhouettes for depth and scale. Lightning triggers and intervalometers dramatically increase your strike capture rate. Each technique builds on the next, and mastering their combined application transforms your results profoundly.
Key Takeaways
- Set aperture to f/5.6–f/8, ISO to 100, and shutter speed between 5–30 seconds for optimal night lightning exposure.
- Mount your camera on a sturdy tripod, disable image stabilization, and use a cable release to minimize vibration.
- Switch to manual focus and verify sharpness using Live View zoom to ensure crisp lightning captures.
- Use wide-angle lenses (16–24mm full-frame) to maximize sky coverage and increase the likelihood of capturing strikes.
- Deploy a lightning trigger to detect flashes within milliseconds, pairing it with an intervalometer to minimize capture gaps.
Camera Settings That Prevent Overexposed Night Lightning Shots
Capturing night lightning without blowout requires balancing three interdependent variables: aperture, ISO, and shutter speed.
Preventing blown highlights in night lightning photography demands precise control over aperture, ISO, and shutter speed simultaneously.
In dark, remote locations, set your aperture between f/5.6–f/8; near city lights, narrow to f/10–f/16 to control excess ambient exposure.
Keep ISO at 100 in very dark conditions, increasing to 200–400 only when moonlight demands it.
Shutter speeds between 5–30 seconds give you flexibility based on storm intensity.
For close strikes, apply a narrower aperture and lower ISO to prevent highlight clipping that complicates color correction in post-processing.
Distant bolts may require slightly elevated ISO to retain detail against dark skies.
Regular equipment maintenance guarantees your sensor performs at its best, minimizing noise artifacts during long exposures.
These precise adjustments give you full control over exposure integrity.
How to Stabilize and Focus Your Camera for Sharp Night Lightning
Sharp night lightning images demand a stable platform and precise manual focus before the storm peaks. You’ll eliminate blur and exposure errors by preparing your gear methodically.
- Mount your camera on a sturdy tripod and disable image stabilization to prevent internal lens movement during long exposures.
- Switch to manual focus, aim at a distant horizon light, and confirm sharpness using Live View zoom.
- Perform lens cleaning before shooting to remove debris that distorts bokeh and corrupts color calibration across frames.
- Lock the DSLR mirror to reduce mechanical vibration, then use a cable release for hands-free shutter control.
These steps guarantee your optical system performs cleanly under demanding low-light conditions, giving each captured strike maximum structural clarity and color calibration accuracy throughout your session.
Which Shutter Techniques Capture the Most Night Lightning?
How you time and control your shutter determines whether you capture one strike or dozens across a single session. Set continuous exposures between 10–30 seconds, letting the sensor collect multiple strikes without manual intervention.
Bulb mode with a cable release gives you direct control—hold the shutter open until a bolt fires, then release immediately to prevent overexposure.
For maximum efficiency, deploy an intervalometer with 1-second gaps between frames, maintaining near-constant coverage throughout the storm.
Study lightning patterns before shooting; storms often fire in rhythmic bursts, and recognizing that rhythm lets you anticipate activity.
Storm timing dictates everything—peak electrical activity produces the densest strike clusters, so position yourself before intensity peaks.
Combining these methods systematically increases your capture rate across every session.
Use Foreground Silhouettes and Wide Lenses to Compose Night Lightning
When composing night lightning shots, you’ll strengthen your images by positioning silhouetted foreground elements—trees, vehicles, or structures—to anchor the frame and provide measurable scale against the bolt’s luminosity.
You should pair this technique with a wide-angle lens, which broadens your field of view and statistically increases the probability of capturing a strike within the frame.
Balancing depth and perspective requires you to align the horizon line deliberately, ensuring the foreground, midground, and sky distribute visual weight across the composition without obscuring the lightning’s trajectory from cloud to ground.
Framing With Silhouetted Foregrounds
Composing night lightning shots with silhouetted foregrounds transforms a flat streak of light into a layered, visually dynamic image. You’ll exploit color contrast between dark foreground masses and illuminated storm skies to create immediate visual tension. Study weather patterns to position subjects—trees, vehicles, or structures—along your horizon line before strikes occur.
Follow these framing principles:
- Position foreground elements in the lower third to anchor the composition without blocking strike paths.
- Expose for ambient sky light, letting foregrounds fall naturally into deep shadow.
- Use wide-angle lenses to maximize sky coverage while retaining foreground context.
- Align your frame so lightning bolts have unobstructed vertical space from cloud base to ground.
These choices eliminate visual flatness and produce images with measurable depth and compositional authority.
Wide Lenses Maximize Strike Capture
Wide-angle lenses increase your probability of capturing lightning strikes by expanding the angular field of view, reducing the chance a bolt falls outside your frame. When you’re shooting in areas with minimal light pollution, wider camera lenses allow you to expose more sky, maximizing strike inclusion across a broader atmospheric zone.
For APS-C sensors, lenses between 10–18mm deliver expansive coverage, while full-frame shooters benefit from 16–24mm options. You’ll capture foreground context simultaneously, adding compositional depth without sacrificing sky coverage.
Wider apertures on these lenses also compensate for reduced ambient light in remote locations.
In urban environments, light pollution compresses usable dynamic range, so selecting a wider lens helps distribute that interference across more compositional elements, preventing any single bright zone from dominating your exposure.
Balancing Depth And Perspective
Foreground silhouettes transform a flat lightning image into a spatially layered composition by providing near-field reference points that contrast against mid-ground illumination and distant storm activity. You’ll gain compositional control by integrating structured foreground elements strategically.
- Position trees or vehicles at frame edges to anchor depth without obscuring strike paths.
- Evaluate weather conditions before framing—rain, fog, or haze alter silhouette sharpness and perceived distance.
- Combine wide lenses with low camera angles to exaggerate foreground scale against expansive storm skies.
- Apply color grading in post-processing to intensify silhouette contrast and separate tonal layers distinctly.
You’re building a three-dimensional visual hierarchy when you balance near, mid, and far elements deliberately. This disciplined spatial arrangement amplifies strike drama while preserving compositional freedom across variable shooting environments.
How Lightning Triggers and Intervalometers Capture More Strikes
When shooting night lightning, you’ll drastically increase your capture rate by using a lightning trigger, a device that detects a flash’s optical or electrical signature and fires your shutter within milliseconds.
An intervalometer complements this by running continuous 10–30 second exposures with minimal gaps, ensuring near-total sky coverage across an entire storm sequence.
Combining both tools lets you automate detection-based captures while simultaneously filling any trigger latency gaps with timed sequential frames.
Lightning Triggers Automate Capture
Capturing lightning manually demands split-second reflexes that no human can consistently match, but lightning triggers eliminate that limitation entirely. These devices detect optical flashes and fire your shutter within milliseconds, dramatically increasing strike capture rates.
Prioritizing lightning safety, you should mount the trigger and step back from your tripod during active storm timing.
Here’s how to maximize trigger performance:
- Set sensitivity thresholds to filter ambient light interference from passing vehicles or city glow
- Pair triggers with bulb mode to control exact exposure duration per detected strike
- Position the sensor facing the most electrically active storm cell
- Test trigger response speed before peak storm timing to confirm millisecond accuracy
You’ll capture precise, sharp bolts without relying on unpredictable human reaction time.
Intervalometers Maximize Strike Coverage
While lightning triggers rely on optical detection to fire your shutter reactively, intervalometers take a probabilistic approach—maximizing coverage by keeping your camera cycling through continuous exposures automatically.
Set intervals to roughly one second between 10–30 second exposures, ensuring minimal gaps during active storm bursts.
You’ll capture more strikes simply by reducing downtime between frames. This method also lets you study storm rhythm across sequential images, refining your composition and anticipating cluster patterns.
During post-processing, apply color correction to balance the cold-blue lightning tones against warm ambient light, preserving natural scene contrast.
Before deploying this setup, invest in weatherproofing gear—sealed camera housings and weather-resistant lens covers protect your equipment through extended sessions without interrupting the intervalometer’s automated cycling.
Consistency and preparation define your success here.
Combining Both Tools
Pairing a lightning trigger with an intervalometer eliminates the weaknesses inherent to each method individually. The trigger fires on detected flashes instantly, while the intervalometer ensures continuous, timed exposure cycles fill every gap. Together, they maximize your strike capture rate without demanding constant manual intervention.
Deploy this combined system effectively by following these steps:
- Set your intervalometer to 10–20 second exposures with 1-second intervals between frames.
- Connect your lightning trigger to the shutter release simultaneously for reactive capture.
- Schedule regular equipment maintenance checks mid-session to prevent missed strikes from gear failure.
- Apply color correction in post-processing to balance ambient light shifts across sequential frames.
You’ll capture more strikes, maintain creative control, and keep your equipment performing reliably throughout the entire storm event.
Stay Safe While Shooting Night Lightning Storms
Safety must remain your top priority when photographing night lightning storms, as the same electrical discharges you’re trying to capture can kill you. Monitor real-time weather alerts before and during your shoot to anticipate storm intensification and plan your exit strategy accordingly.
Maintain sufficient distance from your tripod during active strikes, as metal equipment attracts electrical current. Wildlife awareness is equally critical—nocturnal animals disturbed by storm activity can create unexpected hazards in remote shooting locations.
Avoid positioning yourself near water, tall trees, or elevated terrain that increases strike probability. When storm intensity escalates beyond manageable risk, prioritize your retreat over capturing the perfect shot. No image justifies compromising your life.
Protect your equipment from heavy rain using weather-sealed housings, and always shoot with a clear evacuation route accessible.
Frequently Asked Questions
Can I Photograph Lightning at Night Using Only a Smartphone Camera?
You can capture lightning using long exposure techniques and manual smartphone camera settings. Lower your ISO, extend exposure time, and use burst mode to maximize your strike capture probability during active storm sequences.
What Weather Apps Help Predict the Best Lightning Storm Locations?
Over 40,000 thunderstorms occur daily worldwide. You’ll maximize your lightning sessions by using apps like RadarScope and MyRadar for precise storm tracking and real-time cloud coverage mapping, helping you pinpoint ideal shooting locations confidently.
How Does Moon Phase Affect the Overall Quality of Lightning Photos?
Moon phase directly impacts your exposure balance. Full moon’s lunar brightness increases ambient illumination, requiring lower ISO and faster shutter speeds. During new moons, reduced moon illumination lets you boost ISO to reveal distant strikes more clearly.
Should I Shoot Lightning Over Water for Better Reflective Compositions?
Water reflections don’t guarantee better shots—storm timing matters more. You’ll capture stunning doubles when you position yourself near calm water before winds churn the surface, transforming mirrored lightning strikes into breathtaking, symmetrical compositions worth every calculated risk.
How Do I Protect My Camera Equipment During Unexpected Rain Showers?
Use camera waterproofing solutions like rain sleeves or housing covers to guarantee rain protection during unexpected showers. You’ll want to shield your lens, seal connections, and quickly relocate equipment if storm intensity escalates beyond safe shooting conditions.
References
- https://digital-photography-school.com/how-to-photograph-lightning-the-ultimate-guide/
- https://www.reddit.com/r/AskPhotography/comments/142ldfo/what_is_the_best_way_to_capture_lightingthunder/
- https://www.facebook.com/groups/SheppCC/posts/10161039164731623/
- https://www.rmets.org/metmatters/lightning-photography-advice-award-winning-photographer
- https://www.nickulivieriphotography.com/blog/lightning/
- https://www.youtube.com/watch?v=45Tc7IE9nro
- https://www.youtube.com/watch?v=-olxIOiAX0c
- https://iso.500px.com/tutorial-a-beginners-guide-to-photographing-lightning/
- https://www.youtube.com/watch?v=ucCYzQWRJrc
- https://stushort.com/lightning-photography-guide-2/