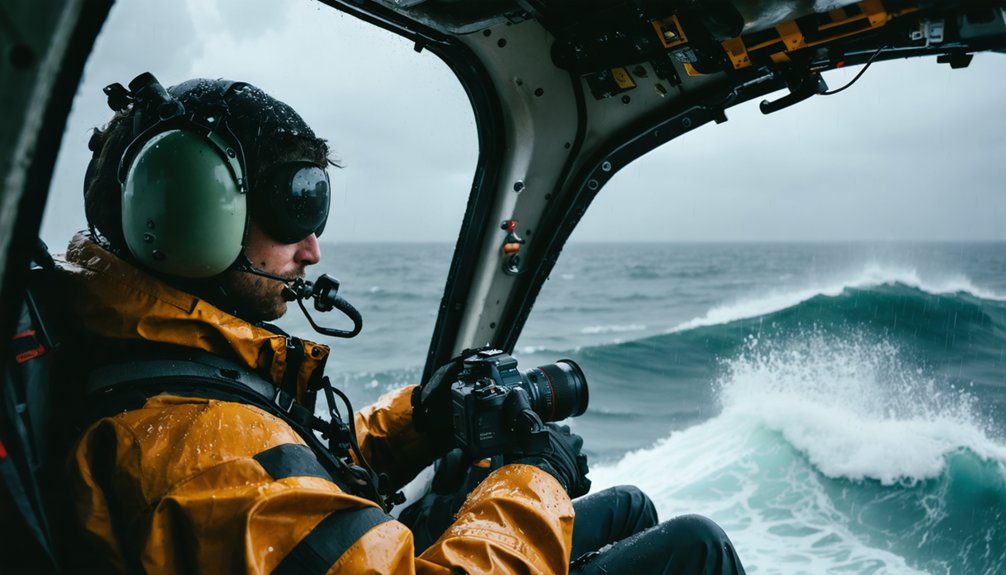
Mastering hurricane helicopter photography demands you balance technical precision with split-second safety decisions inside one of Earth’s most violent environments. You’ll need a turbine-powered aircraft like the AS350, weather-sealed gear tethered with carabiners, and manual camera settings locked at 1/1000 second minimum shutter speed. Coordinate every maneuver with your pilot before takeoff, secure all loose equipment, and monitor feeder band gaps for your best light windows. Everything covered below will sharpen your approach considerably.
Key Takeaways
- Use turbine-powered helicopters like the AS350 or Bell 407, which handle wind shear better than piston-driven alternatives for hurricane conditions.
- Lock shutter speed at 1/1000 second minimum, maintain aperture between f/8–f/11, and keep ISO around 400 for sharp shots.
- Secure all camera gear with carabiners and reinforced webbing to prevent equipment loss during doors-off configurations.
- Conduct detailed pre-flight briefings covering shooting objectives, maneuver requests, escape routes, and abort headings for deteriorating conditions.
- Monitor feeder band separations and wall cloud illumination to identify brief clearing windows and optimize compositional opportunities.
What Makes Hurricane Helicopter Photography Uniquely Dangerous
Hurricane helicopter photography pushes both equipment and photographer to their limits in ways that ground-based shooting simply can’t replicate.
You’re operating inside a dynamic, high-wind environment where standard hazard awareness protocols demand constant recalibration. Rotor wash combines with hurricane-force gusts, creating unpredictable turbulence that standard vibration reduction systems can’t compensate for. Your risk assessment must account for rapidly shifting weather windows, restricted airspace, and mechanical stress on the aircraft itself.
Doors-off configurations, while ideal for composition, expose you and your gear to wind forces capable of ripping unsecured equipment from your hands instantly.
Altitude constraints near storm systems limit your maneuvering options, compressing decision-making timelines. Unlike calm-weather aerial work, every variable — light, wind, aircraft stability — shifts aggressively, demanding faster reflexes and tighter preparation before you ever leave the ground.
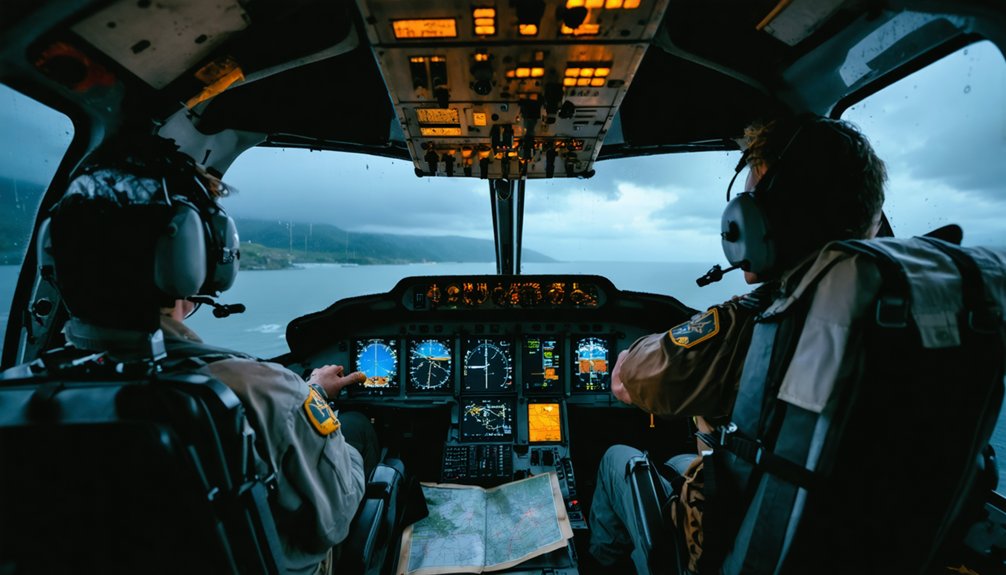
Choosing the Right Helicopter for Storm Shooting
When selecting a helicopter for storm shooting, the aircraft’s power-to-weight ratio and stability envelope matter more than availability or cost. Different helicopter types perform differently under turbulent conditions.
Power-to-weight ratio and stability envelope matter more than availability or cost when selecting a helicopter for storm shooting.
Turbine-powered models like the AS350 or Bell 407 handle aggressive wind shear better than piston-driven alternatives, giving you more control over flight altitude adjustments when storm bands shift unexpectedly.
You’ll want a helicopter with doors-off capability and a pilot experienced in low-level maneuvering through unstable air. Verify the aircraft’s certified operational ceiling and crosswind limitations before committing to any flight plan.
Rotor diameter and tail rotor authority directly affect how precisely the pilot can hold position while you shoot. Prioritize aircraft with strong hover stability, since inconsistent positioning ruins otherwise exceptional storm footage.
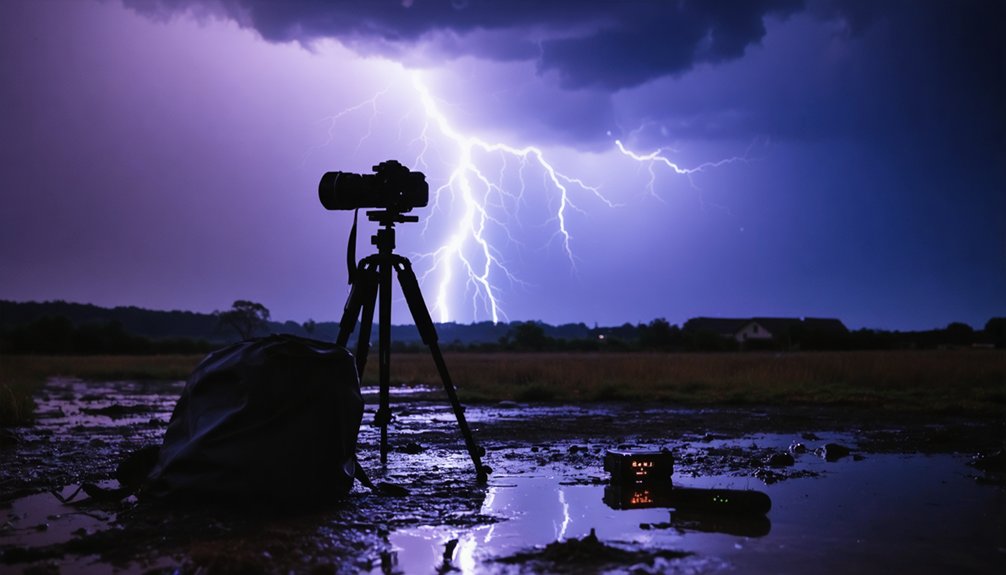
Camera Gear Built to Survive Hurricane Conditions
Once you’ve locked in the right aircraft, your gear becomes the next variable that can make or break a mission. Hurricane conditions demand weather resistant gear that functions under extreme wind, moisture, and vibration.
- Camera body: Use a sealed DSLR or mirrorless body rated against moisture intrusion — rain sleeves add a critical second layer.
- Lens selection: Mount a 16-35mm f/2.8 with weather sealing; remove the hood immediately to prevent rotor downdraft from torquing your shot.
- Camera stabilization: Skip vibration reduction lenses — they won’t counter airborne helicopter shake. Instead, shoot at minimum 1/1000 second and brace your elbows firmly against your torso.
Secure everything with a carabiner and reinforced webbing. Wind forces inside a hurricane corridor will strip unsecured gear instantly.
Camera Settings for High-Wind, High-Motion Hurricane Flight
Setting your camera to manual mode before takeoff eliminates the exposure inconsistencies that auto mode creates when light shifts rapidly between storm bands and open sky.
Lock your shutter speed at 1/1000 second minimum to counter helicopter vibration amplified by hurricane-force weather conditions. Aperture settings between f/8 and f/11 maintain sharpness across wide compositions. Keep ISO control around 400, adjusting only when storm darkness demands it.
Fast settings win the storm — 1/1000s shutter, f/8–f/11 aperture, ISO 400 as your baseline.
Your lens choice directly impacts burst mode effectiveness — wider focal lengths require higher frame rates to avoid blade intrusion.
Watch pilot signals before shifting composition techniques, since helicopter maneuverability changes instantly near eyewall turbulence. Verify gear safety connections between every repositioning.
Shooting fast and deliberate keeps you responsive when the storm dictates the moment, not the other way around.
Coordinating With Your Pilot Before the Storm
Before you ever leave the ground, you need to sit down with your pilot and walk through your shooting objectives, priority targets, and any non-negotiable compositional requirements.
Use tools like Photographer’s Ephemeris or Sun Seeker to map light angles and shadow positions along your intended flight path, then cross-reference that route against current NOTAMs, restricted airspace, and storm-track forecasts.
If your shots demand hovering, tight banking turns, or close-range approaches to the storm wall, request those maneuvers explicitly during the briefing so your pilot can assess feasibility and build them into the flight plan.
Pre-Flight Mission Briefing
A successful hurricane photography mission hinges on the quality of your pre-flight briefing with the pilot. Cover your mission objectives clearly—discuss flight paths, hover points, and door-off configurations before you’re airborne. Use your pre-flight checklist to confirm NOTAMs, weather windows, and restricted airspace.
Walk your pilot through these priorities:
- Light timing — Identify your golden hour windows against the storm’s outer bands, where dramatic shadow and texture define the chaos.
- Positioning maneuvers — Request sharp banking turns and controlled hovers that let you frame the hurricane’s eye wall without obstruction.
- Escape routes — Confirm abort headings if conditions deteriorate faster than forecast models predicted.
Your pilot’s situational awareness and your creative vision must operate as one coordinated system.
Flight Path Planning
Flight path planning extends your pre-flight briefing into concrete, navigable coordinates. Map your flight route days before the storm makes approach, giving you time to identify airspace restrictions, active NOTAMs, and emergency diversion points.
Share these coordinates directly with your pilot so you’re both operating from identical situational awareness.
Weather considerations demand equal attention. Hurricane conditions shift rapidly, so build contingency routes into your plan before you’re airborne and committed.
Use Photographer’s Ephemeris to anticipate light angles along each waypoint, maximizing your shooting windows without wasting fuel or flight time.
Request hover positions, banking angles, and directional passes in advance. Your pilot can’t read your creative intent mid-flight.
Define it on the ground, and you’ll spend less time communicating and more time capturing the storm.
Requesting Specialized Maneuvers
Communicating your maneuver requirements to the pilot before takeoff determines whether you return with compelling images or missed opportunities.
Discuss helicopter tactics explicitly, leaving nothing assumed. Specialized maneuvers require advance coordination, not mid-flight improvisation.
Request these three critical movements:
- Hover positions — Stationary holds above storm surge boundaries let you frame destructive water lines against intact infrastructure below.
- Banked turns — Sharp lateral rotations expose the hurricane’s spiral bands from angles impossible during straight flight paths.
- Close approaches — Controlled proximity passes alongside flooded coastlines reveal scale, placing recognizable landmarks against overwhelming storm damage.
Brief your pilot on exact timing expectations for each maneuver.
You’re directing a moving platform, so precision communication before wheels leave the ground translates directly into uncompromised creative freedom aloft.
Securing Your Gear When the Doors Come Off
When the doors come off, securing your gear isn’t optional — it’s critical. Wind resistance at flight speed creates violent, unpredictable forces that can strip unsecured equipment instantly. Every piece of gear attachment must be deliberate and redundant.
Clip your camera body to a solid anchor point using a carabiner and heavy-duty webbing — never rely on a standard neck strap alone. Before takeoff, physically test every clip and connection on the ground.
Carabiner. Heavy-duty webbing. Test every connection before wheels leave the ground. Your neck strap won’t save you.
Once airborne, always pass gear using both hands, never one. Leaning out exposes your equipment to full rotor downdraft and forward-motion wind. Strap everything down before making that move.
Double-check connections after any sharp maneuver. One missed clip at altitude means losing gear permanently — and potentially endangering the aircraft below.
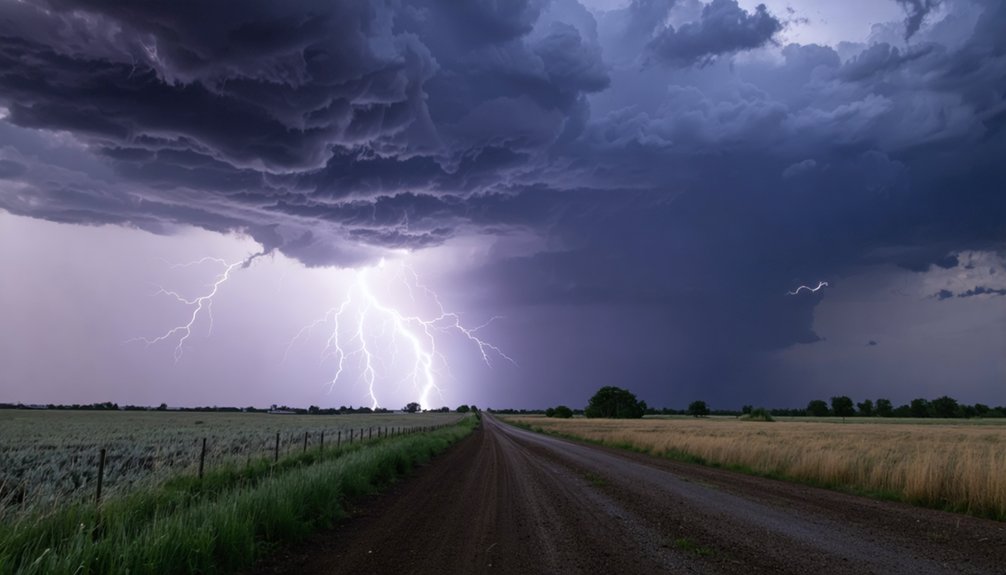
How to Read Light and Weather Gaps During a Hurricane
Reading light inside a hurricane isn’t passive — you’re actively tracking structural gaps in the storm as conditions shift around you.
Light reading here demands real-time weather forecasting awareness, not guesswork.
Watch for these three visual indicators:
- Feeder band separations — Thin blue-gray corridors between spiral bands signal brief clearing windows where diffused light drops clean and directional.
- Wall cloud base illumination — When the eyewall’s interior edge catches oblique sunlight, golden tones saturate fast. You’ve got seconds, not minutes.
- Pressure-driven cloud thinning — Rapidly brightening overhead canopy indicates dropping moisture density. That’s your cue to adjust ISO downward and tighten aperture before full exposure hits.
Coordinate these observations with your pilot continuously. Conditions don’t wait.
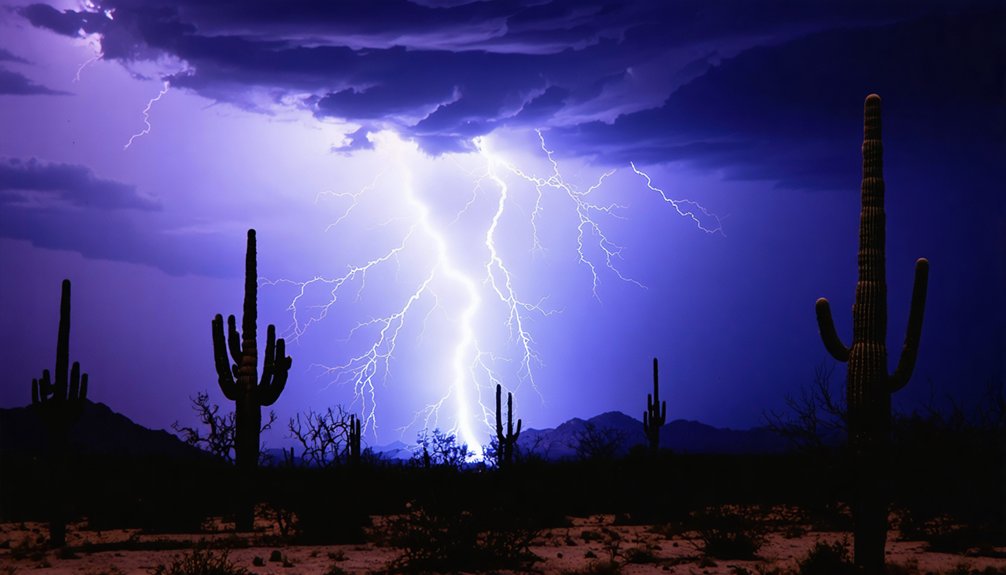
Composing Shots Inside a Hurricane: Angles, Framing, and Timing
Composing inside a hurricane demands that you treat every structural feature of the storm as a dynamic framing element, not a static backdrop.
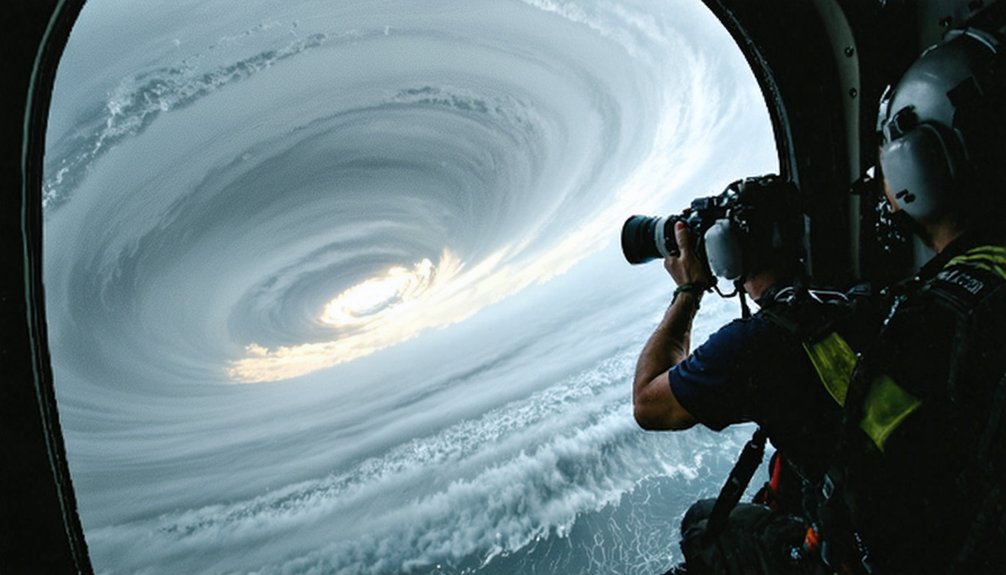
Rotate between forward, lateral, and downward angles to build angle variety that captures the storm’s full dimensional scale. Use the eyewall’s curved geometry as a natural leading line, pulling the viewer’s eye deep into the frame.
Apply framing techniques by positioning rain bands or cloud layers along your thirds grid, anchoring chaotic motion with deliberate structure. Time your bursts during brief light gaps when contrast peaks.
Tilt your axis slightly to convey kinetic energy without sacrificing horizon reference. Every degree of rotation and every moment of hesitation costs you a shot you can’t reclaim once the window closes.
Hurricane Flight Safety Every Aerial Photographer Must Follow
When flying into a hurricane, you’ve got to secure every piece of gear with a carabiner and reinforced webbing—a neck strap won’t hold against rotor downdraft combined with storm-force winds.
You’ll need to communicate your shooting objectives to the pilot well before takeoff, covering flight path restrictions, hover points, and emergency abort protocols so both of you respond without hesitation if conditions deteriorate.
Carry mandatory emergency equipment, including a personal locator beacon and life vest, and double-check all clips, straps, and safety attachments on the ground before the rotors spin up.
Securing Gear Against Winds
Five points of gear failure can end a hurricane flight in disaster—and most of them stem from underestimating wind force at altitude. Your gear attachment strategy must account for hurricane-level wind resistance before you ever lift off.
- Clip every camera body to a carabiner and reinforced cord secured to a structural anchor point—not your neck strap.
- Double-check all clips and webbing on the ground before takeoff; wind forces at altitude make mid-flight corrections nearly impossible.
- Strap loose gear flat against stable surfaces—unsecured lenses, batteries, or bags become projectiles the moment doors open.
Pass equipment with both hands when repositioning.
Never lean outside without confirming every attachment point is locked. Your freedom to shoot depends entirely on your discipline before the rotors spin.
Pilot Communication Protocols
Gear discipline keeps your equipment in the helicopter—pilot communication keeps the helicopter where you need it. Before takeoff, share your shooting objectives, priority angles, and hover requirements directly with your pilot.
Establish clear pilot signals for repositioning, altitude changes, and sharp turns—verbal commands won’t cut it above rotor noise. Use hand gestures your pilot recognizes and confirms beforehand.
Discuss your flight path days ahead, accounting for restricted airspace, NOTAMs, and storm-related weather shifts. Apps like Photographer’s Ephemeris help you plan light angles so you’re requesting precise positions, not guessing mid-flight.
Effective communication strategies eliminate wasted repositioning time and keep both of you operating decisively. When you and your pilot move as one coordinated unit, you capture the hurricane on your terms.
Emergency Equipment Essentials
Pilot communication secures your shooting position—emergency equipment secures your survival.
Before liftoff, you’re responsible for verifying every piece of emergency gear attached to your body and camera. Safety protocols aren’t bureaucratic formalities—they’re the difference between returning with breathtaking hurricane footage and not returning at all.
Follow these critical emergency gear checkpoints:
- Carabiner-clipped camera tether: Attach a reinforced cord from your camera body to a structural anchor point, eliminating wind-force ejection risks during aggressive maneuvers.
- Personal flotation device: Hurricane flights cross unpredictable coastal waters—wear it, don’t store it.
- Helmet-mounted communication headset: Maintains real-time pilot contact when rotor noise and storm winds make verbal communication physically impossible.
Double-check every clip, strap, and emergency gear connection before the rotors spin.
Frequently Asked Questions
What Insurance Coverage Do Aerial Photographers Need for Hurricane Shooting Missions?
You’ll need liability coverage to protect against third-party claims and equipment insurance to cover gear loss or damage during extreme hurricane conditions. Verify your policy explicitly covers aerial, storm-related missions before you fly.
How Do You Protect Memory Cards From Humidity Inside a Hurricane?
Store your memory cards in airtight, silica gel-packed cases to combat humidity effects. You’ll want to minimize card changes mid-flight, so use large-capacity cards for maximum memory card protection during intense hurricane shooting missions.
Can Beginner Photographers Attempt Hurricane Helicopter Photography Safely?
You shouldn’t attempt this as a beginner. You’ll need mastery of safety protocols like carabiner clipping and manual camera settings first. Equipment considerations demand experience, as hurricane conditions amplify every technical challenge you’d face in standard helicopter photography.
What Physical Fitness Requirements Exist for Hurricane Aerial Photographers?
You’re the anchor in the storm—aerial stability demands core strength and stamina. You’ll need weather awareness, endurance for turbulence, and steady hands. Stay physically conditioned; your body’s your tripod when chaos surrounds you.
How Do You Legally Obtain Permission to Fly Into a Hurricane Zone?
You’ll need FAA waivers, coordination with emergency protocols, and approval from local authorities. Contact air traffic control, review flight regulations, and work with NOAA to secure clearance into restricted hurricane zones before flying.
References
- https://www.hawaiiactivities.com/travelguide/hawaii-aerial-photo-guide/
- https://www.youtube.com/watch?v=1e9akfew5sM
- https://www.flynyon.com/blog/helicopter-photography
- https://muenchworkshops.com/blog/aerial-photography-tips-randy-hanna/
- https://chasejarvis.com/blog/chase-jarvis-tech-complete-guide-to-aerial-photography-video/
- https://thehearnes.com/blog/tips-for-aerial-photography-from-helicopters-airplanes
- http://group3aviation.com/professional-tips-aerial-photography-with-helicopters/
- https://www.wardynskiphoto.com/gallery/how-to-photograph-from-a-helicopter/
- https://digital-photography-school.com/7-tips-on-shooting-from-a-helicopter/
- https://www.youtube.com/watch?v=vNZ8YPeQm6k