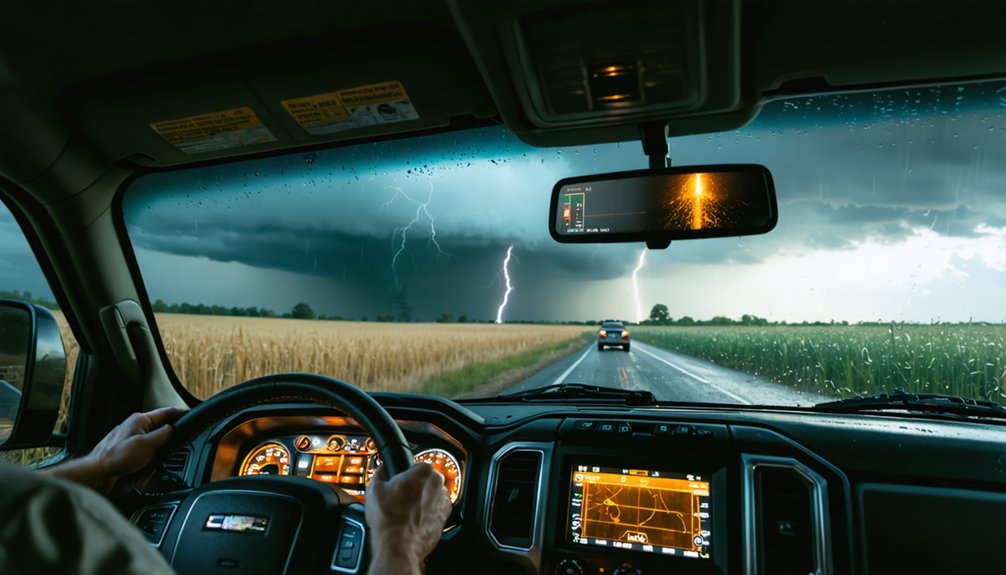
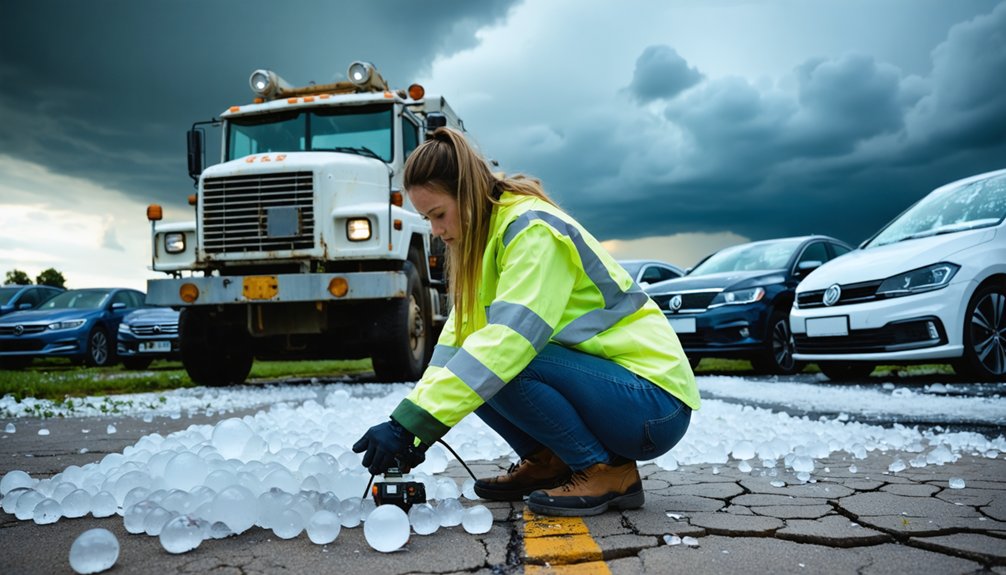
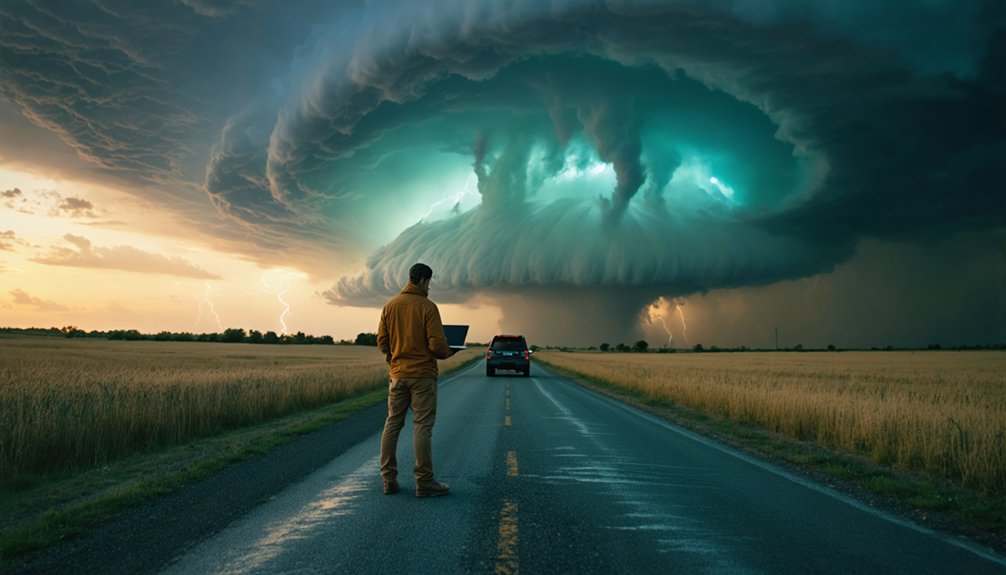
To capture stunning severe thunderstorm photography, you’ll need to position yourself at least 6 miles from the storm core, mount your camera on a sturdy tripod, and shoot in manual mode with an aperture between f/5.6 and f/8, ISO 100–400, and a shutter speed of 10–30 seconds. Use wide-angle lenses, frame your composition before the first bolt strikes, and lock your exposure early. The tips ahead break down each step in sharper detail.
Key Takeaways
- Stay at least 6 miles from the storm core, avoiding trees, metal fences, and exposed land to minimize lightning risk.
- Shoot in manual mode, setting aperture at f/5.6–f/8, ISO 100–400, and shutter speed between 10–30 seconds.
- Mount your camera on a sturdy tripod and use a remote release to eliminate camera shake during long exposures.
- Frame your composition before the first lightning bolt, incorporating foreground elements like buildings to add depth and scale.
- Use an intervalometer to eliminate gaps between shots, maximizing your chances of capturing active lightning strikes.
Stay Safe and Choose Your Storm Position
Once you’re on location, avoid trees, metal fences, pylons, and open exposed land—all of which increase lightning risk dramatically.
Use the flash-to-thunder rule: count the seconds between flash and thunder, then divide by five to get the storm’s distance in miles.
Most experienced photographers recommend staying at least 6 miles from the core, giving you both safety and a clean sightline for composition.
Gear Up for Thunderstorm Photography
With your position sorted, the right gear makes or breaks the shot. Mount your camera on a sturdy tripod and immediately turn off image stabilization—it’ll work against you on a stable platform. Trigger exposures with a remote or cable release to eliminate camera shake entirely.
A wide-angle lens gives you the best odds of capturing lightning within the frame. Shoot in RAW and JPEG simultaneously to maximize editing flexibility without sacrificing a quick backup.
Equipment protection is non-negotiable during active storms. Cover your kit with a waterproof jacket and keep lens cloths accessible for quick wipes.
Lightning safety also extends to your gear setup—metal components attract risk, so stay deliberate about placement. Preparation here directly determines what you capture when the sky erupts.
Camera Settings That Capture Lightning Strikes
Manual mode is your foundation for lightning photography—set it and don’t touch it. Full control over shutter speed, aperture, and ISO is non-negotiable when chasing lightning synchronization with your exposure window.
At night, dial in f/5.6 to f/8, ISO 100–400, and a 10–30 second shutter speed. This combination creates enough exposure synchronization between your open shutter and an active strike.
Slower shutter speeds increase your odds dramatically—lightning doesn’t wait for you.
Keep ISO as low as possible. Noise eats bolt detail fast. Watch your highlights too; lightning blows out quickly and recovery is brutal in post.
Shoot RAW plus JPEG. RAW preserves editing latitude while JPEG gives you an immediate backup.
Recheck your exposure every few minutes as ambient light shifts.
Compose Your Frame Around Storm Structure
Framing a thunderstorm well before a strike arrives separates a strong shot from a lucky one. Study the cloud pattern before locking your composition — shelf clouds, wall clouds, and anvil tops all reward wide framing.
Composition locked before the first bolt falls — that’s craft. Luck just stands in an open field.
A wide-angle lens lets you capture storm symmetry while leaving room for a bolt to land naturally within the scene.
Pull in foreground elements like buildings, ridgelines, or open roads to anchor the frame and communicate scale. Set your focus to infinity, switch to manual, and don’t touch it again.
If the storm’s primary strike zone shifts, recompose deliberately rather than chasing individual bolts. Committing to a strong composition early keeps your exposures consistent and dramatically improves your odds of catching a clean, well-framed strike.
Time Your Shots and Lock In Your Exposures
Once your composition is locked, shift your focus to exposure timing and strike frequency. Watch the storm carefully before committing to a shot. If bolts are hitting every few seconds to thirty seconds, you’ve got a workable rhythm—use it. Set your shutter between 10 and 30 seconds and let repeated exposures run continuously.
Lightning timing dictates everything here. A strike that happens between frames is a missed shot, so minimize gaps between exposures. Use an intervalometer to eliminate dead time entirely.
For exposure lock, shoot in manual mode and dial in your settings before the action intensifies. After sunset, f/5.6 to f/8 at ISO 100 gives you solid control. Don’t chase perfection mid-storm—lock your exposure, trust your settings, and keep shooting.
Frequently Asked Questions
How Do I Legally Obtain Permission to Shoot on Private Storm-Chasing Land?
Over 80% of storm photographers face trespassing laws. You’ll need to contact landowners directly, secure written permission, and respect public access boundaries. Don’t assume open land means legal access — always confirm property rights before setting up.
What Insurance Options Exist for Weather Photographers and Their Damaged Equipment?
You’ll want specialized camera insurance for equipment protection—look into companies like Athos, Hill & Usher, or PPA. These policies offer insurance coverage for storm damage, theft, and accidental loss that standard homeowner’s policies typically exclude.
Which Weather Apps or Radar Tools Best Predict Severe Thunderstorm Activity in Advance?
For storm chasing safety, use RadarScope, MyRadar, or Weather Underground. They’ll give you precise storm cell tracking, rotation alerts, and lightning strike mapping—essential when positioning your lightning photography gear ahead of rapidly developing severe thunderstorm activity.
How Do I Sell or License My Lightning Photographs After Capturing Them?
Like bottling lightning itself, you’ll license your shots through stock platforms like Getty or Shutterstock. Tag images with keywords like storm safety and weather patterns to boost discoverability, and you’re earning royalties while chasing your next supercell.
Can Storm Photography Negatively Impact Local Wildlife or Sensitive Natural Environments?
Yes, you can cause wildlife disturbance and environmental impact by trampling vegetation, disrupting nesting animals, or stressing habitats during setup. You’ll minimize harm by staying on established paths and avoiding sensitive ecosystems when positioning your equipment.
References
- https://nigelwaters.photography/blog/lightning-photography-tips/
- https://digital-photography-school.com/how-to-photograph-lightning-the-ultimate-guide/
- https://www.slrphotographyguide.com/how-to-photograph-lightning-and-storms/
- https://www.whitewall.com/eu/magazine/inspiration/photographing-storms
- https://www.reddit.com/r/photography/comments/1lr8ros/how_do_you_take_pictures_of_lightning/
- https://www.rmets.org/weather-photographer-of-the-year/resources/how-safely-capture-stunning-lightning-photos
- https://www.adobe.com/uk/creativecloud/photography/discover/lightning-and-storm-photography.html
- https://www.bhphotovideo.com/explora/photography/tips-and-solutions/the-travel-series-storm-photography-tips-with-mike-mezeul-ii
- https://petapixel.com/2020/09/05/how-i-chase-and-photograph-storms-and-lightning-strikes/
- https://www.naturettl.com/how-to-photograph-storms-supercells-lightning-tornadoes/