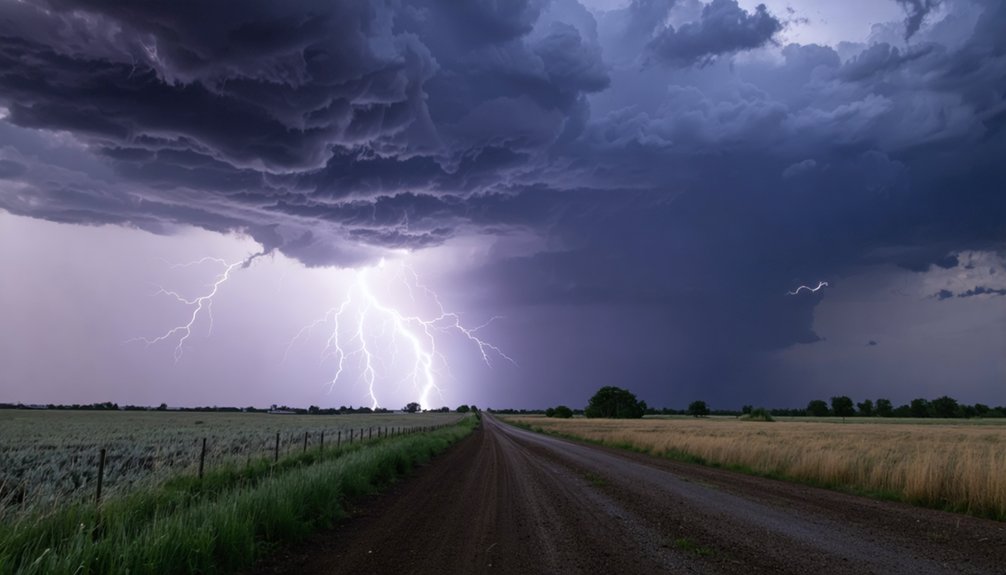
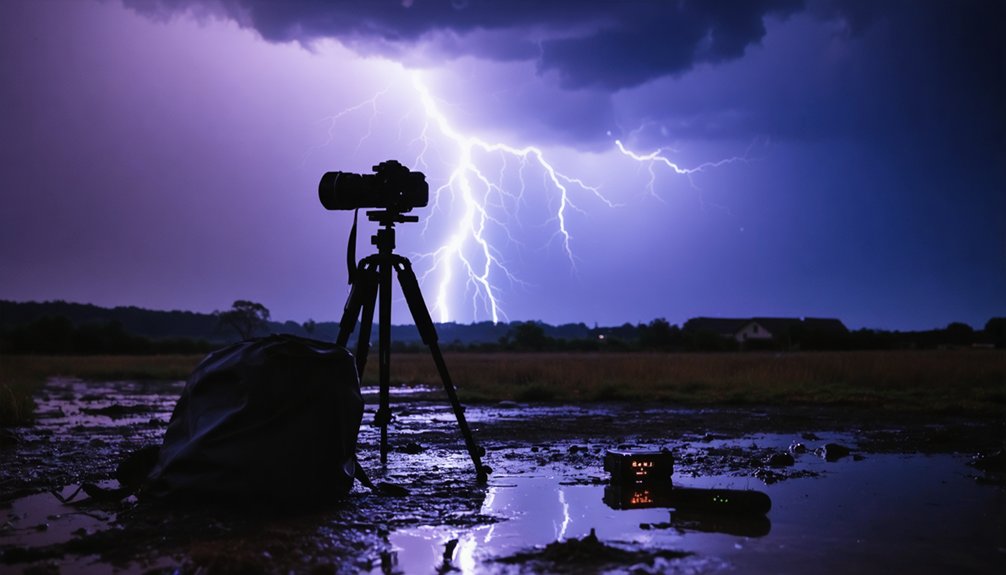
Surviving tornado photography means preparing before you ever leave home. You need to check forecasts, interpret radar signatures like hook echoes and velocity couplets, and identify two escape routes before positioning yourself. Pack charged batteries, wear protective gear, and shoot in Manual mode with fast shutter speeds. Don’t improvise under pressure—shortcuts get punished fast and severely in this environment. Master these fundamentals first, and everything else in your chase becomes sharper and safer.
Key Takeaways
- Always check forecasts, identify two escape routes, and keep your engine running before a tornado approaches your position.
- Shoot in Manual mode with fast shutter speeds (1/500s+), ISO 400, and aperture between f/8 and f/11.
- Monitor radar continuously for hook echoes, velocity couplets, and debris signatures as immediate triggers to relocate.
- Charge all batteries and communication devices beforehand; never chase alone or improvise critical safety decisions under pressure.
- Preparation and knowledge are non-negotiable—shortcuts in tornado photography produce immediate, severe, and potentially fatal consequences.
Why Most Tornado Photographers Get Hurt
Most tornado photographers don’t get hurt because tornadoes are unpredictable—they get hurt because they make predictable mistakes. You chase alone, skip the forecast check, park on the roadway, and suddenly you’ve eliminated every escape option. That’s not bad luck; that’s failed risk awareness.
The storm doesn’t punish carelessness—physics does. Flying debris doesn’t care about your shot. A tornado that shifts direction gives you seconds, not minutes. Without safety protocols locked in before you leave the driveway, you’re improvising under pressure, and pressure kills judgment.
You want the freedom to chase and shoot without restriction. That freedom is earned through discipline. Know your escape routes. Monitor radar continuously. Position your vehicle for immediate departure. Every professional decision you make before the storm arrives keeps you in the field longer.
Read Radar and Warnings Before You Chase
Before you chase anything, pull up radar and look for rotation signatures—hook echoes, tight velocity couplets, and debris signatures. These tell you whether a storm is organizing or already producing.
When a tornado warning polygon lines up with your position, treat it as an immediate decision trigger, not background noise. You don’t wait for visual confirmation; you act on the data and adjust your position before the storm closes the gap.
Interpreting Radar Rotation Signatures
Radar tells you what your eyes can’t see yet, and reading it correctly before you chase can mean the difference between a safe intercept and a fatal mistake. Master signature interpretation and radar rotation before you ever leave the driveway.
Watch for these critical indicators:
- Velocity couplets — tight red and green pairing signals strong mesocyclone rotation
- Hook echoes — the curved appendage on reflectivity often marks the tornado’s position
- Debris signatures (TDS) — correlation coefficient drops near a confirmed, dangerous tornado
- Rapid storm motion — fast-moving supercells compress your escape window significantly
- Polygon tracking — warning boundaries tell you exactly when you’re inside the threat zone
If rotation tightens and a debris signature appears, stop shooting and move immediately.
Acting On Weather Warnings
When a tornado watch drops, your decision-making clock starts immediately. Don’t wait for a warning to confirm what radar’s already telling you. Monitor weather alerts continuously, tracking rotation signatures, debris indicators, and storm movement vectors in real time.
If a warning polygon aligns with your position, you leave — no hesitation, no second-guessing.
Treat every escalating alert as actionable intelligence, not background noise. A confirmed mesocyclone tightening on radar means conditions are deteriorating faster than you can react at close range. Build your exit strategy before the storm demands it.
You’re not surrendering creative control by respecting warnings — you’re preserving it. Photographers who ignore weather alerts don’t get second chances.
Stay mobile, stay informed, and let the data drive your positioning decisions.
Pick Your Position and Plan Your Exit
Choosing your position before the storm closes in can mean the difference between a clean shot and a fatal mistake. Safe positioning and exit planning aren’t optional steps — they’re your operational foundation.
Before you stop, lock in these decisions:
- Pull completely off the road and keep the engine running
- Identify at least two escape routes in opposite directions
- Never stop under an overpass — debris accelerates through those gaps
- Watch storm motion and stay out of the projected path
- Keep your door accessible and your gear secondary to your exit
The storm doesn’t negotiate. If rotation tightens or the debris signature appears on radar, you move immediately. Your shot means nothing if you’ve eliminated your ability to leave.
Pack the Right Gear for Tornado Photography
Your gear list isn’t a wishlist — it’s a functional checklist that directly affects your safety and shot quality in the field. Start with protective clothing: wind- and water-resistant jacket, durable pants, and solid boots. If debris risk is high, add a helmet.
Camera prep matters equally. Charge every battery the night before and pack spares — storms don’t pause for dead cells. Shoot RAW for maximum edit flexibility and disable HDR to eliminate ghosting on moving tornadoes. Mount on a sturdy tripod when light drops.
Don’t overlook communication devices. A charged phone, weather radio, or GPS unit keeps you connected to real-time radar and warnings. Your vehicle should be fueled, reliable, and positioned for immediate departure. Every item on this list earns its place.
Camera Settings for Tornado Photography That Actually Work
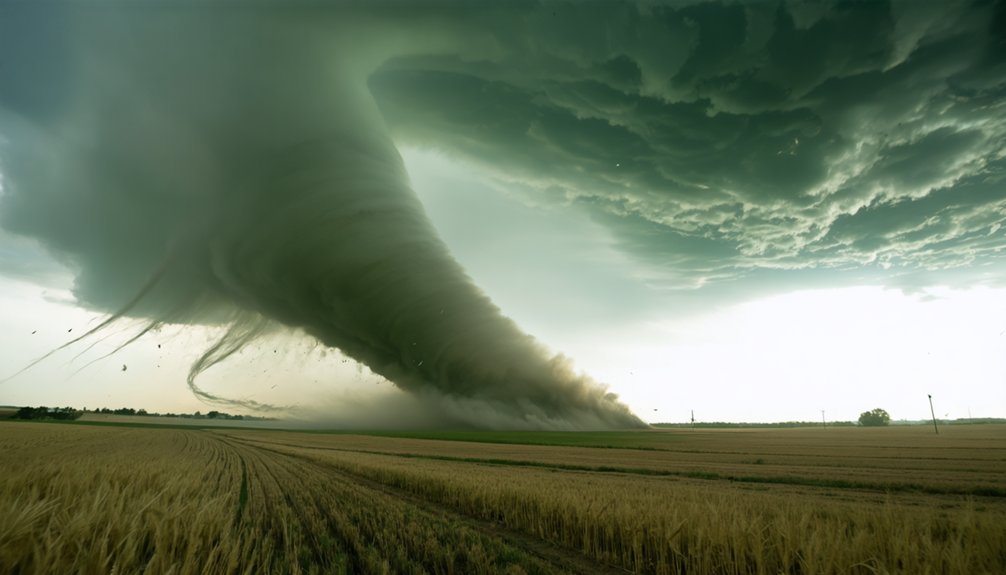
When a tornado drops from the wall cloud, you don’t have time to fumble with settings—dial in a fast shutter speed to freeze rotation, adjust ISO to match the storm’s ambient light, and lock your aperture before the funnel shifts.
Shoot RAW or ProRAW so you retain full control over shadow recovery and color grading in post, because compressed formats will cost you detail in the debris cloud and rain-wrapped edges.
Get your exposure dialed before the action starts, not during it.
Exposure Settings For Tornadoes
Getting the exposure right during a tornado shoot isn’t a luxury—it’s what separates usable documentation from a blurry, blown-out mess you can’t recover in post. Storms shift fast, and your settings need to keep pace.
- Set ISO stability as your anchor—start at ISO 400 and adjust only when light drops dramatically.
- Use aperture control between f/8 and f/11 to keep the full storm structure sharp.
- Lock shutter speed at 1/500s or faster to freeze debris and funnel movement.
- Shoot in Manual mode; Auto exposure chases shifting storm light and fails you.
- Expose for the mid-tones in the sky—blown highlights erase critical structural detail.
RAW files give you recovery room, but nailing exposure in-camera keeps your edit honest and your documentation credible.
RAW Format Field Advantages
Shooting in RAW isn’t optional when you’re documenting tornadoes—it’s the format that keeps recoverable data intact when the storm dictates your exposure instead of you. Tornado light shifts violently—bright ambient sky, dust-choked contrast, sudden rain walls—and JPEG locks in those decisions permanently.
RAW preserves full sensor flexibility, giving you latitude to pull highlights from an overexposed funnel or lift shadow detail from a debris cloud without destroying image integrity. That editing potential matters enormously when you’re reacting faster than your settings can keep up.
You won’t nail exposure every shot; conditions won’t allow it. RAW means a technically imperfect capture in the field becomes a usable, publishable image later.
Turn off HDR, shoot RAW, and protect your options—because the storm won’t give you a second pass.
Build the Skills Before You Shoot a Tornado Solo
Before you point a lens at a rotating supercell alone, you need foundational skills that take time and deliberate practice to build. Storm safety and equipment preparedness aren’t checkboxes—they’re survival tools.
Start here:
- Complete a Skywarn spotter course through the National Weather Service
- Learn basic radar interpretation and meteorology before your first chase
- Join storm tours or shadow experienced chasers to observe real decisions under pressure
- Work with a partner so radar monitoring and driving stay separate from shooting
- Verify all gear, batteries, and communication devices before every departure
Solo tornado photography rewards preparation brutally and punishes shortcuts immediately. You’re operating in a dynamic, life-threatening environment where one misjudgment collapses your margin fast. Build the knowledge base first—then earn the freedom to chase independently.
Frequently Asked Questions
What Clothing Should I Wear When Chasing Tornadoes in the Field?
Wear weather-resistant clothing and solid boots—you’ll need full protective gear when debris flies. Don’t skip wind-resistant pants, a heavy coat, and consider a helmet. You’re out there free, but stay protected.
Should I Chase Tornadoes Alone or Always Work With a Partner?
Don’t chase solo. Teamwork benefits your survival—one partner drives and monitors radar while you shoot. Solo safety risks multiply fast in rapidly shifting storms. Experienced groups improve coordination, cut exposure, and keep your escape options open.
How Do I Avoid Ghosting Artifacts When Filming an Active Tornado?
Turn off HDR immediately when you’re filming an active tornado — it causes ghosting on fast-moving subjects. Prioritize camera stabilization with a sturdy tripod, guarantee lens protection from debris, and shoot RAW video for cleanest, artifact-free results.
Is Sheltering Under an Overpass Ever Safe During a Tornado?
No — an overpass acts like a wind tunnel, amplifying debris velocity catastrophically. You’re exposed, not sheltered. Prioritize underground safety immediately. Urban sheltering means interior rooms, not overpasses. Don’t gamble your freedom on concrete false security.
When Should I Switch From Still Photography to Video Mode?
Switch to video once the tornado’s actively moving. Capture one sharp still first, then hit record — it’s essential storm chasing gear discipline. Don’t hesitate; safety precautions stay primary, but video documents motion you can’t freeze.
References
- https://photzy.com/what-ive-learned-about-storm-chasing-photography/
- https://www.naturettl.com/how-to-photograph-storms-supercells-lightning-tornadoes/
- https://stormchasing.com/capturing-the-perfect-tornado-photography-tips-for-your-tornado-tour/
- https://www.printique.com/blog/storm-chasing-photography/
- https://www.tornadosimulator.net/tornado-photography-guide/
- https://www.tornadosimulator.net/how-to-photograph-a-tornado/
- https://www.youtube.com/watch?v=VzkU792UPPQ
- https://contrastly.com/how-to-stay-safe-during-storm-photography/
- https://petapixel.com/2017/06/14/8-tips-shooting-award-winning-tornado-photo/