When documenting lightning damage, you’ll need to confirm structural safety before entering the home, then trace the strike path from roof and chimney down through exterior walls and interior systems. Photograph each elevation with wide, mid-range, and close-up shots, embedding date and time stamps for evidence admissibility. Secure NOAA storm reports and licensed contractor inspections to satisfy your insurer’s causation requirements. The sections ahead break down each step in precise detail.
Key Takeaways
- Confirm structural safety before entering, checking for roof holes, sagging ceilings, and compromised floors caused by the strike.
- Photograph all damage using wide, mid-range, and close-up shots with embedded date and time stamps.
- Inspect strike entry points including chimneys, roof surfaces, exterior walls, and protruding metal for visible damage.
- Obtain NOAA storm reports and licensed contractor inspections to support insurance causation requirements.
- Document all repair phases by photographing damage before, during, and after work with detailed technician logs.
Is Your Home Safe Enough to Document Lightning Damage?
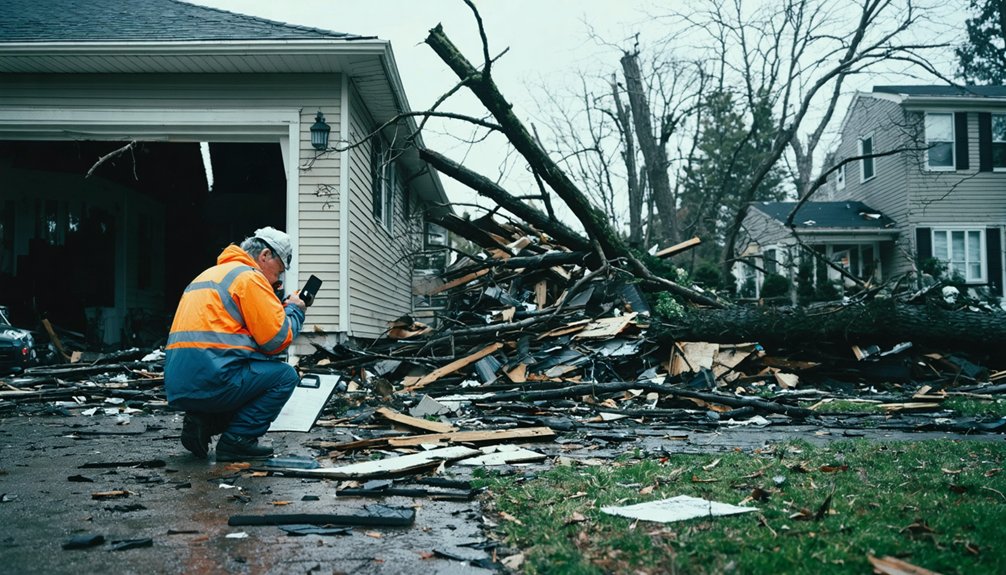
Before you photograph a single scorch mark or cracked shingle, confirm that your home is structurally safe to enter. Lightning can compromise load-bearing elements silently, leaving walls, ceilings, and floors dangerously unstable.
Start your exterior assessment by identifying roof vulnerabilities — check for holes, charred shingles, or displaced decking that signal a direct strike. Chimney hazards demand equal attention; cracked masonry, shattered flashing, or dislodged mortar indicate structural failure that can cascade into interior collapse.
Roof holes, charred shingles, cracked masonry — each detail signals structural failure that can cascade inward.
Inspect exterior walls for scorch marks, sheared cladding, or blown-out windows before crossing any threshold. Inside, assess ceilings and floors near suspected entry points for sagging, cracking, or thermal damage. Don’t enter until you’ve cleared each zone.
Your documentation has no value if you can’t complete it safely.
Where Lightning Strikes First and What to Look For
Lightning follows the path of least resistance, so it typically strikes the highest and most conductive points on your structure first — the roof, chimney, and any protruding metal components. Start your inspection there, scanning for charred shingles, cracked masonry, and blown-out mortar joints. These are your primary structural vulnerabilities.
Move systematically down the exterior walls, looking for scorch marks, shattered windows, and entry holes where the strike transferred energy into the structure. Electric hazards multiply quickly here — damaged wiring, compromised panels, and fused conductors can all trace back to these exterior entry points.
Inside, inspect ceilings, walls, and floors near those same locations. Insulation burn marks and moisture intrusion often confirm the strike’s path and help you build a precise, defensible damage record.
Which Records and Reports Strengthen Your Lightning Claim?
Once you’ve mapped the physical damage, your documentation record needs external corroboration to hold up against insurer scrutiny. Pull NOAA storm event reports and National Weather Service local storm reports to establish verified weather causation tied to your loss date. Download retained weather station data capturing wind speeds and rainfall totals for that specific timeframe.
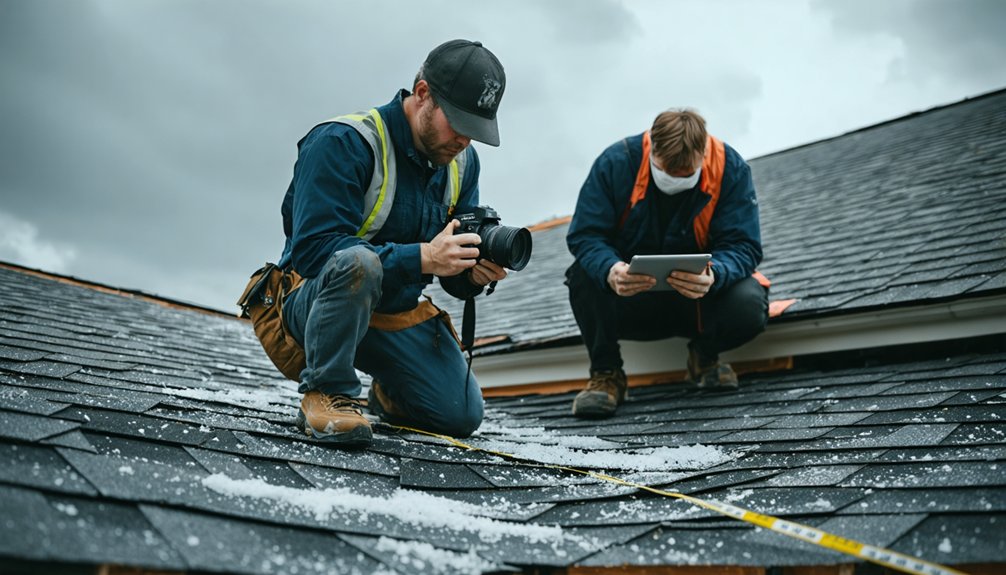
Secure licensed contractor inspection reports from HAAG-certified or RCI-credentialed inspectors, since their credentialed assessments carry independent authority during the claim process. Locate pre-loss photographs, roof warranty records, prior inspection reports, and purchase receipts to establish baseline property condition.
Cross-reference every external report against your insurance policy’s causation requirements, ensuring each document directly supports the declared loss event. Maintain a chronological incident log capturing discovery time and your action sequence from first inspection through final submission.
How to Photograph Lightning Damage for Insurance Claims
Thorough photographic documentation starts the moment you’ve confirmed the structure is safe to enter. Begin your lightning aftermath survey with wide establishing shots from at least 10 feet back, capturing each elevation before moving closer.
Once the structure is confirmed safe, begin documentation immediately with wide establishing shots from at least 10 feet back.
Follow with mid-range frames isolating the damage zone, then close-ups within 12 inches of the impact site. Work room-by-room, photographing all four walls, the ceiling, and the floor.
Embed date and time stamps directly into your image EXIF data — this metadata makes your photos admissible evidence during damage assessment disputes.
Document roof surfaces from ground level and any safely accessible slope positions. Photograph everything before applying temporary repairs, because post-repair images lose evidentiary value.
Your camera is your strongest independent record, so treat every shot as legally significant.
How to Document Lightning Damage Repairs Before, During, and After
Before any contractor lifts a tool, photograph every inch of visible damage in its original condition — post-repair images carry little evidentiary weight. Your pre-repair documentation establishes the evidentiary baseline for damage classification, linking visible harm to the lightning event itself.
During demolition, photograph each tear-out phase immediately. Hidden structural damage revealed beneath surface materials requires the same rigor — capture it before crews proceed. Record every technician’s name, company, arrival time, and scope of work performed.
Material analysis matters here: log substrate conditions, moisture readings, and compromised components using calibrated instruments before replacement occurs. Cross-reference all photographs to written logs by file name and timestamp.
After completion, document finished work and update as-built drawings. This three-phase record — before, during, and after — gives you an unassailable, chronological claim file.
Frequently Asked Questions
What Moisture Readings Indicate Active Drying Requirements for Lightning-Damaged Wood Substrates?
You’ll flag moisture levels above 16–17% in wood substrates as active drying indicators. Record these readings using calibrated pin-type or non-invasive meters, and log them at each drying check to maintain precise, actionable documentation.
How Do You Measure and Quantify the Square Footage of Lightning Strike Damage?
Unlike broad storm damage, lightning strike patterns concentrate in specific zones—you’ll quantify square footage using linear measurements, roof slope runs, and itemized content lists cross-referenced to photo file names for precise damage assessment techniques.
Which Electrical Panel Signs Confirm Surge Damage From a Lightning Strike?
During panel inspection, you’ll confirm surge damage by identifying smoke marks, burnt or melted wiring, and fused breakers. Prioritize electrical safety—only check circuit breakers if conditions are deemed unambiguously safe before proceeding.
What Credentials Should a Third-Party Contractor Have to Inspect Lightning Damage?
Over 70% of insurance claims succeed with certified inspectors. You’ll want contractors holding HAAG certification or RCI credentials—they follow strict safety protocols, providing authoritative inspection reports that substantiate your lightning damage claim effectively.
How Should Itemized Content Lists Be Cross-Referenced With Your Photograph Files?
Assign each damaged item a unique ID in your content cross-referencing log, then match it directly to its photograph organization system by embedding that same ID in the corresponding image’s filename and EXIF metadata.
References
- https://nationalstormrepair.com/storm-damage-documentation-best-practices/
- https://stormdamageauthority.com/storm-damage-documentation-best-practices
- https://magicplan.app/blog/lightning-damage-claims-adjuster-guide
- https://rmlfs.co.uk/4308-2/
- https://indelec.com/en/blog-en/document-lightning-protection-systems-effectively/
- https://indelec.com/en/blog-en/lightning-risk-assessment-guide-protect-your-facility/