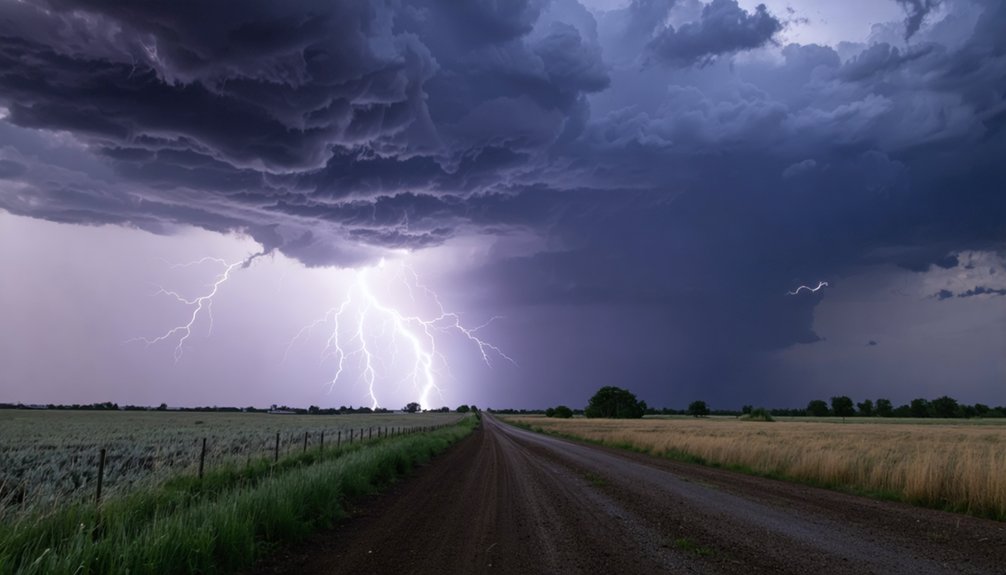
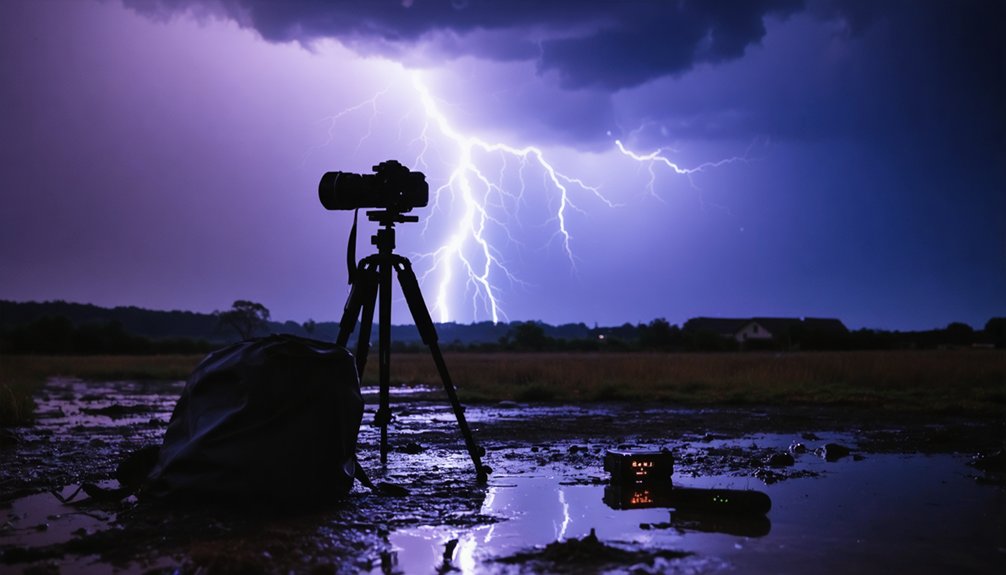
To capture lightning strikes, position yourself 5–20 miles from the storm’s center and avoid open hilltops where you’re the tallest object. Set your aperture to f/5.6–f/8 at night, keep ISO between 100–200, and use 15–30 second exposures to catch multiple bolts in one frame. Lock focus manually on a distant light source, then automate your shutter with an intervalometer. There’s far more strategy involved in mastering each of these techniques.
Key Takeaways
- Position yourself 5–20 miles from the storm’s center, avoiding tall objects, trees, and power lines for safety and clear visibility.
- Use long shutter speeds of 15–30 seconds to capture multiple lightning strikes within a single frame.
- Set ISO between 100–200 and adjust aperture to f/5.6–f/8 at night or f/16 during daylight to avoid overexposure.
- Disable autofocus in dark conditions, lock focus on a distant light, then switch to manual for sharp bolts.
- Use an intervalometer to automate shutter releases every 20–30 seconds, maximizing your chances of capturing strikes.
Stay Safe and Position Yourself for the Best Lightning Shots
Before you set up your shot, position yourself 5 to 20 miles from the storm’s center — close enough to capture clear, defined bolts, but far enough to stay out of the strike zone.
Lightning safety depends on your terrain choices. Never stand as the tallest object in an open area, and stay clear of trees and power lines, both of which attract direct strikes.
For optimal storm positioning, choose a hilltop or open field where you can see miles of horizon. Monitor radar apps to track the storm’s direction, speed, and severity before committing to a location.
Once heavy rain moves through, wait for the storm’s backside — you’ll capture crisper bolts in cleaner air, giving you sharper, more defined images without precipitation interference clouding the frame.
Master Your Camera Settings for Lightning Photography
Once you’ve secured a safe position, dial in your camera settings to match the lighting conditions of the storm. During daylight, set your aperture to f/16 or smaller, allowing longer shutter speeds of 15–30 seconds to capture multiple strikes per frame.
Set your aperture to f/16 or smaller during daylight, using 15–30 second shutter speeds to capture multiple lightning strikes.
At night, open up to f/5.6–f/8 to compensate for darkness.
Keep sensor sensitivity low, between ISO 100–200, to prevent blown-out highlights when intense bolts fire. Higher ISO introduces noise and destroys detail in bright strike channels.
For focus techniques, disable autofocus entirely in dark conditions. Instead, autofocus on a distant light source, then switch immediately to manual to lock that distance. Alternatively, set your lens manually to infinity.
These precise adjustments guarantee every bolt you capture is sharp, detailed, and correctly exposed.
Nail the Timing and Never Miss a Strike
With your camera settings locked in, timing becomes your next variable to control. Storm prediction tools like radar apps help you anticipate strike frequency and position yourself before activity peaks. Study the storm’s rhythm, then act decisively.
Follow these four timing strategies:
- Count strike intervals — measure seconds between bolts to set your shutter speed accordingly.
- Press continuously — don’t wait for lightning triggers; keep firing to avoid missing the moment.
- Use an intervalometer — automate shutter releases every 20–30 seconds for hands-free consistency.
- Activate burst mode — smartphones benefit from rapid succession shots, dramatically increasing capture probability.
You’re not reacting to lightning; you’re anticipating it.
Consistent shutter cycling combined with accurate storm prediction gives you full control over the chaos.
Frequently Asked Questions
What Focal Length Works Best for Capturing Detailed Lightning Bolt Structures?
For detailed lightning bolt structures, you’ll want to use focal lengths between 100mm and 200mm. These camera settings let you isolate specific bolts with precision. Prioritize lightning safety by maintaining a 5–20 mile distance from the storm’s center.
How Do You Stack Multiple Lightning Images in Post-Processing Software?
Like a painter layering translucent glazes, you’ll stack images in Photoshop using “lighten” blending mode, merging separate layers to reveal every bolt. Apply post-processing techniques with noise reduction methods to refine clarity and exposure precisely.
Should Lens Stabilization Be Turned off When Shooting on a Tripod?
Yes, you should turn off lens stabilization when your camera’s mounted on a tripod. It’ll interfere with tripod stability, causing image blur. Optimize your camera settings by disabling it to guarantee razor-sharp lightning captures every time.
How Can City Lights or the Moon Help Achieve Sharp Focus?
You can use urban illumination or lunar illumination as distant focal references, allowing your lens to lock precise focus before switching to manual mode, ensuring tack-sharp captures of every lightning strike without autofocus hunting in darkness.
How Do You Recover Blown-Out Highlights From Bright Lightning Strikes Afterward?
After capturing strikes, you’ll use post-processing techniques in editing software to pull down highlights, applying highlight recovery methods to restore blown-out detail. Stack exposures in Photoshop, set blending mode to “lighten,” and fine-tune exposure precisely.
References
- https://www.reddit.com/r/AskPhotography/comments/142ldfo/what_is_the_best_way_to_capture_lightingthunder/
- https://digital-photography-school.com/how-to-photograph-lightning-the-ultimate-guide/
- https://www.rmets.org/metmatters/lightning-photography-advice-award-winning-photographer
- https://www.jasonrweingart.com/blog/2014/12/20/how-to-photograph-lightning
- https://www.slrphotographyguide.com/how-to-photograph-lightning-and-storms/
- https://www.bbc.co.uk/news/uk-48749438
- https://www.nickulivieriphotography.com/blog/lightning/
- https://www.adobe.com/uk/creativecloud/photography/discover/lightning-and-storm-photography.html