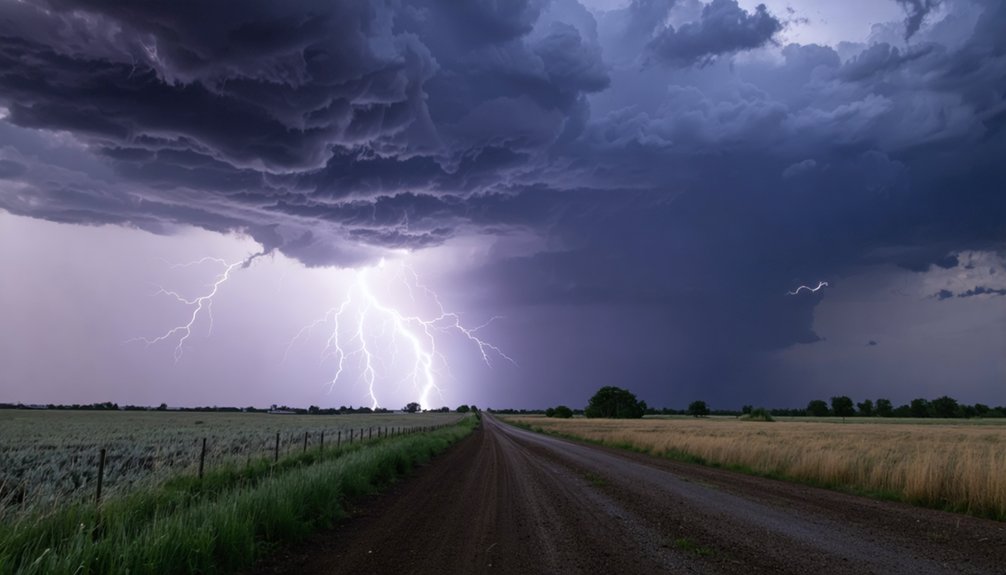
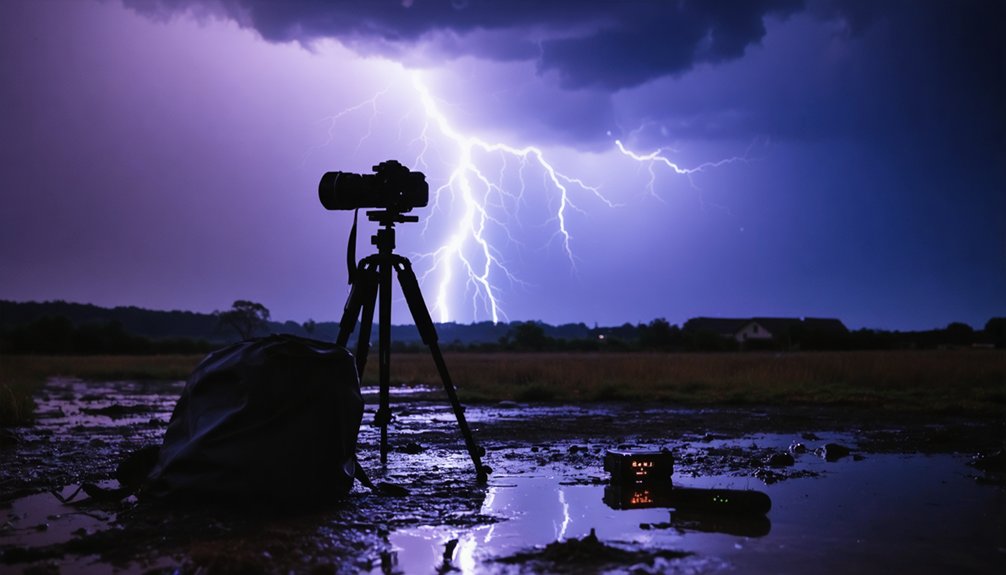
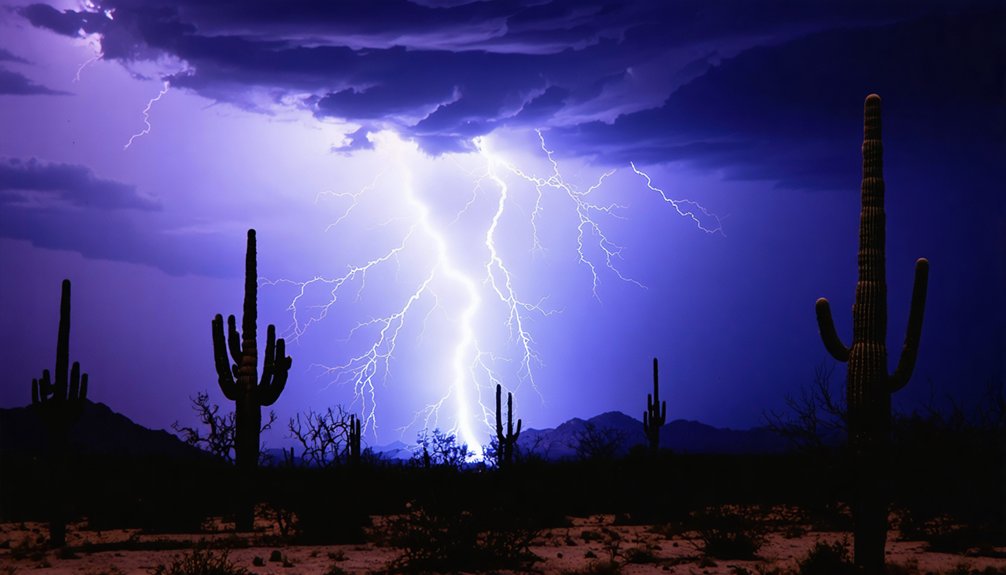
Your camera sensor compresses dynamic range in ways your eyes never experience—highlights clip prematurely, shadows crush foreground detail, and RAW files produce muted, lifeless color that strips the storm of its intensity. Post-processing recovers what the sensor discarded, restoring cloud structure, lightning contrast, and atmospheric mood to match what you actually witnessed. Understanding the full workflow transforms technically limited captures into images that honestly convey a storm’s power and drama.
Key Takeaways
- Camera sensors clip highlights and crush shadows, failing to capture the full dynamic range visible to the human eye during storms.
- RAW files produce muted colors that don’t replicate the dramatic mood experienced when witnessing a storm firsthand.
- Post-processing recovers overexposed cloud structures and underexposed foreground details lost during capture.
- Color grading techniques like split toning reinforce emotional storytelling, conveying tension, power, and atmospheric drama effectively.
- Removing distractions and refining composition directs viewer attention toward key meteorological elements, strengthening the storm’s visual narrative.
Why Storm Photos Lose Their Power Straight Out of Camera
Storm photos often disappoint straight out of camera because sensors can’t replicate what the human eye perceives during a storm. Your camera compresses dynamic range, flattening the dramatic contrast between illuminated clouds and dark skies. Highlights clip prematurely, erasing lightning detail, while shadows crush foreground elements into indistinct masses.
Sensors compress what eyes experience — flattening storm drama into clipped highlights and crushed, indistinct shadows.
Color accuracy suffers too — the electric greens, deep purples, and charged blues you witnessed appear muted and lifeless in RAW files.
Storm photography demands more than technical capture; it requires intentional post processing techniques to restore what sensors inherently lose. Automatic metering misreads chaotic lighting conditions, producing exposures that neither honor the storm’s intensity nor its subtle atmospheric layers.
You’re not fabricating drama — you’re recovering what was genuinely there, reclaiming the visual truth your equipment couldn’t autonomously preserve.
Where to Start: Building a Storm Photo Editing Workflow
Building an effective editing workflow begins where your camera’s limitations end. You’ll want to establish a structured sequence rather than adjusting settings randomly.
Start with exposure and light balance corrections — fix highlights, shadows, and white balance first, since these foundational lighting techniques determine every subsequent adjustment’s effectiveness.
Next, address cloud detail recovery and noise reduction simultaneously, as pushing sliders introduces chromatic aberration you’ll need to remove.
Then apply color grading, using split toning to reinforce weather symbolism — cold shadows communicate danger, warm highlights suggest fleeting calm.
Finally, refine composition by eliminating distractions and adding targeted clarity.
This sequential approach isn’t arbitrary; each stage builds on the previous one, giving you precise control and the freedom to shape exactly how your storm’s story gets told.
How to Recover Cloud and Lightning Detail in Storm Photos
To restore hidden sky details, drop your highlight slider in post-processing to pull overexposed cloud regions back into visible tonal range.
Apply edge-masking and clarity adjustments to enhance lightning’s jagged contours, separating electrified lines from surrounding atmospheric haze.
Finally, use texture tools to extract fine-grain cloud surface layers, revealing the structural complexity that raw captures often obscure.
Restoring Hidden Sky Details
When storm clouds dominate your frame, the camera’s sensor often fails to capture the full tonal range of the sky, compressing highlight detail into blown-out whites and losing the intricate texture of cloud formations. To reclaim those hidden sky details, drop your highlight slider aggressively in post-processing — this single adjustment recovers compressed tonal data without degrading shadow integrity.
Pair this with targeted contrast enhancement to separate overlapping cloud layers, making distinct formations visible rather than merged. Adjust sky color selectively using HSL controls to restore accurate hues lost during exposure.
Apply texture tools to extract fine grain detail from flattened sky regions. These precise adjustments collectively restore structural information embedded in your raw file that initial capture conditions suppressed.
Enhancing Lightning Edge Definition
Lightning’s jagged edges and swirling cloud boundaries lose definition during capture because sensors compress high-contrast shifts into smooth gradients. You can reclaim that precision by applying targeted clarity and texture adjustments directly along each lightning silhouette and cloud edge.
In Lightroom or Camera Raw, increase the texture slider between +40 and +60 to recover mid-frequency detail without introducing noise. Apply a radial or linear gradient mask isolating the lightning silhouette, then push local contrast using the sharpening tool at a fine radius.
For cloud edge refinement, use the masking slider during sharpening to restrict edge enhancement strictly to high-contrast boundaries. This prevents halos while emphasizing structural definition.
Dehazing selectively applied to sky regions further distinguishes swirling formations, giving each jagged line and contour its natural, uncompressed intensity.
Revealing Cloud Texture Layers
Cloud formations in storm photography contain multiple texture layers—fine grain, mid-frequency structure, and broad tonal shifts—that sensors often compress into flat, featureless gradients.
Cloud layering recovery begins with Lightroom’s Texture slider, which targets mid-frequency detail without amplifying noise or crushing shadows. Push Clarity moderately to reinforce structural contrast between cloud masses. Drop highlights aggressively to separate overexposed cumulus edges from surrounding tonal gradients.
In Photoshop, apply high-pass filtering at 3–6 pixel radius to isolate fine grain, then blend using Soft Light mode at reduced opacity. Texture enhancement through luminosity masks lets you target specific tonal zones—brightening mid-structure while preserving deep shadow mood.
Finally, reduce luminance noise selectively to prevent a crunchy sky while retaining authentic cloud contour definition.
Balancing Exposure When Storm Contrast Is Too Extreme
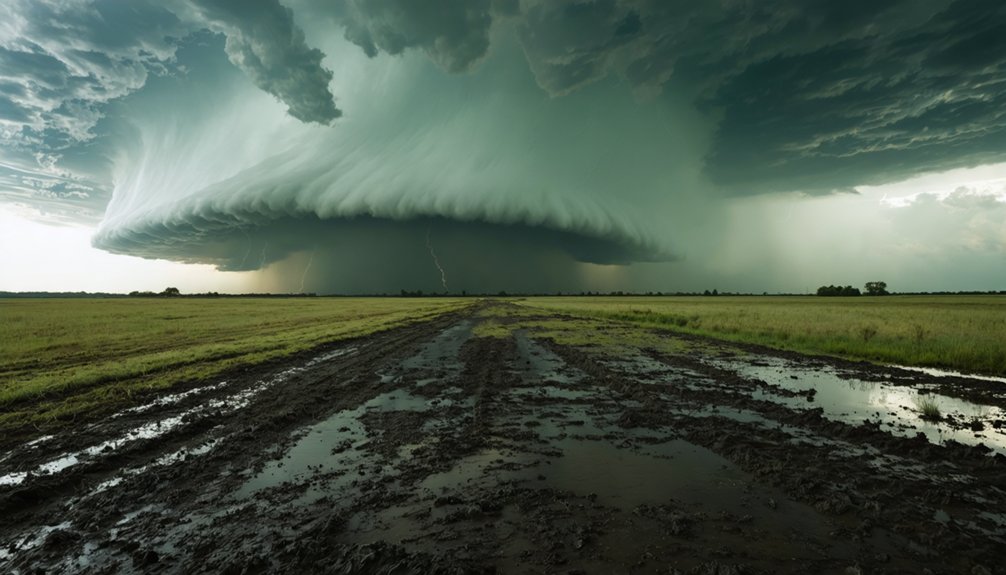
Storm photography presents one of post-processing’s most demanding exposure challenges: extreme tonal ranges that stretch from near-black foregrounds to blown-out lightning and bright cloud edges. You’ll need precise tonal balance to recover usable data across both ends of the histogram simultaneously.
Storm photography demands extreme tonal control — recovering data from near-black shadows and blown-out highlights simultaneously.
Start by pulling highlights down aggressively to reclaim overexposed cloud structures and lightning channels. Then lift shadows carefully to reveal foreground detail without introducing noise. This dual adjustment controls dynamic contrast without flattening the scene’s inherent drama.
Use targeted dodging and burning to reinforce natural light directionality. Graduated filters help you treat sky and ground as separate exposure zones.
When corrections feel artificial, adjust white balance to unify tonal relationships. You’re not correcting the storm — you’re translating its actual intensity into visible, accurate data.
Color Grading Storm Photos to Match the Mood You Felt
Once you’ve balanced your exposure and recovered tonal data across the histogram, color grading becomes your primary tool for translating emotional memory into visual language. Apply split toning strategically: warm highlights reconstruct pre-storm tension, purple mid-tones amplify atmospheric instability, and cold shadows reinforce meteorological weight.
Reduce green and yellow HSL values to push vegetation toward amber, intensifying that electric pre-strike feeling. Boost blue saturation selectively to strengthen sky depth without oversaturating storm cells.
Color harmony demands deliberate restraint. Every hue adjustment must serve tonal consistency across the frame, preventing visual fragmentation between sky, midground, and foreground elements. Use the Adobe Landscape profile to anchor base saturation, then calibrate each channel independently.
Your color grade shouldn’t impose a mood — it should precisely reconstruct the one you actually experienced standing in that storm.
Sharpening Storm Photos Without Making the Sky Look Crunchy
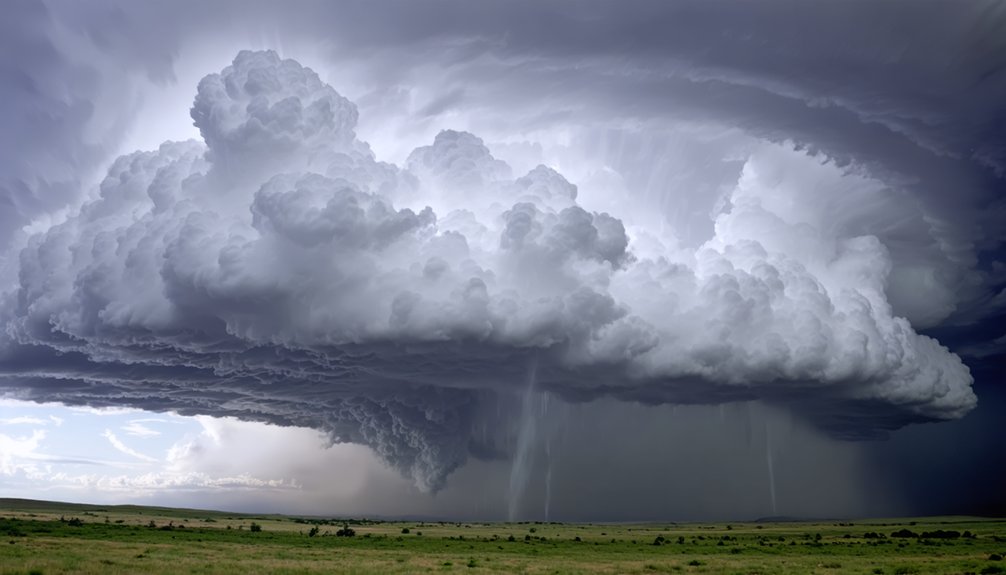
Sharpening storm imagery requires surgical precision — push clarity and texture aggressively on cloud formations while simultaneously deploying luminance masking to protect featureless sky regions from developing that harsh, over-processed grain. You’re targeting structure, not noise amplification.
Apply texture enhancement selectively using radial or linear masks confined to turbulent cloud edges and lightning channels. Keep global sharpening conservative — around 40–60 in Lightroom — then layer localized adjustments where actual detail exists.
Noise reduction becomes your counterbalance. Increase luminance noise reduction on open sky areas while preserving sharpness within active storm formations. This two-step approach prevents the dreaded crunchy appearance.
Dynamic color grading compounds sharpening’s impact — properly graded tonal contrast naturally enhances perceived sharpness without requiring aggressive slider manipulation. You achieve razor-defined storms through precision, not brute force.
Dodging and Burning for Storm Depth and Drama
Dodging and burning transforms flat storm imagery into dimensionally rich compositions by selectively manipulating luminosity across specific tonal zones. You’ll apply lightening techniques to foreground elements, pulling atmospheric tension forward while pushing background storm structures deeper.
Strategic contrast adjustments define cloud contours with surgical precision, creating visual pathways your eye naturally follows.
- Dodge selectively on lightning channels and mid-tone cloud edges to amplify perceived luminosity without clipping highlights.
- Burn shadows along storm base formations to anchor dramatic weight and reinforce three-dimensional depth perception.
- Target specific tonal zones using layer masks, preserving natural gradients while controlling localized exposure independently.
These techniques give you complete compositional control, letting you sculpt light freely rather than accepting whatever the original capture delivered.
Removing Distractions That Compete With the Storm
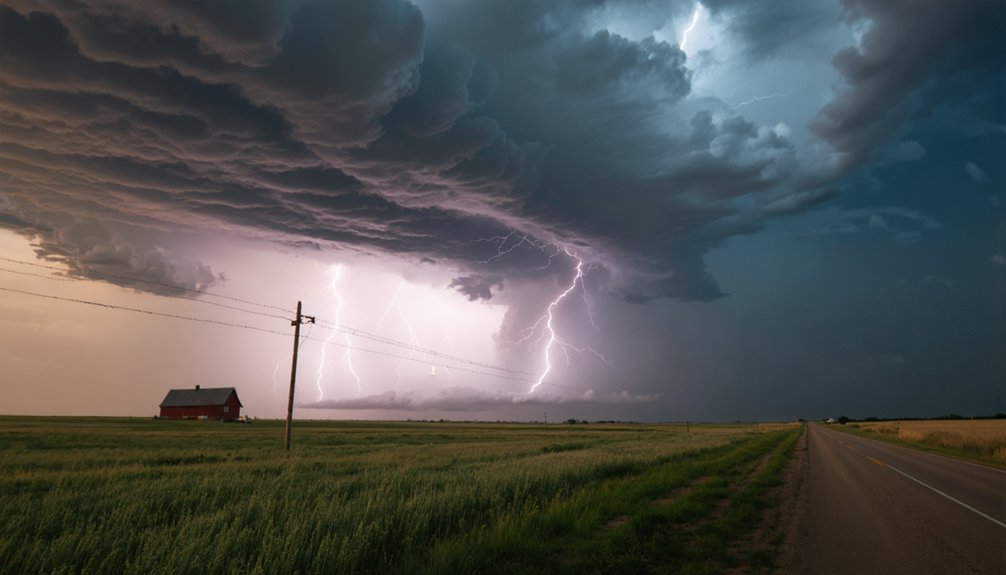
When power lines, debris, or other foreground clutter appear in your storm images, they fragment the viewer’s attention and undermine the storm’s visual dominance.
You can use clone stamping, content-aware fill, or patch tools to systematically eliminate these competing elements with precision. Stripping distractions from the frame directs the narrative focus squarely onto the storm’s structure, intensity, and atmospheric drama.
Eliminating Power Line Clutter
Power lines, telephone poles, and other man-made infrastructure cut through storm compositions and fragment the visual continuity that makes dramatic weather imagery so compelling. Using clone stamp or content-aware fill tools, you can surgically remove these obstructions, liberating your storm cloud formations and lightning detail from artificial constraints.
- Use content-aware fill in Photoshop to seamlessly replace power lines with surrounding sky texture.
- Apply the clone stamp tool at reduced opacity to blend removal zones naturally into cloud gradients.
- Cross-reference multiple source points to avoid repetitive patterns that reveal your editing.
These techniques restore compositional freedom, letting the storm’s raw energy command full attention. Clean imagery communicates the meteorological event with precision, ensuring nothing manufactured competes with nature’s own structural complexity.
Removing Foreground Debris Elements
Foreground debris—fallen branches, scattered litter, displaced objects from storm winds—fragments visual cohesion and redirects viewer attention away from the meteorological subject.
Foreground cleanup restores compositional integrity, letting the storm’s atmospheric power dominate the frame without competing elements diluting its impact.
You’ll use Photoshop’s Content-Aware Fill or Clone Stamp tool for precise debris removal, sampling surrounding textures to reconstruct displaced areas seamlessly. Lightroom’s Healing Brush handles smaller intrusions efficiently.
Strategic debris removal eliminates visual noise while preserving authentic environmental context—you’re not fabricating a scene, you’re liberating it from accidental clutter.
Methodical foreground cleanup prioritizes the storm’s narrative authority. Each removed element tightens compositional focus, directing the viewer’s eye toward dynamic cloud formations, rainfall patterns, and lightning structures that define the image’s meteorological significance.
Focusing On Storm Narrative
Every storm photograph contains a hierarchy of visual information, and distractions that compete with the storm’s primary meteorological elements collapse that hierarchy entirely. You’ll strengthen the storm atmosphere by eliminating competing visual noise, letting rain dynamics and turbulent cloud structures command full attention.
- Remove artificial structures like signage or fencing that anchor the viewer’s eye to mundane reality rather than meteorological drama.
- Clone out peripheral clutter that fragments compositional flow, forcing attention away from lightning channels and precipitation curtains.
- Neutralize mid-frame distractions using frequency separation, preserving texture integrity while isolating narrative-critical storm elements.
Post-processing gives you precise editorial control over what your audience experiences. By stripping competing elements, you’re not manipulating truth—you’re clarifying it, directing attention toward the storm’s raw, unfiltered power without artificial interference breaking that connection.
Finishing Moves That Make Storm Photos Look Intentional
When storm photos lack intentionality, they often feel accidental rather than composed. Finishing moves close that gap decisively.
Apply glow effects using soft light blending modes to reinforce atmospheric mood without overprocessing. Use dodging and burning selectively to direct the viewer’s eye toward structural elements carrying storm symbolism—lightning paths, anvil clouds, turbulent foregrounds.
Remove chromatic aberration introduced during aggressive highlight and shadow adjustments. Add final clarity increments to sharpen cloud contours without generating noise artifacts.
Reduce green and yellow tones slightly, pushing warmer orange hues that signal danger and power. Run a final noise reduction pass to smooth sky gradients.
Each adjustment should serve the image’s visual argument. When every finishing move has purpose, your storm photo stops feeling captured—it starts feeling crafted.
Frequently Asked Questions
Can Post-Processing Storm Photos Damage the Original RAW File Permanently?
No, post-processing won’t damage your original RAW file permanently. You’re always working non-destructively, preserving full image resolution. Always maintain a file backup before editing, ensuring you retain complete creative freedom and data integrity throughout your workflow.
What Camera Settings Best Prepare Storm Photos for Post-Processing Later?
Like a darkroom alchemist, you’ll want to shoot RAW format, use ISO 100-400 for noise reduction flexibility, set f/8 aperture, and bracket exposures — giving you maximum latitude for lighting adjustments in post-processing later.
How Long Does a Typical Storm Photo Editing Session Usually Take?
Your storm photo editing session typically takes two to four hours. You’ll spend time on weather pattern analysis, exposure correction, and storm photo composition refinement, but it’s your creative freedom that’ll ultimately dictate the session’s true duration.
Are Paid Editing Tools Necessary or Can Free Software Achieve Similar Results?
Like a craftsman needing no golden tools to build a masterpiece, you don’t need paid software. Free tools like GIMP achieve effective color correction and noise reduction, delivering professional storm photo results without financial constraints.
Can These Techniques Apply to Storm Videos as Well as Still Photos?
You can absolutely apply these techniques to storm video editing. You’ll leverage dynamic image enhancement through tools like DaVinci Resolve, adjusting contrast, color grading, and noise reduction frame-by-frame, giving your footage cinematic, unrestricted visual power.
References
- https://www.youtube.com/watch?v=itc7bboB-ZI
- https://www.youtube.com/watch?v=NvMzH-kEnE0
- https://www.youtube.com/watch?v=wklet4zb8jk
- https://www.youtube.com/watch?v=XbXH22g5AjE
- https://www.youtube.com/watch?v=SL-CrcQqXJQ
- https://crazystormchasers.com/enhancing-storm-photos-through-post-processing-techniques/
- https://www.youtube.com/watch?v=L9VVWk2Flo8