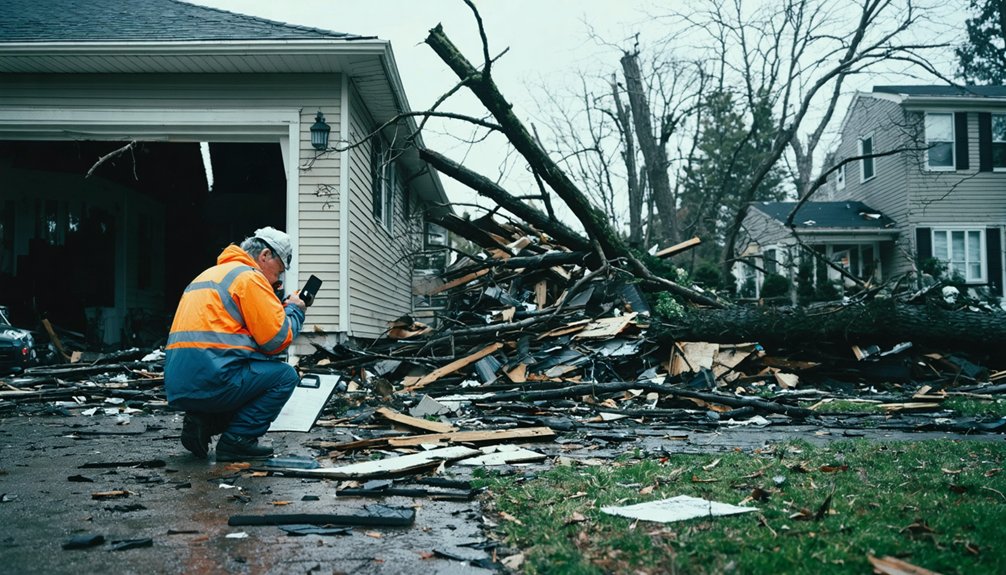
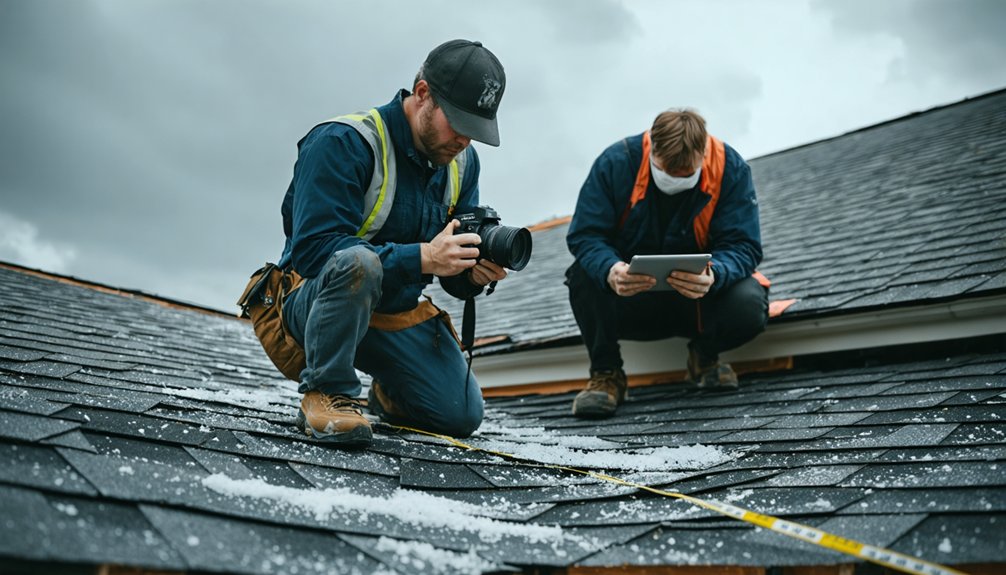
When storm devastation strikes your home, how you document the damage in the first 24 hours can make or break your insurance claim. You’ll need to prioritize safety first, then systematically photograph every angle, record detailed walkthrough videos, and build a thorough room-by-room inventory. Back everything up to cloud storage immediately and keep all receipts organized. The tips ahead will equip you with everything you need to protect what’s yours.
Key Takeaways
- Prioritize safety first by identifying hazards like gas leaks, downed power lines, and structural instability before documenting any storm damage.
- Photograph all four exterior sides using wide-angle shots, then capture close-ups with scale references for detailed damage documentation.
- Record slow, narrated video walkthroughs of each room, describing damage specifically while timestamping all footage immediately.
- Document damaged items room-by-room, including serial numbers, estimated values, purchase dates, and receipts to support insurance claims.
- Back up all photos and videos immediately to cloud storage, organizing files in labeled folders by storm date and location.
Prioritize Safety Before Documenting Storm Damage
Before you grab your camera or phone, you’ve got to make sure the area is actually safe to enter. Storm safety isn’t optional — it’s your foundation for everything else. Hazard awareness means spotting risks like gas leaks, downed power lines, and structural instability before you step inside.
Shut off gas and electricity if you suspect leaks or electrocution risks. Wear protective gear — gloves, boots, and a hard hat if necessary. Cover broken windows and roof openings immediately with tarps or plywood to prevent further damage.
Move valuables away from wet areas before water causes additional loss. Your documentation only matters if you’re alive and unharmed to use it. Protect yourself first, then protect your evidence.
Shut Off Utilities to Protect Yourself First
Before you grab your camera, you need to know exactly where your home’s utility shutoffs are located, including the main electrical panel, gas meter, and water valve.
If you smell gas or notice sparking wires, don’t enter the structure until you’ve contacted your utility provider and confirmed it’s safe.
Recognizing these hazards isn’t optional—it’s the critical step that keeps you alive long enough to document the damage.
Identifying Utility Shutoff Locations
Shutting off your utilities is one of the most critical steps you’ll take after a storm tears through your home. Knowing your utility access points before disaster strikes puts control back in your hands.
Your gas shutoff valve is typically located outside near the meter — you’ll need a wrench to turn it.
Electrical panels are usually in basements, garages, or utility rooms.
Water shutoff valves are commonly found under sinks, near the water heater, or at the main line entering your home.
Walk your property now, locate each one, and label them clearly. Don’t wait until you’re standing in floodwater to figure this out.
Quick, informed action protects your family, preserves your property, and keeps your documentation process moving forward safely.
Recognizing Gas And Electrical Hazards
After a storm ravages your home, gas and electrical hazards can turn a recovery effort into a life-threatening situation within seconds. Trust your senses — if you smell sulfur or rotten eggs, gas leaks are likely present. Leave immediately and call your gas provider from a safe distance.
Electrical hazards are equally dangerous. Downed power lines, flooded panels, and compromised wiring can electrocute you without warning. Don’t assume power is off just because the lights aren’t working. Shut off your main breaker before entering damaged areas.
You can’t document what you don’t survive to record. Protecting yourself first isn’t hesitation — it’s strategy. Once utilities are safely controlled, you’re free to move through your home and capture the full scope of the damage.
Shoot Storm Damage From Every Angle Insurers Need
Once you’ve guaranteed your safety, start capturing wide-angle shots of all four exterior sides of your home from the street or property edge to give insurers a full overview of the destruction.
Then zoom in on specific damage points—cracks, water stains, broken windows—so adjusters can clearly see the severity without being on-site.
Always place a quarter, ruler, or your hand next to damage areas, because that scale reference helps insurers accurately assess the true extent of what you’ve lost.
Wide-Angle Exterior Coverage
When a storm tears through your property, capturing the full scope of exterior damage from every angle isn’t optional — it’s what stands between you and a disputed insurance claim. Start by photographing all four sides of your home from across the street or property edge, giving insurers the full picture they need.
Don’t overlook exterior lighting fixtures — damaged fixtures signal structural stress and electrical hazards worth documenting. Photograph your yard thoroughly, since landscape protection matters financially; destroyed trees, fencing, and drainage features carry real replacement value.
Use wide-angle shots first, then move closer for detail. Verify your photos are timestamped and GPS-tagged. Back everything up to cloud storage immediately. Your documentation is your leverage — protect it like the asset it truly is.
Close-Up Damage Details
Wide-angle shots establish the story, but close-up details win the claim. Once you’ve captured the broader exterior damage, move in tight. Your close-up inspection reveals what general views miss entirely — hairline cracks, water intrusion lines, shattered seals, and structural compromise hidden beneath surface debris.
Use detail magnification strategically. Photograph cracks in foundation walls, warped door frames, broken shingles, and buckled siding from inches away. Place a ruler, coin, or your hand beside each damage point so adjusters understand true scale.
Don’t skip damaged appliances — serial numbers and impact points matter.
Zoom into water stains on ceilings, peeling paint, and swollen flooring. Every close-up image you capture removes doubt from your claim and strengthens your position when negotiating with your insurer.
Scale Reference Techniques
Scale references transform ambiguous damage photos into undeniable evidence — without them, adjusters can’t accurately gauge the severity of what you’ve captured. You’ve already documented the close-up details, so now anchor those images with proper scale markers to give them undeniable context.
Place these measurement tools directly beside each damage point before shooting:
- A ruler or tape measure extended across cracks, gaps, or structural failures
- A standard coin like a quarter next to smaller fractures or surface damage
- Your hand or foot for quick, recognizable comparisons when tools aren’t immediately available
Don’t skip this step — insurers process hundreds of claims, and clear scale references make yours impossible to dismiss. Every measurement you capture strengthens your position and protects your right to a fair settlement.
Record a Walkthrough Video That Supports Your Claim

Recording a walkthrough video can make or break your insurance claim, so you’ll want to do it right the first time. Walk slowly through each room while narrating what you see, describing damage clearly and specifically. Your words paired with visuals create context that still photos simply can’t provide.
Start outside, capturing all four sides of your home. Drone footage offers a powerful aerial perspective that reveals roof damage and structural issues adjusters might otherwise miss.
Move indoors systematically, room by room, keeping the camera steady and the commentary factual.
Today’s technology even supports virtual reality documentation, giving adjusters an immersive walkthrough experience. Timestamp everything, save the footage immediately to cloud storage, and never delete the original files. This video could be your strongest asset.
Build a Room-by-Room Inventory of Storm-Damaged Items
After a storm tears through your home, building a room-by-room inventory of damaged items gives your insurance claim the structure it needs to succeed.
Start in one room, list every damaged item with its estimated value, purchase date, and receipt if you have it, and record serial numbers from appliances like refrigerators, washers, and dryers.
Moving systematically through each space keeps you focused, reduces the risk of missing items, and creates the kind of organized evidence that adjusters take seriously.
Categorizing Items By Room
When a storm tears through your home, it’s easy to feel overwhelmed by the sheer volume of damage staring back at you — but a structured, room-by-room inventory cuts through that chaos fast.
Room organization gives your claim real credibility, and item categorization keeps everything trackable and clear.
Move through each space deliberately and document:
- Every damaged item with its estimated value, purchase date, and any available receipts
- Serial numbers on appliances like refrigerators, washers, and dryers
- Material samples from destroyed carpeting, upholstery, or wallpaper when possible
Don’t let the adjuster define what’s lost — your organized records do that.
Sort files by room name, back them up immediately, and keep your documentation airtight.
Your thoroughness directly protects your payout.
Recording Serial Numbers Accurately
Serial numbers are your strongest proof of ownership when filing a storm damage claim, and missing even one can cost you during the settlement process. Don’t let poor inventory management undermine your rightful compensation.
Check the back panels, inner doors, and bottom plates of washers, dryers, refrigerators, and other major appliances for serial number verification.
Write each number down alongside the item’s name, purchase date, and estimated value.
Photograph the serial number tag directly so you’ve got visual backup.
Store everything in a dedicated digital folder organized by room.
If a tag is damaged or missing, check your original receipts or manufacturer registration emails.
You’ve earned the right to a fair settlement—don’t surrender it because of incomplete records.
Estimating Damaged Item Values
Once you’ve locked down your serial numbers, the next step is putting real dollar figures behind every damaged item you own. Estimating replacement costs accurately protects your claim and keeps insurers accountable.
Work room by room, listing every damaged item with purchase dates and estimated values.
Use these strategies to strengthen your inventory:
- Research current retail prices online for like-kind replacements
- Factor in evaluating depreciation values based on age and condition
- Attach receipts, bank statements, or credit card records as proof of purchase
Time matters here. The longer you wait, the harder it becomes to recall details accurately. Your documentation is your financial lifeline, so treat it seriously.
A thorough, precise inventory gives you the leverage you need to reclaim what’s rightfully yours.
Find Serial Numbers and Receipts Before the Adjuster Arrives
Before the insurance adjuster arrives, you’ll want to track down serial numbers and receipts for every damaged item you can find. Serial verification strengthens your claim and prevents disputes over item values.
Check appliances like washers, dryers, and refrigerators for model and serial number plates, usually located on the back or inside the door frame.
Receipt organization is equally critical. Pull together purchase records from email inboxes, filing cabinets, or retailer accounts online.
If original receipts are gone, bank statements and credit card histories can substitute effectively.
Photograph each serial number and receipt clearly. Store everything in a dedicated digital folder labeled by room and item type.
This preparation puts you in control before the adjuster ever steps through your door.
Save Every Receipt From Temporary Storm Damage Repairs
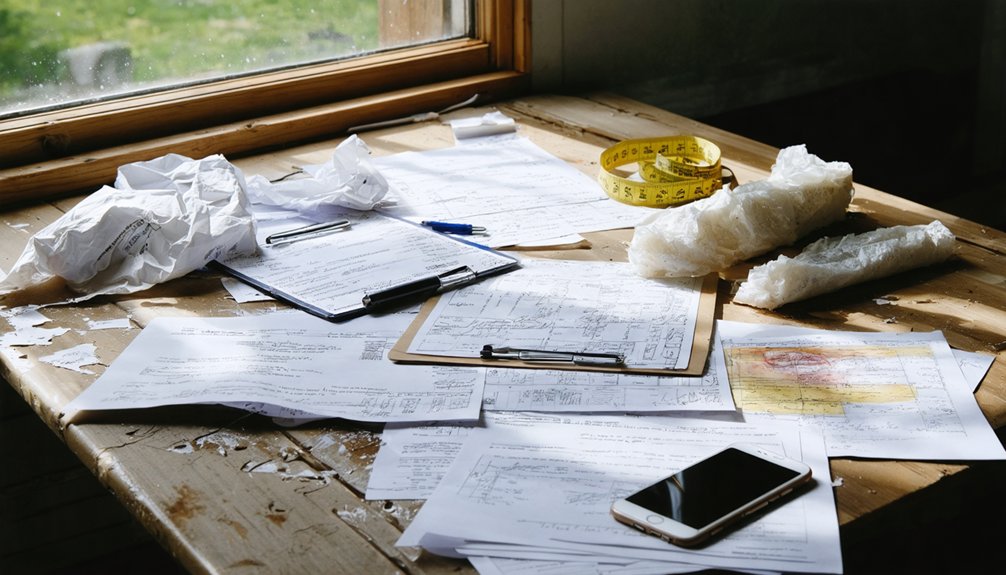
Every dollar you spend on temporary repairs after a storm matters to your insurance claim, so you’ll want to save every receipt without exception. Costs add up fast, and your insurer needs proof of every purchase you’ve made to protect your property.
Strong receipt organization keeps you in control:
- Store receipts digitally by photographing them immediately and uploading to your dedicated storm folder.
- Track every purchase, including tarps, plywood, plastic sheeting, and hardware supplies used for emergency protection.
- Note the repair purpose on each receipt so the adjuster understands exactly what each expense covered.
Don’t let poor recordkeeping cost you reimbursement you’ve rightfully earned. You acted fast to protect your home, and your documentation should reflect that decisive action.
File Your Storm Damage Insurance Claim Before Memory Fades
Time moves against you after a storm, so file your insurance claim as soon as you’ve secured your property and gathered your initial documentation. Most policies contain strict claim deadlines, and missing them can forfeit your right to compensation entirely.
Pull out your insurance policy immediately and review its specific filing requirements. Contact your insurer directly, provide your documentation, and request a claim number for tracking purposes. Don’t wait for a full damage assessment before initiating contact — starting the process protects your timeline.
Details fade quickly after traumatic events. Your written notes, photos, and videos captured immediately after the storm carry far greater accuracy than memories recalled weeks later. Acting fast keeps your claim strong, your rights intact, and your path toward recovery firmly in your control.
Back Up Every Photo and Video Before You Sleep Tonight
Once your claim is filed, protect the evidence that supports it. Phones get lost, computers crash, and hard drives fail. Don’t let one bad moment erase everything you’ve captured.
Set up cloud backup tonight before you sleep:
- Create a dedicated folder labeled with the storm’s date and sort files by location, like Exterior North or Interior Kitchen, for clean photo organization.
- Upload everything immediately to Google Drive, iCloud, or Dropbox so your documentation lives beyond any single device.
- Share access with a trusted family member or attorney so you’re never the sole guardian of critical evidence.
Your documentation is your power. Cloud backup guarantees that no secondary disaster strips away the proof you worked hard to preserve.
Use Numbered Labels to Document Every Damage Point in Your Home
When storm damage spreads across multiple rooms, it’s easy to lose track of what you’ve photographed and what still needs attention. Numbered sticky notes are your simplest, most effective labeling strategy. Place a numbered label beside each damage point — a crack, a water stain, a broken fixture — then record each number on a corresponding list describing what it marks.
This systematic damage assessment gives you control over chaos. You’ll know exactly what’s been documented, where it’s located, and what it means when your adjuster reviews the evidence. Don’t skip corners, closets, or ceilings. Every damage point deserves a number.
Cross-reference your numbered list with your photos. This organized approach strengthens your insurance claim and keeps you firmly in control of your recovery.
Frequently Asked Questions
Can Storm Damage Documentation Be Used for Tax Deduction Purposes?
Yes, you can use storm damage documentation for tax deductions. It supports insurance claims and disaster recovery efforts, so don’t delay—gather your records now to maximize deductions and protect your financial freedom effectively.
How Long Should Storm Damage Documentation Records Be Legally Retained?
Sure, toss those records after a year—what could go wrong? You should retain storm damage documentation for at least 7 years, ensuring record retention policies and legal compliance protect your tax claims and potential legal disputes.
Does Documentation Quality Affect the Speed of Insurance Claim Approval?
Yes, documentation quality directly impacts claim processing speed. When you’ve captured clear photos, GPS timestamps, and detailed damage assessment records, you’re giving adjusters everything they need to approve your claim faster.
Can Neighbors Document Shared Boundary Damage on Your Behalf Legally?
Yes, your neighbor can document shared boundary damage on your behalf, but you’ll want to understand neighbor responsibilities and legal documentation requirements—their statements and photos carry weight, so don’t delay collecting their firsthand accounts immediately.
What Professional Certifications Do Storm Damage Assessors Typically Need?
Over 60% of assessors hold HAAG certification. For storm safety and emergency preparedness, you’ll want assessors certified in IICRC, RPA, or XactAnalysis—these credentials guarantee they’re accurately capturing your damage and protecting your recovery rights.
References
- https://cmslawgroup.com/how-to-document-storm-damage-at-your-home/
- https://pauldavis.com/blog/steps-after-storm-damage-home/
- https://climatecheck.com/risks/storm/mitigation-guide-for-homeowners
- https://www.phila.gov/2023-05-03-documenting-damage-information-to-help-you-recover-from-a-disaster/
- https://www.fema.gov/press-release/20250416/how-document-damages-after-severe-weather-events
- https://midweststormtracker.com/documenting-storm-damage-a-step-by-step-photo-and-video-guide/
- https://www.youtube.com/watch?v=QkhJ1nWJm2I
- https://crazystormchasers.com/techniques-for-documenting-storm-damage-accurately/
- https://crazystormchasers.com/recording-storm-damage-for-property-assessment/