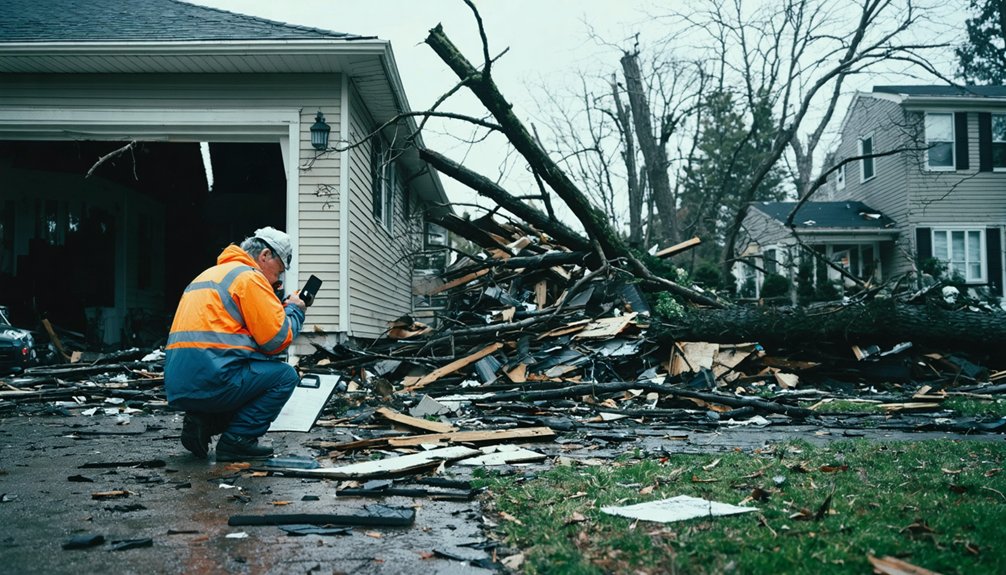
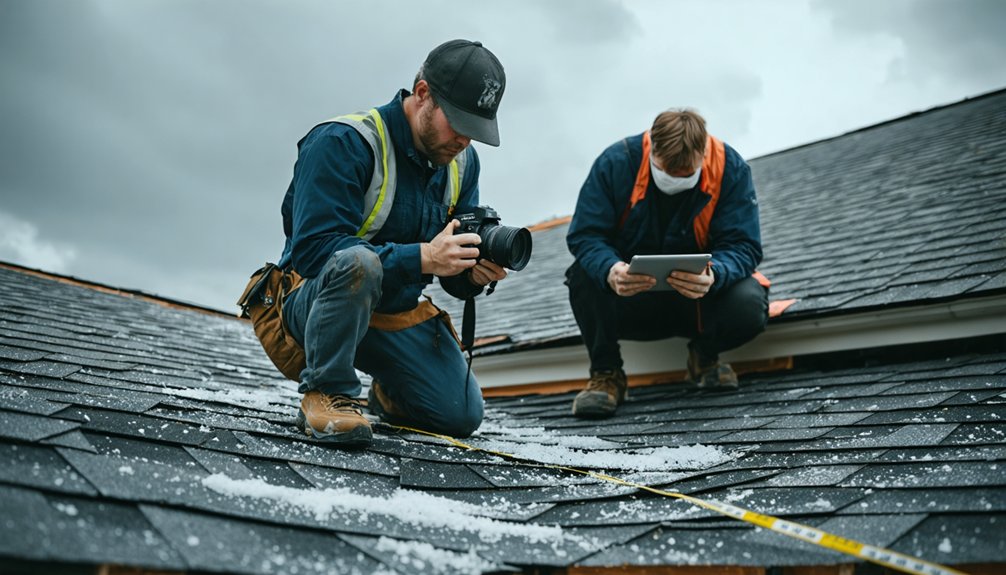
To document storm damage effectively, you’ll want to act within 48 hours before evidence degrades. Start by securing the property and checking for hazards like downed power lines and unstable flooring. Photograph everything systematically — wide shots first, then close-ups with location labels and timestamps. Document roof damage safely from the ground, log interior damage room by room, and track every expense with itemized receipts. Organize everything into a structured claim file, and the full expert breakdown ahead covers each step in precise detail.
Key Takeaways
- Document damage within 24 to 48 hours after the storm to preserve critical evidence and strengthen your insurance claim.
- Before entering, scan for downed power lines, test flooring stability, and wear closed-toe shoes for safety.
- Photograph damage using wide-angle, mid-range, and close-up shots, labeling each with location, date, and description.
- Track all storm-related expenses, including emergency repairs, displacement costs, and mileage, saving itemized receipts digitally.
- Organize visual evidence, written records, and financial documentation into a dedicated cloud folder for a complete claim file.
Document Storm Damage Within 48 Hours
Once the storm passes and conditions are safe, start documenting damage within 24 to 48 hours. Early action strengthens your storm damage insurance claim and preserves critical evidence before weather or decay alters it.
Before entering the property, follow basic post storm safety protocols. Check for downed power lines, structural instability, and active flooding. Wear closed-toe shoes when walking the exterior.
Once you’ve confirmed the space is safe, begin photographing immediately. Early documentation captures damage in its original state, preventing insurers from questioning whether deterioration occurred after the fact.
Delays give adjusters room to dispute timelines, which can reduce your settlement.
You control the narrative when you act fast, document thoroughly, and store everything securely outside the damaged property.
Stay Safe Before You Start Shooting
Before you photograph anything, confirm the structure is safe to enter and the surrounding area is clear of hazards. Weather safety and hazard assessment aren’t optional steps—they protect your ability to complete the documentation at all.
Work through these three checks before raising your camera:
- Scan for downed power lines along the roofline, yard perimeter, and driveway—treat every line as live until utility crews confirm otherwise.
- Test flooring and entryways for structural instability, standing water, or signs of collapse before stepping inside.
- Wear sturdy, closed-toe shoes to protect your feet from debris, nails, and broken glass scattered across the exterior.
Once you’ve cleared each checkpoint, you’re ready to document freely and thoroughly.
Wide Shots First, Then Close-Ups That Count
Start your photo session with wide-angle shots that frame the full property, capturing every exterior elevation so the adjuster can orient each close-up within its broader context.
Once you’ve established that baseline, move systematically to each damaged area and shoot multiple tight angles of cracked shingles, dented flashing, broken windows, and any other specific failure points.
This two-tier approach—context first, detail second—builds a visual record that’s harder to dispute and easier for reviewers to follow.
Establishing Full Property Context
When you photograph storm damage, sequence matters: wide-angle shots come first, establishing full property context before you move into close-up work. Position yourself at each corner of the property and capture the full roofline, siding, and grounds, including storm water runoff paths and debris clearance zones.
Follow this sequence for maximum coverage:
- Stand at each property corner and shoot the full structure, showing surrounding drainage patterns and any accumulated runoff channels.
- Move mid-range, capturing storm water runoff paths along the foundation, debris clearance areas, and exterior surfaces together in one frame.
- Photograph all four elevations straight-on, ensuring gutters, downspouts, and roofline edges appear fully within each shot.
This layered approach gives adjusters undeniable spatial reference before your close-up evidence enters the record.
Capturing Detailed Damage Close-Ups
Once your wide-angle shots establish full property context, you shift to close-up work—and that shift requires a deliberate change in both positioning and focal intent. Move systematically, zone by zone, isolating each damaged component. Use damage magnification to reveal what wide shots obscure—hairline cracks in flashing, granule loss on shingles, or micro-fractures around window seals.
Macro photography techniques work particularly well for capturing surface-level detail on materials like roofing membrane, fascia wood grain, or corroded metal vents. Shoot each damaged area from at least two angles, maintaining consistent framing so adjusters can compare images cleanly. Good natural lighting eliminates shadows that hide critical detail.
Label every close-up immediately with location, date, and a short damage descriptor to maintain a defensible, organized record.
Document Roof Damage Safely From the Ground
Accessing a wet or structurally compromised roof is one of the most avoidable risks in post-storm documentation, so use ground-level techniques to capture the evidence you need safely.
Prioritizing roof safety doesn’t mean sacrificing evidence quality—your ground vantage can yield highly usable documentation with the right approach.
From each exterior corner, apply these techniques:
- Zoom in on the full roofline from each corner of the property, capturing missing, curled, or displaced shingles against the skyline.
- Photograph gutters and downspouts for dents, separations, or debris accumulation that signals impact damage above.
- Record a slow video pan across each roof section, narrating visible damage details, date, and time as you move.
Photograph and Log Interior Damage Room by Room
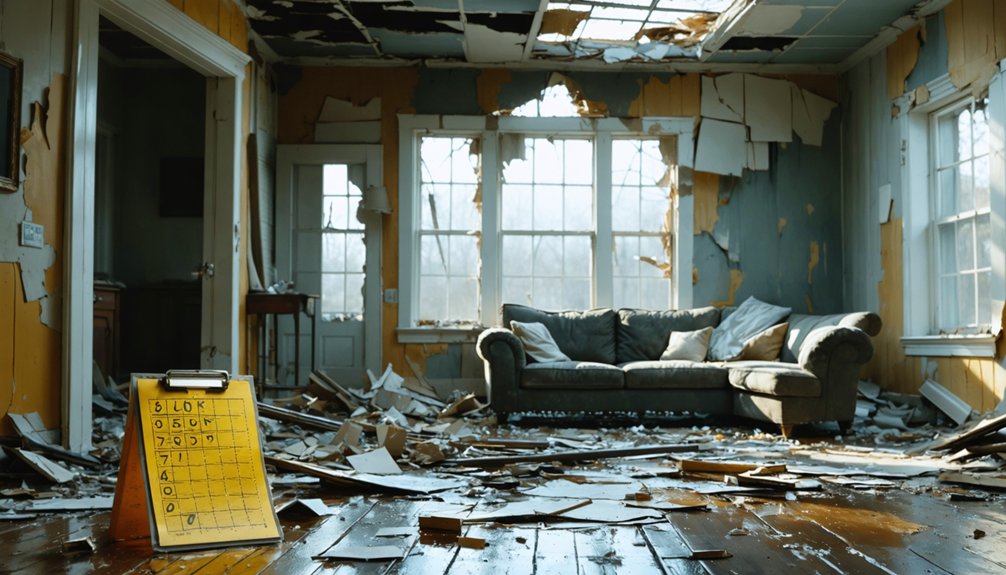
After confirming the structure is safe to enter, move through each room systematically rather than photographing damage as you happen to notice it.
Begin each room with wide-angle shots that capture furniture arrangement and appliance placement in full context. Then, close in on specific damage points—water stains, cracked ceilings, warped floors, or broken windows.
Start wide, then close in—capture the full room before zeroing in on every crack and stain.
Label every photo with the room name, date, and a brief damage description. Maintain a written log that references each file by name, noting item descriptions, estimated ages, and replacement values.
Record serial numbers for large appliances before moving anything.
Don’t discard damaged items until you’ve photographed closets, cabinets, and storage areas completely.
Store all files in a cloud location outside the property to protect your records independently.
Track Every Expense From Day One
From the moment the storm passes, you’ll want to collect and store every receipt tied to emergency repairs, temporary materials, and protective measures like tarps or lumber.
Track displacement costs separately, including hotel stays, meals, and any other out-of-pocket expenses caused by the damage.
Label each receipt with the date, purpose, and corresponding damage area so your claim file stays organized and verifiable.
Emergency Repair Receipts
Once the storm passes and you begin addressing immediate hazards, start tracking every repair-related expense from that first day forward. Every receipt tied to a temporary repair strengthens your position when filing insurance claims.
Retain documentation for these three critical expense categories:
- Materials purchased — tarps, lumber, sealants, plastic sheeting, and fasteners used to prevent further damage
- Labor costs — contractor invoices, emergency service call fees, and any paid professional assistance
- Displacement expenses — hotel stays, restaurant meals, and transportation costs incurred because your home became uninhabitable
Photograph each receipt, note the date and purpose on the back, and store digital copies in a cloud folder outside the damaged property.
Never discard originals until your claim reaches full resolution.
Displacement Cost Records
When a storm forces you out of your home, every dollar you spend to maintain a basic standard of living becomes a potential line item in your insurance claim. Temporary housing, meals, laundry, and transportation all qualify under most loss-of-use provisions.
Request rental reimbursement documentation directly from your hotel or landlord, including itemized receipts showing nightly rates and dates. Log food expenses separately from your normal grocery budget, since only the excess spending above your baseline qualifies.
Save every receipt digitally and label each file with the date and expense category. Track mileage if displacement forces extended commutes. Compile these records chronologically alongside your repair file so your adjuster can verify continuity between the storm date and your return home.
Organize Your Claim File So Nothing Gets Missed
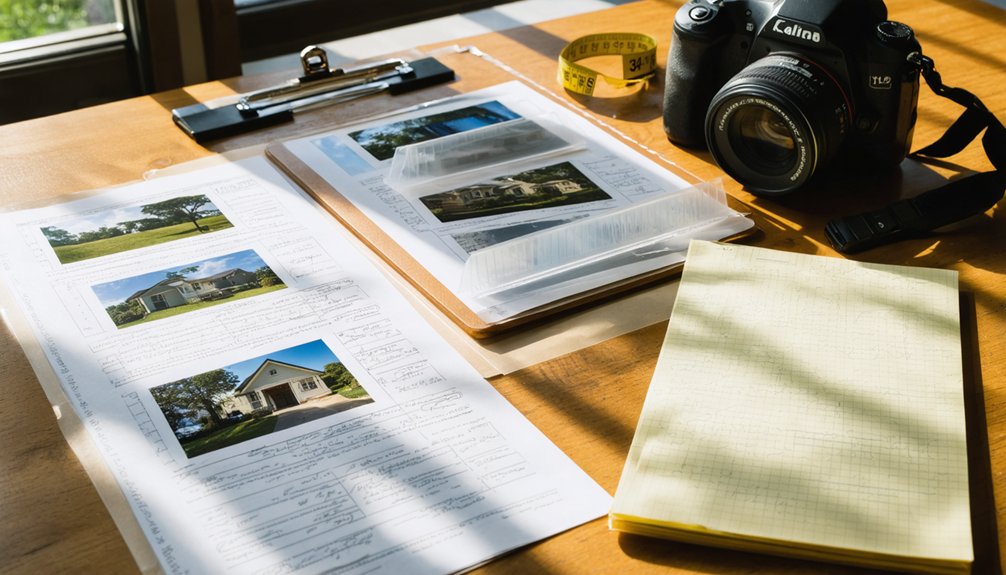
Keeping your claim file organized prevents gaps that could delay or reduce your payout. Store everything outside the damaged property in a dedicated cloud folder or external drive. Label each photo with the date and a short description. When your insurance adjuster arrives, a structured file accelerates claim submission and removes any ambiguity about your losses.
Build your file around three core layers:
- Visual evidence — dated photos and narrated video walkthroughs organized room by room
- Written records — your damage log, contractor estimates, invoices, and independent inspection reports
- Financial documentation — receipts, displacement expenses, and temporary repair costs with corresponding dates
Cross-reference each layer so every damaged item connects directly to supporting evidence.
Frequently Asked Questions
Can I Use Smartphone Photos, or Do I Need a Professional Camera?
You don’t need a professional camera — your smartphone’s photo quality is sufficient. Equipment choice matters less than technique; capture wide angles first, then close-ups, using natural daylight for sharp, dispute-proof storm damage documentation.
Should I Notify My Insurer Before or After Completing Documentation?
Notify your insurer immediately, but don’t stop there—you’ll want to pursue documentation timing simultaneously. Start capturing insurance claims evidence within 24–48 hours while actively reporting, ensuring you’re never waiting on one process to complete the other.
Does Documenting Damage Affect My Deductible or Premium Rates?
Documenting damage doesn’t alter your deductible considerations or trigger premium increases. It’s simply evidence. However, thorough records of insurance implications can prevent underpayment, ensuring you’re exercising your full contractual rights without unnecessary financial compromise.
Can a Public Adjuster Help if My Claim Gets Denied?
Over 50% of appealed denials succeed with expert help. A public adjuster can navigate claim denial procedures and the insurance appeals process for you, building a stronger case to reclaim what you’re rightfully owed.
How Long Should I Keep My Storm Damage Documentation Files?
Keep your storm damage documentation files indefinitely, as insurance policies vary in claim timelines. You’ll want records accessible for potential disputes, audits, or future sales—store everything securely in the cloud, ensuring you retain full control.
References
- https://www.fema.gov/press-release/20250416/how-document-damages-after-severe-weather-events
- https://www.lawrencelaws.com/blog/how-to-document-storm-damage-for-insurance/
- https://cmslawgroup.com/how-to-document-storm-damage-at-your-home/
- https://www.rivertoproofing.com/post/best-way-to-document-roof-damage-for-claims
- https://northwestroofingnc.com/blog/how-to-document-storm-damage-for-insurance-claims-a-homeowners-complete-guide
- https://stormdamageauthority.com/storm-damage-documentation-best-practices
- https://palkerlaw.com/blog/top-tips-for-documenting-storm-damage-for-your-insurance-claim/
- https://www.prospecialtyservices.com/blog/documenting-storm-damage/
- https://www.youtube.com/watch?v=QkhJ1nWJm2I
- https://crazystormchasers.com/best-techniques-for-accurate-storm-damage-documentation/