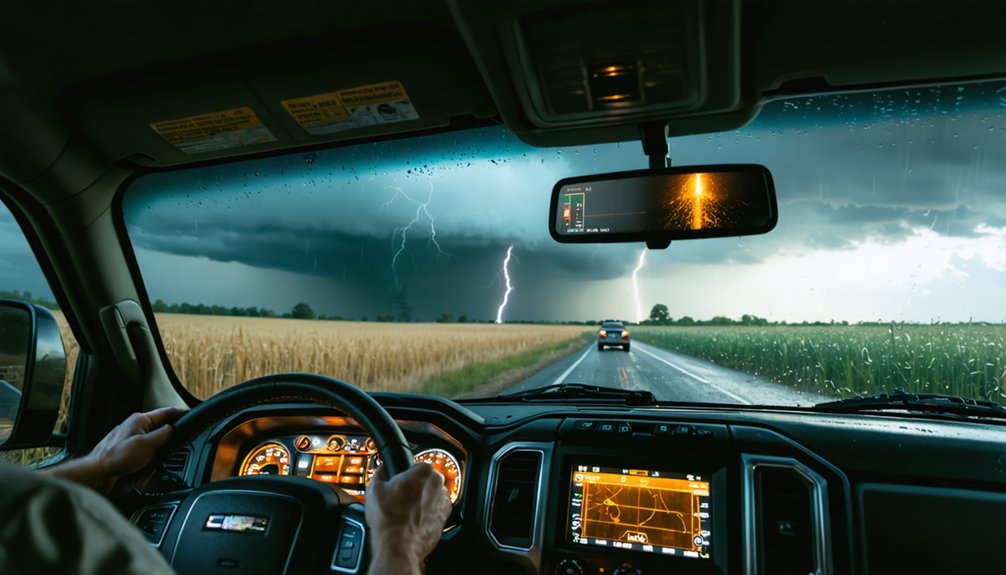
Intercepting severe thunderstorms for research requires a disciplined, systematic approach executed before you ever leave home. You’ll evaluate CAPE values, surface dewpoints, wind shear signatures, and lifting mechanisms to identify viable target zones. Commit to your target before midday, position within 100 km of anticipated convection, and maintain 2–5 km ahead of the updraft for ideal data collection. Master these fundamentals, and the strategies ahead will sharpen every intercept decision you make.
Key Takeaways
- Evaluate CAPE values, surface dewpoints, and wind shear data before departure to identify high-potential storm environments worth targeting.
- Commit to a target area before midday, positioning within 100 km of anticipated convective initiation boundaries.
- Cross-reference radar and satellite data simultaneously to eliminate blind spots and confirm storm intensification timing.
- Position 2–5 km ahead of the updraft or wall cloud, offsetting right when tornadic activity appears likely.
- Avoid flood-prone routes, low-water crossings, and post-storm debris hazards to maintain mobility and researcher safety.
Read the Atmosphere Before You Leave Home
Before you commit to a target area, you’ll need to assess three baseline ingredients: moisture, instability, and lifting. Evaluate moisture content through surface dewpoints and low-level mixing ratios.
Assess moisture first — surface dewpoints and low-level mixing ratios reveal whether the atmosphere can support convective development.
Quantify atmospheric instability using sounding data and model-derived CAPE values.
Identify lifting mechanisms — fronts, drylines, and convergence zones — that can trigger convective initiation.
Next, analyze wind shear for severe-storm potential. Prioritize environments showing directional veering of 60 degrees or more from the surface to 700 mb.
Flag upper-level winds exceeding 70 knots and low-level jets at 25 knots or greater, since these parameters considerably raise severe-weather probability.
Integrate morning surface observations, rawinsonde data, and short-range model output to pinpoint your ideal target zone before you ever leave the driveway.
Pick Your Storm Target Area Early in the Day
Once you’ve analyzed the morning data, commit to a target area early — ideally before midday — so you can position yourself ahead of storm initiation rather than chasing it from behind. Field programs historically depart between 1000 and 1200 local time, targeting regions within roughly 100 km of anticipated convective development.
Prioritize areas where boundaries intersect — drylines, fronts, and convergence zones — since these corridors concentrate lift and accelerate initiation.
As storms develop, monitor lightning activity closely; rapid increases signal intensifying updrafts and approaching severe potential. Track the storm core using radar to anticipate motion, structure, and hazard zones.
Locking in your target early preserves your freedom to reposition deliberately rather than reactively, keeping you ahead of the storm instead of scrambling behind deteriorating conditions.
Read Wind Shear to Judge Severe Potential
Once you’ve locked in a target area, assess wind shear to gauge how severe developing storms might become.
Speed shear—an increase in wind speed with height—stretches and tilts updrafts.
A directional change of 60 degrees or more from the surface to 700 mb favors organized, rotating supercells.
If you also detect an upper-level jet exceeding 70 knots or a low-level jet at 25 knots or greater, treat that environment as high-risk and adjust your positioning strategy accordingly.
Speed Shear Signals Severity
Wind shear’s role in thunderstorm severity breaks into two components—speed shear and directional shear—and reading both correctly shapes how you assess a storm’s destructive potential before you ever leave your target area.
Speed shear measures how wind velocity increases with height. When surface winds run at 15 knots and upper-level winds exceed 70 knots, that acceleration stretches a storm’s updraft vertically, enhancing storm rotation and dramatically raising severe potential. You’ll want to confirm this gradient using morning sounding data before committing to a target.
Strong speed shear tilts the updraft away from the precipitation core, reducing downdraft interference and allowing sustained, organized convection. Identify this signature early, and you’ll position yourself ahead of storms carrying the greatest destructive capacity.
Directional Change Matters
Speed shear tells you how fast winds accelerate with height, but directional shear tells you how the atmosphere rotates, and that rotation is what separates an ordinary storm from a tornadic supercell. Wind direction veering 60 degrees or more from the surface to 700 mb signals dangerous storm rotation potential. That shift doesn’t just indicate wind change—it defines whether you’re chasing history or watching rain fall.
Watch for these critical directional indicators:
- Southerly surface winds backing into southwesterly flow aloft
- Wind direction veering sharply across the lowest 3 kilometers
- Clockwise rotation in hodographs confirming organized storm rotation
- Directional shear combining with speed shear to generate helicity
When these signals align, you’re not guessing—you’re reading the atmosphere’s blueprint for violent convection.
Jet Streams Amplify Risk
When jet stream winds exceed 70 knots aloft, they don’t just enhance storm motion—they markedly increase vertical wind shear, stretching updrafts into the organized, rotating columns that define supercell structure. Jet stream dynamics inject atmospheric momentum into the storm’s environment, creating the shear profiles that separate ordinary convection from tornadic supercells.
You’ll also want to assess the low-level jet independently. When it reaches 25 knots or greater, it feeds warm, moist air into the storm’s inflow layer while simultaneously amplifying directional shear near the surface. That combination accelerates mesocyclone development considerably.
Treat strong jet signatures as threat multipliers, not isolated data points. When both upper-level and low-level jets align favorably, your intercept environment carries substantially elevated severe potential—and your positioning strategy must reflect that reality.
Arrive in the Target Zone Before Storms Fire
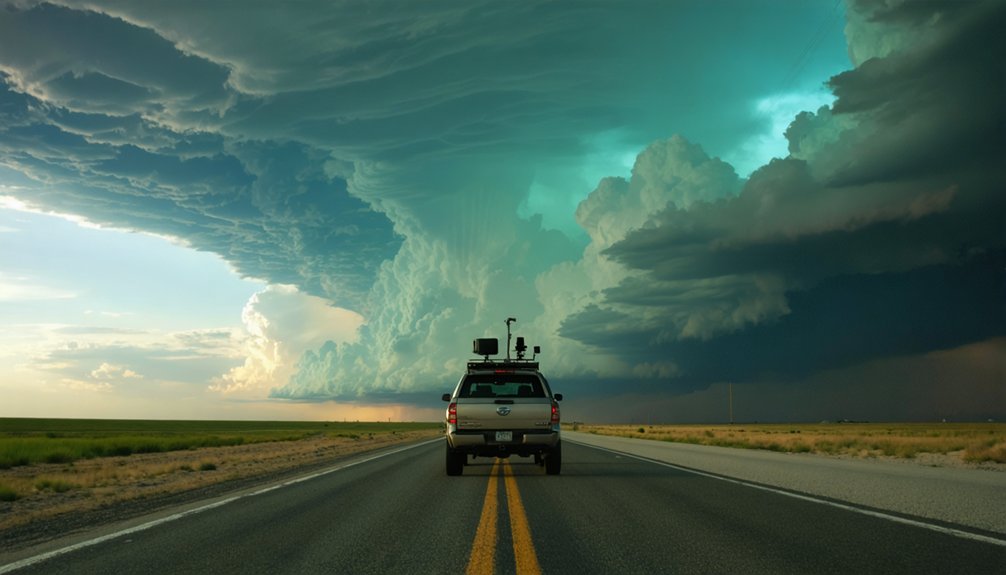
Timing your arrival in the target zone is one of the most critical decisions you’ll make during an intercept operation. Field programs historically depart between 1000 and 1200 local time, positioning teams within 100 km of target areas before convective initiation.
Timing your arrival isn’t optional — it’s the intercept operation’s most critical decision. Position early, or lose the storm.
Have your storm chasing gear staged and communication protocols active before you arrive.
Miss the window, and you’ll face these consequences:
- Chasing already-mature storms with deteriorating escape routes
- Losing the clearest structural views of updraft development
- Arriving after ideal data-collection windows have closed
- Reacting instead of positioning, which compresses your safety margins
Use morning soundings and model output to commit to a target early.
Freedom in the field comes from preparation, not improvisation. Arrive early, establish position, and let the storm come to you.
Get Into Position 2–5 Km Ahead of the Updraft
Once you’ve established your target zone, your next task is committing to a precise intercept position 2–5 km ahead of the anticipated wall cloud or updraft base. This placement gives you an unobstructed view of the storm structure while keeping you outside the immediate debris and hail envelope.
During storm chasing, position yourself slightly right of the projected storm path when tornadic development appears likely. This offset preserves critical sightlines to low-level rotation without exposing you to the forward-moving core. Use real-time radar to continuously validate your position as storm motion evolves.
Don’t wait for conditions to force a repositioning decision. If storm structure shifts or forward speed increases, move immediately. Early repositioning preserves your escape options and maintains the observational advantage you worked to establish.
Use Radar and Satellite Together, Not Separately
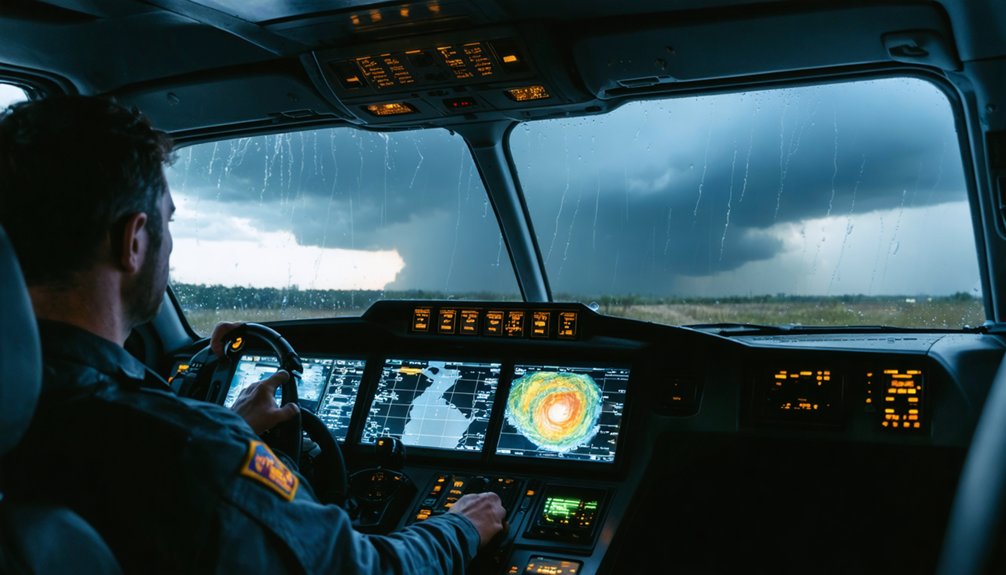
When you’re tracking a storm in real time, radar shows you where precipitation cores are intensifying and where rotation is developing.
But it won’t alert you to early convective growth before reflectivity values climb.
Satellite imagery fills that gap by revealing cooling cloud tops and rapid vertical development that precedes radar detection.
Use both tools simultaneously so you’re reacting to the full picture rather than a delayed, incomplete signal.
Radar Tracks Precipitation Cores
Radar gives you a real-time picture of precipitation cores, rotation signatures, and storm structure, but it doesn’t tell the whole story on its own. Radar signatures reveal precipitation patterns, velocity couplets, and hook echoes, giving you critical situational awareness as storms evolve.
Track these radar indicators continuously:
- Precipitation cores shifting position signal storm motion changes that demand immediate repositioning
- Rotation signatures tightening rapidly mean you’re running out of time to act
- Hook echo development confirms organized supercell structure and imminent tornado potential
- Velocity data exposing strong shear layers reveals whether the storm’s intensifying beyond your safety margin
Radar hands you freedom of movement, but only if you’re interpreting it aggressively and continuously. Passive monitoring gets you killed. Stay ahead of what the data’s telling you.
Satellite Detects Early Growth
Satellite imagery fills the gap radar leaves open during early convective development. Before precipitation forms, rapidly cooling cloud top temperatures signal explosive vertical growth. You’ll catch this signal on infrared satellite loops well before radar paints a meaningful return. That early warning buys you critical positioning time.
Don’t treat satellite and radar as separate tools. Run them simultaneously. As cloud tops cool and radar echoes begin building, you’re correlating two independent data streams, confirming that instability is converting into organized convection. When both datasets align, you’ve got stronger confidence in storm initiation timing and location.
Watch for cloud top temperatures dropping sharply within 15 to 30 minutes. That rate of change tells you the updraft is accelerating. Adjust your position accordingly, before the storm matures and your options narrow.
Combined Tools Improve Awareness
Each tool has a blind spot the other covers. Radar misses early convective growth; satellite misses precipitation structure. Together, they eliminate critical gaps. Microclimate variations and urban heat can distort single-source readings, but cross-referencing both datasets sharpens your situational picture before threats materialize.
Don’t rely on one feed when lives and data depend on accuracy:
- Radar alone leaves you blind to cooling tops signaling rapid tower growth
- Satellite alone can’t reveal rotation tightening inside a core
- Urban heat islands artificially skew surface-based instability readings
- Microclimate variations create localized initiation zones neither tool captures independently
Run both simultaneously. When radar and satellite trends align, your confidence in storm behavior increases sharply. Divergence between them signals uncertainty—and uncertainty demands repositioning before your options disappear.
Your Escape Route Matters as Much as Your Position
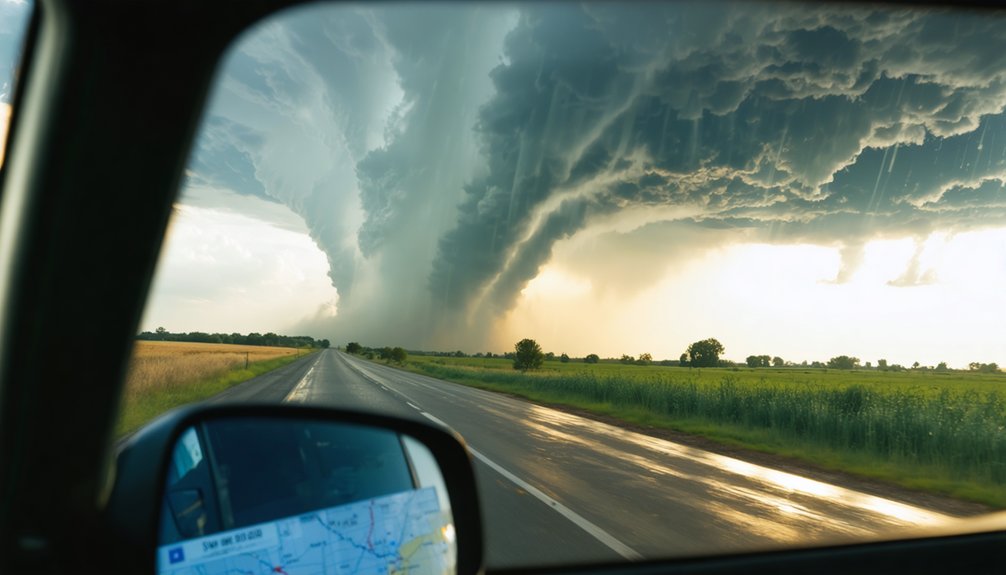
Selecting the right intercept position means little if you’ve already cut off your own exit. Before committing to any location, confirm your escape routes through deliberate route planning. Identify at least two viable exit vectors, preferably perpendicular to storm motion.
Terrain considerations matter significantly here — hills, river crossings, and dead-end rural roads can collapse your mobility window faster than the storm itself. Don’t drive into areas where a single road is your only option out.
Treat tightening rotation, increasing hail diameter, or a blocked road as immediate disengagement signals.
A storm that accelerates or shifts track can eliminate your margin within minutes. Your freedom to move is your greatest tactical asset — protect it by deciding your exits before you need them.
Spot the Signs That Force an Immediate Retreat
Even experienced interceptors can find themselves in deteriorating situations faster than anticipated, so you’ll need to recognize specific indicators that demand immediate withdrawal. Monitor storm cloud morphology continuously — rapid lowering, wall cloud expansion, or accelerating rotation signals dangerous escalation.
Shifting lightning patterns, particularly intensifying ground strikes near your position, confirm electrical hazard growth.
Disengage immediately when you observe:
- Tightening rotation beneath the updraft base, indicating imminent tornadic development
- Increasing hail size, signaling you’ve drifted too close to the precipitation core
- Rain-wrapped circulation eliminating visual contact with the storm’s structure
- Blocked or deteriorating escape routes behind your position
Don’t negotiate with these warnings. Your freedom to chase another day depends entirely on your willingness to retreat decisively when conditions demand it.
Use Watch and Warning Status to Adjust Your Risk Threshold
Watch and warning status aren’t just public safety communications — they’re operational inputs that should directly calibrate your intercept posture. A watch signals favorable conditions for severe development, meaning your risk perception should shift toward heightened vigilance while you still retain positioning flexibility. Use that window to refine your target, confirm escape routes, and close distance deliberately.
Once a warning is issued, your safety thresholds must tighten immediately. A warning confirms an active, verified threat — not a probabilistic one. At that point, aggressive repositioning becomes unjustifiable unless you’ve already established a controlled intercept position with clear egress.
Don’t interpret a warning as permission to press closer. Treat it as a hard boundary that compresses your operational margin and demands conservative, disciplined decision-making.
Clear These Post-Storm Hazards Before You Move On
Once you’ve documented your intercept and the visible storm has passed, you can’t treat the surrounding environment as safe — downed power lines may be hidden by debris or darkness, making contact lethal without warning.
Flash flooding poses a compounding threat, since rainfall upstream can surge through low-lying roads well after skies clear at your location.
Before repositioning, you’ll want to actively scan for structural debris across travel routes, confirm drainage conditions ahead, and treat every downed line as energized until emergency crews confirm otherwise.
Downed Power Line Risks
After a storm passes, downed power lines can kill you just as quickly as the storm itself. Electrical safety isn’t optional—it’s survival. Power line maintenance crews haven’t cleared every hazard yet, so you’re responsible for your own assessment.
Treat every downed line as energized. Never assume otherwise.
- A line on the ground can energize the surrounding soil up to 30 feet away, electrocuting you before you realize the danger.
- Touching a vehicle in contact with a live line transfers lethal current directly through your body.
- Water conducts electricity across pavement, grass, and debris, expanding the kill zone dramatically.
- Damaged insulation makes lines visually indistinguishable from safe ones.
Stay alert, maintain distance, and don’t let post-storm complacency become your final mistake.
Flash Flooding Dangers
Flash flooding kills more people annually than tornadoes, yet it’s the hazard chasers most frequently underestimate after an intercept. Once the storm passes, saturated soils and overwhelmed urban drainage systems can produce life-threatening flows within minutes. You must actively assess flash flood zones before repositioning, not after water begins rising around your vehicle.
Check stream gauges, NWS flash flood warnings, and local road conditions before selecting your exit route. Low-water crossings are particularly dangerous; moving water at knee depth generates enough force to sweep a vehicle downstream. Avoid drainages, underpasses, and low-lying roads entirely.
If you’re uncertain whether a road is passable, treat it as impassable. Your post-intercept mobility depends on route selection made before conditions deteriorate, not during.
Post-Storm Debris Hazards
Flood waters aren’t the only post-intercept threat waiting to end your chase day early. Debris dispersal following severe storms creates dangerous, often invisible hazards across your route. Before repositioning, conduct a rapid visual assessment of the road corridor ahead.
Watch specifically for:
- Downed power lines lying across pavement — assume every line is energized
- Structural debris scattered across roadways, including roofing materials and shattered glass
- Displaced vehicles or large objects pushed into travel lanes by tornadic winds
- Compromised bridges weakened by flooding or impact debris
Post storm cleanup operations by emergency crews also introduce moving equipment and personnel into your path. Slow down, stay alert, and verify your escape routes remain viable before committing to forward movement.
Frequently Asked Questions
What Camera Equipment Is Best for Documenting Severe Thunderstorm Intercepts?
You’ll want high-speed photography cameras for capturing rapid rotation and aerial drone footage for wide structural documentation. Prioritize weatherproofed DSLRs, stabilized mounts, and redundant memory to guarantee you’re collecting precise, quantitative visual data throughout the intercept.
How Do Storm Chasers Communicate With Each Other During Active Intercepts?
You don’t need expensive gear—storm communication relies on ham radio, mobile data networks, and team check-ins following safety protocols. You’ll coordinate positioning, share radar updates, and maintain situational awareness while preserving your freedom to reposition instantly.
Are Special Permits or Licenses Required to Conduct Storm Intercept Research?
No special permits are universally required, but you’ll need regulatory compliance with local traffic laws and research protocols. Don’t overlook insurance requirements—they’re critical for protecting your equipment, team, and operational freedom during active intercepts.
How Many People Should Ideally Comprise a Storm Intercept Research Team?
Like Ahab’s crew, you’ll need 3–4 members for ideal storm intercept research. This size balances storm safety with operational efficiency, while ethical considerations ensure each role—navigator, radar analyst, and driver—remains clearly defined and accountable.
What Vehicle Modifications Improve Safety During Severe Thunderstorm Intercepts?
You’ll enhance storm safety through strategic vehicle customization: reinforce the chassis, install roll cages, mount real-time radar displays, add run-flat tires, and equip redundant communication systems to maintain operational freedom when intercepting severe thunderstorms.
References
- https://www.nssl.noaa.gov/education/svrwx101/thunderstorms/
- https://journals.ametsoc.org/view/journals/wefo/14/4/1520-0434_1999_014_0558_ahossi_2_0_co_2.xml
- https://www.weather.gov/source/zhu/ZHU_Training_Page/thunderstorm_stuff/Thunderstorms/thunderstorms.htm
- https://www.redcross.org/get-help/how-to-prepare-for-emergencies/types-of-emergencies/thunderstorm.html
- https://www.flame.org/~cdoswell/chasesums/DoswellMoller_TIP_paper.html
- https://crazystormchasers.com/what-to-know-about-intercepting-severe-thunderstorms/
- https://www.nssl.noaa.gov/research/thunderstorms/
- https://crazystormchasers.com/effective-techniques-for-storm-chaser-cell-monitoring/
- https://www.nssl.noaa.gov/education/svrwx101/thunderstorms/detection/