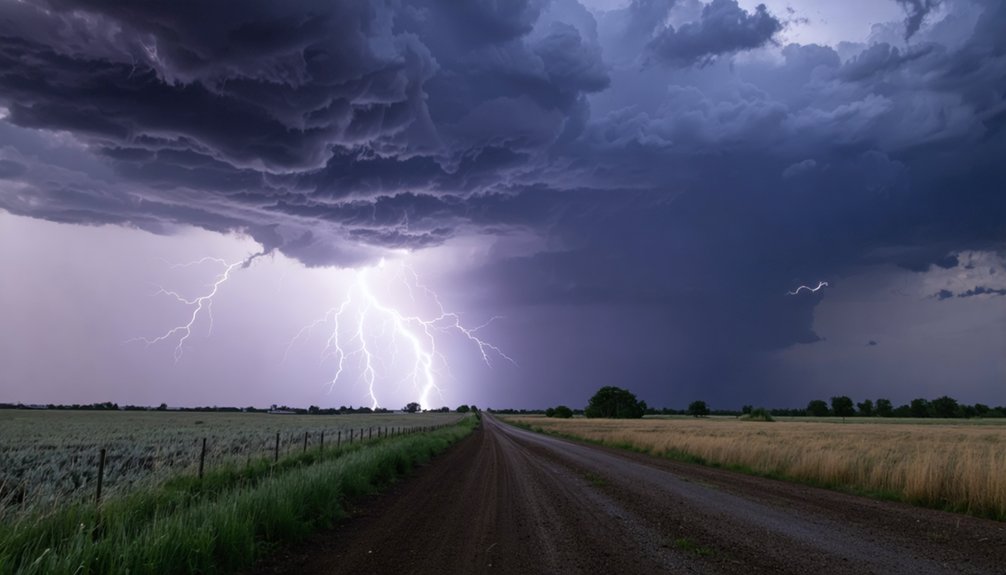
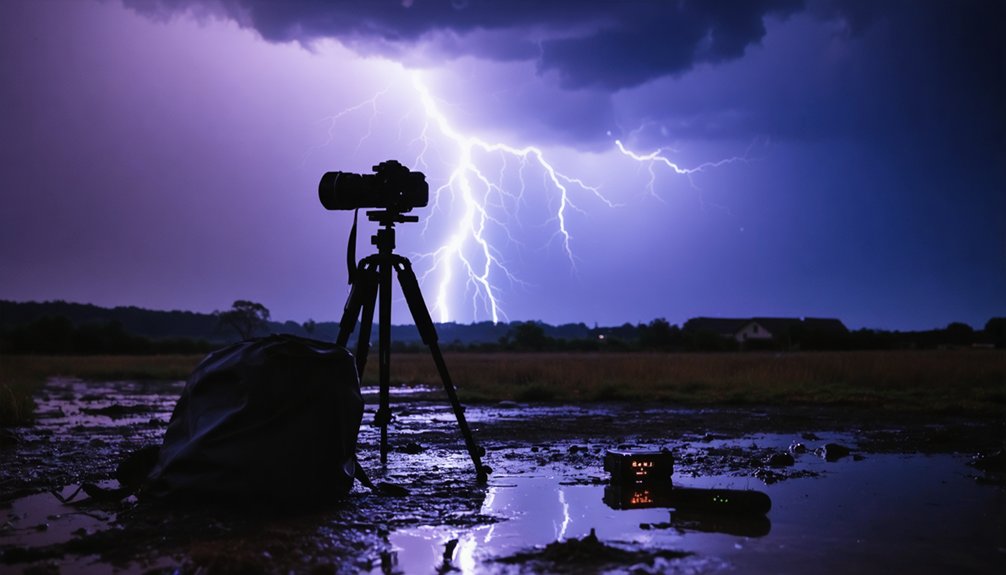
To photograph lightning in open fields, you’ll need a sturdy tripod, intervalometer, and radar app like Radarscope to track storm movement. Shoot at ISO 100, f/5.6–f/8, with 5–20 second exposures at night, and set your focus manually to infinity. Avoid hilltops and isolated trees, and retreat if thunder follows lightning within 30 seconds. Study the storm’s strike rhythm to anticipate bolt zones—and there’s much more technique involved in consistently nailing the perfect shot.
Key Takeaways
- Use a sturdy tripod with an intervalometer set slightly above your exposure duration to capture continuous shots without manually triggering each frame.
- Set ISO 100, f/5.6–f/8, and 5–20 second shutter speeds at night, adjusting continuously as storm conditions change.
- Avoid hilltops, isolated trees, and standing water; keep your tripod low and avoid touching metal during active strikes.
- Face into approaching wind to stay ahead of rain and prevent moisture from obstructing your lens during shooting.
- Retreat immediately to a hard-topped vehicle if thunder occurs within 30 seconds of a lightning strike.
How to Stay Safe While Shooting Lightning in Open Fields
Shooting lightning in open fields puts you directly in the path of one of nature’s most unpredictable hazards, so positioning yourself with an awareness of the storm’s movement is critical. Monitor radar tools like Radarscope to track storm direction and velocity before setting up your gear.
Electromagnetic hazards increase dramatically as storms close within a mile, so establish a clear exit route to a hard-topped vehicle or reinforced structure before shooting begins. Emergency preparedness means having that route mentally mapped before the first shutter fires.
Avoid hilltops, isolated trees, and standing water. Keep your tripod low and never touch metal equipment during active strikes. If thunder follows lightning within 30 seconds, pack immediately and retreat without hesitation.
Essential Gear for Open-Field Lightning Photography
Once you’ve mapped your exit route and committed to a shooting position, the gear you bring into the field determines both your safety margin and your capture rate.
Mount your camera on a sturdy tripod and attach an intervalometer to fire continuously without touching the body.
A tripod-mounted camera paired with an intervalometer keeps your hands off the body and your frames firing continuously.
Select a focal length between 14mm and 200mm depending on whether you’re framing the full storm or isolating bolt structure.
For lightning safety, keep a rubber-soled pair of boots and a non-conductive tripod in your kit.
Use Radarscope or a comparable radar tool for real-time storm prediction, letting you anticipate cell movement before conditions deteriorate.
Add a neutral density filter for daylight shooting and set your intervalometer slightly longer than your exposure time to eliminate gaps between frames.
How to Choose the Right Spot for Lightning Photography
Finding the right position before a storm arrives separates a successful shoot from a wasted one. You’ll want unobstructed sightlines stretching miles ahead, letting you track bolt activity without buildings or trees cutting your frame. Watch cloud cover carefully — thick, low formations signal active cells, while broken layers often scatter strikes unpredictably. Wind conditions tell you storm direction, helping you stay ahead of the rain wall without losing visibility.
- Select elevated terrain like hilltops or open ridgelines that expose the full storm structure.
- Face into approaching wind to position yourself ahead of the strike zone before rain obstructs the lens.
- Avoid low-lying areas where cloud cover drops and surrounding terrain blocks distant lightning channels.
Reposition early rather than scrambling mid-storm.
How to Time Your Lightning Photography Shots With the Storm
Positioning yourself correctly sets the stage, but knowing when to fire makes or breaks the shot. Master lightning timing by monitoring radar tools like Radarscope for accurate storm prediction before you ever touch your shutter.
Track the storm’s movement and identify when strikes occur every 30 to 60 seconds — that rhythm tells you the cycle you’re working within. Set your intervalometer just above your exposure duration, like 6 to 7 seconds for a 5-second exposure, so you’re capturing continuously without gaps.
Study the storm’s rhythm, then match your intervalometer to it — continuous capture leaves nothing to chance.
Don’t wait to see the bolt before reacting; you’ll always miss it. Instead, shoot continuously as the storm rolls in. Anticipate the next strike zone based on observed patterns and pre-compose your frame.
Patience and precision together maximize your keeper rate.
The Best Camera Settings for Lightning Photography
Getting your camera settings right separates a washed-out frame from a sharp, well-exposed bolt. Light pollution and lens flare both threaten exposure accuracy, so dialing in precise values before the storm arrives keeps you in control.
For night shooting, start with these proven configurations:
- ISO 100, f/5.6 or f/8, shutter speed 5–20 seconds — minimizes noise while balancing ambient sky exposure.
- Manual focus set to infinity — eliminates autofocus hunting during low-contrast conditions.
- Underexpose by one to two stops — preserves bolt detail without blowing highlights.
For daylight, stop down to f/16 or f/22 and add a Neutral Density filter to control lens flare and avoid overexposure. Adjust continuously as storm intensity shifts.
Frequently Asked Questions
How Do I Edit Lightning Photos to Enhance Bolt Detail and Contrast?
Like fire forging steel, boost contrast and clarity in post. You’ll enhance bolt clarity by raising blacks, sharpening edges, and adjusting lightning color temperature to amplify nature’s raw, electric power against darkened skies.
Can I Photograph Lightning Using a Smartphone Instead of a DSLR?
You can photograph lightning with a smartphone by adjusting smartphone settings to manual mode and using lightning apps like Lightning Trigger. They’ll automatically detect strikes, fire your shutter, and help you capture sharp, detailed bolts independently.
What Legal Permits Are Needed to Shoot in Protected Open Field Areas?
Why limit your freedom? You’ll need permits addressing wildlife regulations before entering protected lands. Always secure private property access agreements from landowners. Check federal, state, and local agency requirements specific to your chosen shooting location beforehand.
How Do I Protect My Camera Gear From Rain During a Storm?
Use weatherproof gear like rain protection covers for your camera and lens. You’ll want to seal connections with waterproof tape, keep a dry cloth nearby, and position your tripod upwind to minimize direct water exposure during intense storms.
Which Photo Formats, RAW or JPEG, Work Best for Lightning Shots?
Use RAW format for lightning safety and post-processing flexibility—it’ll let you fine-tune camera settings, recover overexposed bolt details, and adjust contrast precisely. JPEG’s compression discards critical highlight data you can’t retrieve later.
References
- https://digital-photography-school.com/how-to-photograph-lightning-the-ultimate-guide/
- https://www.jasonrweingart.com/blog/2014/12/20/how-to-photograph-lightning
- https://www.youtube.com/watch?v=uvDQKMQTJMw
- https://iso.500px.com/tutorial-a-beginners-guide-to-photographing-lightning/
- https://www.rmets.org/metmatters/lightning-photography-advice-award-winning-photographer
- https://alphauniverse.com/stories/the-secret-to-daytime-lightning-photography/
- https://www.nickulivieriphotography.com/blog/lightning/
- https://stushort.com/lightning-photography-guide-2/
- https://www.slrphotographyguide.com/how-to-photograph-lightning-and-storms/
- https://www.youtube.com/watch?v=GC3Fr3szbh0