When chasing severe weather, your portable weather station‘s value depends on preparation, not luck. Prioritize solid-state sensors over moving parts, mount them 18–24 inches above the roofline, and confirm calibration before you leave. Power your system with solar or low-draw batteries to sustain operation through long chase days. Cross-reference ground readings against RadarScope to close the radar lag gap. Get these fundamentals right, and every tip ahead sharpens your operational edge considerably.
Key Takeaways
- Choose solid-state sensors over mechanical ones to eliminate failure points caused by debris, vibration, and temperature swings during storms.
- Mount sensors 18–24 inches above the roofline to ensure clean, undisturbed airflow and accurate readings.
- Monitor barometric pressure, wind speed, humidity, and temperature—rapid pressure drops signal storm intensification faster than radar.
- Use solar panels or low-draw batteries to maintain continuous operation throughout long chase days in remote areas.
- Conduct a structured pre-chase gear check covering sensor calibration, mounting hardware, power sources, and data logging integrity.
Choose Sensors Built for Severe Weather Accuracy
When conditions deteriorate fast, your sensor accuracy determines whether your data is usable or worthless. You need an anemometer, barometer, thermometer, and humidity sensor that maintain calibration under rapid environmental shifts. Don’t settle for consumer-grade components that drift when pressure drops sharply or temperatures swing hard.
When conditions deteriorate fast, sensor accuracy determines whether your data is usable or worthless.
Prioritize high-precision sensors rated for severe weather exposure. Solid-state designs eliminate mechanical failure points common in rough field conditions.
Consistent sensor calibration guarantees your readings reflect actual atmospheric changes rather than instrument error.
Pair your station with reliable data logging capability so every pressure trend, wind spike, and humidity shift gets captured with a timestamp. That recorded data becomes your ground-truth record when radar lags real conditions by several minutes.
Accuracy isn’t optional — it’s operationally critical.
Why Solid-State Sensors Outlast Moving Parts in the Field
When you’re running hard in front of a supercell, moving parts like cup anemometers take the first hit from debris, vibration, and rapid temperature swings, leaving you with corrupted wind data at the worst possible moment.
Solid-state sensors eliminate mechanical failure points entirely, maintaining accurate readings through repeated vehicle transport, rough terrain, and sustained severe weather exposure.
You’ll get more consistent field performance by prioritizing sensor reliability over extra features that add complexity without improving your core measurement output.
Moving Parts Fail First
Traditional cup anemometers are the first component to fail in severe weather because spinning rotors accumulate mechanical stress with every rotation, and bearings wear out faster when exposed to debris, ice, and constant vibration during vehicle transport. Moving parts introduce friction, alignment drift, and eventual seizure — all of which corrupt your wind data at the worst possible moment.
Once mechanical degradation begins, sensor calibration becomes unreliable, forcing you to question every reading during active storm approaches. Solid-state ultrasonic anemometers eliminate rotating components entirely, using acoustic pulse timing to calculate wind speed and direction with no wear surfaces.
You get consistent output across repeated deployments without recalibration intervals caused by mechanical fatigue. When you’re repositioning ahead of a fast-moving supercell, equipment that degrades silently isn’t an option you can afford.
Solid-State Sensors Endure
Solid-state sensors eliminate the failure modes that make mechanical components unreliable under sustained field stress. With no spinning cups or pivoting vanes, you’re removing the mechanical weak points that degrade under debris impact, moisture ingress, and vibration from rough terrain. Sensor calibration stays stable longer because there’s nothing wearing against itself.
Here’s what solid-state design gives you in the field:
- Consistent accuracy across rapid temperature and pressure swings
- Weather resistant enclosures remain effective without accommodating moving parts that break seals
- Lower maintenance cycles during multi-day chase operations
- Faster recovery after rain, hail, or wind exposure without recalibration downtime
You’re chasing to collect reliable data. Solid-state sensors let you stay focused on storm positioning instead of equipment troubleshooting.
Reliability Over Extra Features
Feature-rich weather stations look compelling in spec sheets, but extra capabilities mean more components, and more components mean more failure points. When you’re repositioning ahead of a rotating wall cloud, you need gear that holds up, not gear that impresses on paper.
Prioritize units with proven sensor calibration stability under rapid temperature and pressure swings. A station that drifts out of spec mid-chase delivers corrupted baselines and undermines every decision you make from that point forward.
Data synchronization matters equally. Choose platforms that push readings reliably to your mobile app without dropouts, even when you’re bouncing down a gravel county road. Dropped sync intervals mean gaps in your pressure trend data, and those gaps cost you situational awareness precisely when accuracy matters most.
Mount Your Portable Weather Station 18–24 Inches Above the Roofline
When mounting your portable weather station, positioning sensors 18–24 inches above the roofline gives you cleaner airflow and reduces interference from roof-mounted equipment like solar panels, AC units, and antenna arrays. Proper height directly impacts sensor calibration accuracy and prevents skewed readings during critical storm approach phases.
Follow these mounting priorities:
Follow these mounting priorities and your station performs when it matters most — not just when conditions are calm.
- Clear obstructions — Keep sensors away from any structure that disrupts natural airflow patterns.
- Use a telescoping mast — Allows quick deployment and stowage without compromising antenna calibration alignment.
- Check sensor calibration after each setup — Vibration during transport shifts baseline readings.
- Secure all connections — Loose fittings at height fail first under high-wind loading.
Getting this right means your ground-truth data stays reliable when radar lags and conditions shift fast.
Run Your Portable Weather Station on Solar or Low-Draw Battery Power
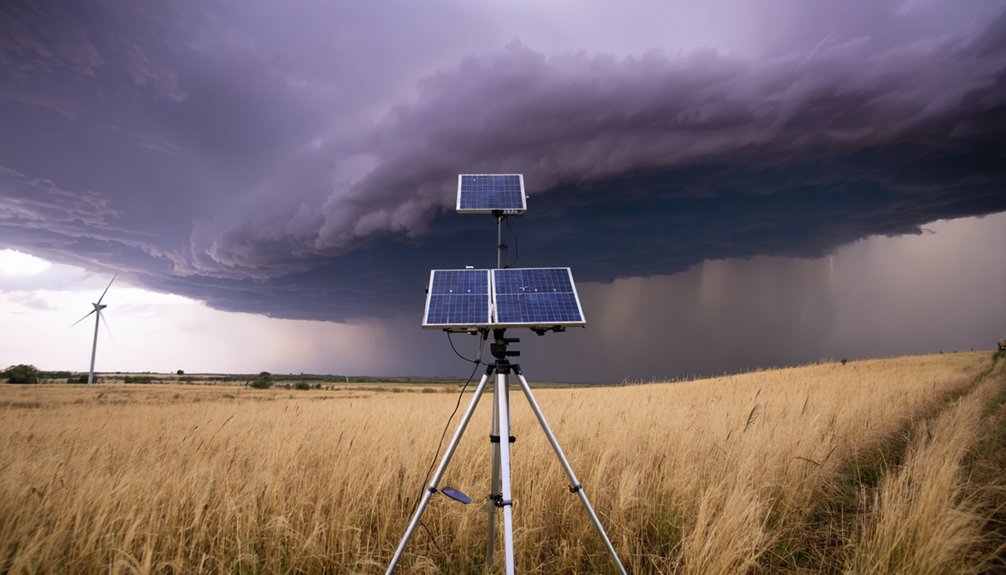
Running your portable weather station on solar or low-draw battery power keeps your system operational through long chase days without taxing your vehicle’s electrical reserves.
You’ll extend your battery bank considerably by choosing a console that supports USB power instead of a 120V inverter, since inverters introduce unnecessary conversion losses and idle draw.
Before installation, check your station’s idle current draw so you can calculate realistic runtime against your available amp-hours and size your solar input accordingly.
Solar Power Benefits
Solar power keeps your portable weather station running through long chase days without taxing your vehicle’s alternator or depleting your battery bank. Pairing a quality panel with a low-draw console lets you operate independently across remote terrain where grid power isn’t an option.
Key solar power benefits for chase setups:
- Reduced alternator load — Solar input offsets console draw, protecting battery lifespan optimization during multi-day deployments.
- Continuous operation — Panels maintain charge through daylight hours without manual intervention.
- Lower idle draw — Efficient systems pull minimal current when readings are stable.
- Solar panel maintenance simplicity — Solid-state panels require little upkeep compared to fuel-based alternatives.
Pairing solar with a dedicated USB-powered console maximizes runtime while keeping your electrical system free for navigation and communication gear.
Battery Draw Management
Keeping your battery bank healthy means knowing exactly how much current your weather station pulls at idle. Before installation, measure the idle draw with a clamp meter or inline watt meter.
Most compact stations pull between 0.1 and 0.5 amps continuously, but consoles with heated displays or cellular modems can spike that figure markedly.
Map your total daily load against your battery capacity to confirm your system won’t bottom out during a long chase day. Power conservation becomes a discipline, not an afterthought.
Disable features you don’t need in the field, prioritize USB-powered consoles over 120V inverter setups, and route critical instrumentation to a dedicated circuit.
Knowing your exact draw lets you chase longer without compromising the data reliability you depend on.
Position Your Portable Weather Station Ahead of the Storm
Positioning your portable weather station ahead of the storm is one of the most critical decisions you’ll make in the field. Poor placement corrupts sensor calibration and wastes your data window. Keep these four priorities locked in:
Placement isn’t a detail — it’s the decision that determines whether your data means anything at all.
- Stay in the forward inflow zone — set up where clean, undisturbed air feeds into the storm.
- Clear your roofline by 18–24 inches — eliminate turbulence interference from roof-mounted equipment.
- Confirm weather resistant enclosures are sealed before deployment — debris and rain hit fast.
- Plan your exit before you deploy — storm motion shifts, and a locked-in position becomes a trap.
Your station only delivers reliable pressure, wind, and humidity trends when placement is deliberate, not reactive.
Watch These Four Readings When a Storm Intensifies
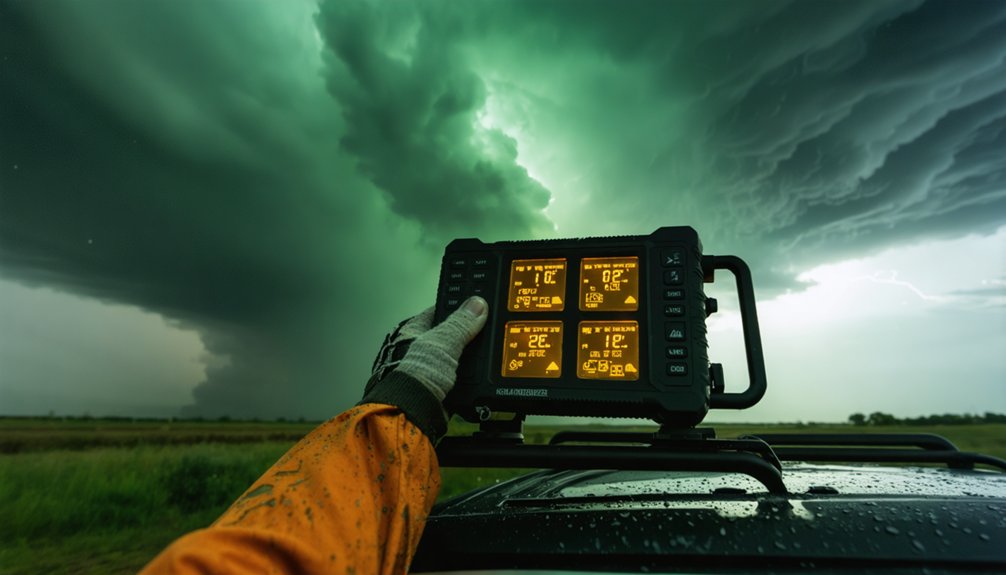
Once your station is locked in and feeding clean data, your attention shifts from placement to interpretation. Four readings demand your focus when a storm intensifies: barometric pressure, wind speed and direction, relative humidity, and temperature drop.
A rapid pressure fall signals intensification faster than radar confirms it. Wind direction shifts indicate inflow reorganization. Humidity spikes near 90% often precede heavy precipitation or hail. A sharp temperature drop can mark an outflow boundary crossing your position.
Your sensor calibration must be current before each chase day — drifted sensors produce misleading trends at the worst moments. Equipment built with weather resistant materials holds accuracy longer under pelting rain and debris.
Trust the trend lines, not single snapshots, and cross-reference every reading against visual storm structure.
Cross-Check Your Station Data Against RadarScope in Real Time
When you pull up RadarScope during an active chase, remember that the data you’re seeing can lag real conditions by several minutes.
So your station’s live pressure, wind, and humidity readings give you ground-truth that radar simply can’t match in real time. Cross-reference your measured values against what the radar shows—if your barometer is dropping sharply but radar hasn’t yet resolved a tightening hook, trust your instruments first.
You’ll make sharper positioning decisions when you treat radar as a supporting layer and your portable station as the primary real-time feed, backed by direct visual observation of storm structure.
Radar Lag Versus Reality
Radar data isn’t live—it’s a snapshot that can lag real conditions by several minutes, which means your portable weather station’s ground-truth readings often tell a more accurate story about what’s happening right now.
When radar shows one thing and your sensors show another, trust your instruments first.
Watch for these four discrepancies:
- Pressure drops your barometer catches before radar reflects intensification
- Temperature anomaly spikes signaling an outflow boundary radar hasn’t resolved yet
- Wind shifts indicating storm surge of inflow that updates haven’t captured
- Humidity spikes confirming moisture advection ahead of a confirmed hook echo
Cross-referencing both data streams removes blind spots. Your station fills the gap radar lag creates, giving you real-time situational awareness when repositioning decisions can’t wait.
Matching Ground-Truth Readings
Cross-referencing your station’s live sensor output against RadarScope transforms two incomplete data streams into a coherent operational picture. When radar reflectivity spikes but your barometer holds steady, that discrepancy demands immediate sensor calibration verification before you trust either reading.
Conversely, a sharp pressure drop paired with confirmed rotation on radar tightens your confidence interval markedly.
Think of this cross-check as a lightweight weather simulation running in real time. Your instruments measure actual atmospheric conditions at your exact coordinates while RadarScope models the broader mesoscale environment. Neither source alone gives you actionable certainty.
Together, they let you filter noise and commit to positioning decisions faster. Log timestamp-matched readings from both sources so post-chase analysis can expose calibration drift before it compromises your next deployment.
Combining Visual And Radar
Visual observation closes the latency gap that radar can’t eliminate on its own. RadarScope delivers high-resolution data, but it’s reflecting conditions from several minutes prior. Your portable station’s real-time sensor calibration and active data logging fill that gap with immediate ground-truth.
Cross-reference both sources using this workflow:
- Compare pressure trends from your barometer against radar-indicated storm intensification signatures.
- Match wind shifts on your anemometer to incoming reflectivity and velocity data on RadarScope.
- Log humidity spikes alongside radar-shown precipitation cores to confirm moisture inflow.
- Timestamp every entry in UTC so your data logging syncs cleanly with radar frame intervals.
When station readings and radar diverge, trust your sensors first. You’re positioned inside the event; radar isn’t.
Report Your Readings to SkyWarn With Coordinates and UTC Time
When you submit a spotter report to SkyWarn, including precise GPS coordinates and a UTC timestamp transforms a raw observation into operationally useful data. Forecasters need location-referenced, time-stamped readings to correlate ground truth with radar returns and model output.
Log your barometric pressure, wind speed, and humidity values alongside coordinates pulled directly from your GPS unit. Use UTC consistently—local time zones introduce errors in time-sensitive operations.
Log pressure, wind, and humidity with GPS coordinates. Always report in UTC—local time zones corrupt time-sensitive data.
Sensor calibration matters here because uncalibrated readings mislead operational decisions rather than support them. Verify your instruments before each chase day.
Some modern logging apps also offer data encryption, protecting your transmission across shared networks. Ham radio remains a reliable reporting channel when cellular infrastructure fails.
Every accurate, well-formatted report you submit strengthens the collective warning system that protects lives across open country.
Build a Pre-Chase Gear Check Around Your Portable Weather Station
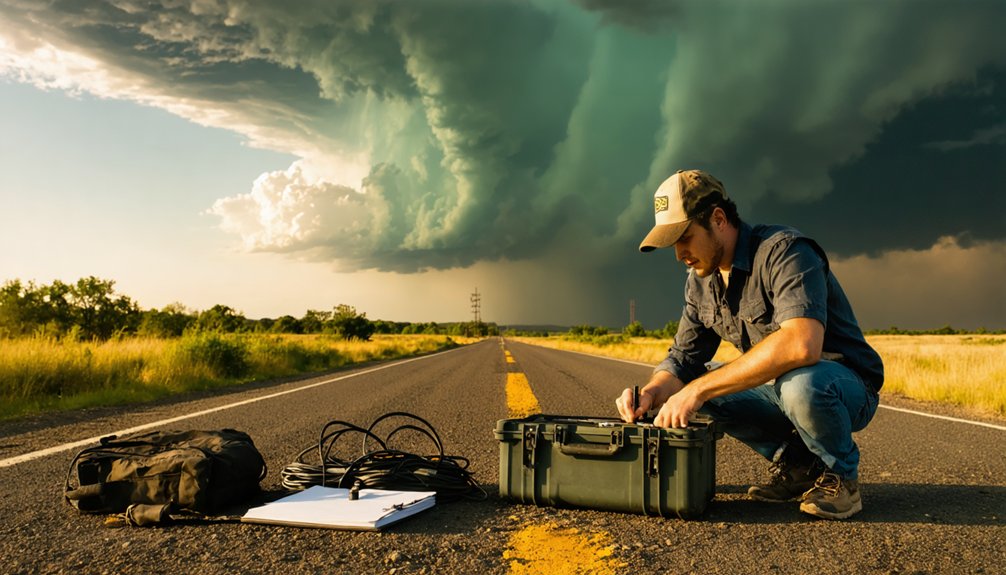
Before you load the chase vehicle, run a structured pre-chase gear check that treats your portable weather station as the centerpiece of your readiness protocol.
- Verify sensor calibration against a known reference — pressure, humidity, and temperature should match baseline values before departure.
- Confirm data logging is active and writing to your preferred storage format with correct UTC timestamps enabled.
- Test mounting hardware — check that your telescoping mast or quick-release bracket locks securely and deploys without resistance.
- Audit power draw — measure idle current consumption and confirm your battery bank or solar input can sustain a full chase day.
Skipping this checklist costs you clean data when conditions escalate fast and repositioning leaves no time for troubleshooting.
Keep Visual Observation in Your Workflow Alongside Instrument Data
Instruments give you numbers, but your eyes give you context that no sensor array can fully replicate. Storm structure, wall cloud rotation, and inflow bands communicate intensification faster than any sensor calibration cycle can process.
Your portable station delivers pressure trends, humidity shifts, and wind vectors, but those readings only gain operational meaning when cross-referenced against what you’re actually seeing above you.
Treat visual observation as a parallel data stream, not a backup option. Data redundancy strengthens every positioning decision you make.
When your barometer drops sharply and you simultaneously spot a lowering base, that convergence of instrument data and direct observation gives you actionable intelligence.
Never let a clean instrument readout override clear visual warning signs. Both channels together produce the situational awareness that keeps you mobile and in control.
Frequently Asked Questions
What Communication Tools Help Storm Chasers Coordinate With Other Spotters Effectively?
You’ll want ham radio for SkyWarn coordination, following solid communication protocols to share location coordinates and UTC-stamped readings. It enables emergency signaling when cellular fails, keeping you connected with fellow spotters during rapidly evolving, high-stakes storm events.
How Do Offline Maps Support Storm Chasers When Cellular Signal Is Unavailable?
When cellular grids collapse entirely, offline maps keep you steering with pinpoint precision. You’ll plot escape routes, cross-reference satellite imaging, integrate weather forecasting data, and reposition instantly—ensuring you’re never stranded chasing blind without signal.
Can a Portable Lightning Detector Improve Safety Before Approaching an Active Storm?
Yes, a portable lightning detector boosts your storm safety by giving you early electrical activity alerts before you’re in striking range. You’ll gain critical lead time, letting lightning detection data drive smarter, freer approach decisions.
How Should Storm Chasers Use a Hail Ruler During Active Weather Events?
Use a hail ruler immediately after stones fall to capture accurate hail measurement before melting skews your data. You’ll strengthen storm documentation by recording diameter, location coordinates, and UTC timestamps for precise, ground-truth reporting.
What Idle Draw Level Is Acceptable for a Mobile Weather Station Battery System?
Check your station’s idle draw before installation—you’ll want the lowest possible milliamp rating to support battery maintenance and power conservation, keeping your system running efficiently without draining your battery bank during long chase operations.
References
- https://www.benholcomb.com/storm-chasing/equipment/
- https://www.youtube.com/watch?v=uGw057nHb6w
- https://allmeteo.com/storm-chasing-weather-station
- https://www.habitatista.com/265654/best-weather-stations/
- https://crazystormchasers.com/storm-chaser-weather-station-setup/
- https://crazystormchasers.com/best-tech-tools-for-storm-chasers-response-coordination/
- https://crazystormchasers.com/best-storm-spotting-equipment-for-trained-spotters/