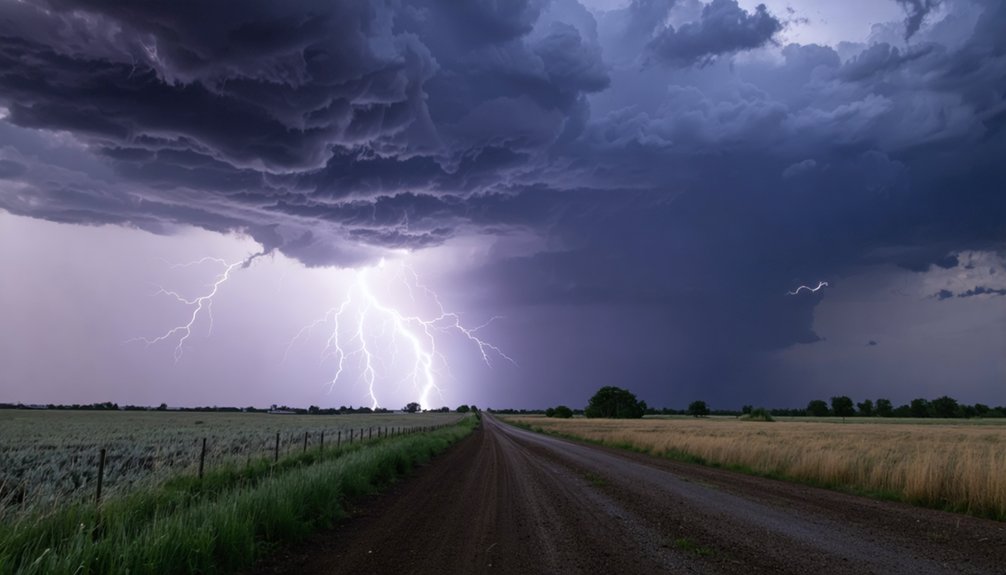
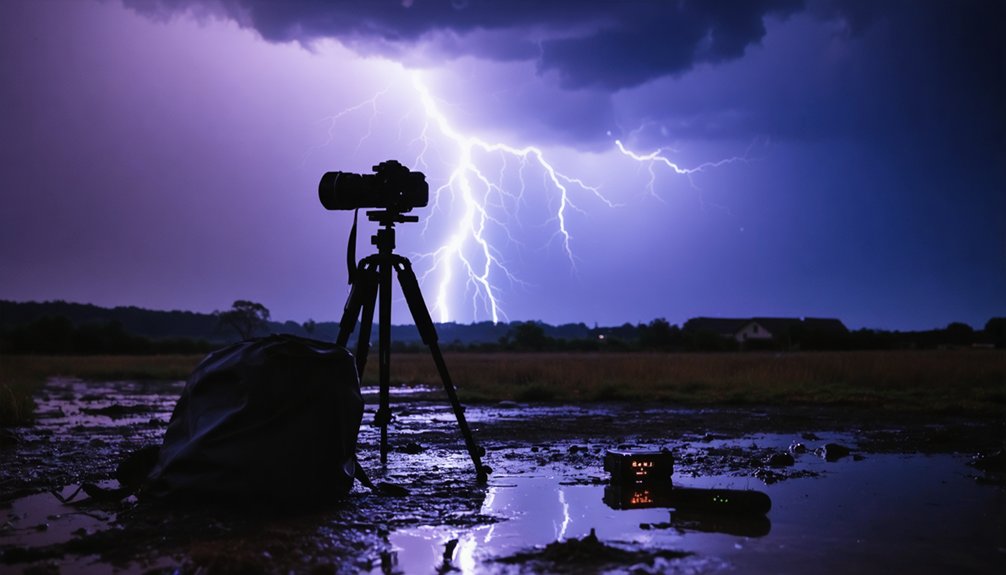
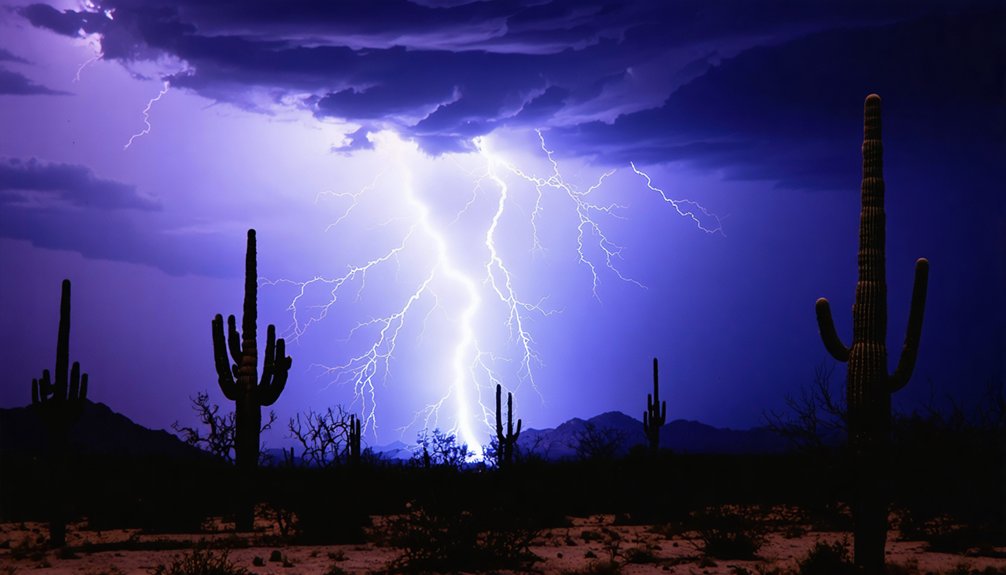
To capture lightning from unique perspectives, you’ll want to shoot from inside a vehicle or building, position yourself at the storm’s safe outer edge, and use a wide-angle lens for full storm coverage. Point a fisheye lens overhead for 180-degree sky captures, shoot near still water for natural reflections, and incorporate city skylines for dramatic scale. Stack 15–25 exposures using Photoshop’s “Lighten” blend mode to combine multiple strikes into one powerful composite—each technique builds on the last.
Key Takeaways
- Shoot from inside a vehicle or building, positioning near a window for safety while capturing unobstructed lightning shots.
- Use a fisheye lens pointed upward to capture a dramatic 180-degree dome view of overhead lightning strikes.
- Position at the storm’s outer edge, maintaining a 5-10 mile buffer zone behind active convection for safe shooting.
- Photograph lightning over still water bodies, framing with 50% sky and 50% water to capture stunning reflections.
- Include city skylines in compositions using 24mm–70mm lenses, letting urban light pollution intensify lightning contrast dramatically.
Shoot From Inside a Vehicle or Building for Lightning Photography
Shooting from inside a vehicle or building gives you a critical safety buffer while still allowing clean, unobstructed shots of the storm. Indoor safety isn’t passive—it’s a strategic advantage. Position yourself near a window or open doorway, keeping your tripod stable against a solid surface to minimize vibration during long exposures.
Vehicle positioning matters equally. Park perpendicular to the storm’s direction, giving your wide-angle lens maximum horizontal coverage. Crack the window slightly to eliminate glass distortion, which degrades image sharpness at longer focal lengths. Avoid parking beneath trees or near water bodies—maintain at least 50 feet of clearance.
Set your aperture to f/8, ISO 200, and shutter speed between 10-20 seconds. You control the shot; the structure just keeps you alive to take it.
Position Yourself at the Safe Edge of the Storm
Positioning yourself at the storm’s outer edge keeps you out of the high-strike zone while still delivering dramatic bolt activity within your frame.
You’ll want to deploy a mid-telephoto lens in the 14mm–200mm range, which compresses the distance between you and active cells, pulling strikes closer without requiring dangerous proximity.
This approach lets you maintain a controlled, data-informed shooting position where you can monitor radar apps in real time and adjust your distance as the storm’s trajectory shifts.
Storm Edge Safety Tactics
When chasing storms, you’ll want to position yourself at the trailing edge rather than directly beneath active cells. This storm positioning strategy keeps you 5-10 miles behind the most active convection, giving you clear sightlines while minimizing lightning safety risks.
Use weather radar apps to track cell movement in real time. Monitor the storm’s direction and speed, maintaining your buffer zone as conditions shift. If the cell reverses or expands rapidly, relocate immediately.
Stay inside your vehicle whenever possible — it acts as a Faraday cage, redirecting strike energy around you. Avoid standing near tall trees, water, or elevated terrain.
Keep your engine running for a quick exit, and always establish a predetermined escape route before the shoot begins.
Mid-Telephoto Lens Advantages
Once you’ve established your position at the storm’s trailing edge, your lens choice becomes the next tactical decision. A mid-telephoto lens, ranging from 14mm to 200mm, delivers exceptional lens versatility for shooting distant strikes safely.
You’re not locked into a single composition — you can compress distance, isolate bolt structure, and frame dramatic cloud formations with precision.
Focal length directly controls how much storm activity fills your frame. At 200mm, you’ll pull in tight details of individual strikes kilometers away. At 14mm, you’ll capture broader, multi-bolt sequences across the horizon.
This range gives you tactical flexibility without sacrificing safety margins. You’re commanding your shot from a controlled distance, selecting exactly what the frame includes — nothing accidental, everything intentional.
Use a Wide-Angle Lens to Frame the Full Storm
Wide-angle lenses between 14mm and 35mm give you the broadest possible field of view, maximizing the horizontal frame coverage and substantially increasing the probability of capturing a strike within the shot.
Composing with 60-80% sky and 20-40% ground optimizes your frame for maximum strike exposure.
Camera stabilization becomes critical at these focal lengths. Mount your setup on a heavy tripod and attach a remote shutter release to eliminate vibration during 5-20 second exposures. Without stable support, wide-angle shots produce unusable blur.
Lightning safety dictates your positioning strategy. Stay inside a vehicle or building while shooting through an open window or doorway.
Keep 50 feet from water and tall trees. Wide-angle lenses let you capture dramatic, expansive storm systems while maintaining a protective barrier between you and the strike zone.
Shoot Upward With a Fisheye for Overhead Lightning Strikes
Shifting from horizontal storm coverage to vertical sky capture opens an entirely different photographic opportunity. Point your fisheye lens directly upward to maximize the 180-degree field of view, dramatically increasing your chances of capturing overhead strikes across the entire sky dome.
Shift from horizontal storm coverage to vertical sky capture, pointing your fisheye lens upward to photograph the entire sky dome.
Mount your camera on a stable tripod, angling the lens vertically toward the canopy above. The fisheye perspective distorts straight bolt paths into dynamic curved lines, creating visually striking compositions impossible with standard lenses.
Set aperture between f/5.6 and f/8, ISO at 200-400, and shutter speeds from 10-20 seconds. Overhead strikes require longer exposures since bolts disperse energy across wider sky coverage.
Protect your gear with a waterproof housing, keeping yourself safely sheltered while the intervalometer fires continuously throughout the storm sequence.
Shoot Near Still Water to Double Your Lightning Strike in Frame
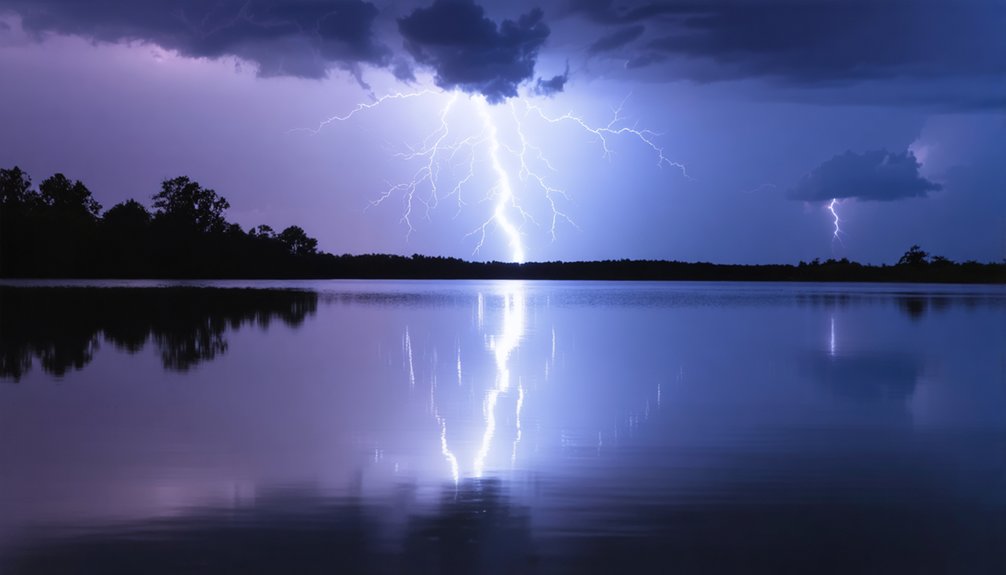
Scout for ponds, lakes, or flooded fields where wind speeds stay below 5 mph, ensuring the surface remains mirror-flat and capable of producing a clean symmetrical reflection.
Position your camera low to the ground and frame the composition with 50% sky and 50% water to lock in a perfect axis of symmetry between the strike and its mirror image.
Set your aperture to f/8 and keep your ISO at 100-400 to manage the intense burst of light from both the bolt and its reflection without blowing out either exposure plane.
Finding Reflective Water Sources
Still water surfaces like lakes, ponds, and flooded fields act as natural mirrors, effectively doubling the visual impact of a lightning strike by capturing both the bolt and its reflection in a single frame.
Identifying *ideal* reflective surfaces requires strategic planning:
- Scout locations using satellite imagery to find calm, shallow water bodies with minimal wind interference disrupting water reflections.
- Position yourself at least 50 feet from the water’s edge, maintaining safety while maximizing the reflective surfaces within your composition.
- Compose shots with 60-80% sky coverage, allowing the water reflection to occupy the lower 20-40% of your frame.
Arrive before the storm develops, confirming water conditions remain undisturbed. Rippled surfaces scatter light, destroying clean reflections, so timing your shoot during calm atmospheric windows is critical.
Framing Symmetrical Lightning Reflections
Once you’ve identified your reflective water source, the next step is composing your shot to achieve perfect symmetry between the strike and its mirror image. Position your horizon line dead-center in the frame, allocating 50% sky and 50% water for maximum reflection balance. This equal split ensures the bolt and its mirror image carry identical visual weight.
For symmetrical framing, mount your tripod low—roughly 12 to 18 inches above the water’s surface—to minimize angular distortion between the actual strike and its reflection.
Set your focal length between 24mm and 35mm to capture broad horizontal coverage. Use a shutter speed of 10 to 20 seconds at f/8, ISO 200, letting still water act as a natural mirror that effectively doubles your lightning strike within a single frame.
Managing Exposure Near Water
Exposure management near water demands a recalibrated approach because reflective surfaces introduce twice the luminance data into your sensor compared to a standard ground composition. That doubled brightness blows highlights fast, so you’ll need tighter aperture and lower ISO immediately.
Apply these water safety and lightning timing adjustments:
- Stop down to f/11 or f/16 to control reflection intensity without sacrificing bolt detail.
- Lock ISO at 100 to prevent sensor overload from mirrored strike luminance.
- Set shutter speed between 8–15 seconds, syncing your lightning timing window to the storm’s strike frequency.
Stay 50+ feet from the water’s edge, keeping water safety non-negotiable.
Position your tripod on elevated, stable ground, frame 70% sky, and let the reflection double your compositional impact autonomously.
Use City Skylines at Night to Add Scale and Drama to Lightning Shots
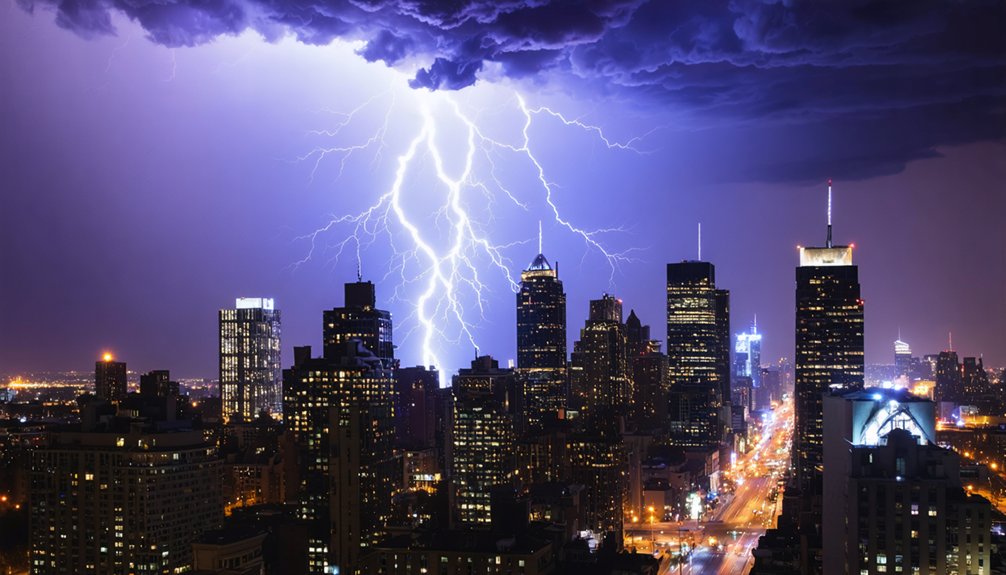
Pairing lightning with a city skyline instantly adds depth, scale, and dramatic contrast to your shot. Urban light pollution creates a warm amber or orange glow that intensifies lightning color contrast, making bolts appear more vivid and visually striking.
Position yourself at least 50 feet from open water, and frame the skyline using a 24mm–70mm focal length, allocating 60–80% sky coverage to maximize strike probability.
For nighttime city shots, set your aperture to f/5.6–f/8, ISO between 100–400, and shutter speed between 5–20 seconds. Focus on distant city lights using Live View to achieve tack-sharp results.
Mount your camera on a heavy tripod and use an intervalometer to fire continuously. In post-processing, boost contrast selectively to make bolts pop against the illuminated skyline.
Stack Multiple Exposures to Build One Dramatic Lightning Image
When a single exposure fails to capture more than one or two bolts, stacking multiple exposures into one composite image solves the problem. Exposure stacking lets you combine 10–30 individual frames, dramatically increasing strike density without sacrificing image quality.
Lightning layering in post-processing software like Photoshop uses “Lighten” blend mode, merging only the brightest pixels from each layer.
Follow these three steps for precise results:
- Shoot 15–25 frames using 10–20 second exposures at f/8, ISO 200.
- Import all frames into Photoshop as layers, setting each to “Lighten” blend mode.
- Flatten the composite, then boost contrast selectively to make bolts visually dominant.
You’ll own a single, dramatic frame showcasing multiple strikes that no lone exposure could ever deliver.
Frequently Asked Questions
Which Weather Radar Apps Are Best for Tracking Lightning Strike Locations?
You’ll want apps like RadarScope, MyRadar, or Weather Underground for precise storm prediction and lightning safety. They’re delivering real-time strike data, enabling you to track cells strategically and position your gear with maximum freedom and accuracy.
What ISO Range Minimizes Noise During Pitch-Black Nighttime Lightning Photography?
You’ll obliterate noise entirely by keeping your ISO settings between 100-400 during pitch-black nighttime shoots. This razor-thin range delivers maximum noise reduction, ensuring your lightning bolts explode with crisp, breathtaking clarity against the darkest skies.
How Do Intervalometers Improve Continuous Shooting During Active Lightning Storms?
Intervalometers automate your shutter releases continuously, eliminating manual intervention. You’ll maximize exposure timing precision, firing every few seconds without touching the camera, ensuring camera stability remains uncompromised while you capture every active lightning strike during intense storm sequences.
What Post-Processing Techniques Best Enhance Lightning Bolt Detail and Contrast?
Boost brightness and contrast to astronomically transform your shots! You’ll want to apply HDR processing to reveal every bolt’s hidden detail, then use contrast enhancement to make strikes explode dramatically against dark, brooding storm backdrops.
How Should Photographers Protect Camera Gear From Rain During Lightning Shoots?
Shield your gear with protective covers, like plastic bags or weatherproof cloths, to block rain damage. You’ll maintain equipment maintenance standards, ensuring your camera body and lens stay dry, functional, and ready to capture every strike.
References
- https://alphauniverse.com/stories/a-matter-of-perspective–capturing-lightning-in-broad-daylight–without-a-trigger-/
- https://photographylife.com/how-to-photograph-lightning
- https://www.youtube.com/watch?v=uvDQKMQTJMw&vl=en
- https://digital-photography-school.com/how-to-photograph-lightning-the-ultimate-guide/
- https://www.rmets.org/metmatters/lightning-photography-advice-award-winning-photographer
- https://crazystormchasers.com/capturing-lightning-strikes-in-slow-motion/