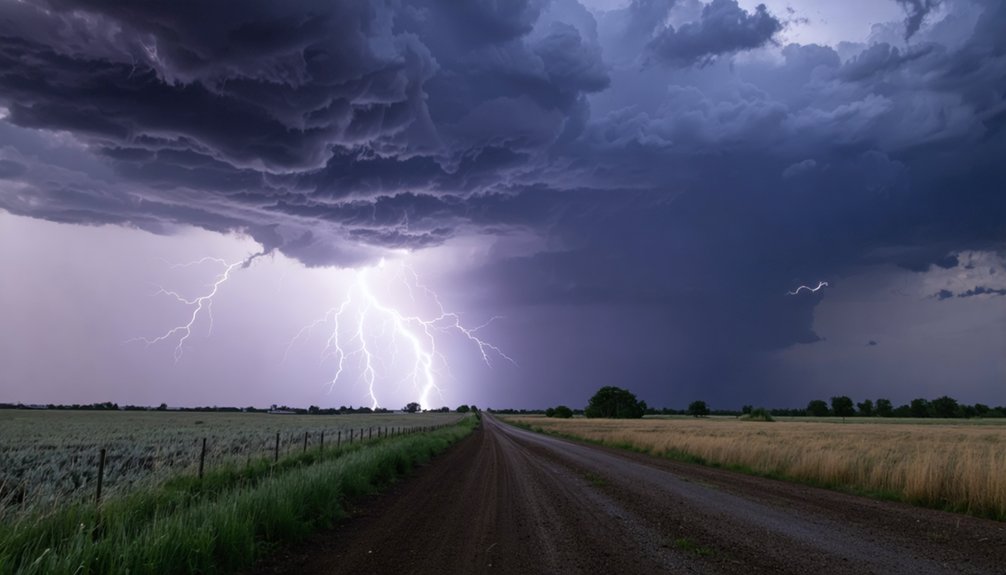
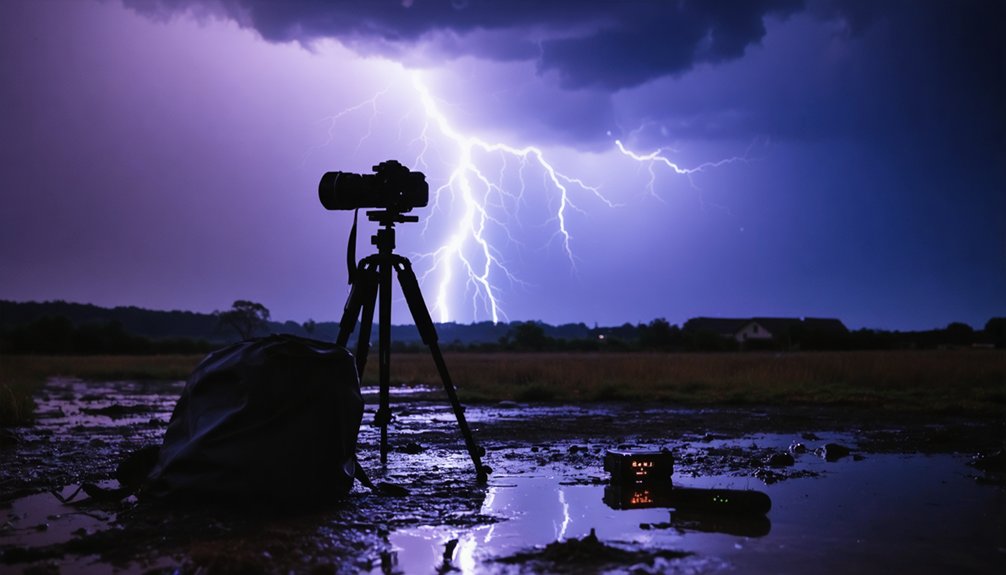
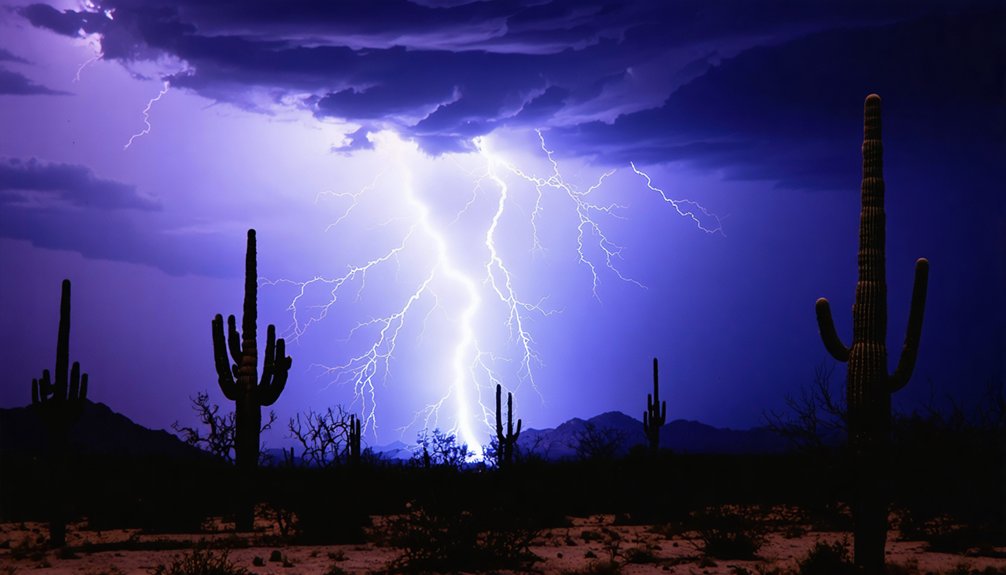
Framing in lightning photography determines whether your shot looks powerful or forgettable. It’s not just pointing at the sky — it’s deliberately controlling which elements appear and how they relate to each other within your frame. Where you place the horizon, how you use foreground objects, and where lightning sits in the composition all shape its perceived scale and impact. Master these decisions and every element in your shot starts working together.
Key Takeaways
- Proper framing transforms lightning photography from a simple snapshot into a compelling, powerful image with intentional visual impact.
- Framing controls lightning’s perceived power; strikes placed at frame edges appear weaker than those positioned along vertical grid lines.
- Strategic horizon placement determines whether sky or ground dominates, directly influencing lightning’s visual weight within the scene.
- Foreground elements like trees or buildings provide scale references, making lightning appear dramatically larger and more powerful.
- Leading lines such as roads or rivers create deliberate visual pathways, naturally guiding the viewer’s eye toward the lightning strike.
What Framing Actually Means in Lightning Photography
Framing in lightning photography isn’t just about pointing your camera at the sky and hoping for the best—it’s a deliberate compositional strategy that determines what appears within your shot and how those elements relate to one another. You’re actively deciding where the horizon sits, what foreground elements anchor the scene, and how much sky you’re giving the storm to breathe in.
Lighting patterns shift rapidly as weather conditions evolve, so your framing decisions must stay intentional and adaptive. Every edge of your frame either strengthens or weakens the final image. You’re fundamentally building a visual container that guides the viewer’s eye, establishes scale, and emphasizes the bolt’s intensity.
Without thoughtful framing, even the most dramatic strike becomes a forgettable snapshot rather than a compelling photograph.
Safety and Setup Steps That Make Precise Framing Possible
Before you can execute any of the compositional decisions discussed above, you’ve got to put yourself in a position where precise framing is physically possible—and that starts with safety. Weather monitoring lets you anticipate storm movement, giving you time to scout and secure a location that keeps you protected while maximizing your compositional angle.
Once you’re positioned, your setup determines everything:
- Mount your camera on a tripod to stabilize the frame and enable precise, repeatable adjustments.
- Lock focus manually on a distinct structure or set infinity focus in dark conditions where autofocus fails.
- Shoot RAW at high resolution to preserve detail for post-processing framing corrections.
Equipment maintenance guarantees none of these steps fail mid-storm—clean contacts, charged batteries, and secure mounts keep your technical foundation solid.
Why Framing Determines Whether Lightning Looks Powerful or Flat
When you place a lightning bolt at the edge of a cluttered frame, you strip it of its power and reduce it to background noise.
Your compositional choices—horizon placement, leading lines, and foreground balance—directly control whether the strike commands the scene or disappears into it.
Frame the shot so the lightning dominates, and you’ll transform a flat snapshot into an image that hits the viewer with the full force of the storm.
Compositional Choices Amplify Impact
Why does one lightning photograph command attention while another falls flat despite capturing the same raw power? Your compositional choices determine the answer, regardless of lighting equipment or weather conditions.
Strategic framing transforms raw electrical energy into visual drama by:
- Applying the Rule of Thirds — position the bolt along grid intersection points, not dead center
- Incorporating leading lines — roads, rivers, or fences pull the viewer’s eye directly toward the strike
- Balancing foreground and sky — silhouetted structures provide scale while grounding the celestial event
You’re fundamentally building a visual argument before the lightning even fires. A well-composed scene stands strong independently.
When the bolt arrives, your deliberate framing amplifies its intensity rather than simply documenting its existence.
Framing Controls Lightning Dominance
Horizon placement dictates whether your lightning bolt commands the frame or gets lost in competing visual noise. When weather conditions produce multi-bolt displays, push your horizon down to the lower third, surrendering two-thirds of the frame to sky. This single adjustment transforms flat documentation into dramatic imagery.
You’re not relying on lighting equipment here — you’re controlling visual weight through deliberate positioning. A centered horizon splits authority between ground and sky, weakening the bolt’s perceived dominance. A lowered horizon concentrates that authority upward, forcing the viewer’s eye directly into the strike.
When ground elements are strongly illuminated by the strike, raise your horizon slightly to incorporate that context. Adjust dynamically as storm movement shifts the action across your frame, maintaining dominance without sacrificing compositional integrity.
Use the Rule of Thirds to Place Lightning More Powerfully
When you divide your frame into nine equal segments using the rule of thirds grid, you create a structural map that organizes the chaotic energy of a lightning strike into a controlled, intentional composition.
Placing the lightning bolt along one of the vertical grid lines immediately strengthens its visual weight, pulling the viewer’s eye toward it with purpose rather than chance.
The four intersection points—where horizontal and vertical lines cross—act as natural anchors, so positioning a strike at or near one of these hotspots maximizes its dramatic impact within the frame.
Grid Lines Enhance Focus
Dividing your frame into a grid of nine equal segments transforms how you approach a lightning shot. Those intersection points become your power zones, drawing the viewer’s eye precisely where the bolt meets storm clouds or where color contrast between sky and ground peaks.
Place your lightning along these grid lines instead of dead center, and you’ll immediately notice stronger visual tension.
- Position horizon lines along the lower or upper horizontal grid lines to control sky dominance.
- Align lightning bolts with vertical grid lines for deliberate, structured visual impact.
- Target intersection points for maximum compositional force when storm clouds create dramatic color contrast.
You’re not guessing anymore—you’re engineering the shot. This grid framework gives you real control, letting you respond quickly as lightning shifts across the frame.
Intersections Draw Viewer Attention
Those nine segments give you structure, but the real power lives at the four intersection points where the grid lines cross. Position your lightning strike near one of these intersections, and you’ll immediately pull the viewer’s eye toward the most electrifying part of your frame.
Color contrast works in your favor here — the bolt’s brilliant white or purple hue pops against a dark, turbulent sky precisely because the surrounding compositional space amplifies that tension. You’re not just capturing weather conditions; you’re orchestrating how someone experiences them.
When a strike lands near an intersection point rather than dead center, the image breathes. Negative space becomes intentional, foreground elements anchor the scene, and the lightning asserts dominance without feeling boxed in or static.
Where to Position the Horizon for Maximum Lightning Impact
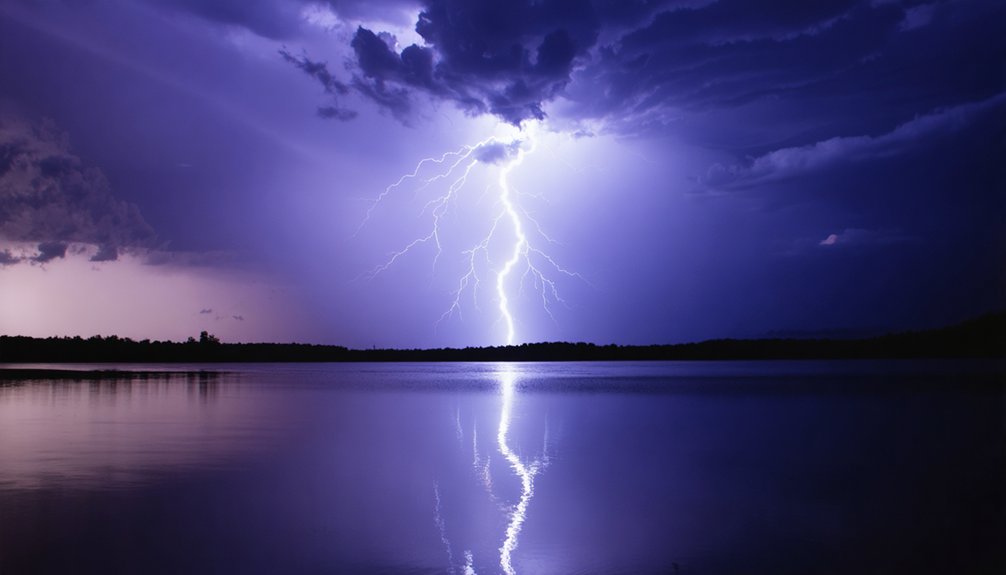
Horizon placement can make or break a lightning photograph, so you’ll want to adjust it based on the intensity and location of the strike. Storm intensity directly dictates how much sky you’ll need in your frame.
- Multi-bolt skies: Give the sky two-thirds of the frame to capture sprawling electrical activity.
- Ground-level illumination: Raise the horizon when the strike lights up compelling foreground details worth showcasing.
- Single dominant bolt: Drop the horizon low, preventing the ground from competing with the lightning’s raw power.
Always double-check that your horizon line stays perfectly straight—a crooked horizon undermines professional quality instantly. You’re in control of where the viewer’s eye travels, and precise horizon placement ensures the lightning commands exactly the attention it deserves.
Leading Lines That Pull the Eye Straight to the Strike
Once you’ve locked in your horizon placement, the next compositional tool at your disposal is leading lines—natural or man-made features that pull the viewer’s eye directly toward the strike. Roads, fences, rivers, and pathways all function as directional anchors, creating a deliberate visual path through the frame.
Weather conditions directly influence which lines are available to you. Rain-slicked roads intensify color contrast, amplifying reflections that strengthen the leading line’s visual pull. A flooded field or wet pavement catches the bolt’s illumination, doubling its impact.
Man-made structures like bridges or rail lines offer geometric precision, while organic features like tree lines or riverbanks provide fluid movement. Either way, you’re engineering a path the eye can’t resist following—straight to the strike itself.
Foreground Objects That Make Lightning Look Enormous
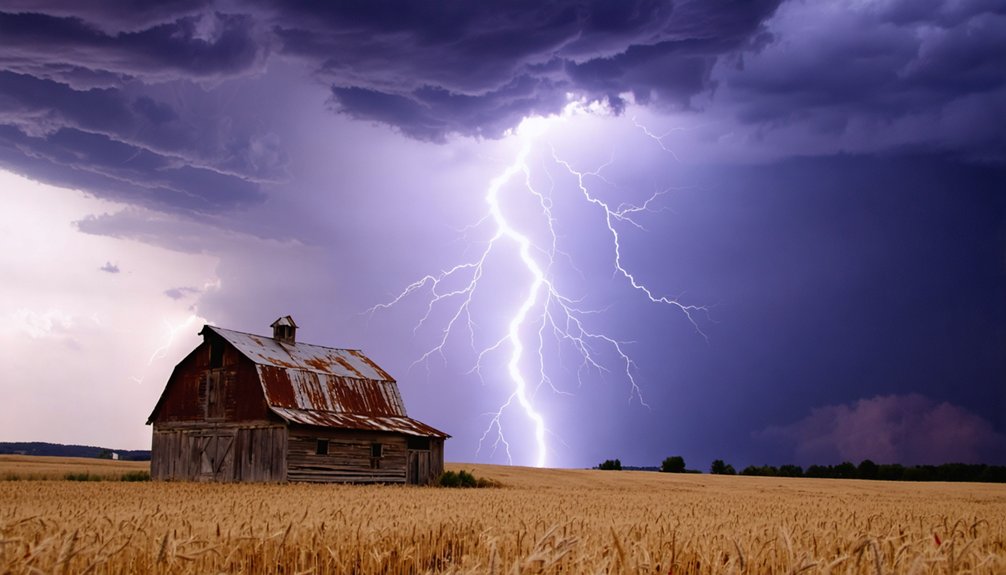
Scale is relative, and foreground objects exploit that relativity to make lightning look absolutely massive. When you position trees, buildings, or fences close to your lens, you’re creating an instant size comparison that dwarfs the strike against the sky.
Your lighting gear should be stabilized on a tripod so you can precisely lock in that foreground-to-sky relationship without drift.
Use these foreground strategies to amplify perceived scale:
- Silhouetted trees create dark contrast anchors that force the eye upward toward the bolt
- Buildings or towers establish altitude reference, making the lightning appear to tower above civilization
- Roads or fences stretch toward the storm, compressing distance dramatically
Monitor weather conditions continuously, since shifting storms require quick foreground recomposition to maintain that powerful sense of immensity.
How to Reframe Quickly When Lightning Shifts Across the Sky
Storms don’t hold still, and neither should your framing. As weather conditions shift, lightning migrates across the sky, forcing you to adapt fast. Keep your tripod head loose enough for quick panning without sacrificing stability.
Watch the storm’s movement pattern before committing to a composition—most cell activity tracks in a predictable direction.
When lightning jumps zones, pivot your camera while keeping a dominant foreground anchor in frame. Don’t abandon your leading lines entirely; reposition them to the opposite third instead.
Monitor color contrast between the illuminated sky and darkened landscape, since shifting storm positions alter those tonal relationships dramatically.
Give yourself enough sky coverage to catch strikes without constant repositioning. Anticipate the storm’s drift, and your reframing becomes intentional rather than reactive.
Frequently Asked Questions
What Camera Brands Work Best for Capturing Lightning in Low Light?
You’ll find Canon, Nikon, and Sony excel in low-light lightning capture. Their superior sensor sensitivity handles darkness brilliantly, while you’re controlling shutter speed to freeze each dramatic bolt with stunning, precise technical clarity.
Can Framing Techniques Differ Between Daytime and Nighttime Lightning Photography?
Yes, they absolutely differ! When nature puts on its daytime show, you’ll adjust composition strategies to balance landscape elements. At night, you’re prioritizing sky dominance for visual balance, letting lightning command the frame freely.
Does Post-Processing Software Affect How Framing Choices Appear in Final Images?
Yes, post-processing software absolutely affects how your composition techniques translate into final images. You’ll notice framing consistency can shift when you crop, adjust exposure, or reframe in editing, so always shoot RAW to preserve maximum flexibility.
How Does Lens Focal Length Influence the Overall Framing of Lightning Shots?
Lens versatility opens infinite creative freedom! Focal length effects transform your framing dramatically—wide lenses capture expansive storm scenes, while telephoto lenses compress distance, isolating individual bolts. You’ll adjust your composition entirely based on your chosen focal length.
Are There Legal Restrictions on Locations Chosen for Lightning Photography Sessions?
Yes, you’ll encounter location restrictions requiring legal permits for certain areas like national parks or private property. Always check local regulations before setting up, ensuring you’re free to capture stunning lightning shots legally and safely.
References
- https://digital-photography-school.com/how-to-photograph-lightning-the-ultimate-guide/
- https://stushort.com/lightning-photography-guide-2/
- https://www.nickulivieriphotography.com/blog/lightning/
- https://www.rmets.org/metmatters/lightning-photography-advice-award-winning-photographer
- https://crazystormchasers.com/lightning-strike-photography-framing-ideas/
- https://www.scribd.com/document/381243124/Creative-Lightning-Photography
- https://skylum.com/nl/how-to/how-to-photograph-lightning
- https://chrisbrayphotography.com/tips/photographing_lightning.php