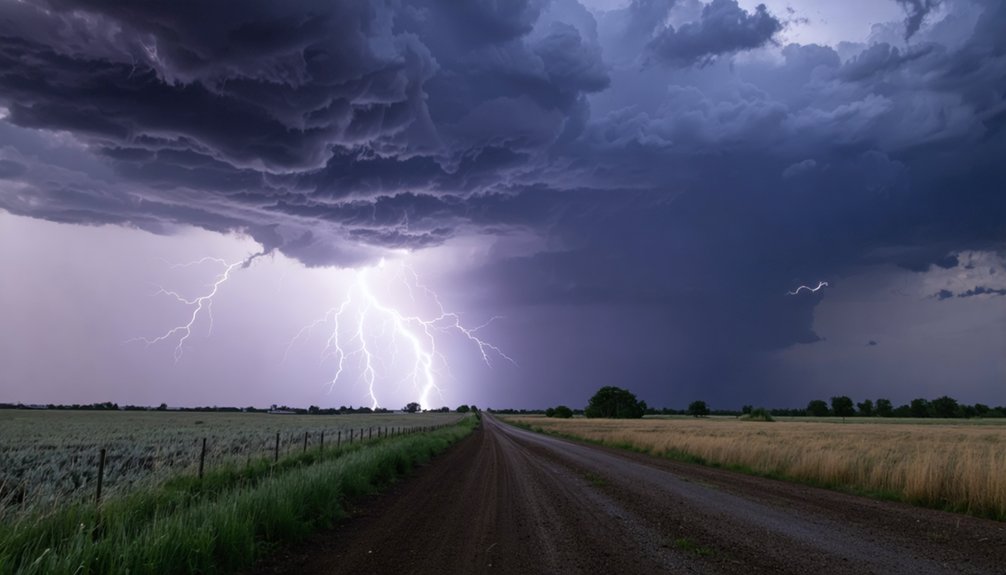
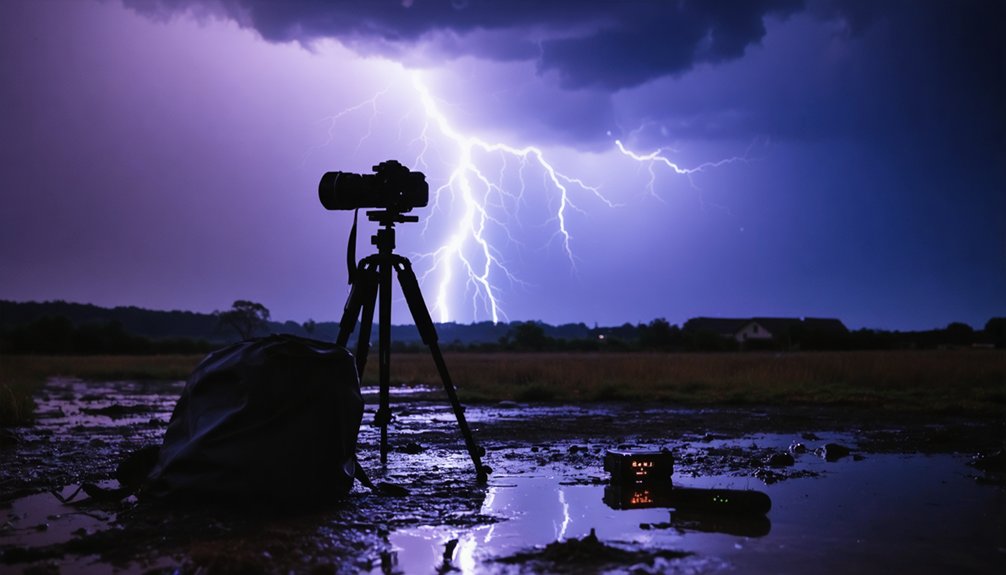
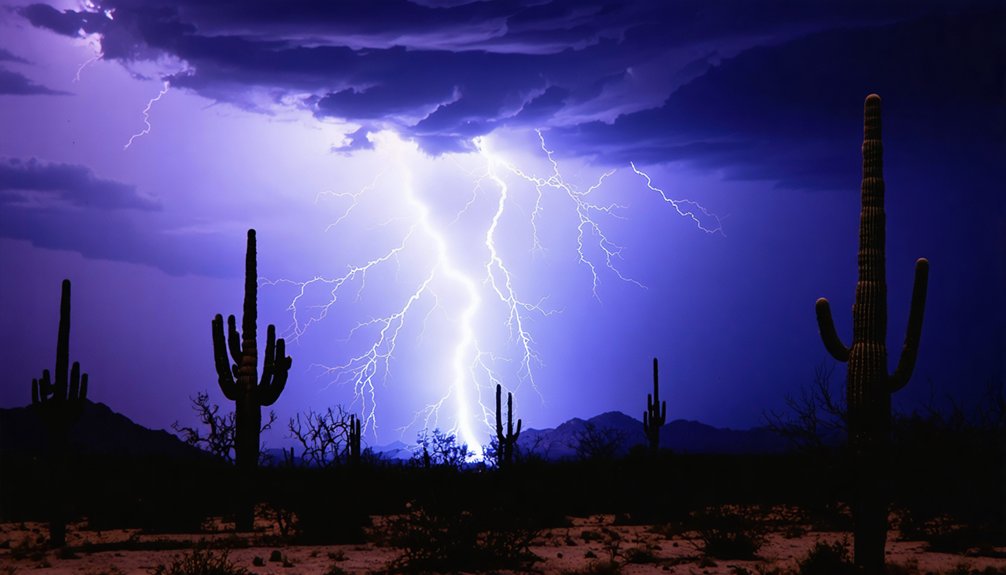
To capture lightning like a pro, you’ll need a tripod-locked camera, an intervalometer for hands-free continuous shooting, and manual focus set to infinity before darkness falls. Use f/16 at ISO 100 for daytime shots and f/5.6–f/8 for night. Frame wide, stay safe by shooting from vehicles or hard-roofed structures, and keep your interval gap under two seconds to avoid missing strikes. Each tip below breaks down exactly how to maximize your results.
Key Takeaways
- Lock your camera on a stable tripod, turn off image stabilization, and attach an intervalometer for hands-free, shake-free continuous shooting.
- Use manual focus confirmed via Live View, setting focus to infinity before darkness arrives to ensure sharp lightning captures.
- For night shots, shoot at f/5.6–f/8, ISO 100, with 5–30 second exposures; use f/10–f/16 in brighter urban environments.
- Set your intervalometer interval gap under two seconds, with shutter speed slightly shorter than the interval, to avoid missing strikes.
- Prioritize safety by shooting from vehicles or hard-roofed structures, avoiding open fields, hilltops, and isolated trees during storms.
Lock Down Your Camera Before the Storm Arrives
Before a single bolt crosses the sky, you’ll want your camera locked down on a stable tripod with no room for movement. Storm chasing demands a disciplined setup because any vibration during a long exposure will destroy sharpness. Tighten every joint, extend no leg section you don’t need, and keep the center column low.
Attach an intervalometer so the camera fires continuously without you touching it. That remote connection eliminates hand-induced shake and keeps your framing consistent across dozens of sequential exposures.
Turn image stabilization off completely; on a fixed tripod, it introduces micro-vibrations rather than suppressing them.
Smart weather forecasting tells you where to position before the storm arrives, giving you time to test your setup and confirm focus before the first strike fires.
Stay Safe and Position Yourself for the Best Shots
Safety isn’t optional in lightning photography—it’s the framework everything else depends on. Storm safety starts before you ever raise your camera. Don’t let lightning myths fool you: rubber-soled shoes won’t protect you, and a car’s safety comes from its metal frame, not its tires.
Safety isn’t optional in lightning photography—it’s the framework everything else depends on.
Position yourself where you can work freely without exposure to direct strike zones:
- Shoot from inside a vehicle or hard-roofed structure when possible
- Target lightning ahead of the storm’s core, not inside heavy rainfall
- Avoid open fields, hilltops, and isolated trees
- Track storm movement continuously so you’re never caught off guard
Smart positioning also improves your shots. Cleaner air ahead of the rain core means better visibility, stronger contrast, and sharper bolt definition across your frame.
Set Focus to Infinity Before It Gets Dark
Once you’ve locked in your position, your next problem is focus—and it needs to be solved before the light disappears. Switch to manual focus immediately and target a distant light source while visibility still allows it. Use Live View magnification to confirm sharpness, then lock it down. Autofocus won’t reliably track lightning channels in darkness, so don’t trust it.
Think of this step like weather forecasting—you’re making calculated decisions before conditions deteriorate. Set focus to infinity as your baseline when the storm is distant. If color correction in post reveals soft edges or halation around bolt channels, it’s often a focus error, not a lighting problem. Solve it upfront, and your exposures will hold up through every frame the storm gives you.
Choose Exposure Settings for Day vs. Night Lightning Photography
Exposure settings split cleanly into two scenarios, and your approach needs to shift accordingly. Ambient lighting dictates everything, so don’t treat day and night the same.
For daytime strikes, you’re fighting overexposure:
- Use f/16 or smaller to suppress background brightness
- Keep ISO at 100 to protect highlight detail
- Set exposure duration between 1/4 and 1/20 second
- Fire continuously to increase strike probability within each frame
Night shooting flips the equation entirely:
- Open aperture to f/5.6–f/8 in dark locations
- Extend exposure duration to 5–30 seconds depending on ambient lighting
- Hold ISO at 100 to minimize noise and clipping
- Use f/10–f/16 near city lights to manage glow and create starburst effects
Test exposures early. Confirm your histogram before the strongest strikes arrive.
Frame Your Shot to Maximize Lightning Strike Chances
Position yourself near the storm’s approach path and aim your frame toward lightning activity ahead of the heaviest rainfall, where visibility stays clearest and strikes remain most frequent.
Eliminate distractions like power lines, traffic, and aircraft from your composition before the action intensifies, since removing them in post is far harder than avoiding them at setup.
If a strong bolt lands slightly outside your ideal frame, don’t discard the shot — cropping in post-production can recover a compelling image when the strike itself is well-exposed and sharp.
Choose Your Storm Position
Where you plant your tripod determines how many strikes fall inside your frame, so scout your position before the storm arrives rather than scrambling once it does. Study storm cloud formation and lightning bolt patterns to anticipate where activity concentrates.
- Position yourself ahead of the storm’s approach path, not inside heavy rainfall zones.
- Shoot toward the storm’s leading edge where visibility stays clearest.
- Avoid obstructions like power lines, trees, and traffic that corrupt your composition.
- Stay mobile enough to reposition if the storm shifts direction unexpectedly.
Prioritize sightlines over convenience. A clear, unobstructed view of active cells beats a sheltered but compromised angle every time. Your position locks in your compositional ceiling, so choosing deliberately before conditions intensify keeps you shooting instead of reacting.
Avoid Scene Distractions
What fills your frame matters as much as where you stand. Power lines, passing traffic, and aircraft create background noise that pulls attention away from the strike itself. These elements introduce viewer distraction that weakens an otherwise strong image, so eliminate them during composition rather than fixing them in post.
Scan your entire frame before the storm arrives. Reposition your tripod to exclude cluttered foregrounds or busy skylines that compete with the bolt’s visual impact. Choose clean sight lines with open sky, water reflections, or minimal structures that complement rather than compete.
If a bolt lands slightly outside your ideal frame, cropping remains a valid correction. But a disciplined composition built around distraction-free elements gives you stronger, publication-ready results without relying on post-production to salvage poor framing decisions.
Crop and Adjust Later
Framing for maximum strike probability means widening your capture zone beyond your ideal composition. A bolt landing slightly outside your perfect frame isn’t a failure—it’s a crop waiting to happen.
Post processing techniques give you the flexibility to recover strong strikes that weren’t centered precisely.
Use this workflow to your advantage:
- Shoot wider than necessary to capture peripheral strikes
- Crop aggressively in post while maintaining resolution integrity
- Apply color grading to enhance bolt contrast against the sky
- Adjust highlights and shadows to reveal hidden channel detail
You’re not locked into what the sensor captured. Modern post processing techniques let you reframe, correct exposure, and apply color grading that transforms a near-miss into a compelling final image.
Shoot wide, then refine later.
Use an Intervalometer to Catch Every Strike Automatically
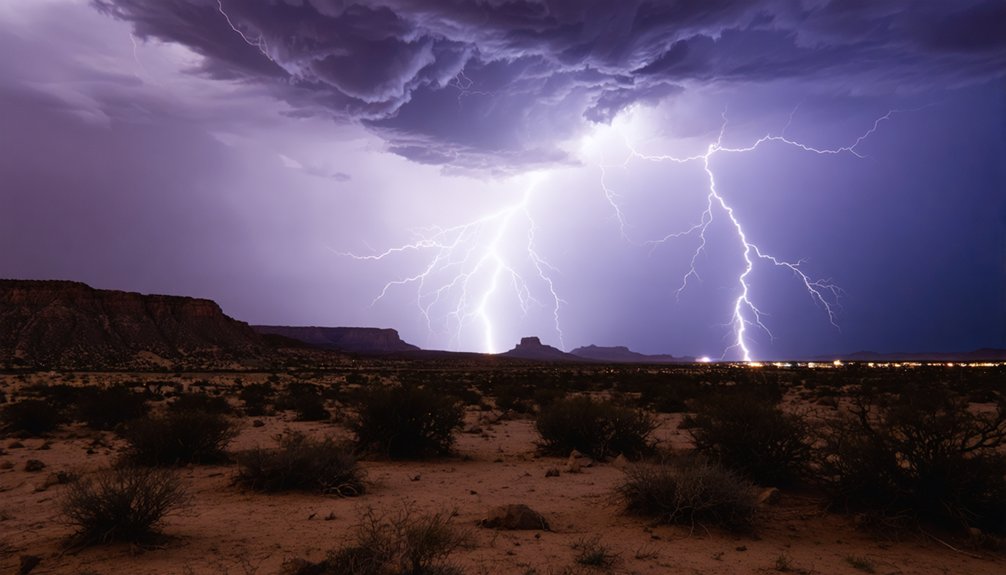
An intervalometer lets you automate continuous exposures so the camera fires repeatedly without your input, eliminating the reaction-time gap that causes missed strikes.
Set your shutter speed slightly shorter than your interval gap—for example, a 20-second exposure on a 21-second interval—so the camera resets before the next cycle begins.
This tight sequencing keeps dead time between frames to an absolute minimum, maximizing your odds of capturing a bolt within an active exposure.
Automate Your Shooting Sequence
Because lightning strikes unpredictably and often faster than you can react, manually pressing the shutter for each exposure is an ineffective strategy. An intervalometer liberates you from constant manual input, letting you monitor storm prediction and cloud movement while your camera works autonomously.
Configure your intervalometer to fire continuously with exposures slightly shorter than the interval gap, ensuring no strike slips between frames. This setup delivers:
- Consistent timing across every exposure without human error
- Hands-free operation so you can track developing storm conditions
- Reduced camera shake by eliminating repeated manual shutter presses
- Maximum coverage across extended shooting sessions as the storm evolves
Set your interval, lock your composition, and trust the automation. Your odds of capturing a clean strike increase dramatically with every uninterrupted sequence.
Minimize Missed Strike Gaps
How you configure your intervalometer determines whether you close or widen the gap between exposures where a strike can disappear unrecorded. Set your shutter speed slightly shorter than your interval cycle so the camera resets before the next exposure begins. That small buffer eliminates the dead window between frames.
Study your storm forecast before shooting so you can anticipate active periods and pre-set your interval accordingly. A slow lightning pattern allows longer exposures per cycle, while a rapid, clustered pattern demands tighter intervals to avoid missing consecutive strikes.
Keep your interval gap under two seconds. Every second the shutter stays closed is a second a bolt fires without a sensor to catch it. Tight configuration, informed by storm behavior, directly controls your capture rate.
Set Interval Timing Correctly
Capturing a strike automatically starts with one tool: an intervalometer. It fires your shutter repeatedly without you touching the camera, freeing you to focus on storm tracking and repositioning safely.
Set your interval slightly shorter than your shutter speed to eliminate gaps between exposures. Match your interval timing to lightning frequency in the active cell — faster storms demand tighter sequences.
Configure these four parameters before the storm arrives:
- Shutter duration: 5–20 seconds depending on ambient light
- Interval gap: 1–2 seconds shorter than shutter speed
- Frame count: unlimited or maximum available
- Delay start: 2 seconds to prevent shake on first trigger
This locked-down, automated approach keeps your camera firing continuously, maximizing coverage across every active lightning channel without manual intervention.
Narrow Your Aperture and Lower ISO to Prevent Blown Highlights
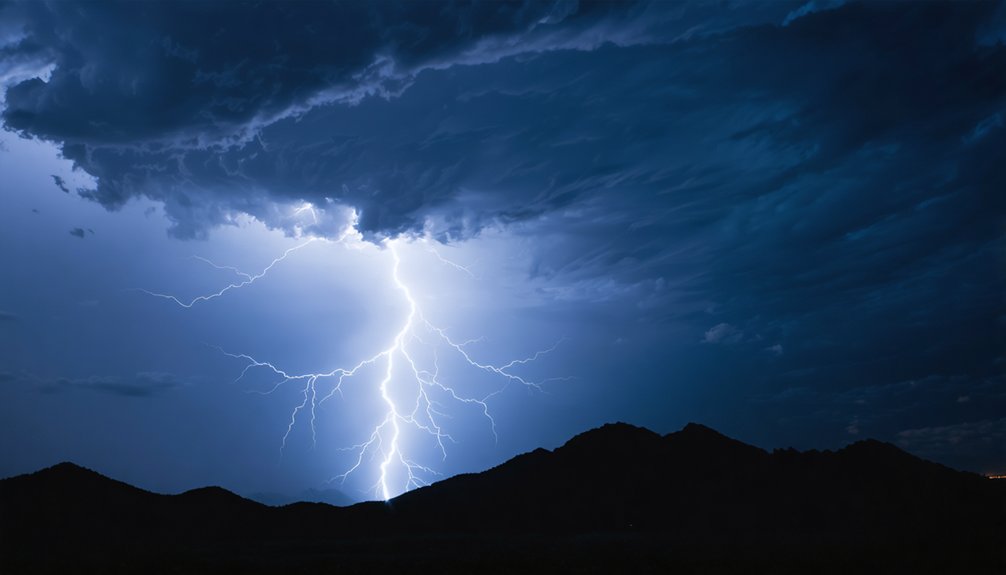
Lightning is intensely bright, so if you don’t dial in your exposure carefully, you’ll end up with blown highlights that obliterate the bolt’s internal structure and branching detail. Aperture control is your first line of defense.
In dark locations, start around f/5.6 to f/8, then tighten to f/11 or f/16 if strikes are consistently overexposed. In urban environments with significant ambient light, f/10 to f/16 gives you more latitude.
ISO optimization works alongside aperture. Keep ISO at 100 whenever possible to reduce sensor noise and preserve tonal detail in the channel itself. Raising ISO amplifies both the signal and the problem, pushing bright areas past recovery in post.
Run test exposures before the storm peaks so you’re not making reactive adjustments when the best strikes arrive.
Frequently Asked Questions
Can I Use a Lightning Trigger Instead of an Intervalometer?
Yes, you can use a lightning trigger—it detects strikes and fires your shutter automatically. Adjust your camera settings for longer exposures and prioritize lightning safety by positioning yourself away from dangerous storm conditions.
What File Format Should I Shoot in for Lightning Photography?
Shoot in RAW to maximize your camera settings’ flexibility and retain full dynamic range when editing. RAW preserves highlight detail in blown channels and lets you refine image composition in post without sacrificing quality or freedom.
Does Weather Sealing Matter When Shooting Lightning Storms?
Sure, stand in a storm without weatherproof gear—what could go wrong? Sealing effectiveness genuinely matters; you’ll want weatherproof gear protecting your camera while you’re prioritizing safety, staying clear of dangerous conditions, and shooting from controlled positions.
Can Smartphone Cameras Capture Lightning Strikes Effectively?
Smartphones can capture lightning, but you’ll face smartphone limitations like fixed apertures and slow shutter response. Leverage lightning app options to automate triggering, yet you’ll still sacrifice the manual exposure control dedicated cameras provide.
How Do I Remove Unwanted Objects From Lightning Photos in Post?
Like a sculptor chiseling away imperfections, you’ll use editing software’s clone stamp or object removal tools to erase distractions. Select the unwanted element, sample surrounding pixels, and blend seamlessly—freeing your lightning shot from visual noise.
References
- https://digital-photography-school.com/how-to-photograph-lightning-the-ultimate-guide/
- https://www.youtube.com/watch?v=9Gza0W82lzg
- https://www.nickulivieriphotography.com/blog/lightning/
- https://alphauniverse.com/stories/the-secret-to-daytime-lightning-photography/
- https://www.rmets.org/metmatters/lightning-photography-advice-award-winning-photographer
- https://www.youtube.com/watch?v=uvDQKMQTJMw
- https://www.jasonrweingart.com/blog/2014/12/20/how-to-photograph-lightning
- https://www.nikonusa.com/learn-and-explore/c/tips-and-techniques/how-to-photograph-lightning
- https://www.youtube.com/watch?v=45Tc7IE9nro